While working on the front suspension we noticed the motor mount had partially sunk so we got into motor mounts. It turns out there are two styles of mounts in 1957 as shown below; the early style has an open top, the later style is enclosed. This car had the early style. In spares, I had new rubber insulators and a set of later style mounts. I am not sure how the early style is disassembled and I expect the new style rubber insulators wouldn't fit the early style housing. We installed the later style and the engine sits where it should. New style rubber insulators are available on Ebay for about $60/each.
These "round" style motor mounts were used in 1957, 58, and 59. The 59 block is the RB and has different mounting ears on the block as compared to the hemi. That means the motor mount housing has unique brackets in 1959. The rubber insulators are the same 57, 58, 59. We have a short video on motor mounts here.
I was tidying up a few things on the tail lights and happen to check the brake lights. They had been working fine but now the driver side would not light. Parking lights would light. I checked the bulb. The filaments looked fine, I swapped bulbs right and left, the driver side still would not light. The socket was fine. I was stumped. Perhaps there was a break in the wiring harness and it just now showed up. I was reluctant to unwrap the harness and mess with 65 year old wires. I decided to sleep on it. The next morning I woke with a pretty good idea what caused the problem. The turn signal was on. The car was not running. If it had been running, the tail light would have blinked but with the key off and the turn signal on, the lamp just goes out. I never realized this before. I tried it on the 64 parked next to the C. Same thing. If you are checking your brake lights with the key off and one is out, check your turn signal switch position. There is a rundown of this in the motor mount video.
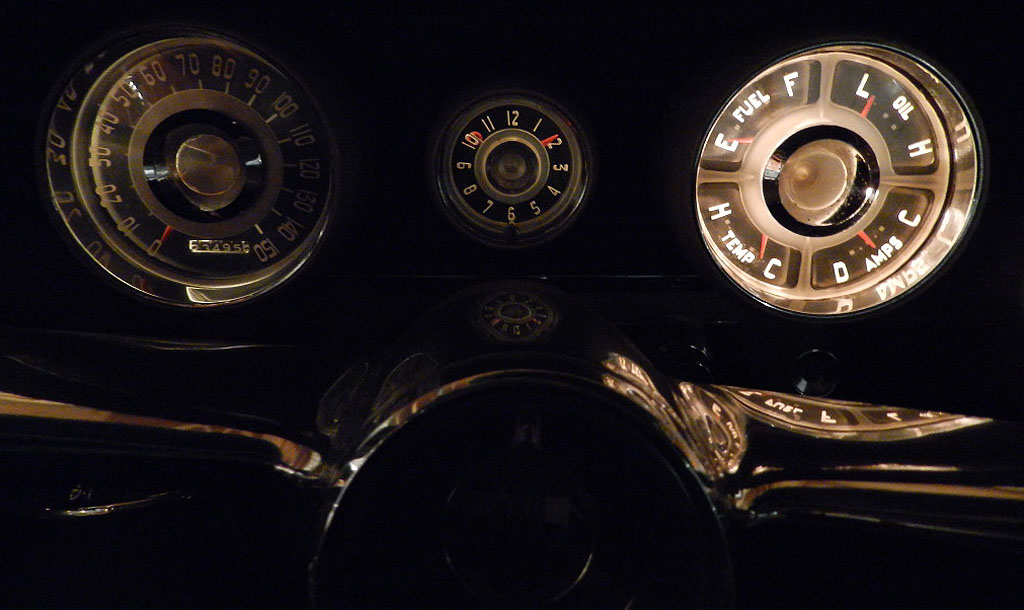
The speedometer / clock / instruments pods were in need of a thorough
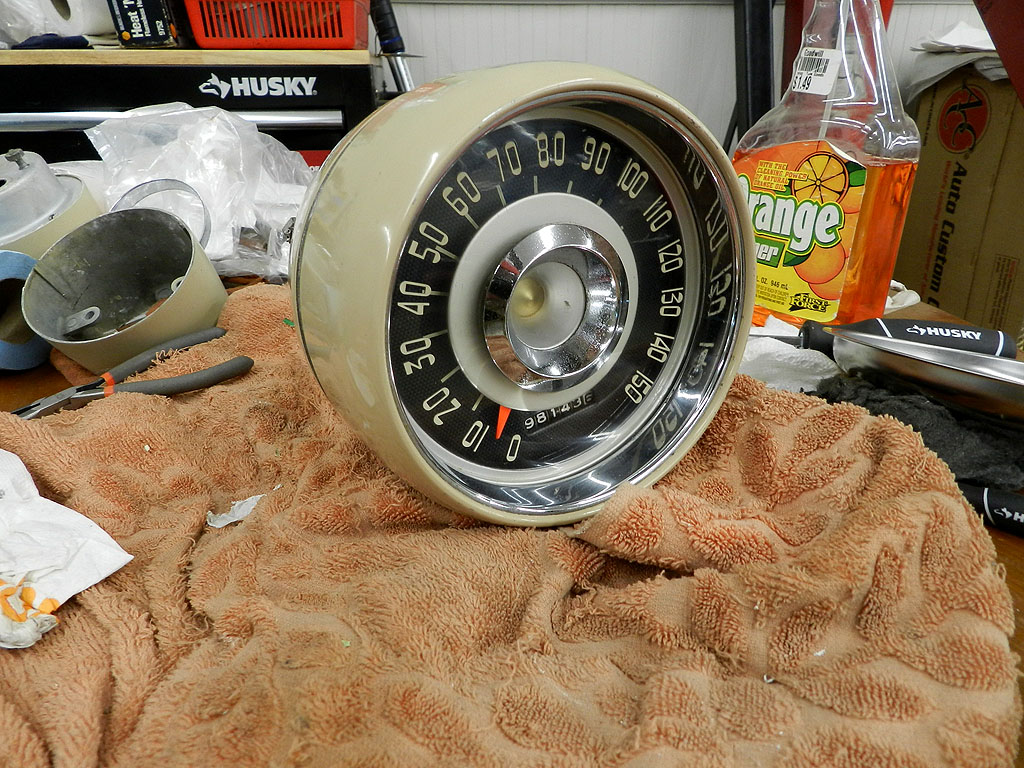
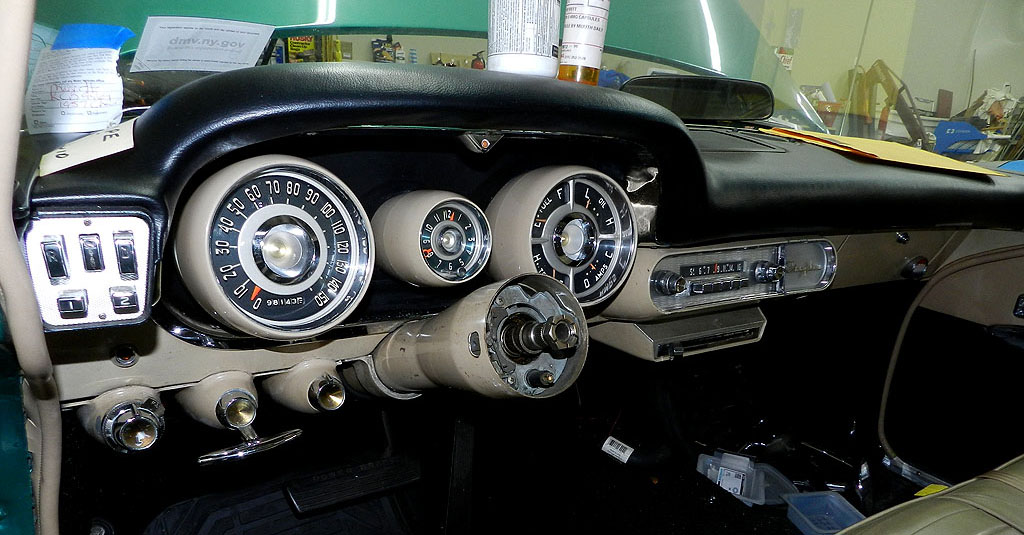
 cleaning and I think the inboard lamp is broken on the speedometer. The speedometer pod was removed. There are three 7/16" nuts at 10, 2 and 6 o'clock. The upper nut left needs a wrench as socket won't fit and the other two nuts are easy with a thumb ratchet. Noted the speedometer cable runs through bracket back there to keep it low, maybe away from wiper arms. The speedometer came out but the light sockets would not release. I had not seen this type of socket prong before -- insert a thin screwdriver blade from the side to press the prongs for release. The inboard lamp (GE57) was original and broken. I got another, tested, and both lamps now work.
The 57 speedometer pod comes apart differently than the 59; the 57 has two screws on the outside recess. The 57 (and probably 58) speedometer lens is different than the 59 since it has a center decoration which is attached to the lens with drill holes. Removed lens and was able to scrape the old gasket off with a razor knife and Windex. It cleaned up well. The housing was very dirty as was the area around dash board. The
 housing had black paint marks on it from someone using a brush to paint the dash cavity. Paint thinner and 0000 steel wool removed it and the pod was then waxed. Used RTV dabs along edge to secure lens. Reassembled and applied a few drops of speedometer cable oil to wick, looks very good. Decided to remove the clock. It was very difficult to access the two 3/8" nuts. Clock comes out in 2 pieces, bezel to dash is separate and two more 3/8" nuts, one of which also holds a circuit breaker which is in the way. The clock housing was dirty but cleaned up well with scratch out and wax. Clock is dead, no response to 12 volts. Clock light is same difficult to release housing prongs as speedometer. Decided not to remove the gauge cluster and was able to clean in place and remove gasket debris.

The speedometer and clock pods are back in. Next we will look at re-painting the control knobs.
To page 3