Golden Lion Grrrages
1959 Chrysler 300E
Page 4
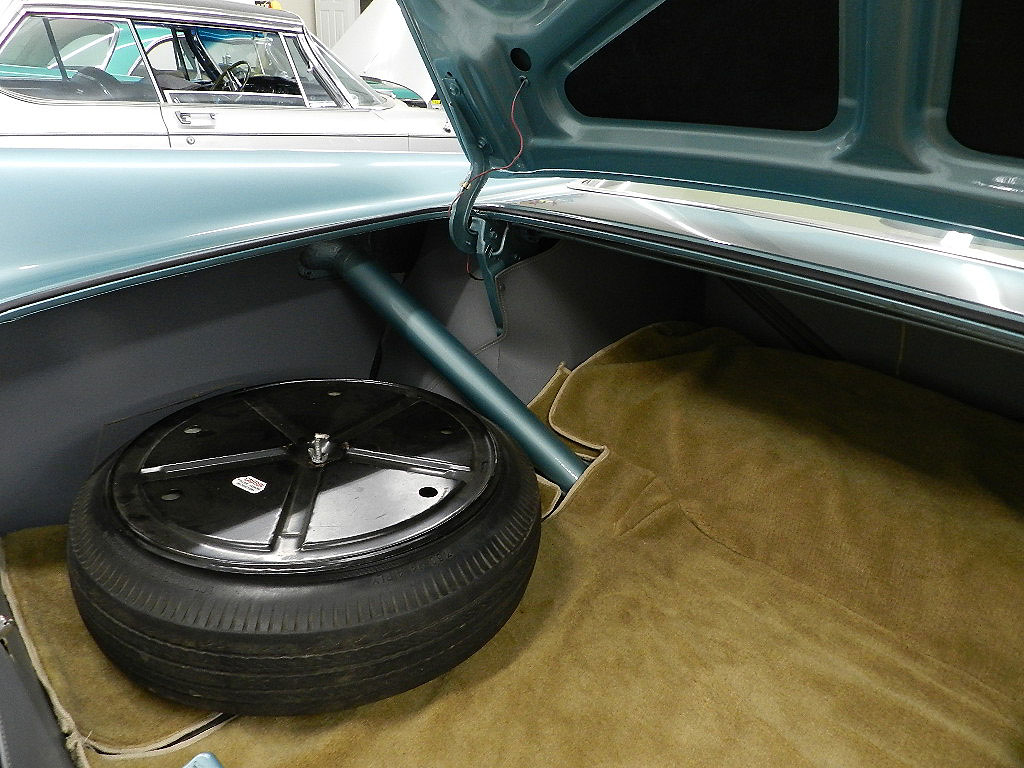
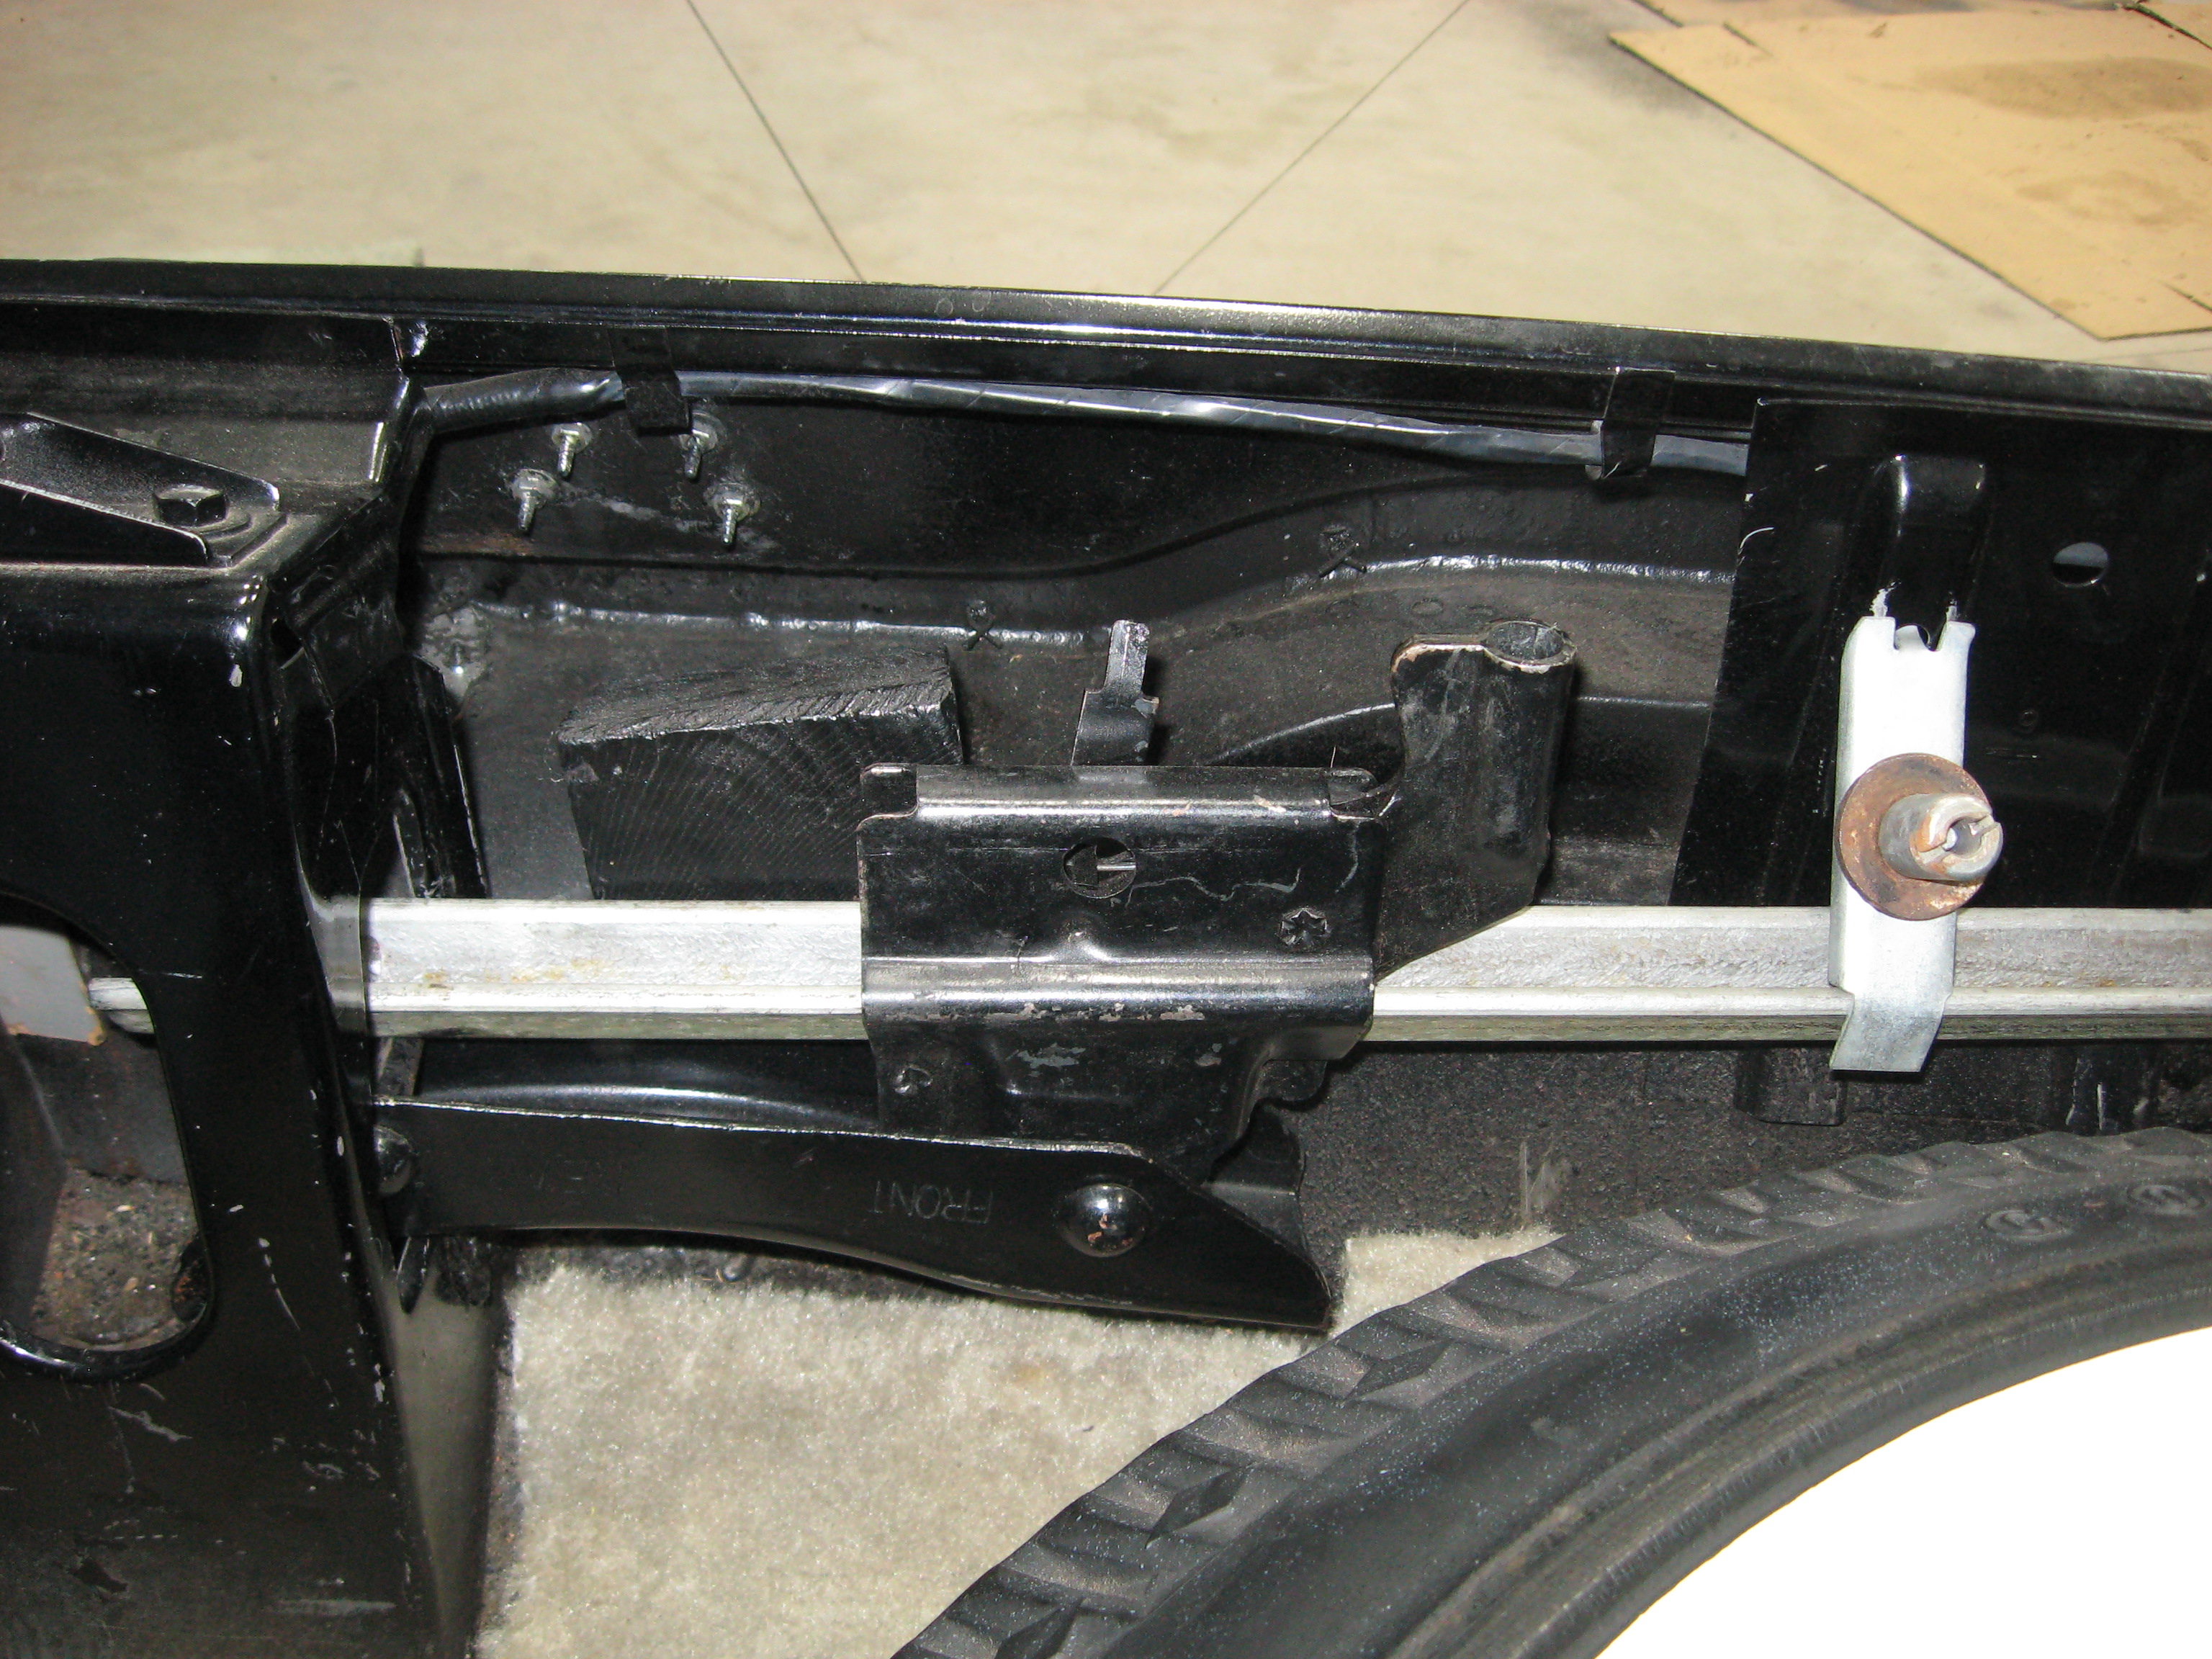
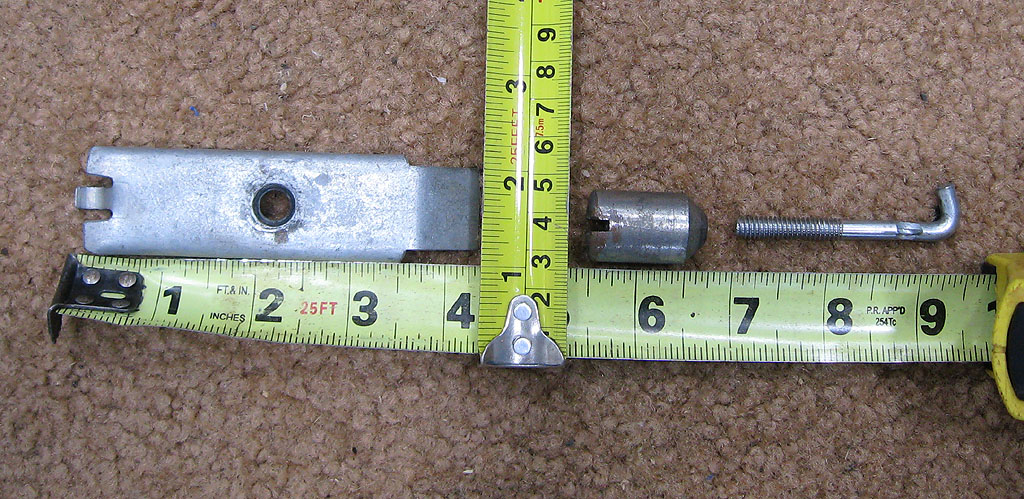
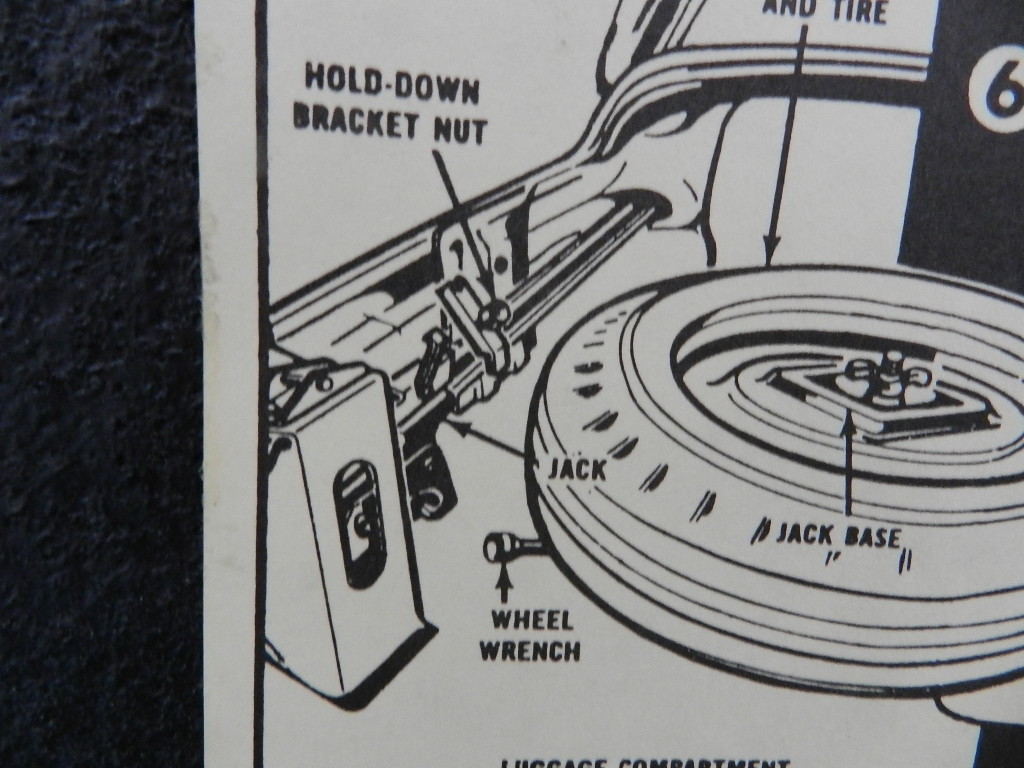 The bumper jack in 1959 is stored in the trunk differently than 57 & 58. In 59 Chrysler put the jack shaft sideways on the
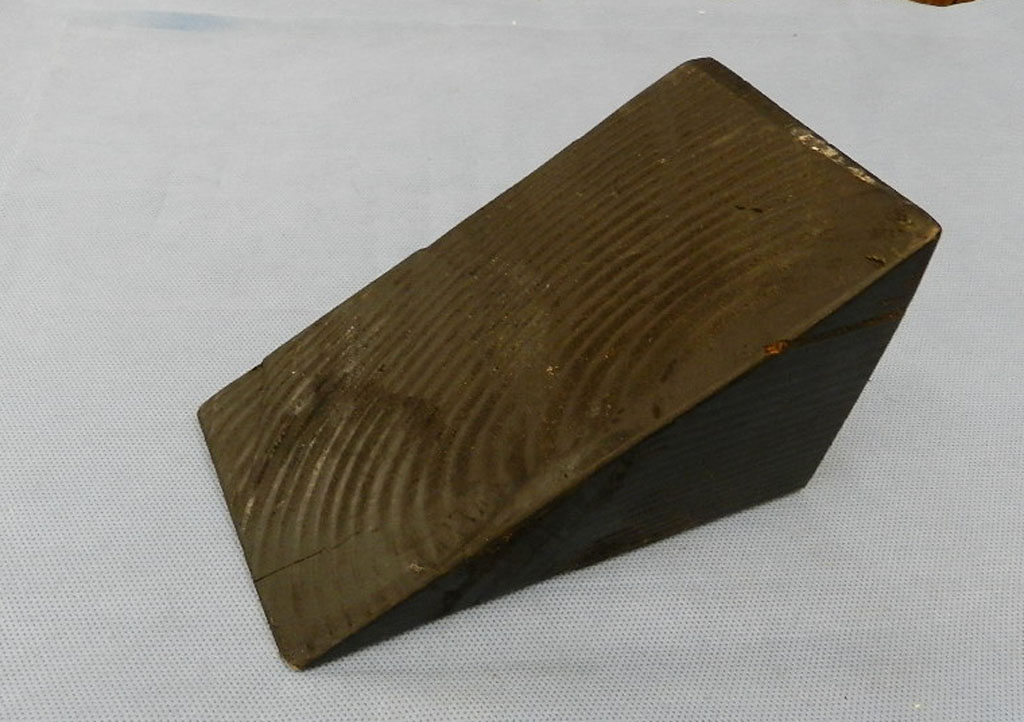
driver's side while in 57 and 58 it is stored on the passenger side. The retaining pieces are different for 59 and mine were missing. A friend send me pictures of the missing parts and I was able to make what I needed. Compared to the picture in the trunk sticker, it looks as if he has the jack shaft stored upside down. Maybe so, but the retaining bracket fits much better this way. I am also missing the parking chock, the wood triangle you wedge behind the tire when parking.
|
|
|
 Wheel Chock:
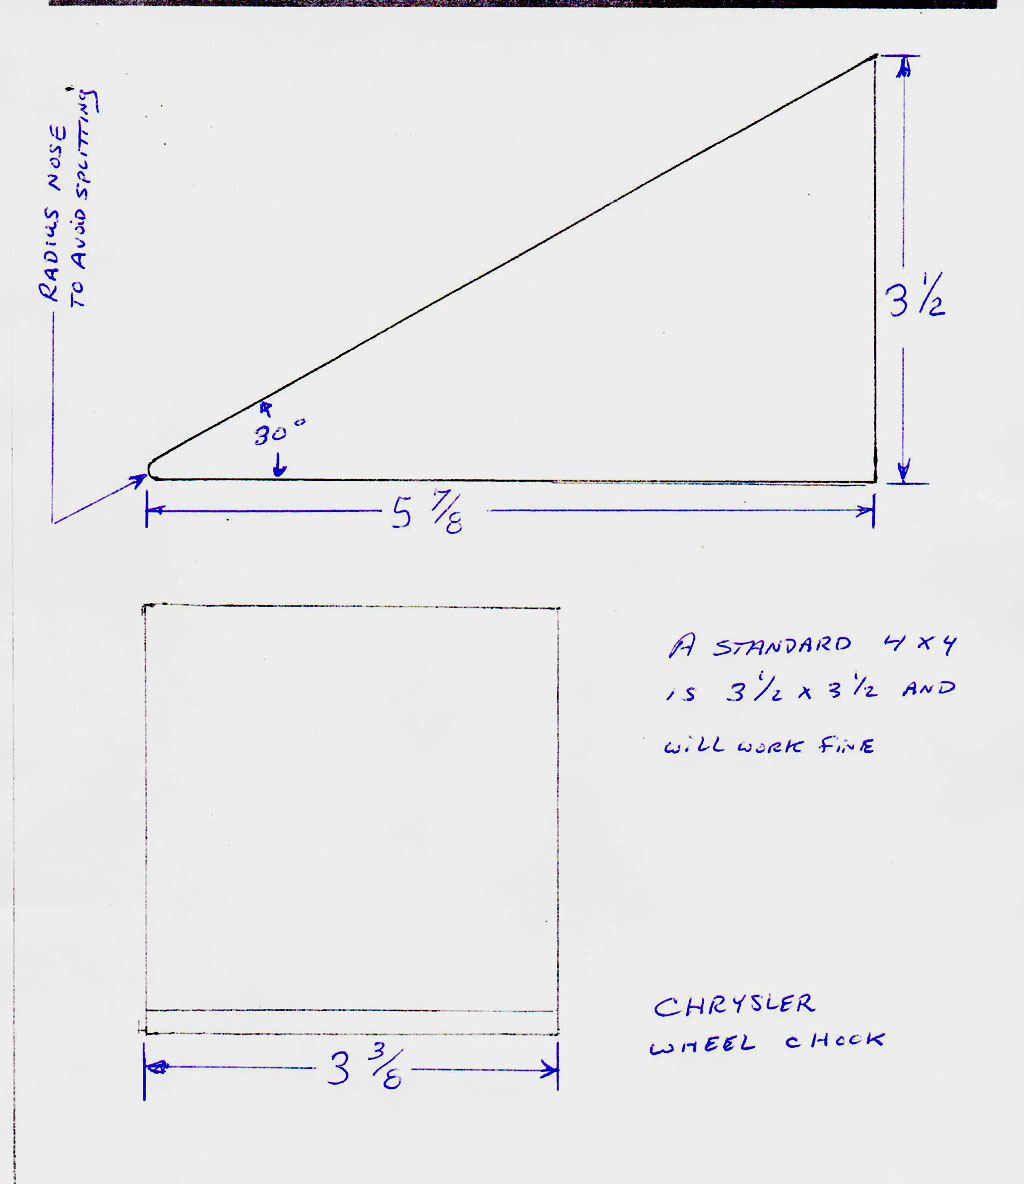
Until the 300J, Letter Cars did not have a park in their transmissions. Chrysler supplied a wheel chock. No more than a triangular piece of wood, Chrysler expected their car owners to use this chock in addition to the drive shaft mounted parking brake. No surprise, you can find original chocks that look as if they have never been used. If yours is missing, you can make your own out of a 4x4 or you can get them from Quirey.
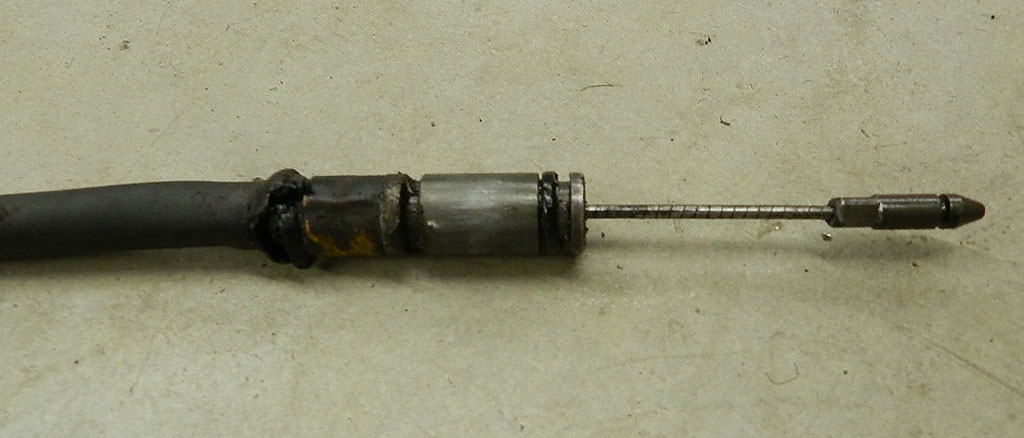
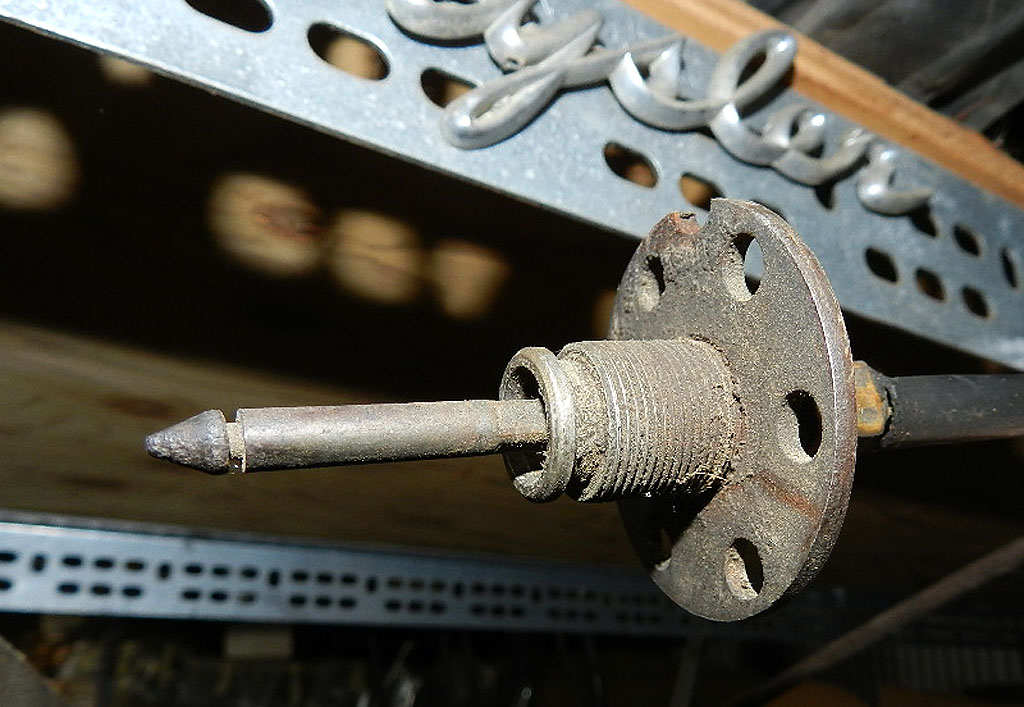
The cable from the transmission push buttons is damaged. In 1959 there were two types of cables. One has the newer style with the adjuster wheel, and the older is a push-in slide type. I have the older style. Atlas Obsolete has the cable, their part number 808-166-TX.
We have a video of the cable replacement here. We were busy with the doing to do much recording, so the video is short. The surprise was the mystery cable spring release. It does not appear in any of the service manuals and I had never seen one before. If you want to read up on this spring release, I have this write-up. It is on the aluminum Torqueflite but gives you the idea.
A problem with the pushbuttons. I have not had this problem with other cars, but on this one the transmission pushbuttons go
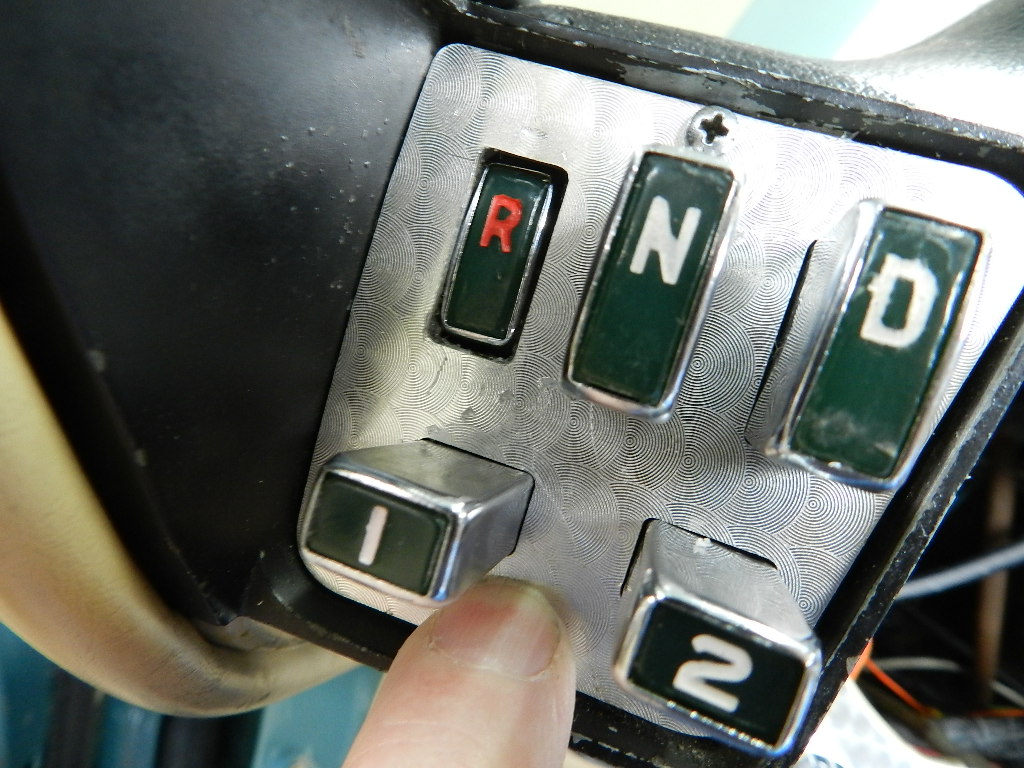
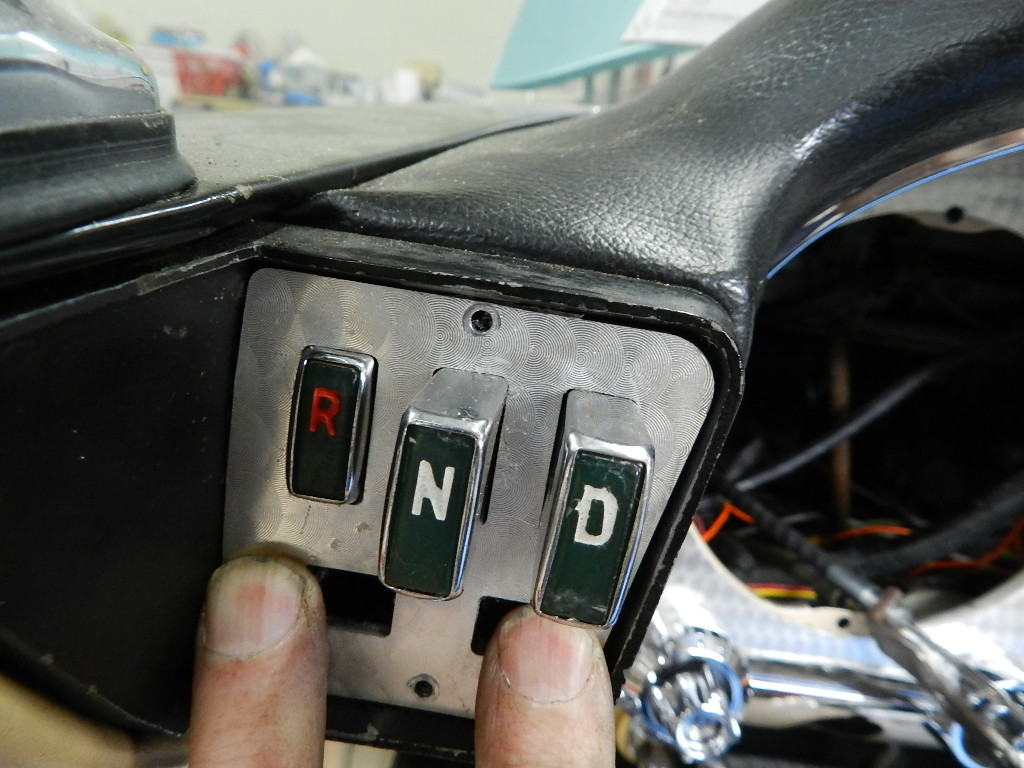 just a little too deep and fall behind the bezel. Most of the time pushing another button will force the deep button back out, but something isn't right here and needs to be fixed. The pushbutton mechanism is attached to the housing with three
Philips screws that come up through the base. There is a little fore & aft adjustment built into the design but not enough for this case. I removed the mount, enlarged the holes and solved the problem. We have a video here. just a little too deep and fall behind the bezel. Most of the time pushing another button will force the deep button back out, but something isn't right here and needs to be fixed. The pushbutton mechanism is attached to the housing with three
Philips screws that come up through the base. There is a little fore & aft adjustment built into the design but not enough for this case. I removed the mount, enlarged the holes and solved the problem. We have a video here.
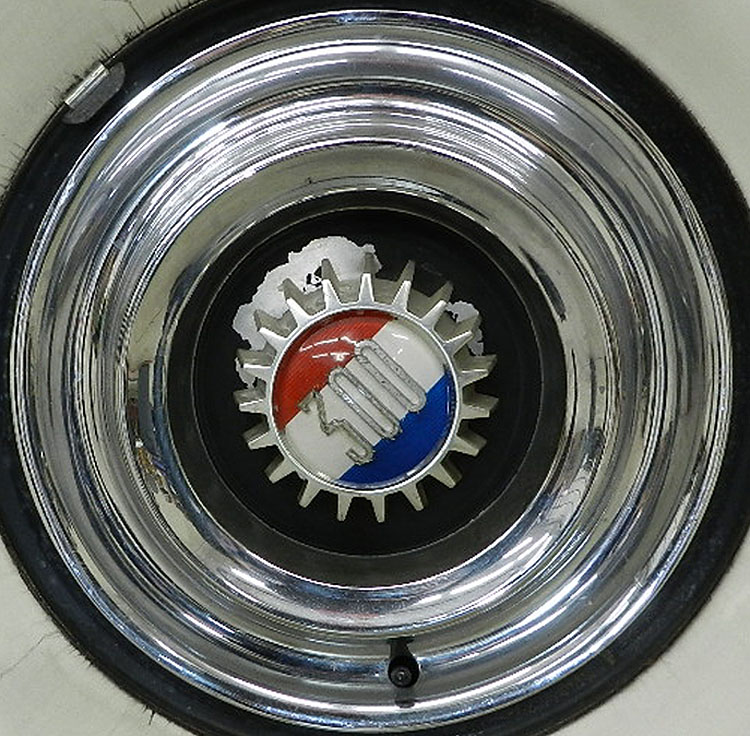 The black background paint is peeling on the wheelcovers. We have painted quite a few of the H, J wheelcovers and have a video of those here. The technique for this wheelcover should be similar.
The 300E wheelcovers are the same as the 1960 300F although the E has a black background and the F is an orange-red. These are the only two years to use the gear center hub. You can read John Hertog's article on wheelcover disassembly here.
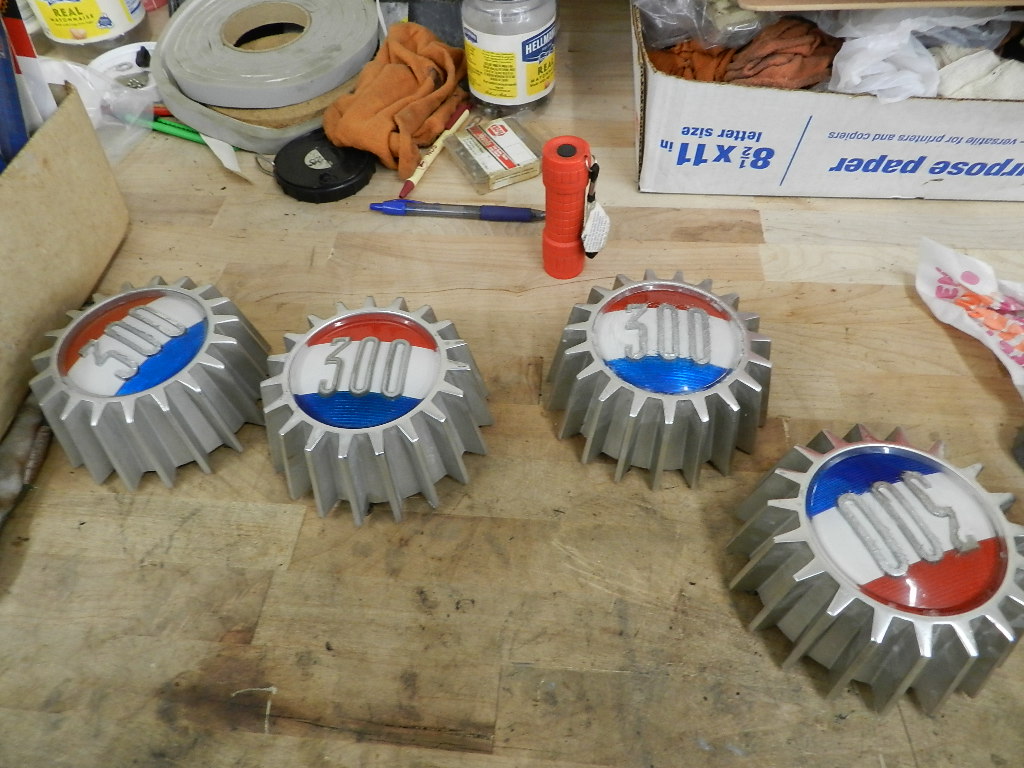 I was able to remove all four center gear assemblies without breaking any screws. These little devils can snap right off if you are not careful and render the gear useless. As expected,
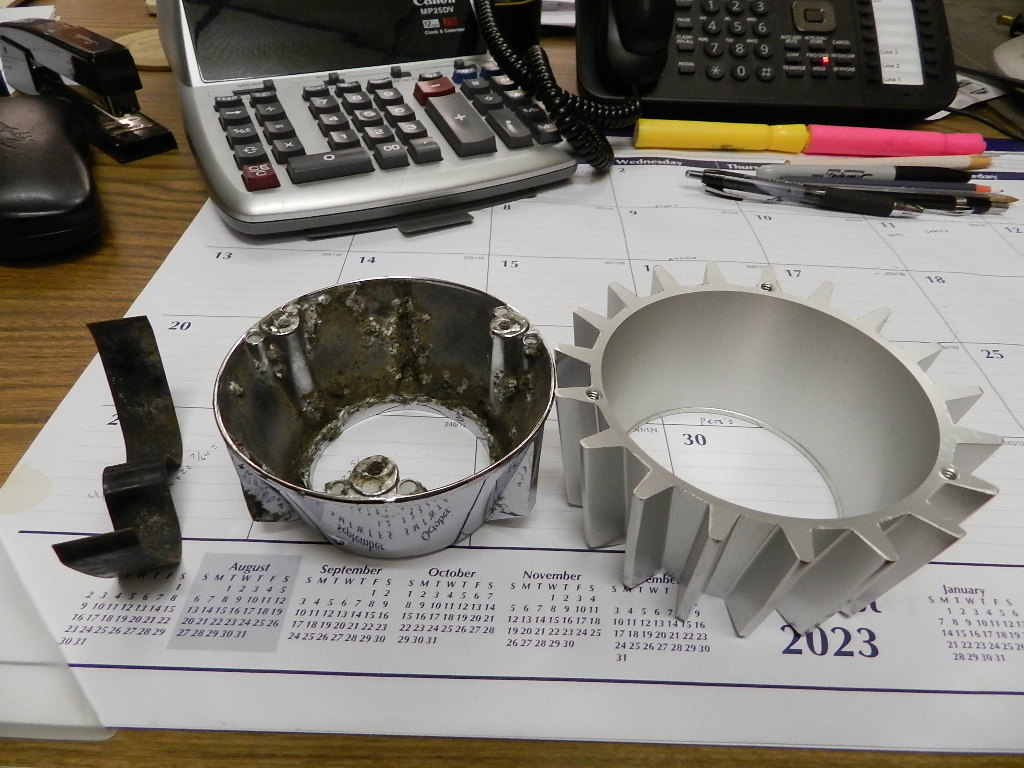 the center cones are stuck in the gear. You have to remove the center cone if you want to replace the 300 center medallion; the cone supports the medallion inside the gear. Chrysler simplified things when they went to the spinner center in 1961 -- the medallion is retained by a metal spring in the shape of an "M". Here is a picture of the "M", a 61 center spinner, and the E spinner. the center cones are stuck in the gear. You have to remove the center cone if you want to replace the 300 center medallion; the cone supports the medallion inside the gear. Chrysler simplified things when they went to the spinner center in 1961 -- the medallion is retained by a metal spring in the shape of an "M". Here is a picture of the "M", a 61 center spinner, and the E spinner.
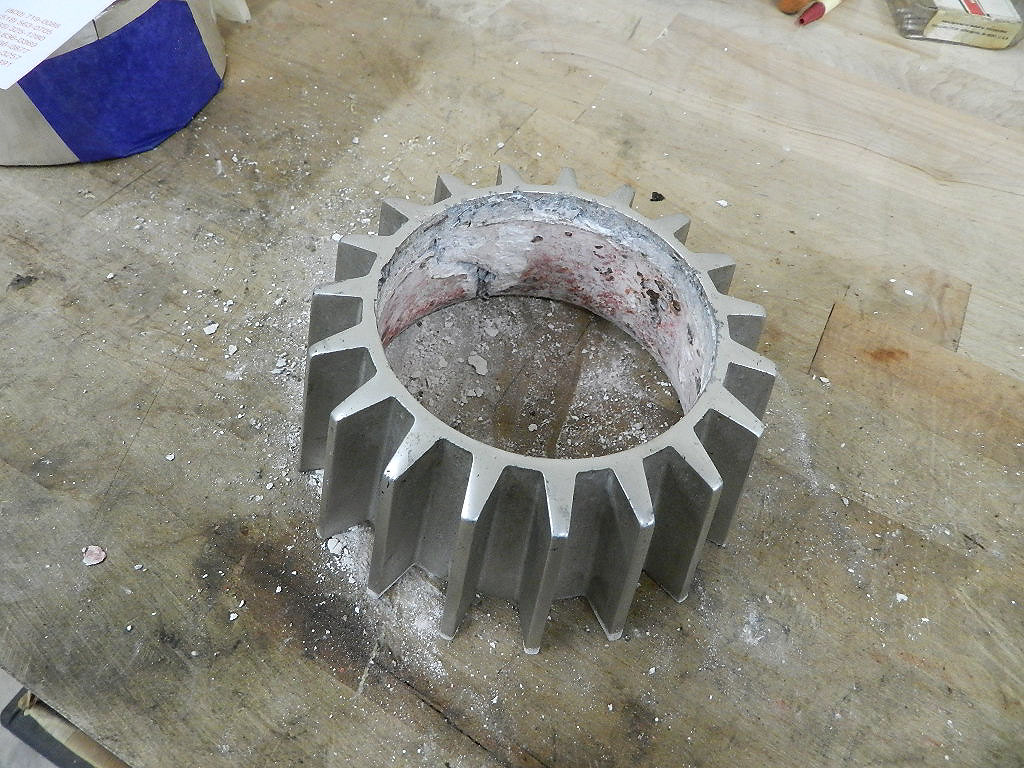
On three of the center gears, the cones popped out with gentle taps but one was stuck. You can see the level of corrosion that built up between the cone and the inside of the gear. There was no saving the cone but the gear will be OK for future use.
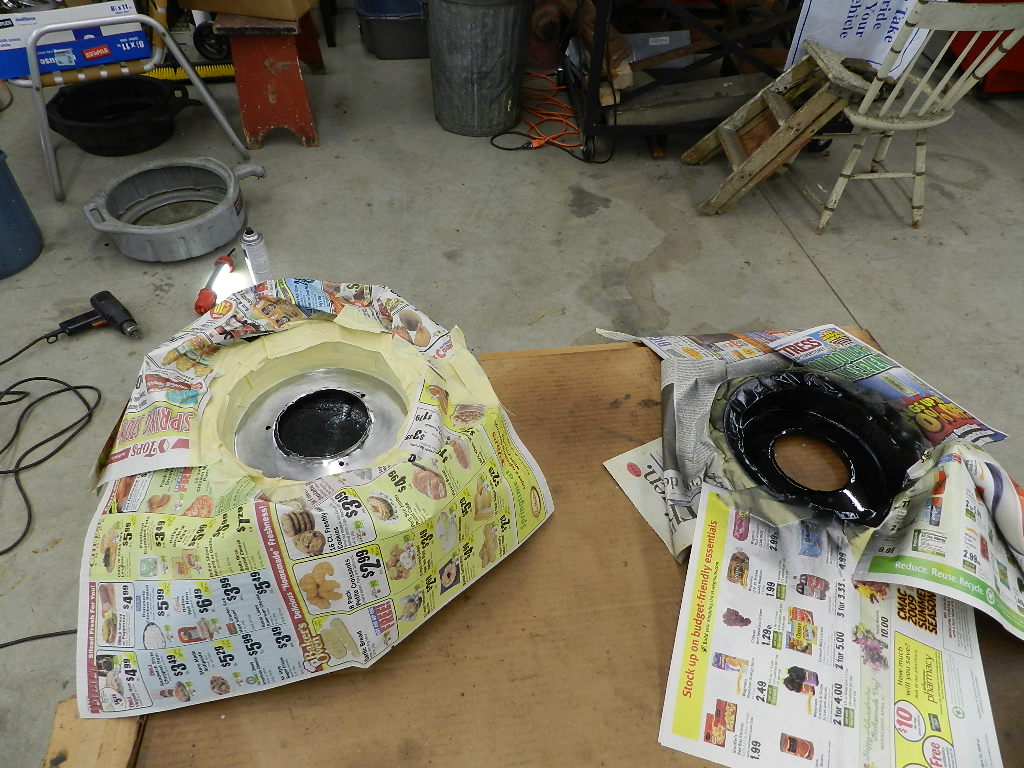
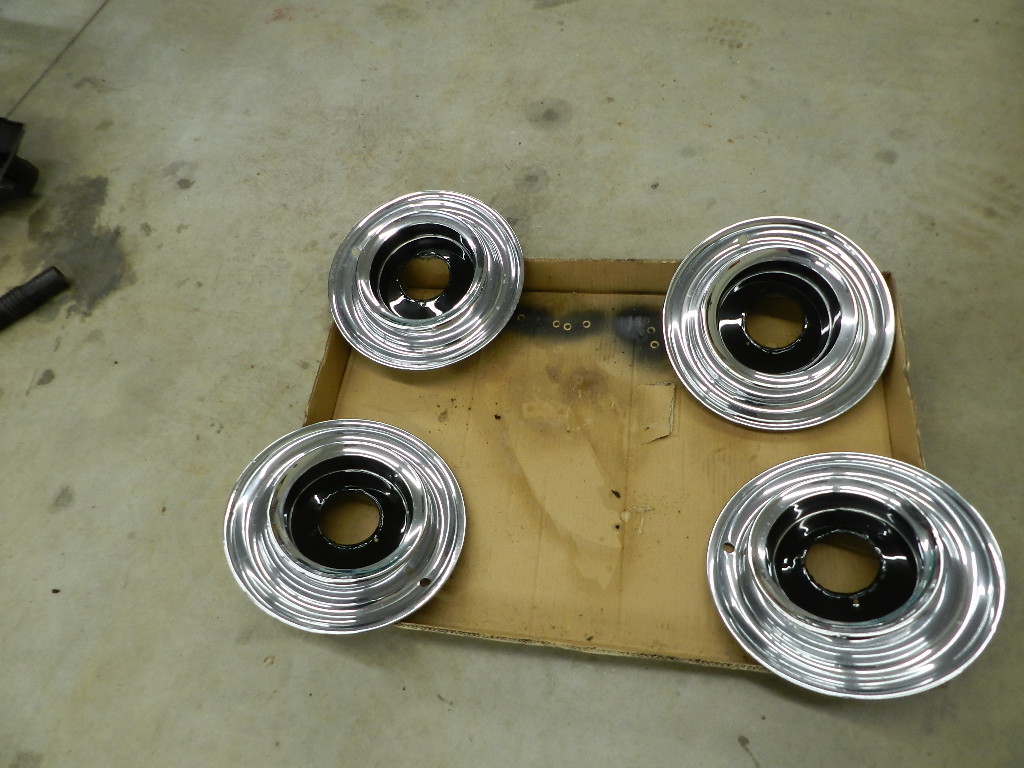 The old paint came off the wheel covers quickly with paint stripper. Spend extra time masking the area and you can get a presentable edge. Painting flat smooth metal is tough without getting fisheyes so clean the wheel cover with alcohol and paint prep.
I used Eastwood chassis black on these caps. The old paint came off the wheel covers quickly with paint stripper. Spend extra time masking the area and you can get a presentable edge. Painting flat smooth metal is tough without getting fisheyes so clean the wheel cover with alcohol and paint prep.
I used Eastwood chassis black on these caps.
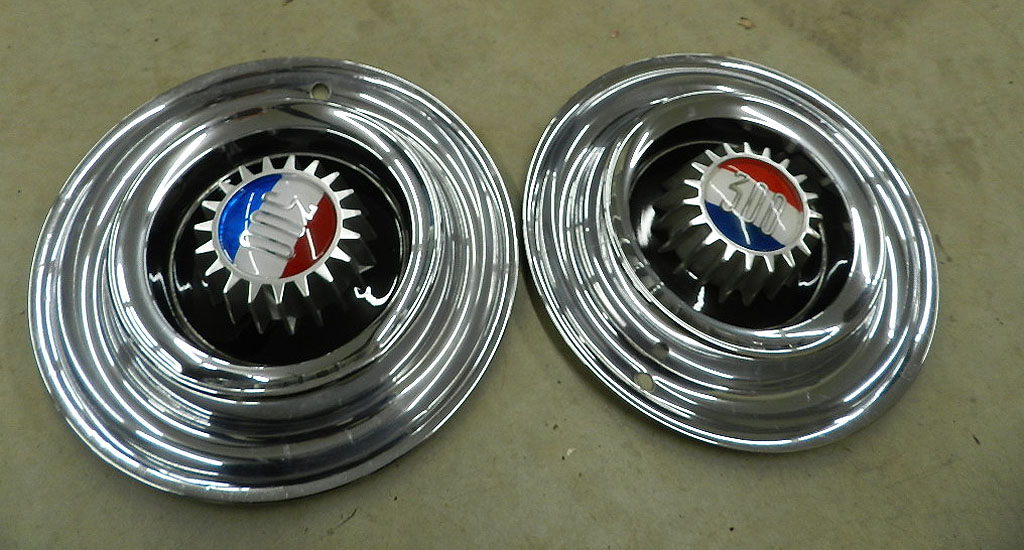 Here are two of the finished covers. A note on re-assembly of the center gear; the 3 mounting screws fit the gear only one way. To avoid scratching your new paint with the gear, place the cover upside down and bring the gear up in proper orientation from below.
It is time to button up the instrument panel. The clock is easy to install when the speedometer is out; you just reach in the
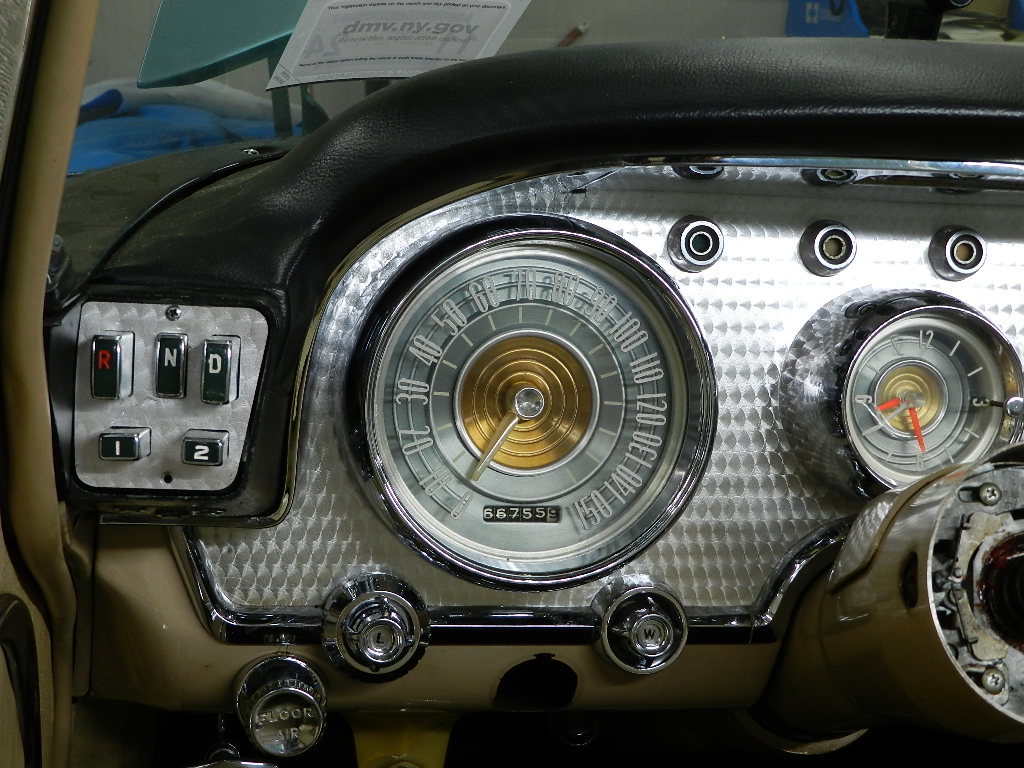 speedometer hole and install the clock mounting nuts. The installation of the speedometer is another story. You have no access from the front. You have to work blind up in the back side of the dash. There are two 3/8" nuts that hold the speedometer, one at 12 and one at 6 o'clock. The upper one is easier to get at since there are fewer wires in the way. I use a thumbwheel ratchet 1/4" drive on the nuts. The bottom nut is hard to reach but if you have a cutout in the dash for the mirror control as I do, you may be able to reach the bottom stud from there.
Past the two nuts, the other connections are 2 lamps for the gauge and then the speedometer cable. Once that is done, now is the time to check for gauge lights. speedometer hole and install the clock mounting nuts. The installation of the speedometer is another story. You have no access from the front. You have to work blind up in the back side of the dash. There are two 3/8" nuts that hold the speedometer, one at 12 and one at 6 o'clock. The upper one is easier to get at since there are fewer wires in the way. I use a thumbwheel ratchet 1/4" drive on the nuts. The bottom nut is hard to reach but if you have a cutout in the dash for the mirror control as I do, you may be able to reach the bottom stud from there.
Past the two nuts, the other connections are 2 lamps for the gauge and then the speedometer cable. Once that is done, now is the time to check for gauge lights.
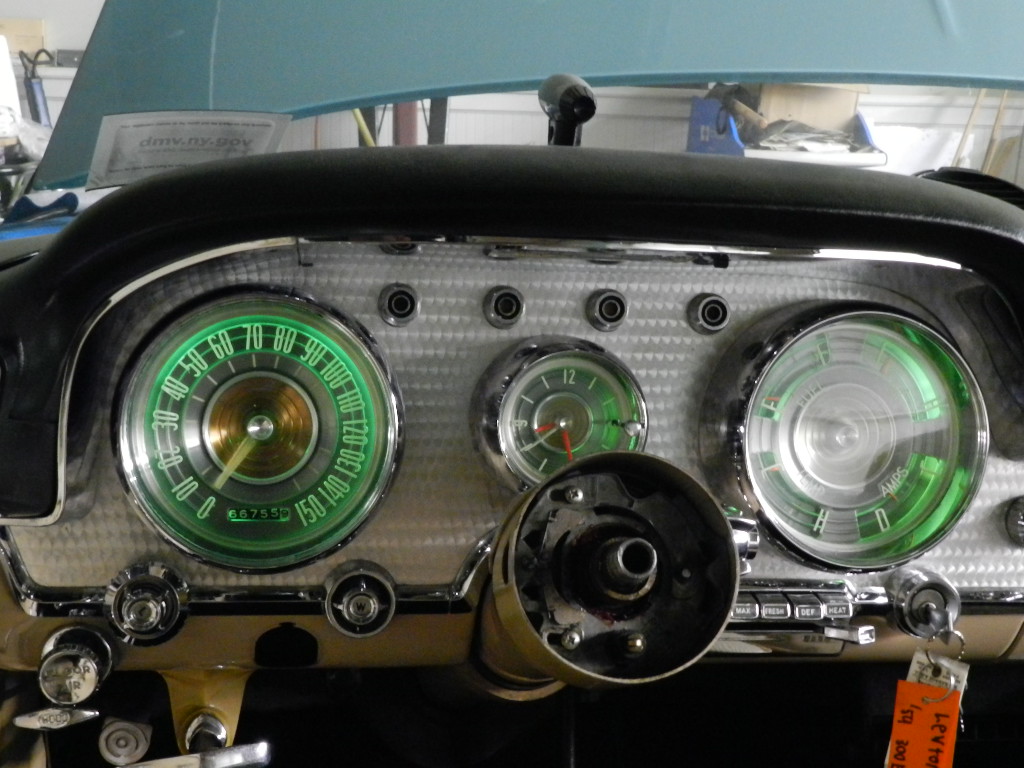
There is a video here of the work on the wheelcovers, the installation of the speedometer, the run-in to check the new transmission cable and its adjustment, and the replacement of the gas tank sender.
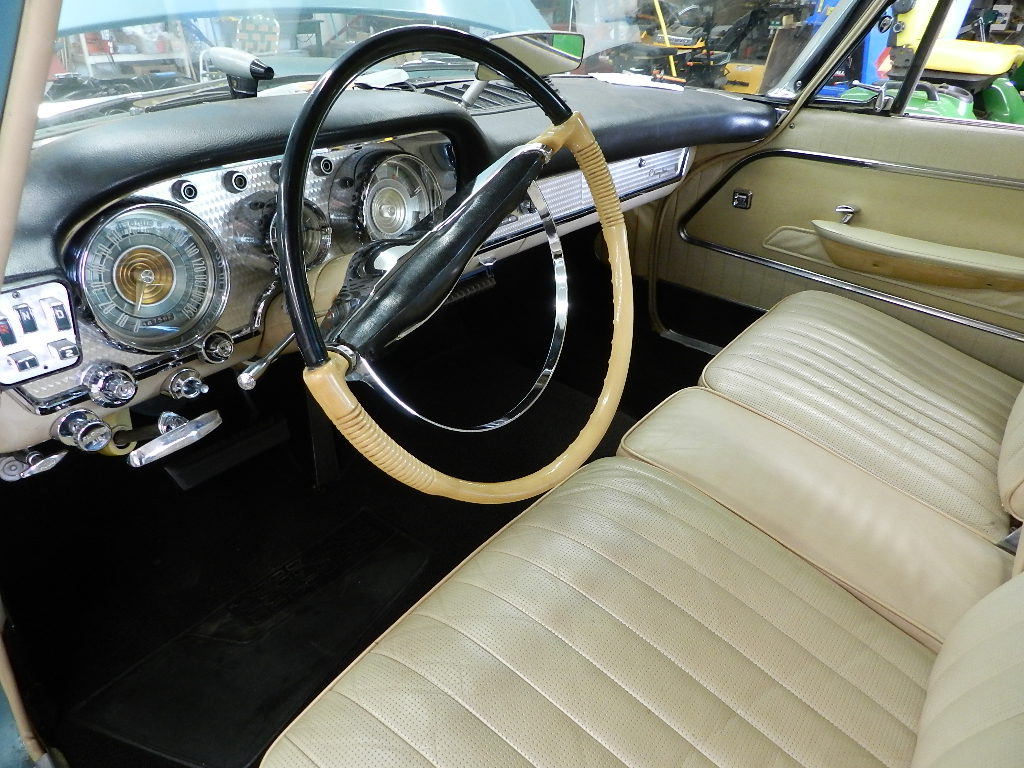 Here we are pretty well buttoned up. The steering wheel was quite difficult to install by myself. The steering shaft has something like 3/4" axial play and would not stay positioned out so the wheel could sit deep enough for the nut to engage. After wrestling for a while then thinking for a while, I used a wire to bind the steering shaft and was able to install the wheel. The horn ring and turn signal went on quick and easy and checked out just fine.
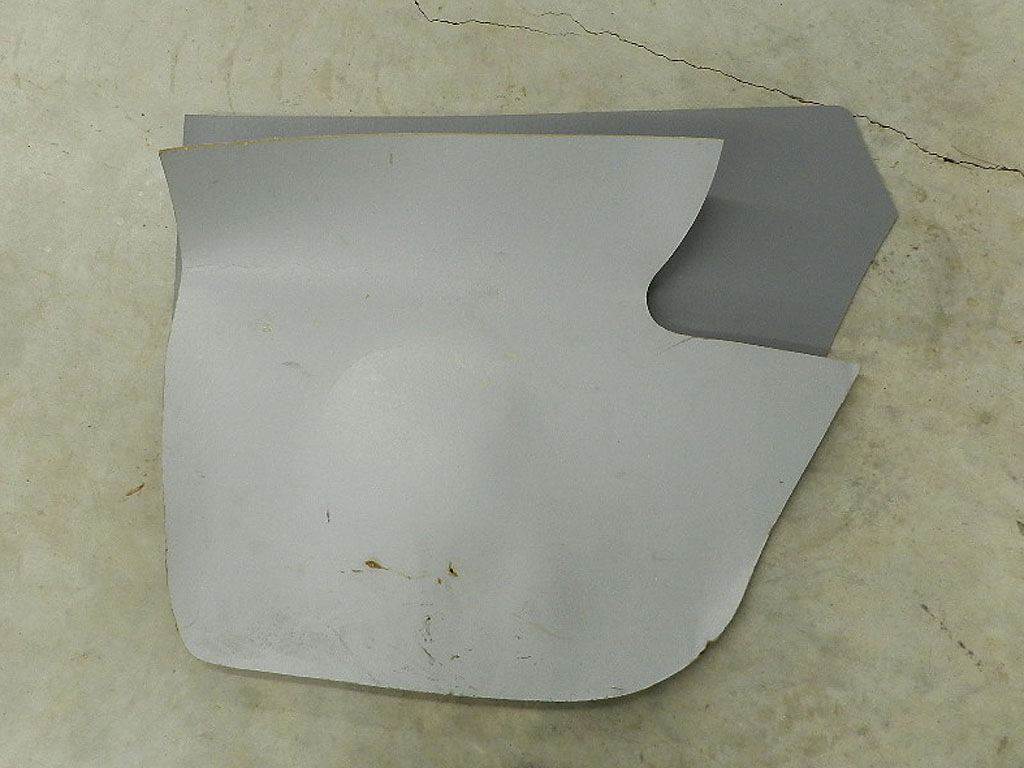
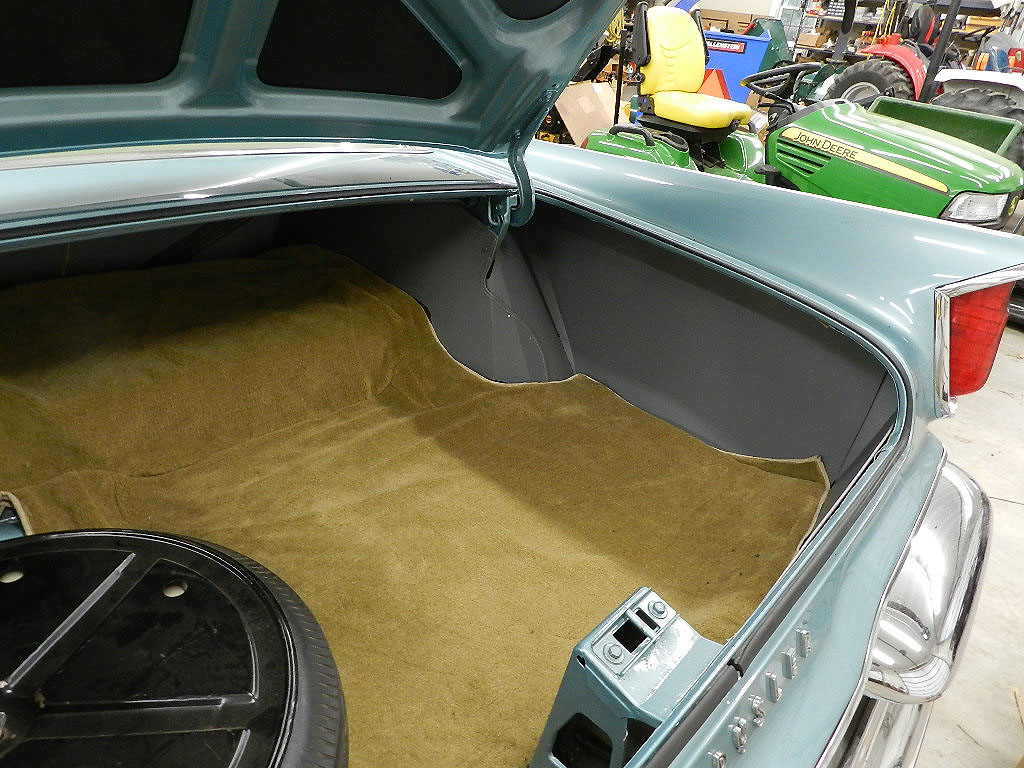
I have a new trunk cardboard kit from Quirey and it is time to install it. Some of the new pieces are not the same as the old pieces; you have to figure out where the new ones go and how they are installed. None of the new pieces are scored for folding so the old pieces were used as templates. The driver side panel did not have the large cutout for the filler pipe. I used a fine blade on a jig saw and the old piece as a pattern. There is a web page on an original E trunk here.
There is an exhaust leak to chase as the list is getting short. A new gasket for the pipe at the manifold fixed the leak. The car is running well enough for drives around town and runs better with use.
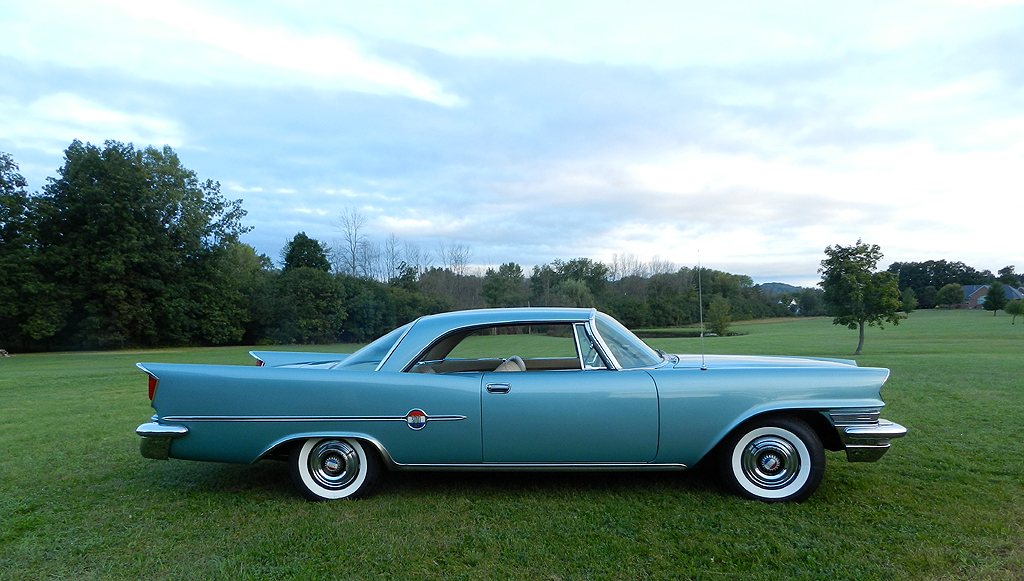
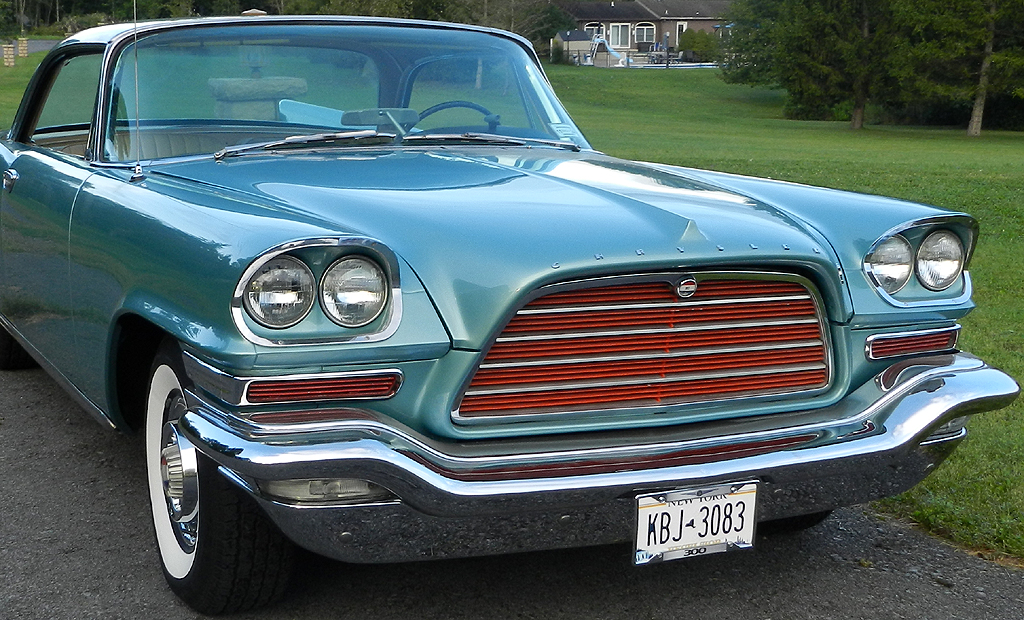
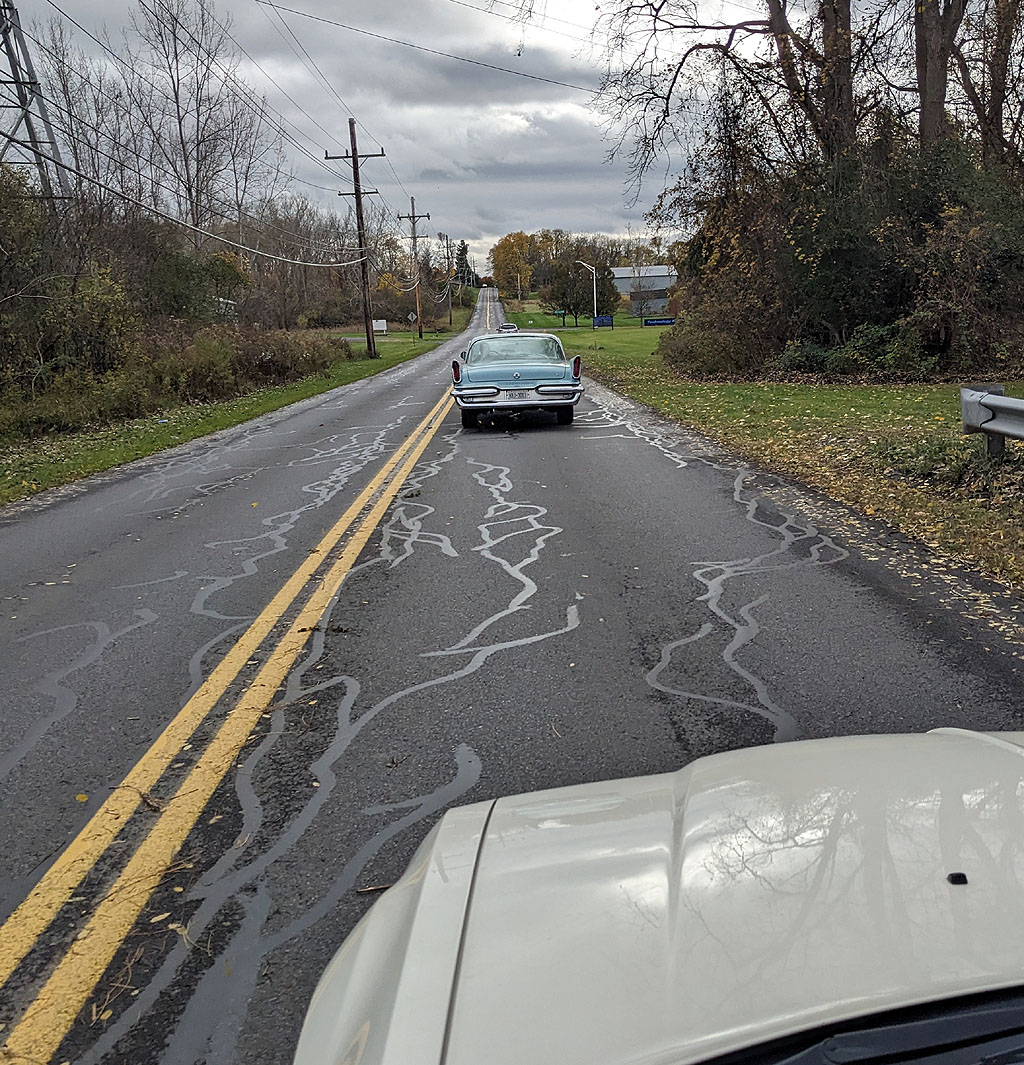
Off to the garage for winter storage.
To page 5
|


