Golden Lion Grrrages
1962 Chrysler 300 H Convertible
Page 3
|
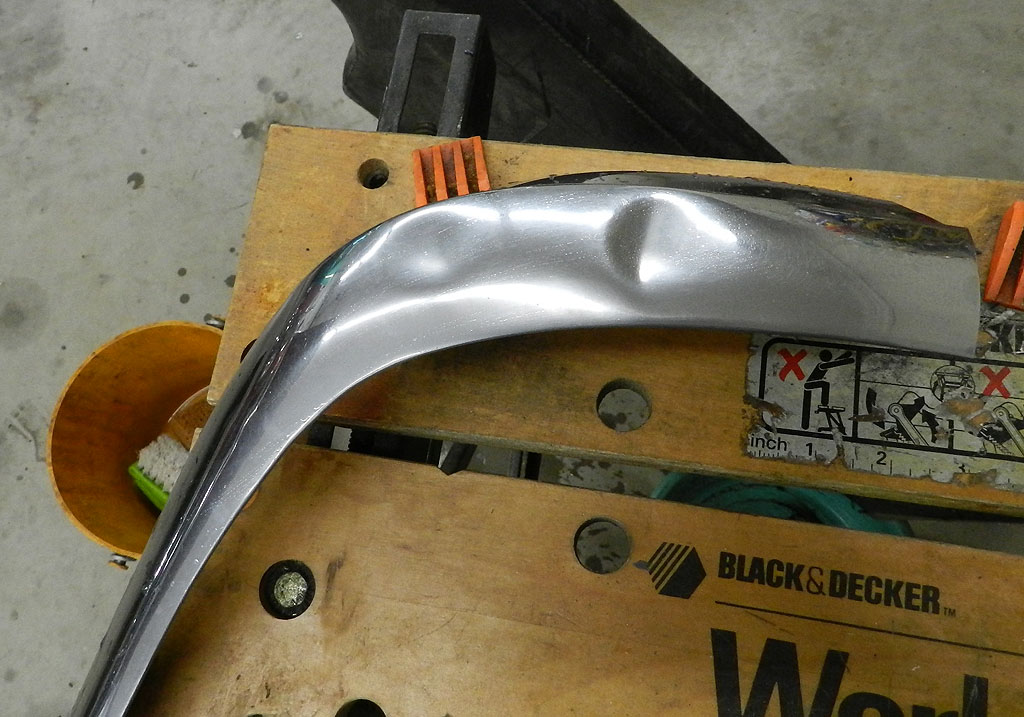
The passenger side A pillar molding has two dents. I found a very nice spare in storage
and brought it over. I might as well try to remove the dents in the
original piece. Doggone, they worked out so nice I reinstalled the original piece. I used
hammer handles -- the oval sections, and tapped on those pieces of wood with the
outer section of the molding supported on softwood.
We removed the front tires and brake drums. Ball joints test good, good idler arm and center link and tie rods.
Both wheels show worn wheel bearings but the brakes shoes, cylinders and drums have lots of life.
We removed inner and outer races front wheels. Some were hard to pound out -- a matter of the
right size hammer and the right angle on the punch. We installed new races by using the old wheel bearings for install.
Put the old bearings in the new races and it gives you a lot of surface to pound on.
New front wheel seals, grease, reassemble with the Chrysler recommended bearing procedure (90 in-lbs, back
off nut one slot).
The front door panels came off so we can rebuild the power window motors. Both doors had vapor barriers.
The passenger door will need to be replaced due to rust, the driver side is fine. The driver door has been
cut by a previous owner to access the window motor. You can see the motor had broken the transmission
mount and had been repaired. We will put anchors on both motors so the impact from door closing does not
result in the motors stressing the transmissions.
The driver side panel was torn and damaged along the lower edge. The cardboard backer was weak
in this area as well. New door panels are not available. I got the idea to make this panel presentable by
adding a third chrome strip. I had a spare piece. The strip is held by a series of sharp pointed teeth which
easily penetrate the board. By using a strip identical to one already on the panel, it almost looks like it
was factory. In any case, it does a great job of covering the torn area and protecting the bottom edge.
The fuel line from the tank had been patched. A new one came from InLine Tube. It was about $135, a large
part of that was the shipping cost -- it doesn't weight much but it comes in an over-size box. It has a large
radius bend that is easily straightened. Installation was quick and easy. I had to replace several of the
clips which hold the line to the body. There are three sizes. I needed several medium and one large to
get the fit I needed. These were from Gary Goers. Probably Quirey has them now.
The neutral safety switch had been bypassed. For the longest time
 I have been
unable to successfully test a neutral safety switch. Every switch I tested acted the same:
I always had continuity from the wire post to the spring loaded pin, no matter what position
the pin was in. And I always had no continuity from the wire post to the body. I never could
get the switch to be off in one position and off in another, which is what I expect a switch to do.
Aha! The answer from John Grady. It is not a switch. It is a spring loaded grounding pin. See
more here.
I have been
unable to successfully test a neutral safety switch. Every switch I tested acted the same:
I always had continuity from the wire post to the spring loaded pin, no matter what position
the pin was in. And I always had no continuity from the wire post to the body. I never could
get the switch to be off in one position and off in another, which is what I expect a switch to do.
Aha! The answer from John Grady. It is not a switch. It is a spring loaded grounding pin. See
more here.
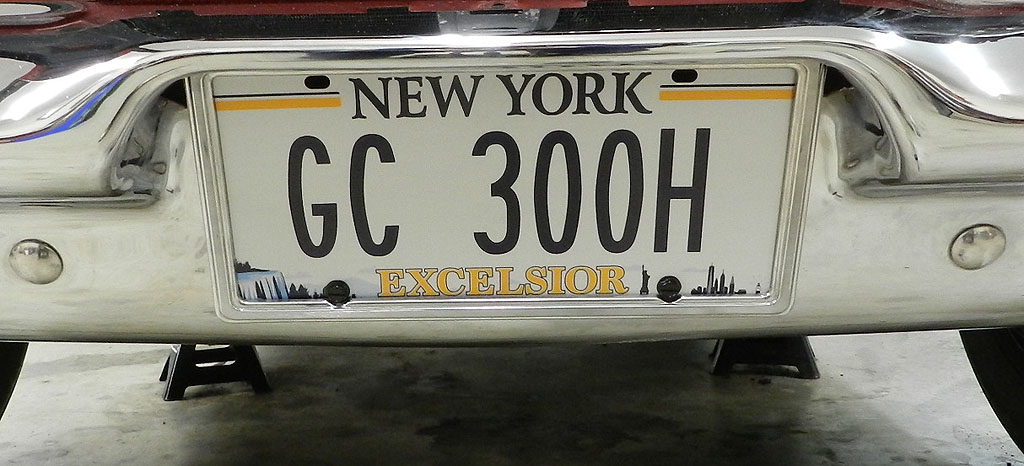
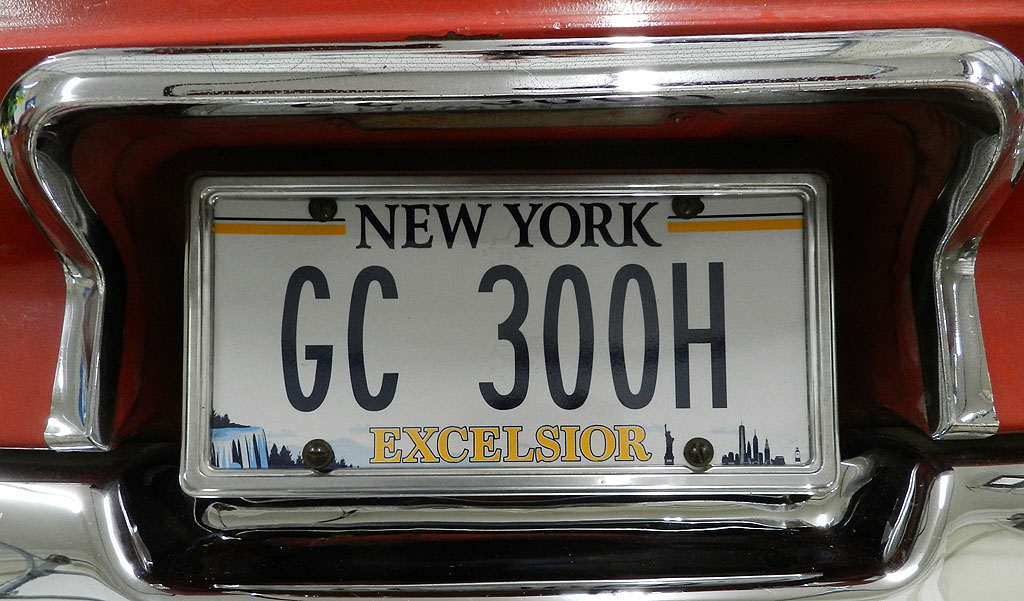
The new license plates arrived and were installed.
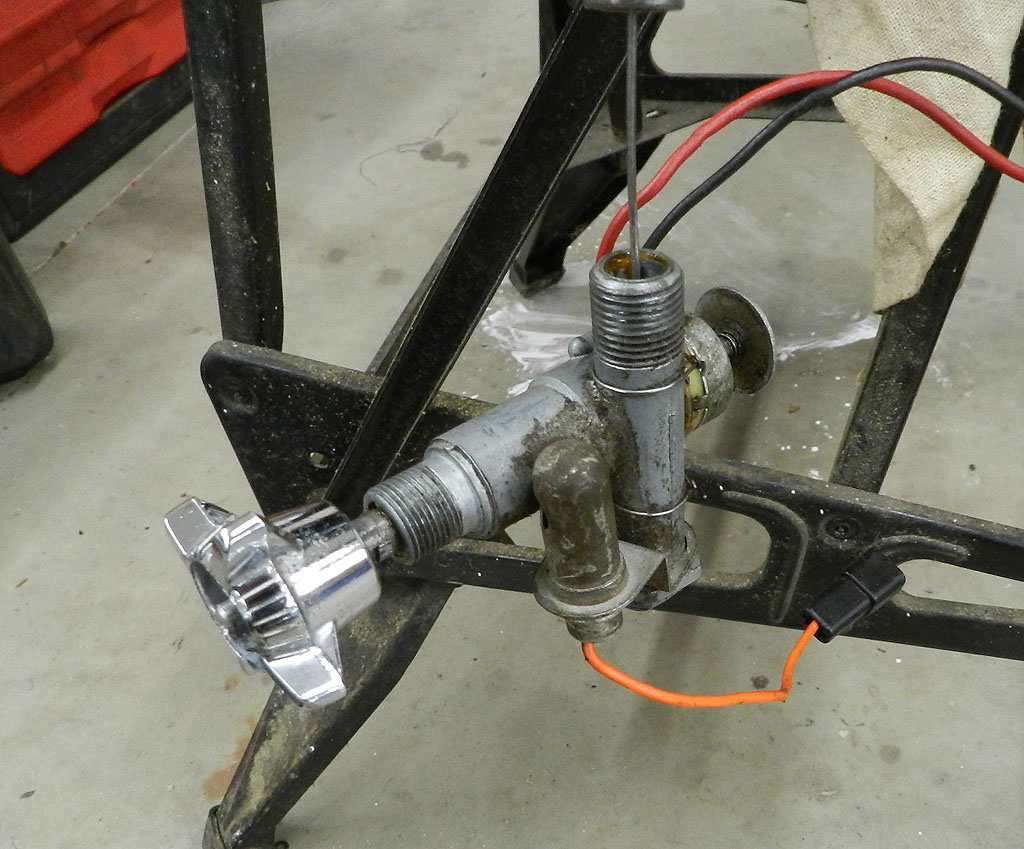
The turn signal switch was stiff and hard to move. It would not latch in either the right
or left position. I removed the bezel and sprayed lube through the small slots hoping it would
get to the switch. Forget that idea.
 The parts of the switch that need lube are on the bottom and you won't get the spray to those
areas. This picture shows the switch. It is upside down. When installed, that pin and roller and slider
are on the under side. You might be able to spray lube up into the bottom of the switch from the
back side of the dash but access is tough. I chose to remove the switch.
Two nuts on the switch, two nuts on the transmission button block and you can wrestle
the switch out. Then I was able to get lube into the slider section. The
lever now moves freely and latches. Installation was quick (often it isn't) and
it works as it should.
The parts of the switch that need lube are on the bottom and you won't get the spray to those
areas. This picture shows the switch. It is upside down. When installed, that pin and roller and slider
are on the under side. You might be able to spray lube up into the bottom of the switch from the
back side of the dash but access is tough. I chose to remove the switch.
Two nuts on the switch, two nuts on the transmission button block and you can wrestle
the switch out. Then I was able to get lube into the slider section. The
lever now moves freely and latches. Installation was quick (often it isn't) and
it works as it should.
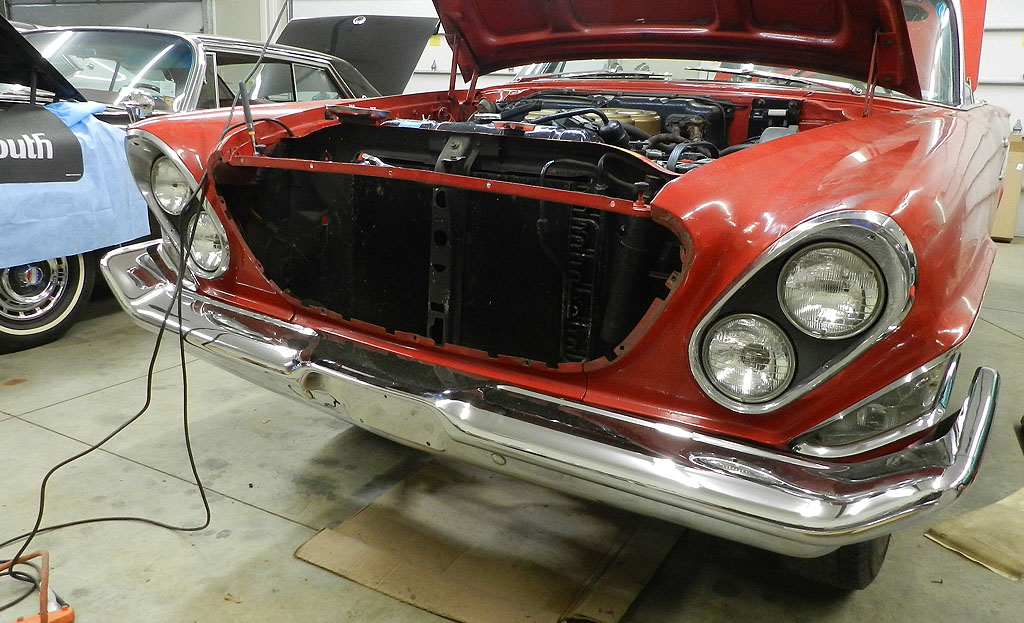
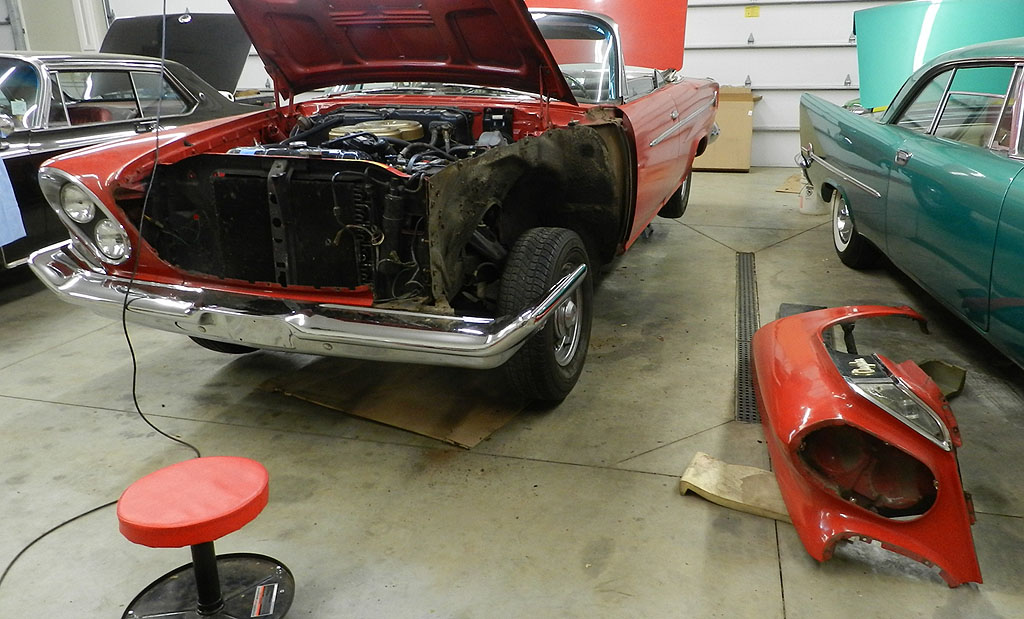
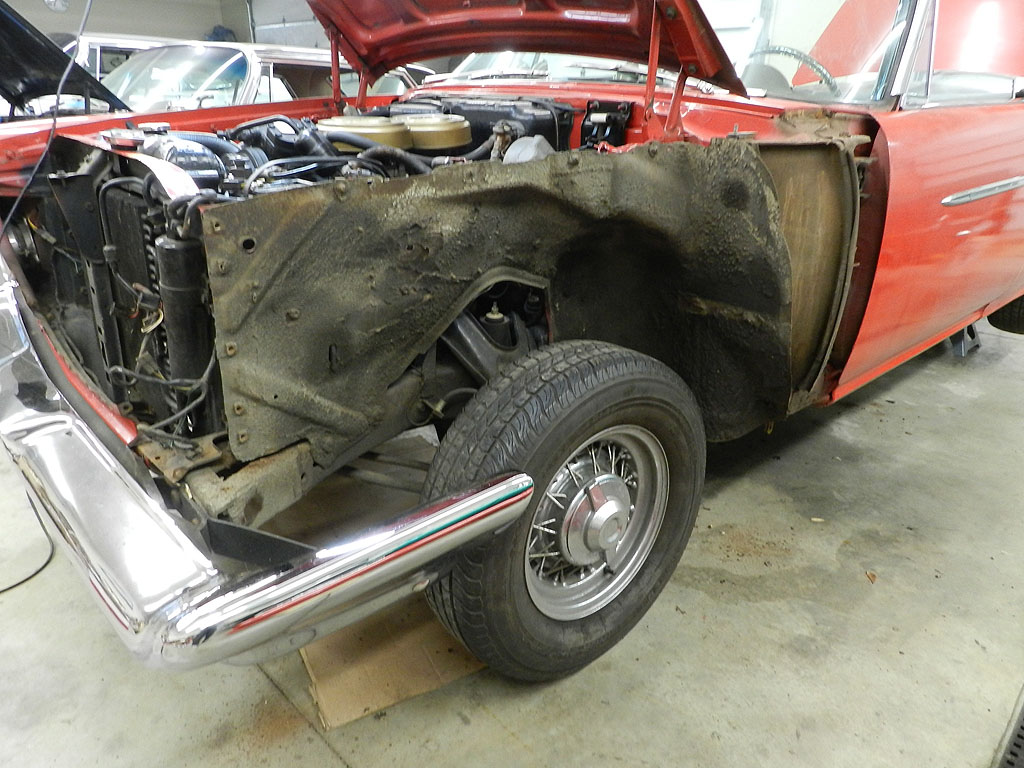
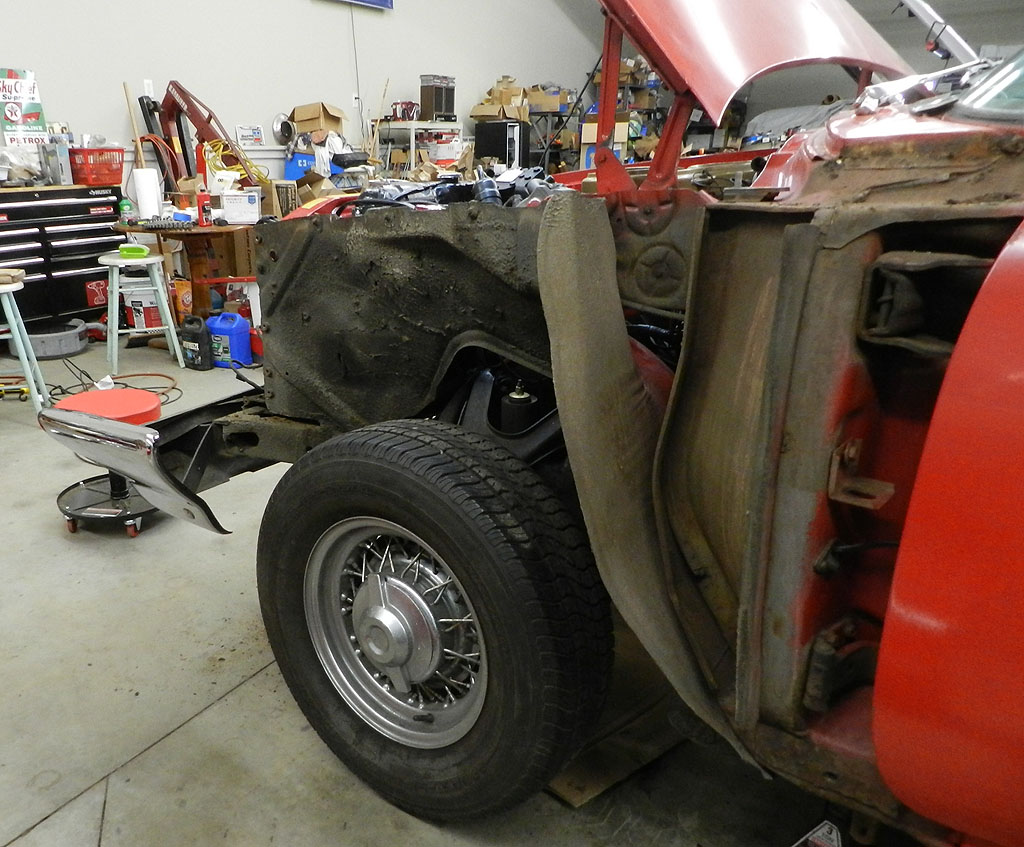
The driver front fender has significant Bondo repair. The passenger side fender is fine. I have a replacement in much better shape for the driver so set about in the removal. The grille has to come out. I had forgotten how
difficult the H grille is. The mounting nuts are not visible, and the grille mesh is full of sharp edges. This car
has AC, so the condensor is there with its thousands of sharp edges. Plus, there is little room, even for
my small boney hands. It is like working on a cheese grater.
The fender is not held on by too many bolts, and most are accessible. I left the inner fender intact, which
makes the job easier. It took about 3 hours working alone and the fender was off. I was pleased to see little
rust on the inner fender, chassis, and firewall areas.
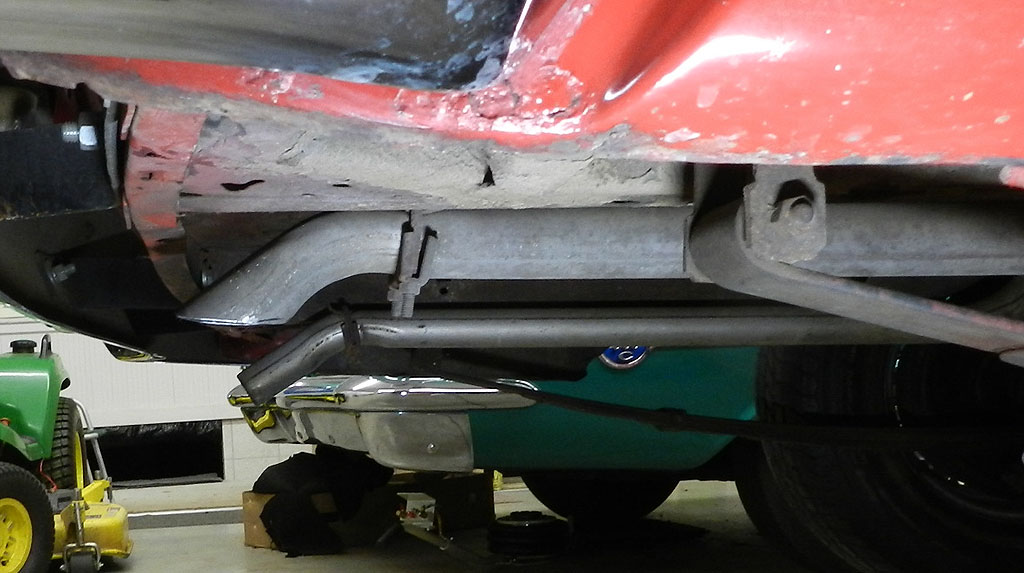
One of the things I like is properly shaped tail pipes. When you get new pipes, the ends of the tail
pipes are just square cuts. It isn't all that much work to take a cut off wheel and get the
proper shape. The idea is to cut the underside pretty much horizontal. Take a yard stick, approximate
horizontal, make a mark on the pipe with a Sharpie and see where the cut ends up. There is a lot of "artistic leeway"
allowed here. In this picture you can see the far pipe, not modified and the nearer pipe has the cut.
A 40 grit flap wheel on your grinder will let you quickly compensate for unintended designs.
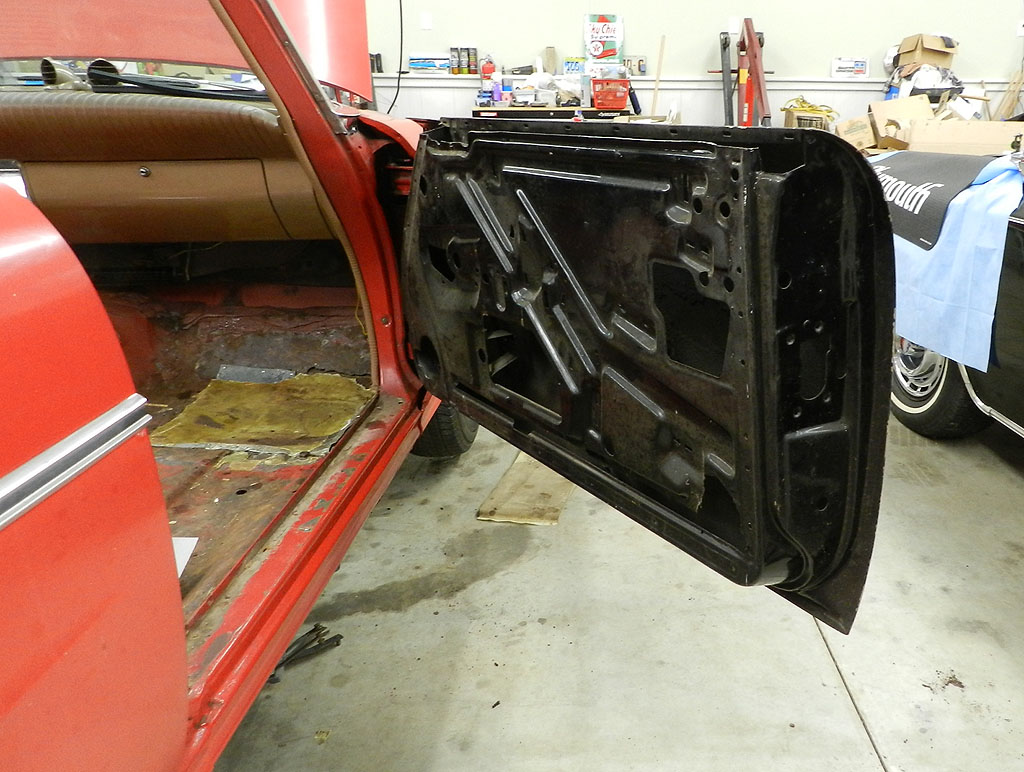
I decided to tackle the passenger door project. I bought over the very nice shell from the shop, compared, took dimensions, satisfied it was a 62. Removed two window shaft retainer clips (a bit hard to do), top stops, and the side glass slides out the top. The regulator has only a few bolts and is easy to snake out. Now I could get a good look at the regulator spring. It is not cracked or broken but it has lost its strength. I had a 64 regulator handy thinking I could swap springs but they are not the same size. I had a regulator from a 62 with manual windows and doggone, that spring is still not big enough. I later found a 62 power window regulator which had the proper parts.
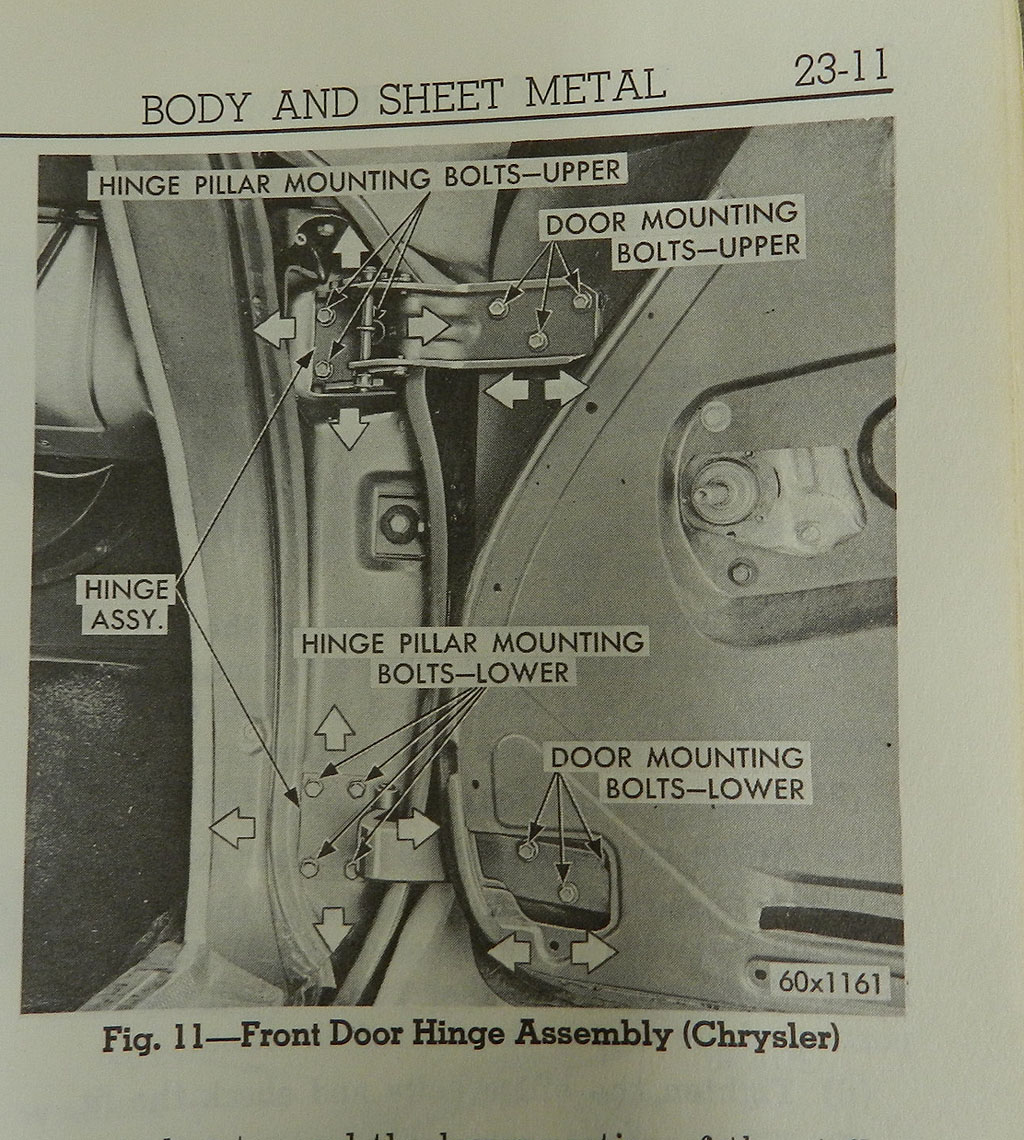
The door latch screws came loose easily so removed the latch, outer handle, and vent window. I used the engine hoist to support the door before removing the two sets of 3 bolts from the hinge arms. The new shell, being empty, is light and installed easily. It opens and closes without problem but needs a little alignment which is in section 23 of the service manual. Fore and aft adjustments are only in the door bolt plates. Up and down and in and out are only in the body hinge plates.
Terrible winter weather February 7th, 2026. Minus 2 degrees with snow and wind, drifting roads, windchill minus 20. Comparing the old and new door I see I need to remove the new door because the hole for the wire loom can't be cut with the door in place. It was now easy to cut the hole and reinstall the grommet. Convertibles have a second set of latches for alignment. I found the indents for the latch on the new door and installed the pieces. The door went back
on easily and fit half way OK. A few attempts and as I went tight on the bolts the door drew itself into position -- I hope
I remember for next time when adjusting a door to wait until bolts are tight before deciding if it needs further adj. We'll leave the door at this point while we collect parts (regulator spring, cat whiskers, window channel liners).
 Following Don Verity's torque advice, I worked on the transmission pan. All the bolts took 8 ft-lb. I moved
up to 13 and one bolt in the front let go.
It had been damaged before; there was no chance to save it.
Ace mechanic Jamie installed a heli-coil. I have not refilled the transmission so we
will yet to learn if the stripped bolt was the cause of the leak.
Following Don Verity's torque advice, I worked on the transmission pan. All the bolts took 8 ft-lb. I moved
up to 13 and one bolt in the front let go.
It had been damaged before; there was no chance to save it.
Ace mechanic Jamie installed a heli-coil. I have not refilled the transmission so we
will yet to learn if the stripped bolt was the cause of the leak.
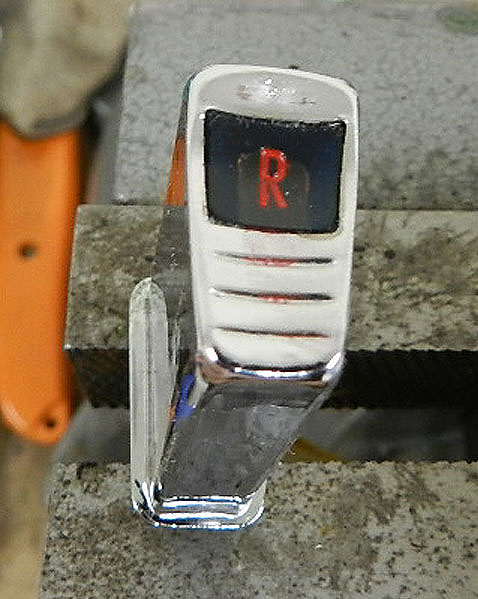
We started painting transmission buttons and turn signal RL knob (green). I brought over my 3 tubes of cat whiskers and only 1 fits so I will get more. Quirey sold that business to AMS, the old Frank Mitchell. They say $160 for a set. It was $130 in 2023 so I guess that is not bad.
I removed the heater button assembly to replace the switch. The job wasn't too bad although there were the normal wrestles with the Bowden cable, the retaining clip, the vacuum tube bundle and the wires. The new switch buttons work smoothly. The heater fan motor has squeaks at low speed but works all 3 speeds. The temperature regulator Bowden works good.
I received the transmission and heater switch light barriers from Quirey. The flat one fits under the heater switch, the folded one is for the transmission buttons. We have a video.
I am not satisfied with the amount of light coming out of the heater button faces. I checked the lamp, it is the right one (#1816) (38 lumens). I replaced with a new one but no improvement. I tried with the lamp tube removed, with reflective aluminum added, but there is still not a lot of light out of the button. I bought LED lamps BA9S from Alla Lighting for $10.24 and installed. They fit right in although you can't use the tube shield on the heater side. The transmission and especially heater buttons are now nice and bright. The original 1816 lamp is 38 lumens, 4.3 watts .33 amps. The BA9s is 100 lumens, 2 watt. Three times the light and half the wattage.

Before
|

After
|
We are making new felt barriers around the push buttons. The same piece fits 1960-1962 transmission and heater control buttons. These barriers keep the buttons from rattling and prevent light from leaking around the sides when the headlights are on. They are often in poor shape these days. We have a video here.
It is fairly easy to replace the felt barrier (and the light shield) in the transmission button pod. The heater switch is more involved -- the assembly won't come far out of the dash before something (Bowden cable, vacuum lines, wires) holds it back. Installing either the felt barrier or the light barrier requires the switch be unscrewed from the base. Contact Bob if you are interested in purchasing new felt barriers.

Before
|

After
|
I received the new felt barriers for the heater and transmission buttons. Installation on the
transmission side is a 10 minute job. The new barriers work well.
One lamp that really should be converted to LED is the map light. These 1004 bulbs get so hot they melt the lens. The 1004 is a 12.03 Watt, 188 lumens bulb with a surface temperature of 200 degrees. The BA15 LED replacement is 3 watts, 300 lumens and 100 degrees.
On the transmission buttons, if the push buttons have been removed several times, you might find that the metal
grips don't have enough bite on the plastic stem. The first thought is to squeeze the metal fingers together.
You are at risk of snapping a finger and then you will have to replace the entire push button mechanism.
Instead, build up the plastic stem with electrical tape in the channels as shown. Quick and easy, it gives you the additional grip to hold the stems in place.
Time to do a little detailing on the instrument panel. The power top switch bezel and the floor air bezels were
repainted with Testors white. The floor air mechanism can be time consuming to reinstall -- there is a jam nut
on the back side to orient the bezel and the knob so when off, things are horizontal.

|

|
The AutoPilot option came out in 1958 and was still rare in 1962 (56 H's had it). The center button is the off-on.
You pull it out to energize. The dial is to set the speed. The dial numbers are illuminated by a lamp in the dash.
The speed adjustment knob is frozen, which is common on these things. Removal of the control dial assembly is
 not easy due to access under the dash. If the radio is removed, the job is easier. I was able to remove
the control and cable but it remained locked solid. I had spare AutoPilot parts in the warehouse and doggone,
one of them was complete and not frozen. If you remove the large nut on the cable, and if you can rotate
the speed control knob counter clockwise, the cable comes out of the control. Now that I know what to do, and
now that I have a good unit from spares, I put the frozen control in a vise and a wrench to the shaft. I was pleased
when it broke free. The cable came out, I could see corrosion. Lots of lubricant and working back and forth, the
original unit now works fine. The install back in the dash was taxing (should have removed the radio) but not only
is it back in, the on-off button powers up as it should. We have a video here on the AutoPilot work and on the LED lamps for the buttons. not easy due to access under the dash. If the radio is removed, the job is easier. I was able to remove
the control and cable but it remained locked solid. I had spare AutoPilot parts in the warehouse and doggone,
one of them was complete and not frozen. If you remove the large nut on the cable, and if you can rotate
the speed control knob counter clockwise, the cable comes out of the control. Now that I know what to do, and
now that I have a good unit from spares, I put the frozen control in a vise and a wrench to the shaft. I was pleased
when it broke free. The cable came out, I could see corrosion. Lots of lubricant and working back and forth, the
original unit now works fine. The install back in the dash was taxing (should have removed the radio) but not only
is it back in, the on-off button powers up as it should. We have a video here on the AutoPilot work and on the LED lamps for the buttons.
To page 4
Back
|
|