Page 6
|
December 20, 2024 saw 60 degree weather so we moved the J from storage to the garage.
I was able to give it a wash outdoors.
We removed the rear window motors and transmissions. Access is pretty good in that area and it didn't  take long. Although the motors work, they are not in good condition. We will see if a freshening is enough to return them to service. take long. Although the motors work, they are not in good condition. We will see if a freshening is enough to return them to service.
Removing the the front motors is tough. There are 3 bolts, the top one is hidden by the moon gear. On the driver side, someone had been in here before and the top bolt was missing. I was able to remove the motor and transmission. The motor is in tough shape. On the passenger side, the top bolt was still in place and it took a special thin wrench to access.
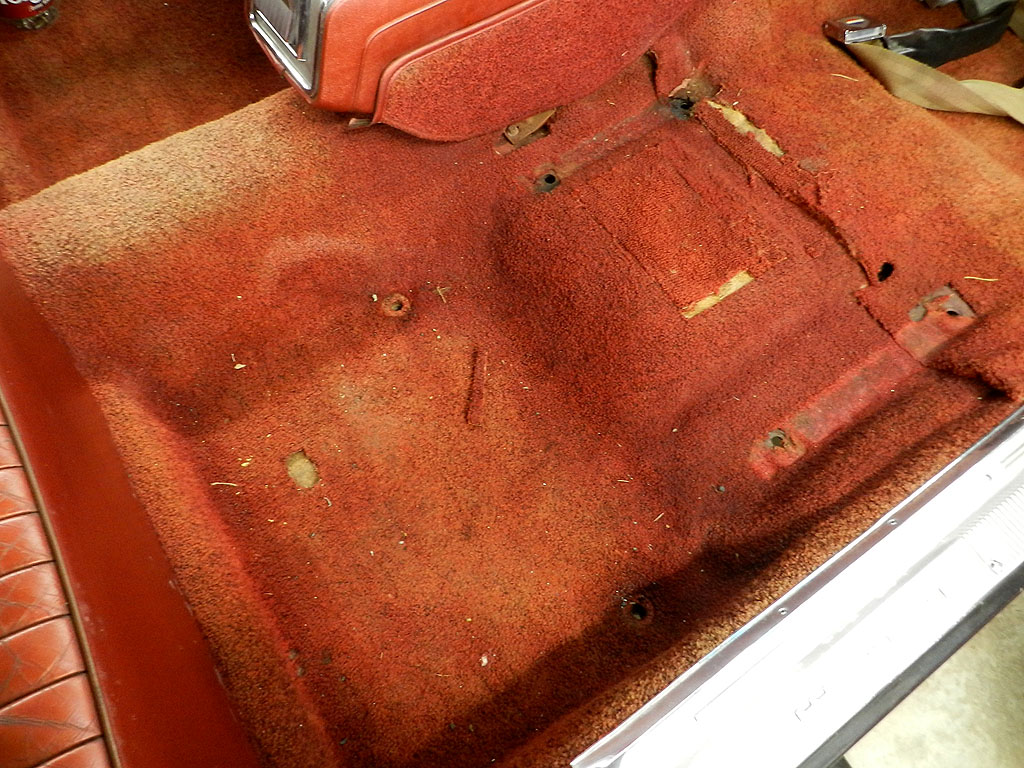
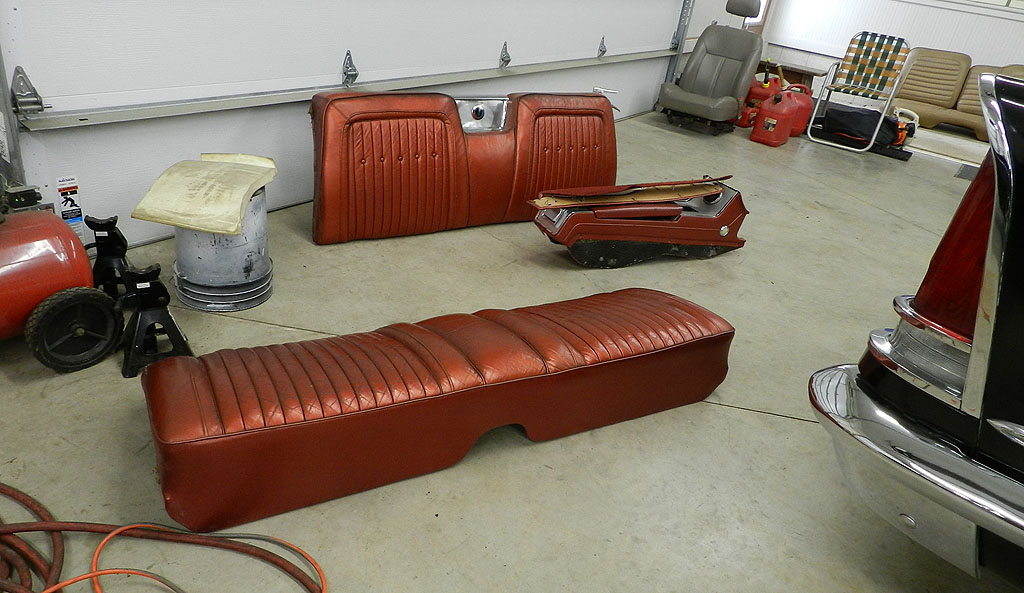
The plan is to install the new Legendary interior. This includes a new carpet so we will start there.
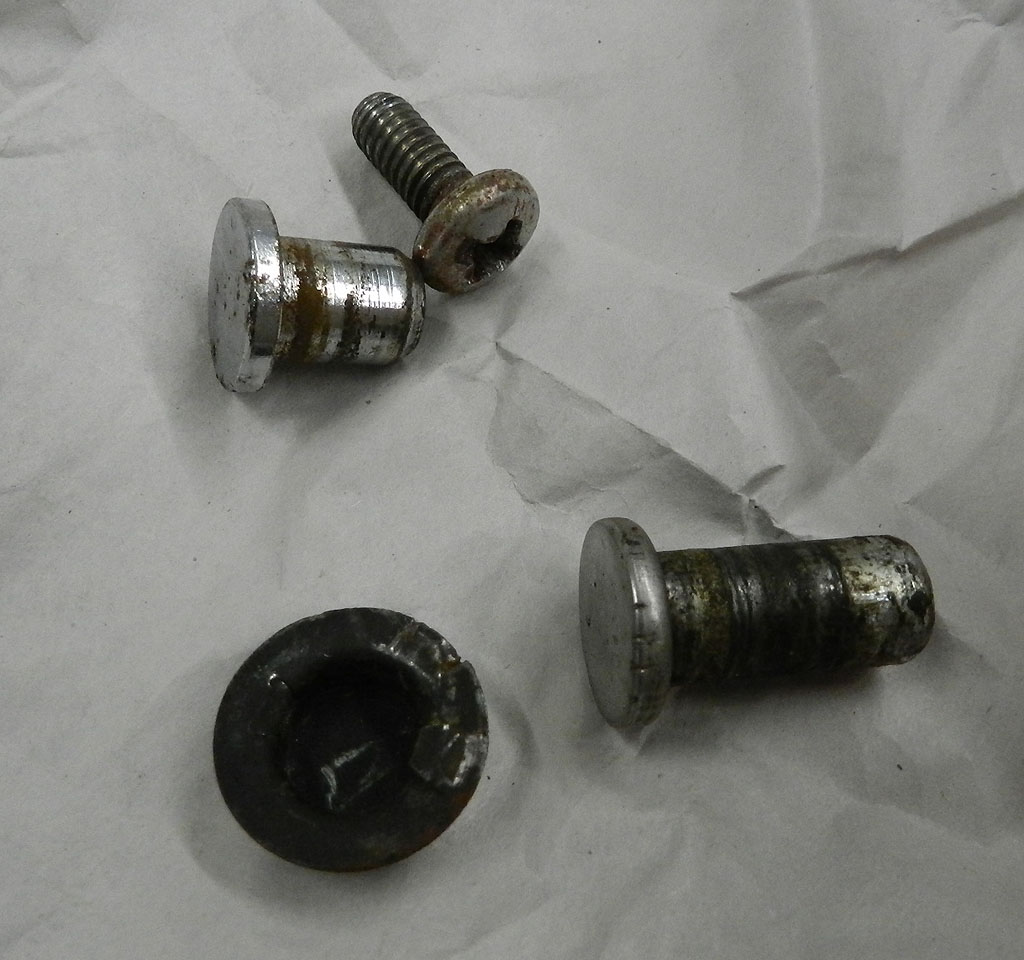
Getting into the front carpet, I find the gas pedal pivot has a bolt through it. When it comes time to install the front carpet, it will be easier if the gas pedal pivot has been removed -- put the gas pedal pivot in after the carpet is down.
The driver side carpet is tricky in the area of the dimmer switch and parking brake cable. Adhesive helps to get a good fit there. By the gas pedal pivot, you have the center console to help anchor the carpet and hold down wrinkles. On the passenger side, the problem area is the right front junction of the floor to the firewall. Jute is required to form out the divot that wants to form here. It would have been better if the new carpet had no jute, but we made it work.
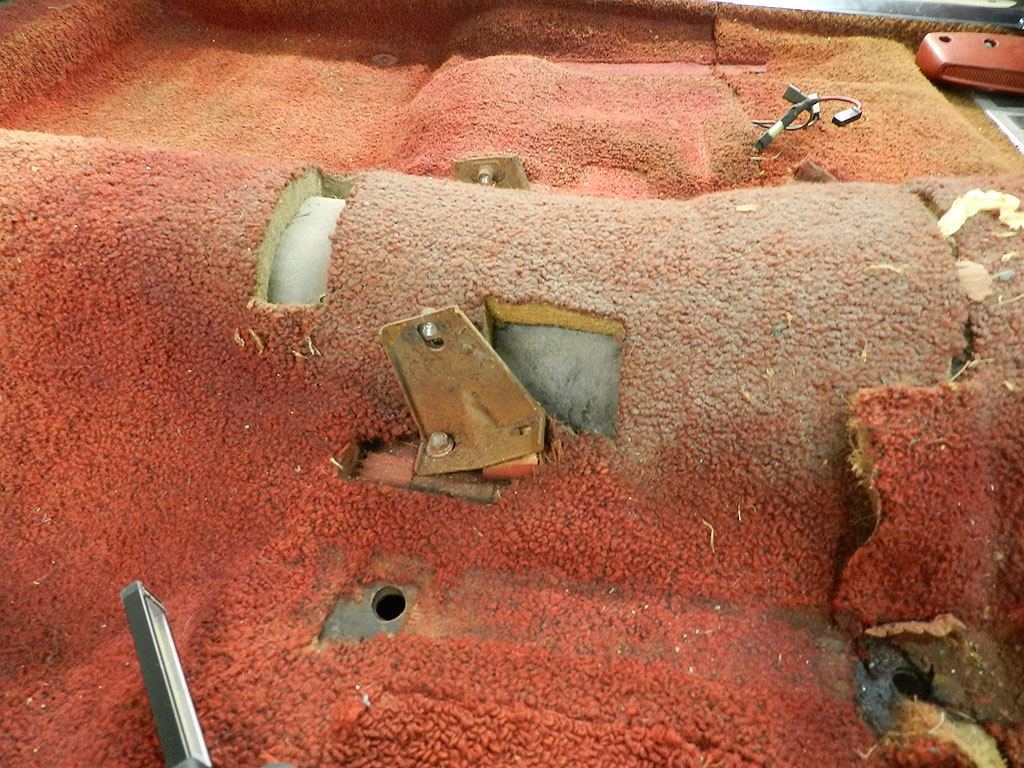
To install the heel plates, I went under the car and found the original screw holes. I used an awl from below to pierce the carpet and then could locate the hole from above. Once you have one screw in, you can find the other 3. The left side plate is difficult; the outboard screw holes are blocked by the stub frame. You have to find either one of the other two. Alternately, you could locate the left plate to the right so it looks correct and drill new holes.
The console ash tray was broken. This is common on 1960-64 consoles. The top separates from the base. At the factory, the pieces are held together by several crimps which will break if you aren't careful. JB Weld is a good solution to the problem.
|


To the next page
Back