|
|
|
|
|
|
|
|
|
|
|

1965 Chrysler 300L
Page 4

|
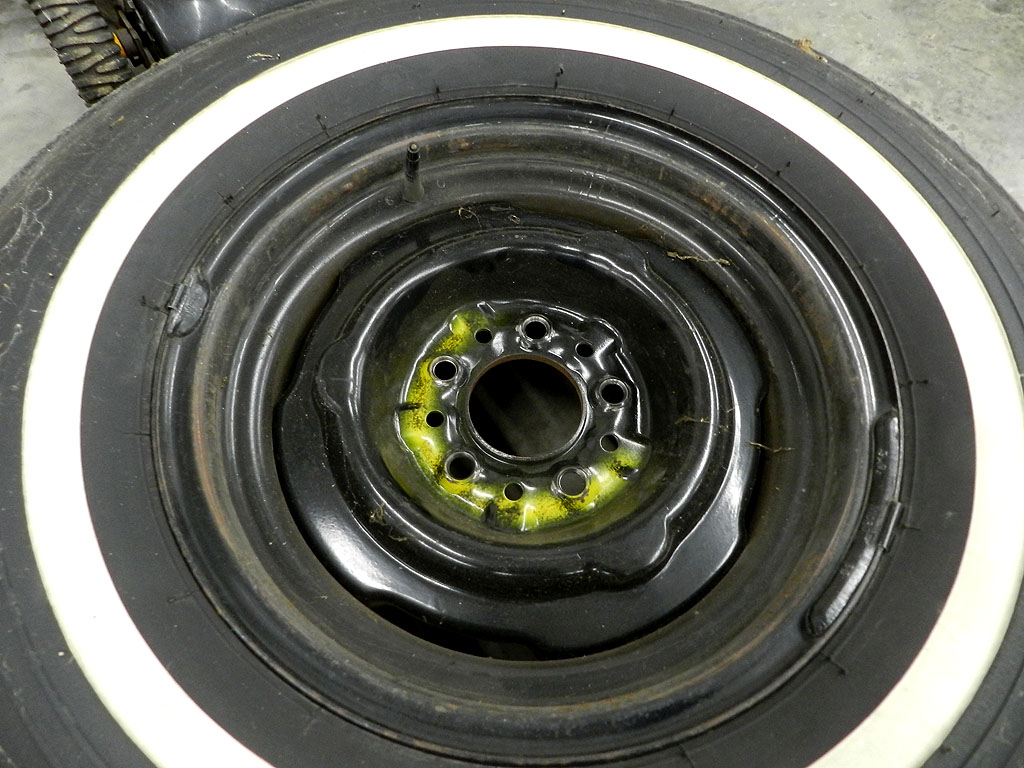
We are getting into the brakes. I removed the wheel covers for the first time and saw these yellow spray marks on the driver and passenger side wheels. The spare in the trunk has the same marks. I had not seen this before and asked around. I heard from others in the hobby that they have seen this on occasion. |
|
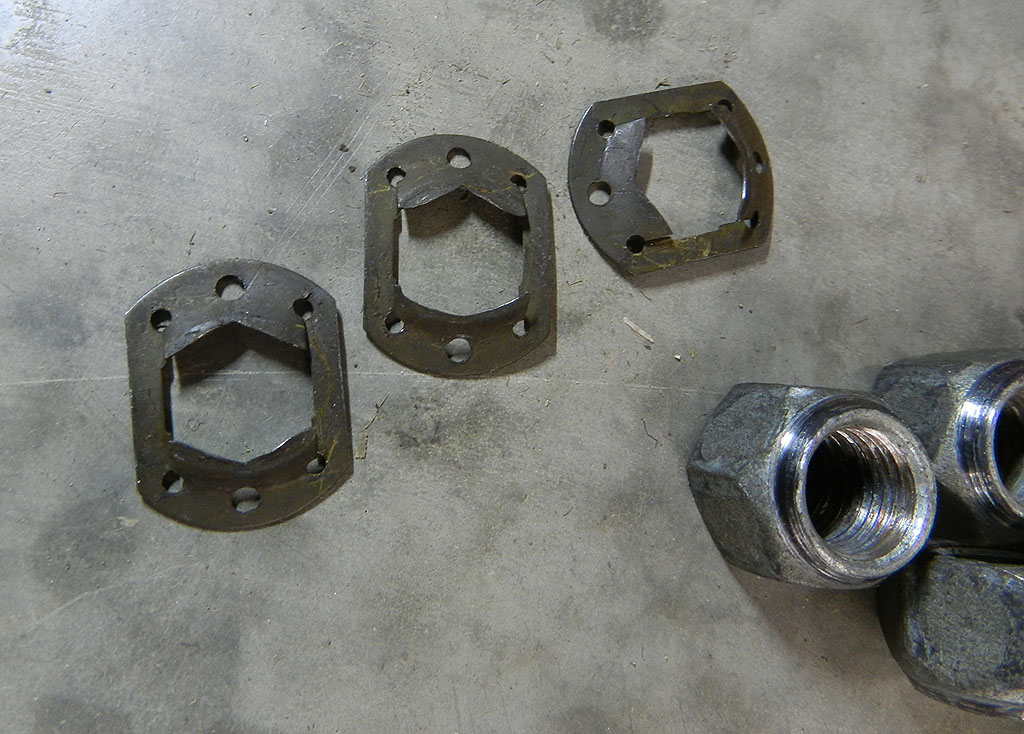
The left hand thread lug nuts on both wheels are in great shape too. On the rear brake hub, we found 3 of the clips used at the factory to hold the drum onto the studs during assembly. These clips are either rusted away or discarded on the first brake job. These clips are in great shape and will be used again.
The brake shoes front and rear still have good lining. Wheel cylinders are not leaking but have junk under the cups. New wheel cylinders and brake hoses are in process.


|
All of the wheels have manual brake adjusters. I was expecting to see automatic adjusters since these are Bendix brakes and automatics came in 1963. It took some looking but there is a mention in the service manual that police heavy duty brakes used manual adjusters. A survey of other L owners shows some do and some don't have manual adjusters.
|
|
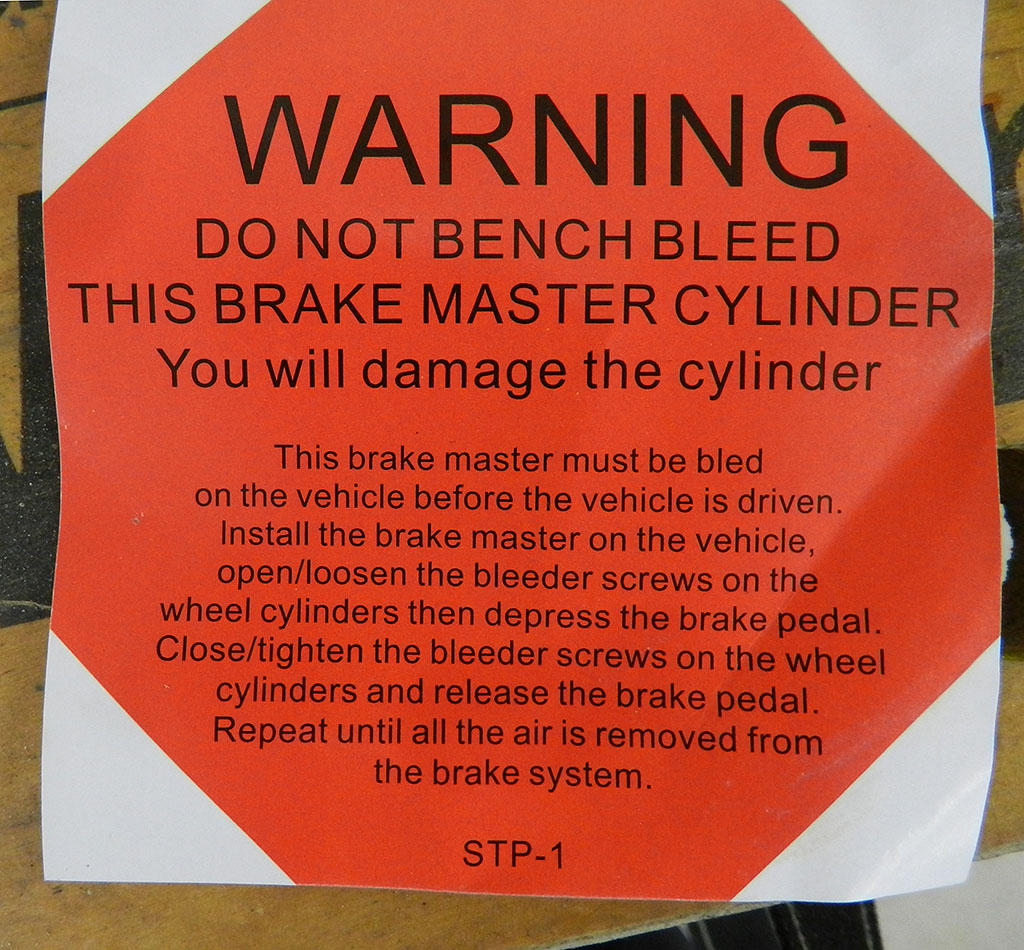
The old master cylinder was frozen; now is the time to install a fresh one in any case. There was this message in the box with the new master. I had not seen it before, in fact old boxes specifically say bench bleeding is required. I have not been a big believer in bench bleeding; one way or the other, you are going to bleed until there is no air. |
We are using DOT 5 for this car. Like every other new master with the bottom outlet plugged with a bolt, there is a slight leak. The bolt on this master is a 3/4", bigger than any I have seen before. It will not tighten. Since the DOT 5 is harmless to anything it might drip on, I'll leave with the slight leak for now.
|

|
 Before
|
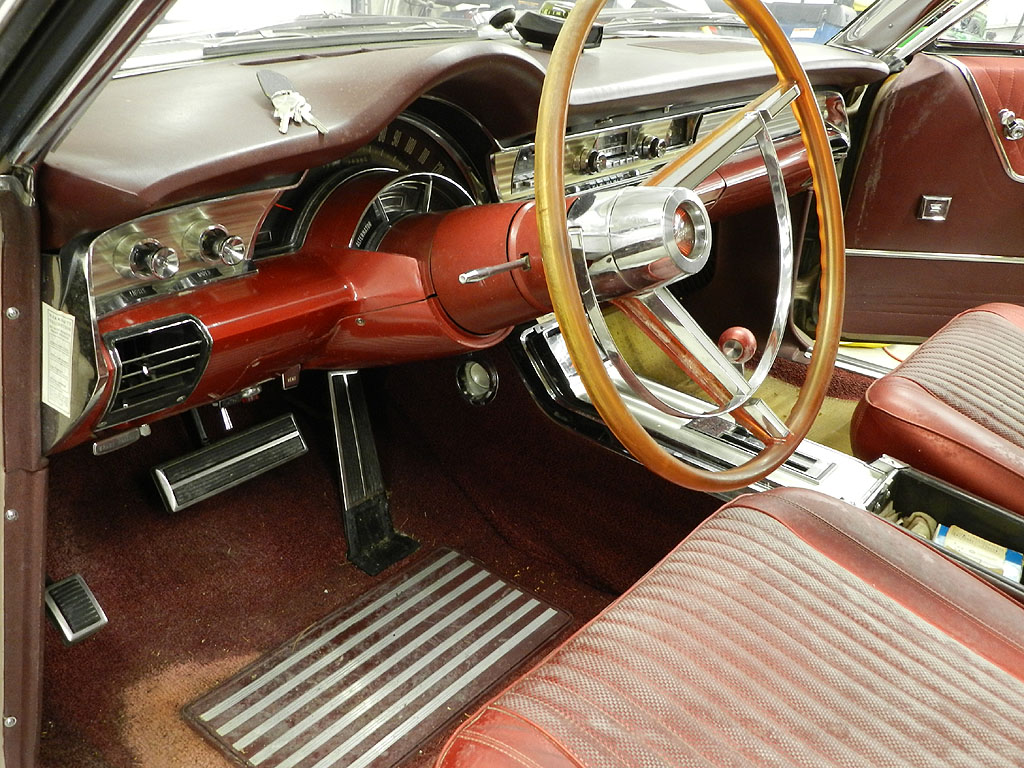
There had been a stain in the carpet by the driver's heel pad. I have no idea what caused it. I found dark red carpet dye from Hi-Tech to match the original carpet. I think it came out very well. |
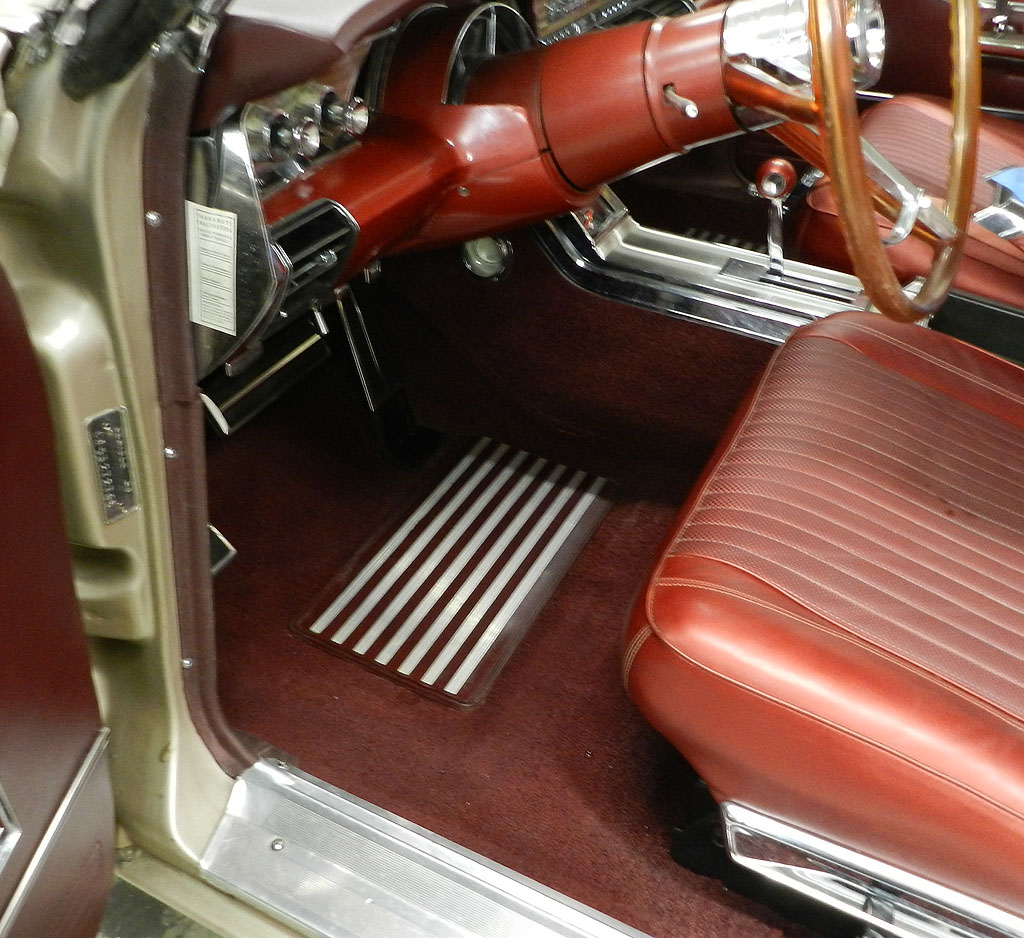 After
After
|
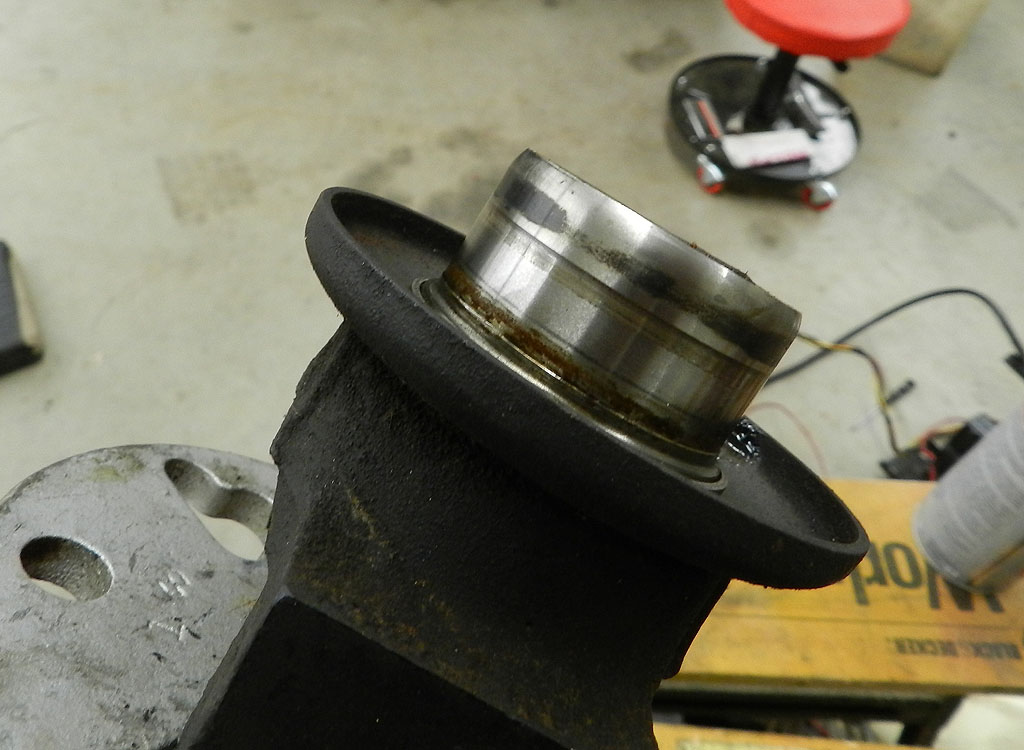
During routine inspection I found the differential level low. A leak at the pinion was discovered. We got a new seal (Rock Auto) . The job was reasonably easy. The sometimes difficult to remove pinion nut (220 ft-lb) yielded to the impact wrench right away. The old seal was pried loose with a low pressure air chisel. The pinion itself shows a small groove from wear but the new seal rides in a different location so no problem is expected. This is not a Sure-Grip differential so no additive is needed, just new 90W gear oil. |
|
I found a minor oil leak under the engine. It turned out to be the oil pan drain plug. This one had a hard copper washer and I think that copper washer was the trouble. I got a new plug with a Nylon washer
and it stopped the leak.
I added 1 gallon of new antifreeze and it would not take more. This is a 17 quart system and was near empty so I think there is an air pocket in the system. We got the engine running (briefly) to see if that would break the air pocket. It did not. The level in the radiator rose and went out overflow but coolant did not circulate. I think we will have to remove the thermostat (180 degree) and replace with one that has a vent.
I came back a week later to drain the coolant and change the thermostat. I took off the cap and the coolant was gone. On a whim, I added 1.5 gallons before it was full. Apparently the air pocket worked its way out during the week. Isn't it great when things fix themselves? We have a video of the hoses, belts, tension tools and thermostat.
The plug wires looked OK but I had a set of supposedly correct wires so I thought I would install them.
This was a Motorcraft set, # WR-3832. The passenger side on these cars with AC is pretty much a breeze with the exception of cylinders 6 & 8. The new wires all have 90 degree boots but cylinders 6 & 8 need straight boots so that the wires sit high and away from the exhaust manifold. For now #8 wire was long enough to route with the 90 degree boot so it wouldn't cook but #6 was not. I reused the original wire for #6. 
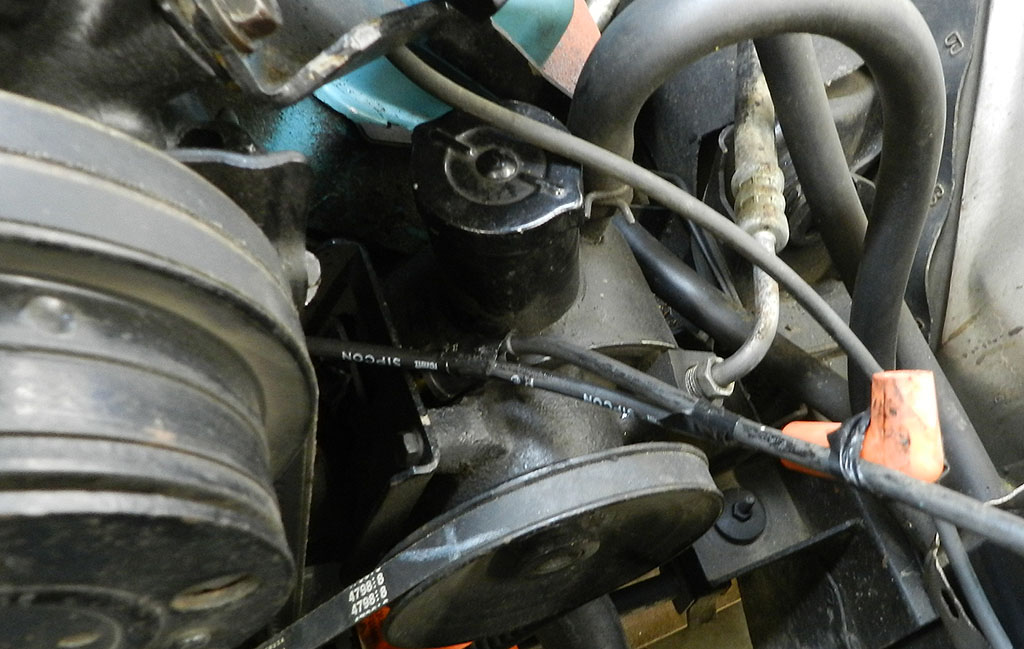
New upper and lower radiator hoses are installed. The Corbin clamps are replaced with reliable steel screw band clamps. New heater hoses are installed. The hoses coming off were still pliable. The fan clutch is original and while
in good shape, it makes sense to replace it with a new one. If you order off Rock Auto they say use a Hayden 2707. Don't. It is too tall. You want a Hayden 2947. Even then, getting the bolts onto the water pump is tricky. You can easily get the first bolt
on but you need to leave space so the clutch can move off of the water pump flange. Otherwise the heads on the other
bolts won't clear the back of the clutch.
Time for new coolant and new belts. The standard Rock Auto power steering belt fits fine. The fan belt does not. Rock says 15348 but this is too short. You want a 15360 (perfect) although a 15370 will work.
Dayco 15680 fits nicely for the AC-alternator;
 the adjuster ends up in the middle on a new belt. Installed
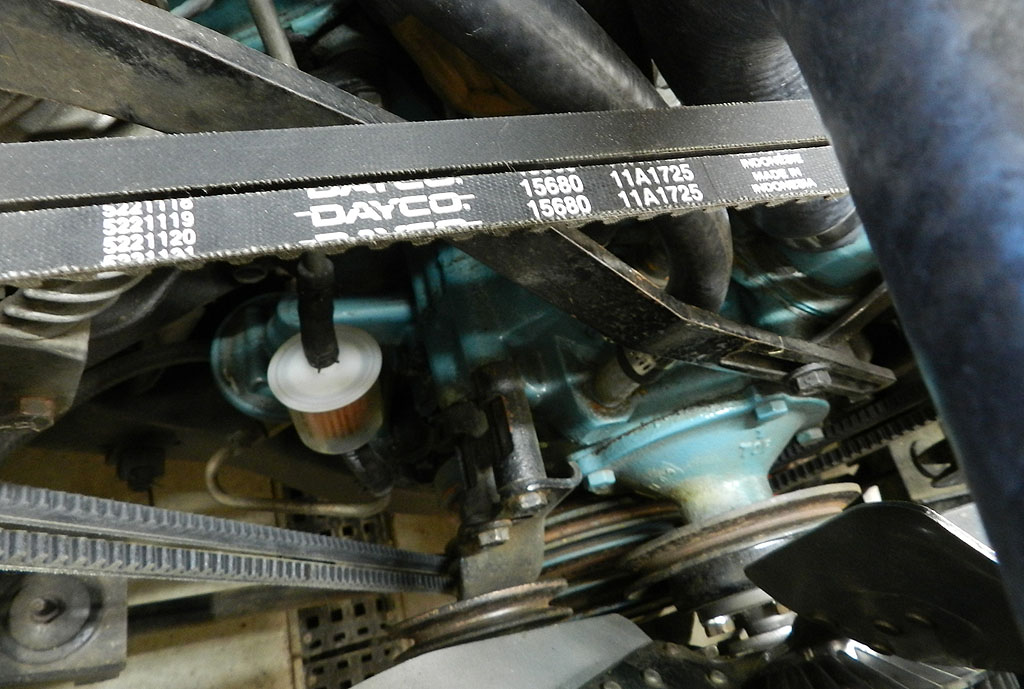 the new upper rad hose after cutting something like 1.5" off of both ends.
There is a difference in which end of the hose goes to the block--look carefully for the twist in the molded hose giving clearance to the heater hoses. Best to put all the belts on, AC first, then power steer then fan. Best to tension power steer first because the AC belts block the power steer locking bolt.
the new upper rad hose after cutting something like 1.5" off of both ends.
There is a difference in which end of the hose goes to the block--look carefully for the twist in the molded hose giving clearance to the heater hoses. Best to put all the belts on, AC first, then power steer then fan. Best to tension power steer first because the AC belts block the power steer locking bolt.
The true terror on these AC cars is routing the plug wires for 1 3 5 & 7 under the AC compressor. I was able to tape the new wire to the old and thread it through. Getting the new wire boot taped to the old wire in such a way that it would act
as a plow was key. Otherwise the boot face found every opportunity to butt against things.
I was not thrilled with these new wires, that all of them had 90 degree boots and some of the wires are too long by several inches. I had expected better from a kit that was specific to 1959-1965 Chryslers.
We have a video of this adventure.

|

|
|
 The car has developed a problem; it will not idle. If you hold the throttle open far enough so the venturies flow, it will run all day. Warm or cold, choke or not, let the rpm fall and it will stall. You would think it is the idle circuits in the carb. No. Take this carb off and put on another L, it is fine. Take the other carb off and put it here, it will stall. We checked fuel pump pressure, it is fine. We checked for a plugged exhaust, no. We took this distributor and put it on another L. It is fine and that distributor here has no change. We checked for manifold leaks, no. We changed to new fuel, no. New plugs and plug wires, no. We disconnected the booster and all vacuum ports, no. Compression check, all OK.
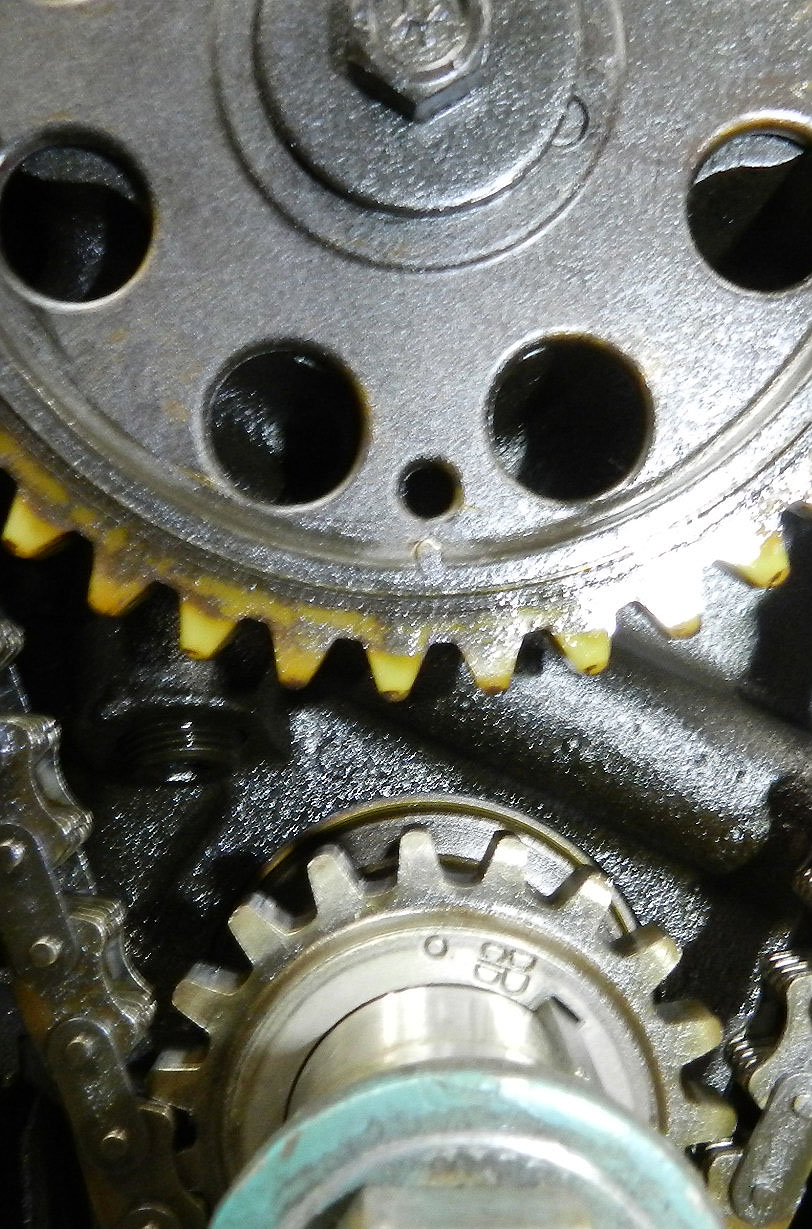
The car has 60,000 miles on it. We are reluctantly considering the timing chain & gears may have worn or slipped a tooth. We are also thinking the intake manifold may need a new valley gasket. A coin toss which one to address, we decided to replace the timing chain and gears. The disassembly wasn't bad, even with an AC car. We were able to remove the water pump housing with the AC compressor in place which saved a lot of time. With the timing cover removed, we found the timing marks were still in line. We did find just a little bit of looseness in the chain. The a new timing chain set installed, the car ran no better than before. We still haven't found the problem.
The intake manifold gasket (valley pan) is the only thing we haven't changed. Although the AC compressor complicates the job, were able to remove and replace the valley pan in a full morning. It was winter when we did this so the car could
only be tested in the garage. It idled well.
Spring weather came and the car hit the road. It ran fine at first but then it began to stall at idle. It got
worse the more we drove it. A carb swap did not help. Introducing
extra fuel via a squeeze bottle did not help. This is not a
carburetor-vacuum leak-mixture issue.
It was Jamie that remembered the idea
to use a timing light as a Sun machine. Put the pickup on the coil wire and watch the flash of the timing light.
At high idle we had a nice constant light. At low idle the light would lose a flash now and then. Each loss of
flash corresponded
to a stumble in RPM. No doubt this stalling is an electrical problem. A look at the coil showed it was wired backwards.
A swap of the wires and the car runs fine. I would have thought a backwards wired coil would have
problems at higher load and RPM but no, it was at light load and low RPM that the coil did not produce
enough spark.
To page 5