 Golden Lion Grrrages
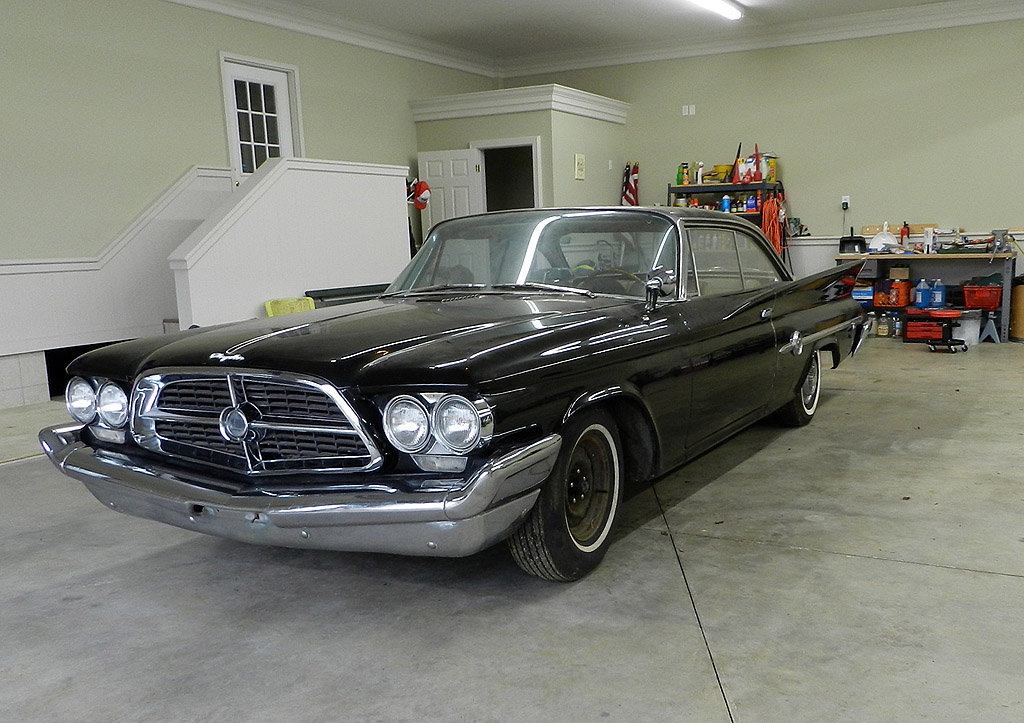
 1960 Chrysler 300F
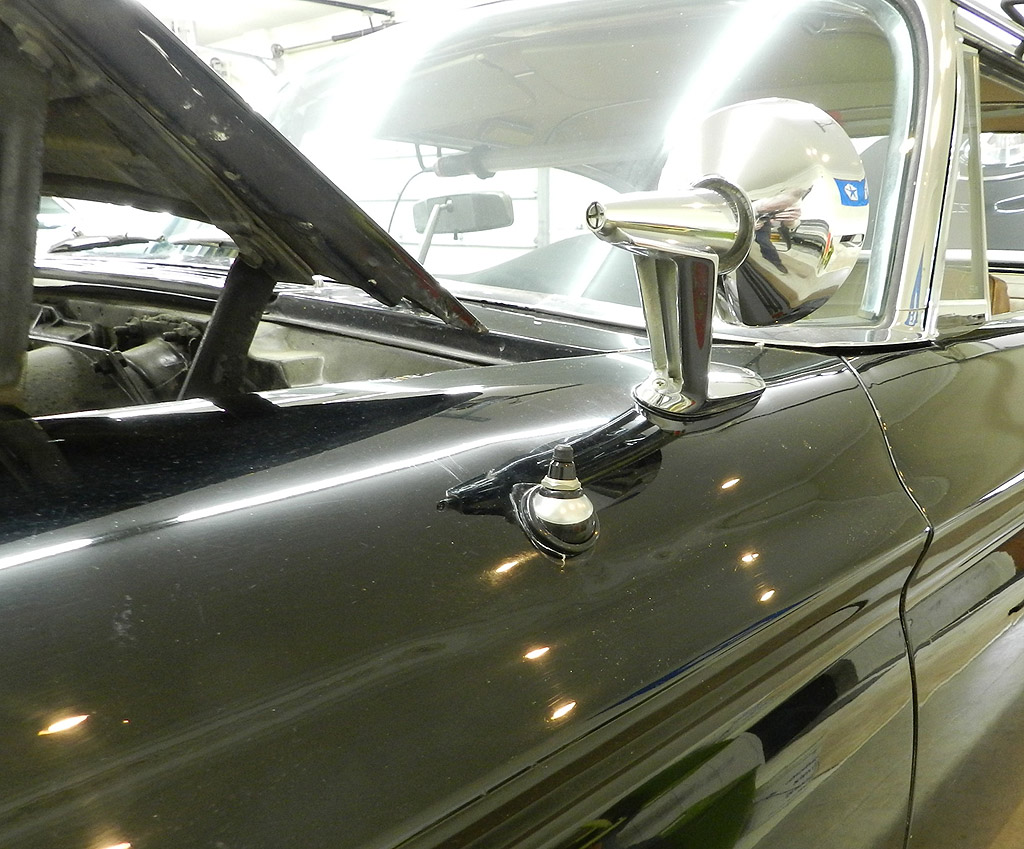
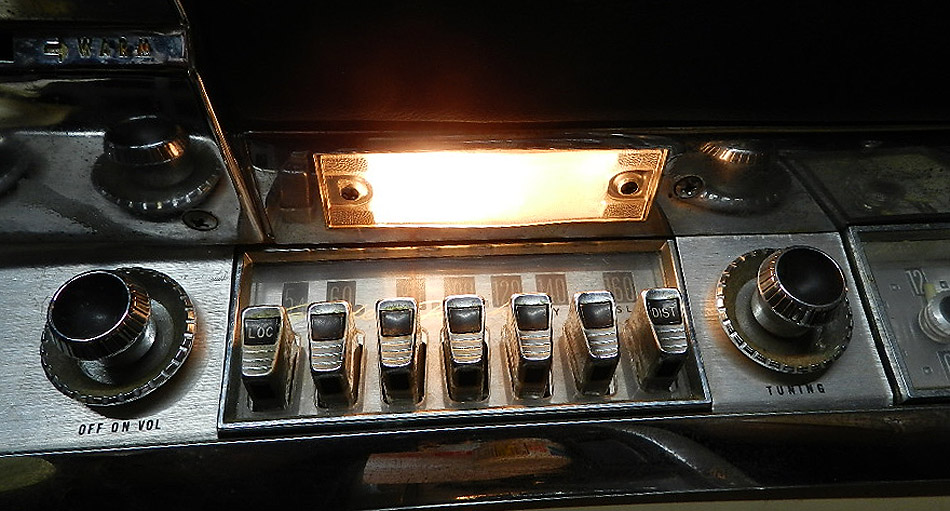
This car has the optional 7 button radio ("Golden Touch Tuner") with rear seat speaker (option code 428). It is interesting to note the location of the manual antenna.
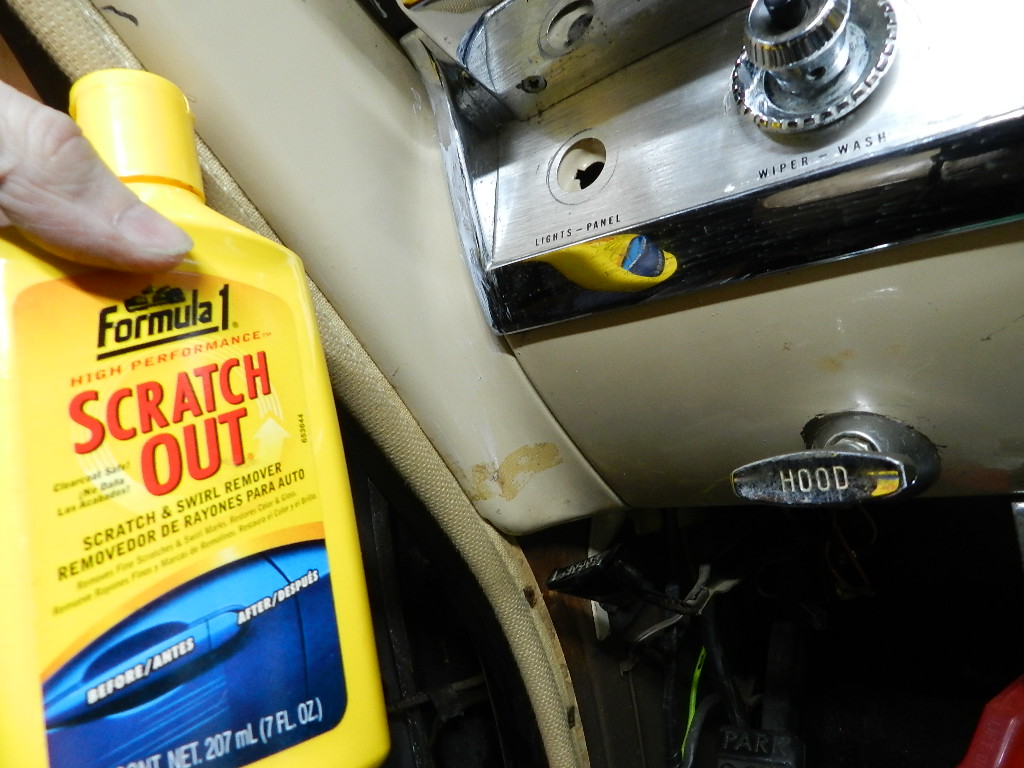
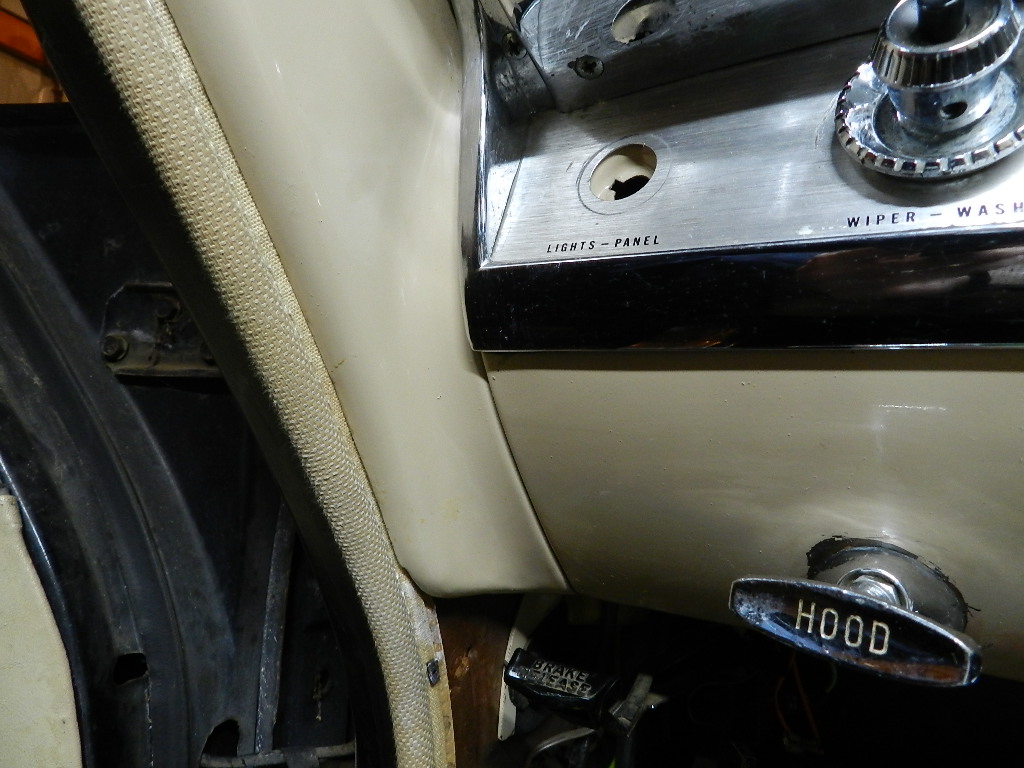
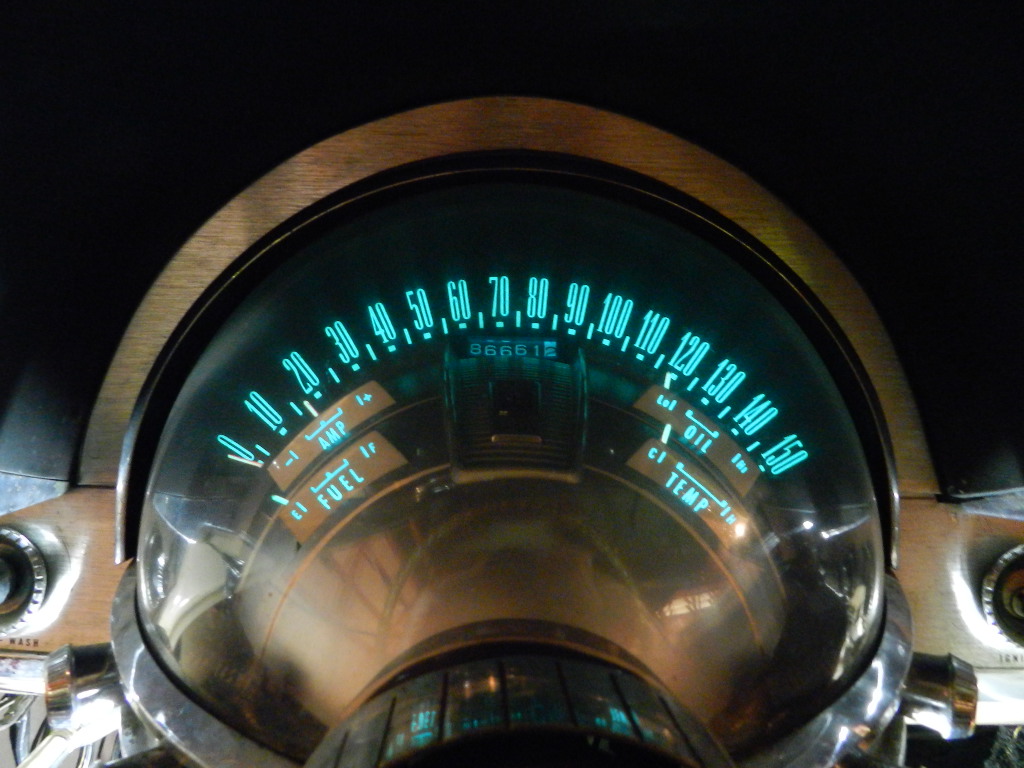
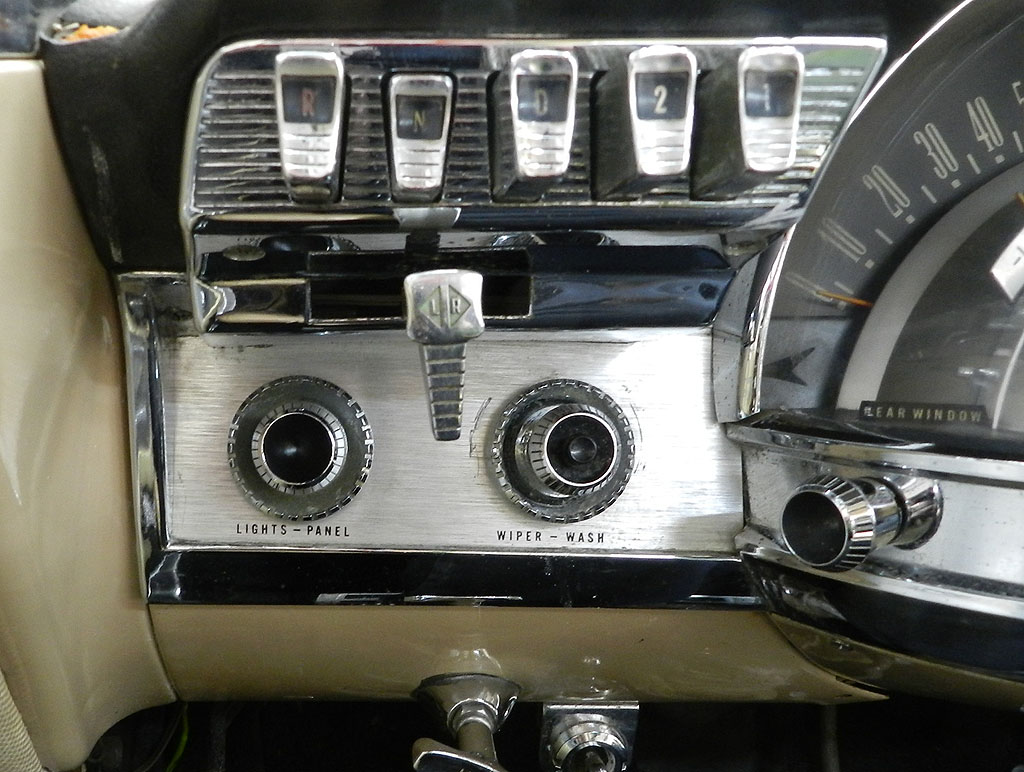
The headlight switch went off to Jeff Carter for rebuild. When it came back, the electrolum panels and the instrument panel lights were once again working.
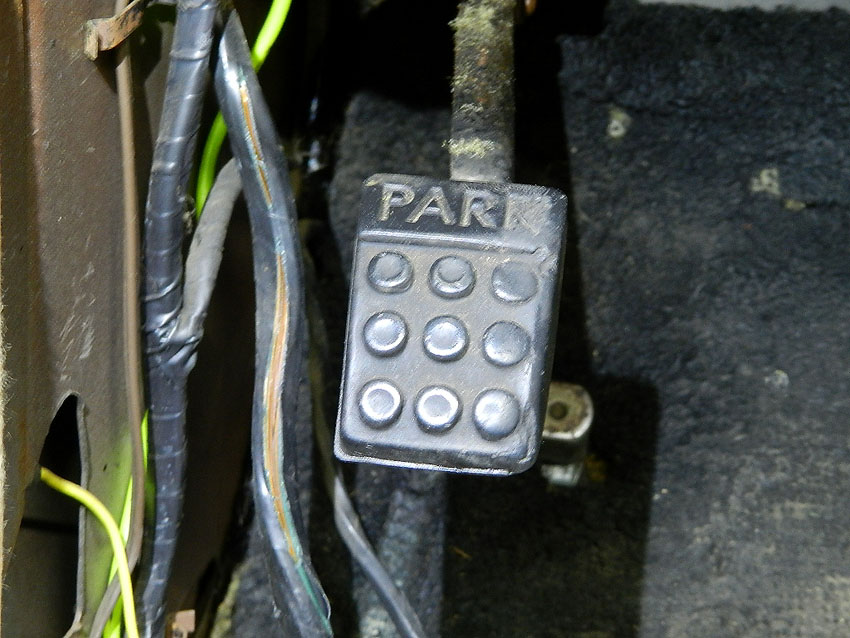
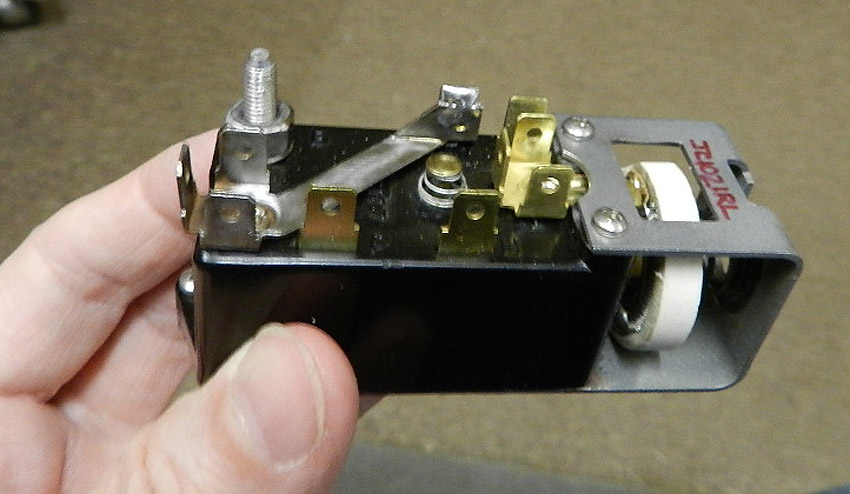
Returning to the turn signal switch, I was able to disconnect the switch from its loom and install 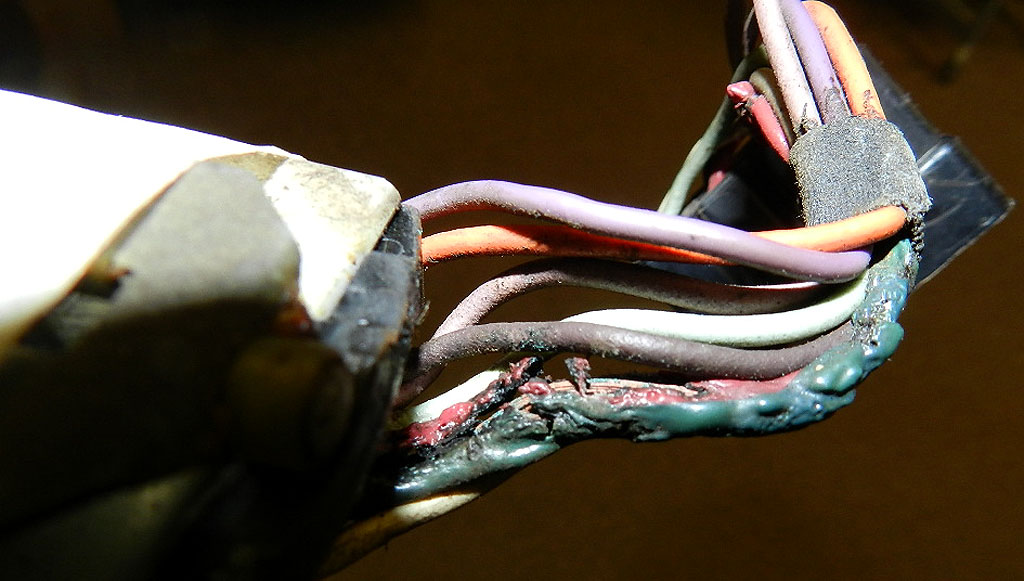 a known good switch into the wiring. When I did that, I finally
had the driver side rear tail light blinking. The old switch had to come out, the
new one installed and you can see it here.
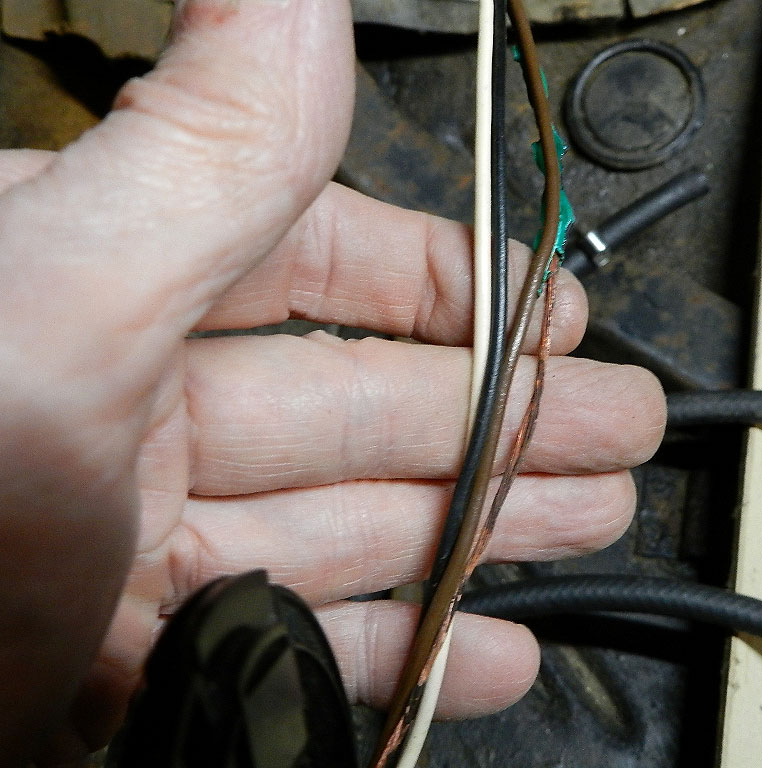
Looking at the wires on the old turn signal switch, it is clear something caused these
wires to get hot. I'd guess one of those bare spots in the loom found ground and since
this system has no fuse, a whole lot of amps made a whole lot of heat for a while.
a known good switch into the wiring. When I did that, I finally
had the driver side rear tail light blinking. The old switch had to come out, the
new one installed and you can see it here.
Looking at the wires on the old turn signal switch, it is clear something caused these
wires to get hot. I'd guess one of those bare spots in the loom found ground and since
this system has no fuse, a whole lot of amps made a whole lot of heat for a while.

About this time in the project I was asked about the drain tubes that appear on some 1960 Chrysler products. After a quick survey of cars, it turns out that most Chryslers did not receive drain tubes and there is no correlation to build dates. That is, we found early build and late build cars with them as well early and late build cars without them. You can watch the drain tube video here. With winter approaching, it was time to move the car from the storage garage to the heated workshop. 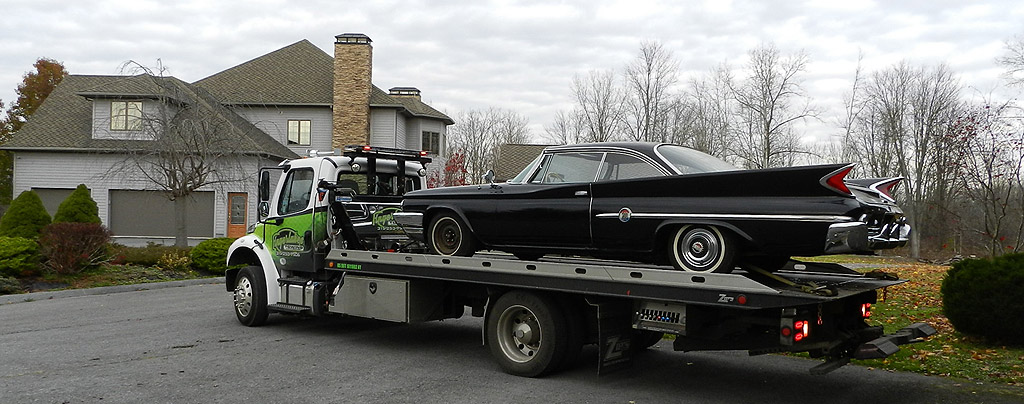 I had a local service flatbed it the short distance to the shop where the first thing on the agenda would be
a bath. The second thing was to discover I had locked my keys in the trunk. The third thing was to
find my spare keys and unlock the trunk. The fourth thing was to dry the trunk because
I had forgotten to install the missing drain tube. If I ever have a car story that doesn't involve
keys, good bet it isn't me. I had a local service flatbed it the short distance to the shop where the first thing on the agenda would be
a bath. The second thing was to discover I had locked my keys in the trunk. The third thing was to
find my spare keys and unlock the trunk. The fourth thing was to dry the trunk because
I had forgotten to install the missing drain tube. If I ever have a car story that doesn't involve
keys, good bet it isn't me.
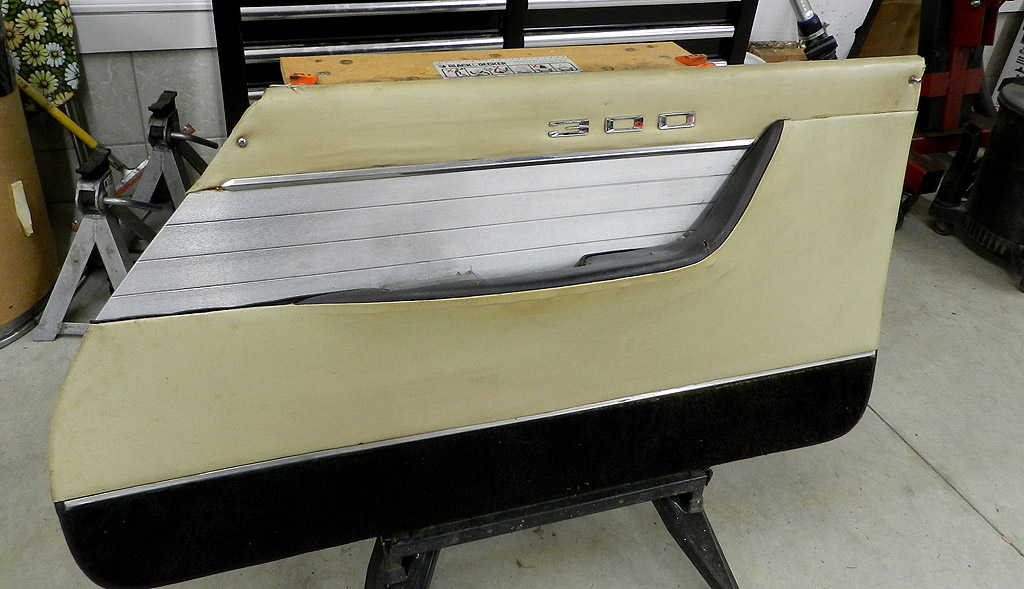
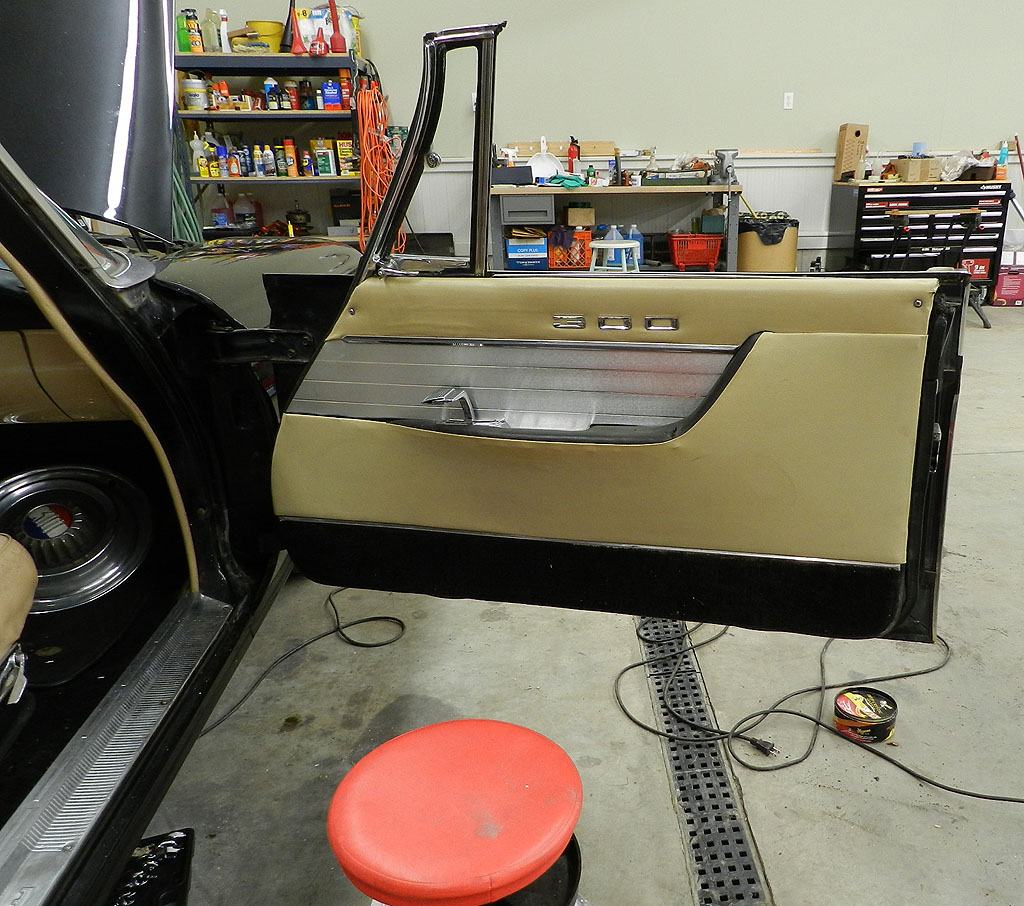
For no particular reason I started in on the passenger side door. The handle, the latch, the lock, everything was stiff. I removed the door panel  and saw the problem -- petrified grease. For better access, I removed the outer door handle and the latch mechanism and chiseled the old grease off of these pieces. With new lube everything works smoothly. Reassembly was a bear, especially since everything was greased and slippery. Getting the latch mechanism to re-attach to the rod wasn't happening until I removed the rear window channel. Then things clicked first try. Somethings you can take apart but can't put together without taking more things apart.
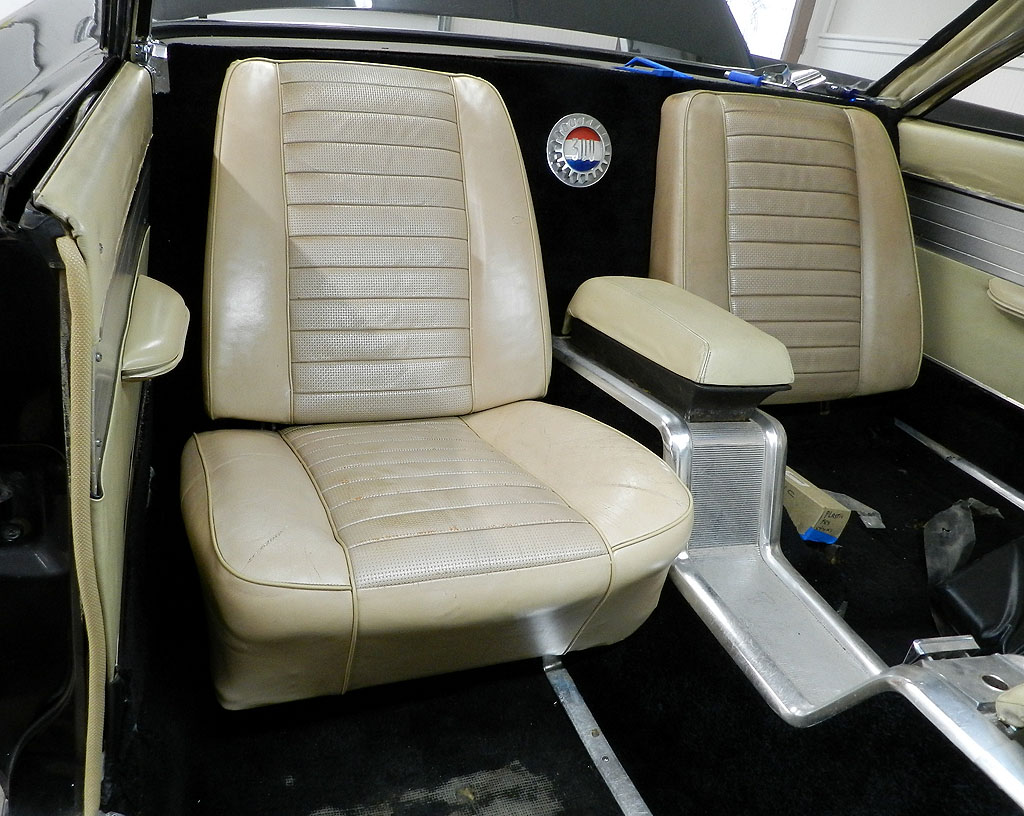
 With the passenger door buttoned up I moved to the rear seat area. The seats are supposed to be retained by sheet metal screws; the bottom should have one and the top should have two. They were all missing and the bottom lifted out too easily. I found out why -- the retainer had broken off of the seat frame.
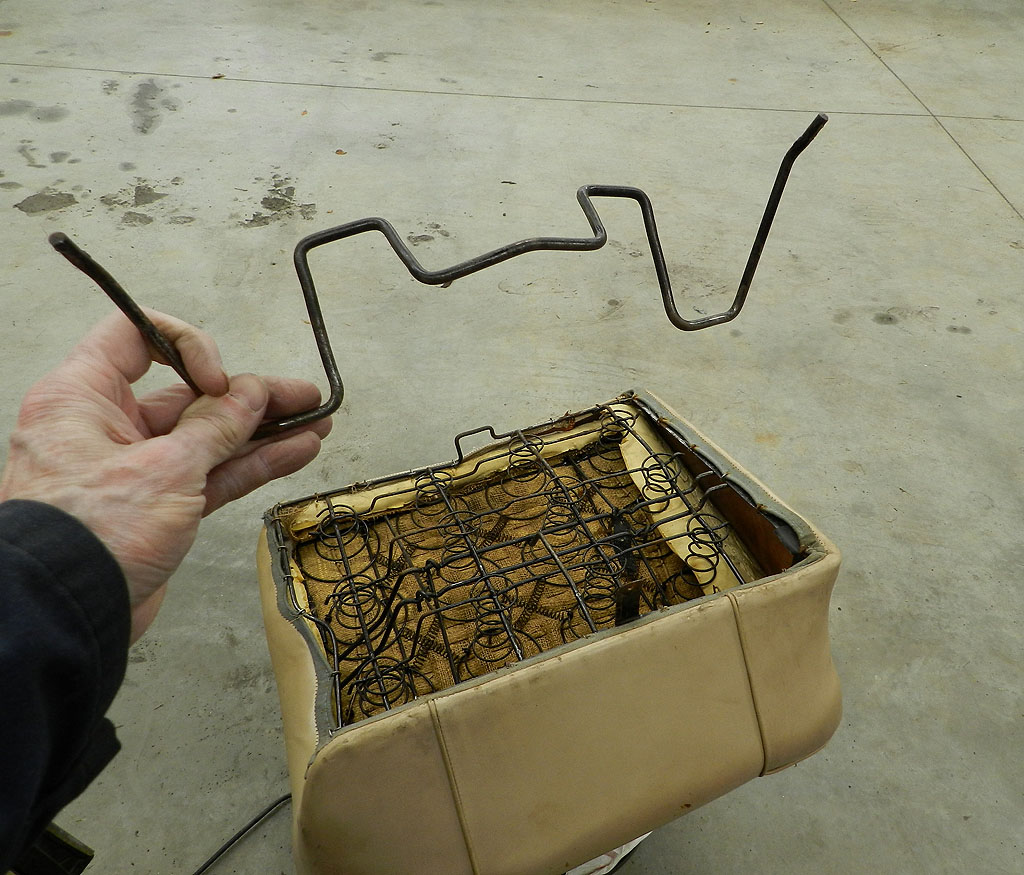 My guess is a previous owner forced it out, perhaps not realizing there was catch teeth in the floor. I was able to reattach the retainer and moved on to cleaning the seats. The rear upper seats are sun baked and the lowers are stained but they are easy enough to swap out so for the time being I will clean and reinstall. My guess is a previous owner forced it out, perhaps not realizing there was catch teeth in the floor. I was able to reattach the retainer and moved on to cleaning the seats. The rear upper seats are sun baked and the lowers are stained but they are easy enough to swap out so for the time being I will clean and reinstall.
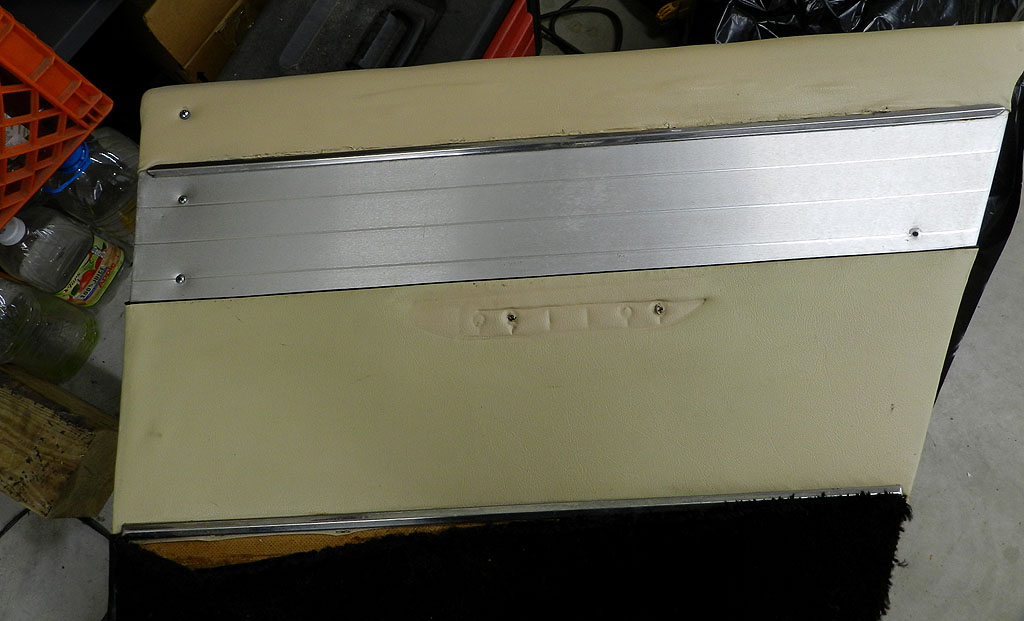
With the seats out I can remove the interior panel. Again, no vapor barrier but there is no corrosion in the door and there is a replacement motor for the window. I used dry lube on the sliders, cut a new barrier, cleaned the panel and reinstalled. 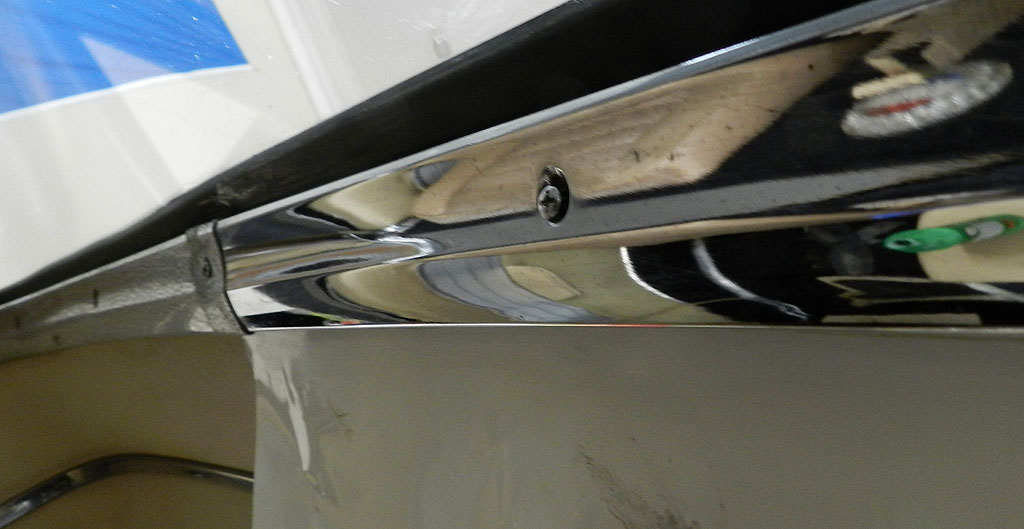 Since I was in the area I started to polish the rear window chrome.
I like to do these while in place since installation can be a wrestle. The passenger side cleaned well with Turtle Wax chrome polish and a tooth brush but the rust on the driver side was heavy enough that the molding had to come out. On the work bench with chrome polish and a stiff bristle brass brush, the driver side molding came out in good shape. For the video of this work, click here.
Since I was in the area I started to polish the rear window chrome.
I like to do these while in place since installation can be a wrestle. The passenger side cleaned well with Turtle Wax chrome polish and a tooth brush but the rust on the driver side was heavy enough that the molding had to come out. On the work bench with chrome polish and a stiff bristle brass brush, the driver side molding came out in good shape. For the video of this work, click here.
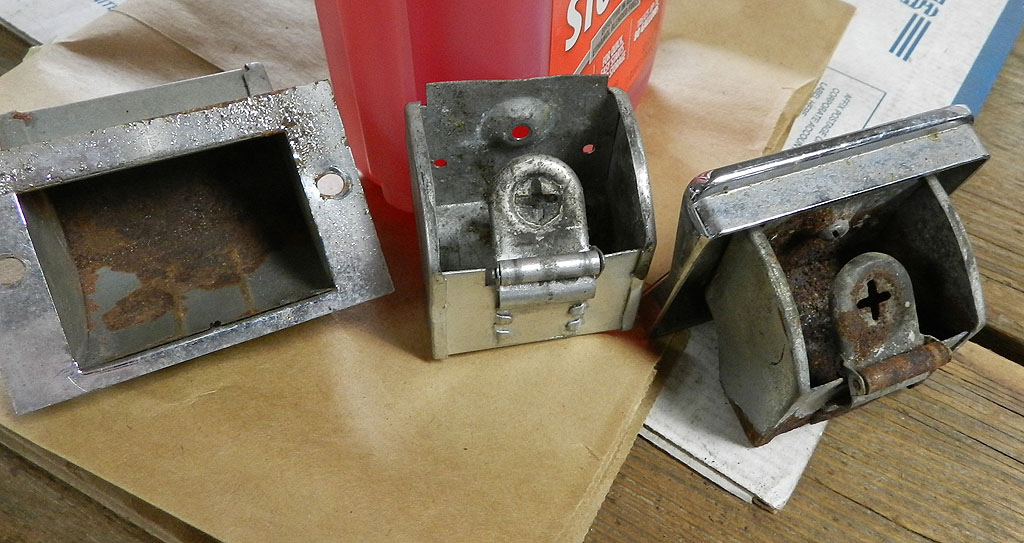
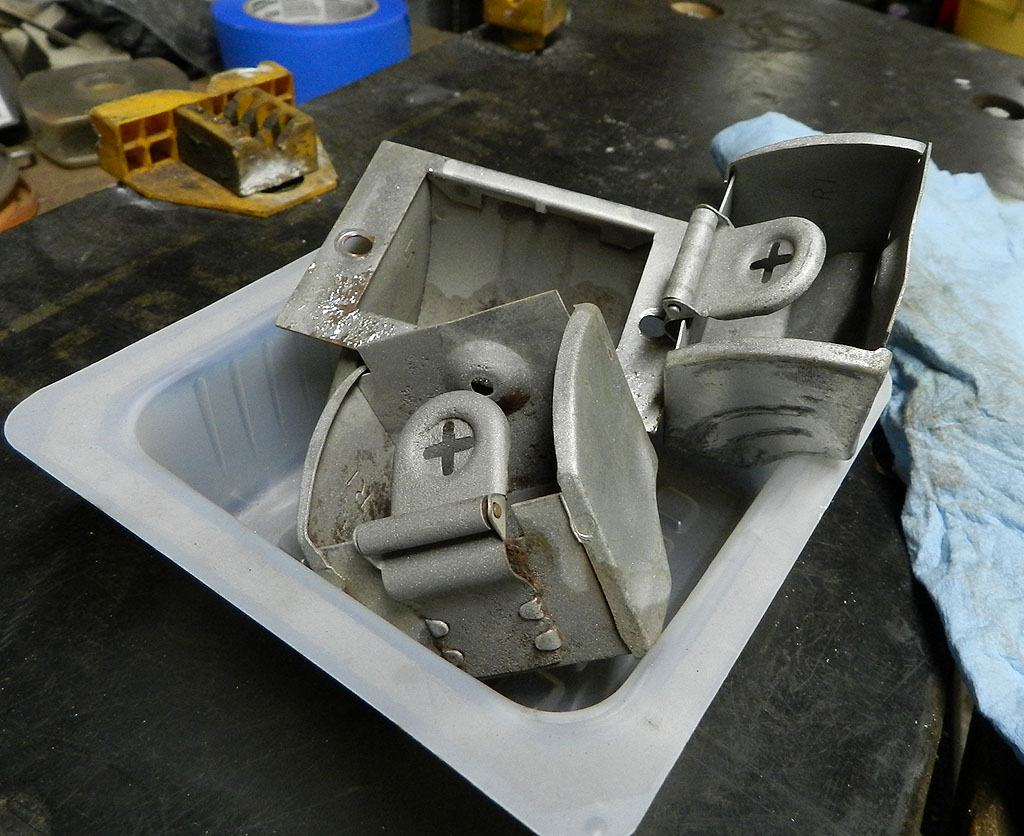
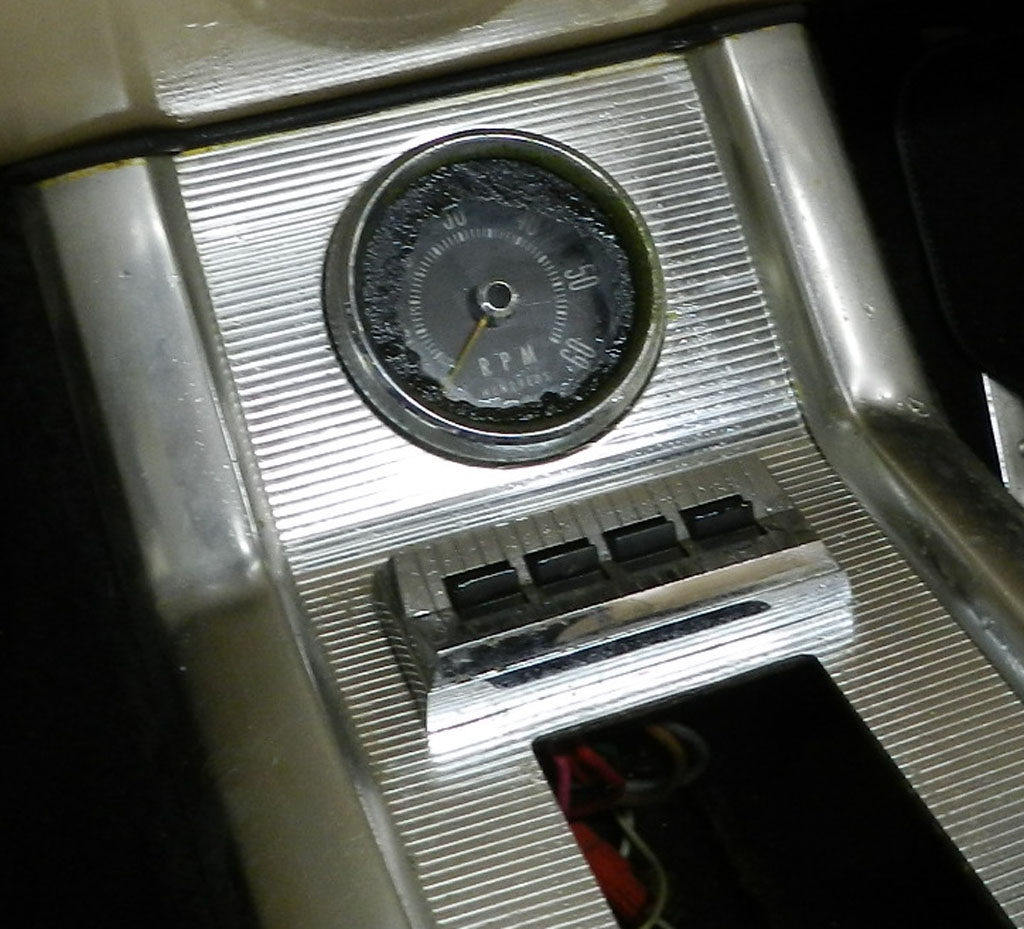
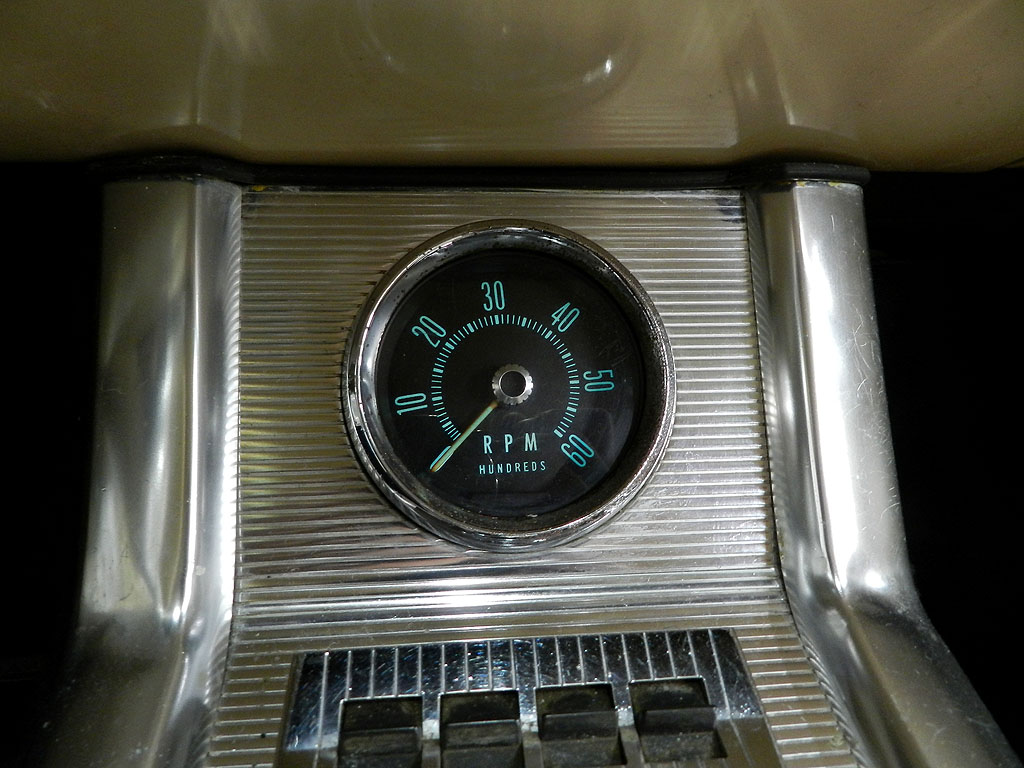
Since I was working in the back seat area polishing and cleaning chrome, I decided to work on the center console. The top pieces on the rear console  arm rest didn't fit right and the hinge was loose. I disassembled it for cleaning and discovered the console cover hinge had been installed backwards and a mounting bracket was missing. You can watch a video of this here. I have spare console parts so I was able to correct things and learned a trick -- there is a cutout in the passenger side of the rear console housing which provides access for reassembly. Things
always make sense once I learn the tricks. For more detail on the console, click here.
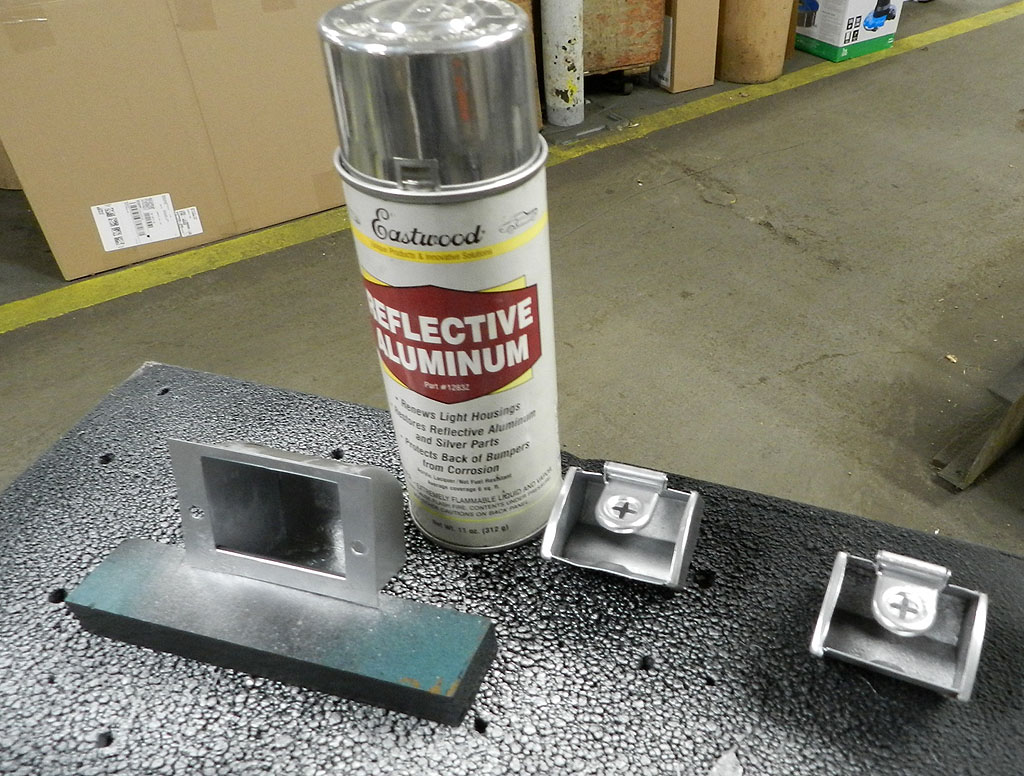
The console trim and brightwork is original and although scratched from 61 years of use, cleaned up well enough to use as it is. The power window switches are tight and work well. Before moving on, the ash trays deserve a bit of work. These are dirty and rusty but I've seen much worse. I give them a quick ride in the grit blaster and then paint light coats of reflective aluminum. They are presentable and we move on.
arm rest didn't fit right and the hinge was loose. I disassembled it for cleaning and discovered the console cover hinge had been installed backwards and a mounting bracket was missing. You can watch a video of this here. I have spare console parts so I was able to correct things and learned a trick -- there is a cutout in the passenger side of the rear console housing which provides access for reassembly. Things
always make sense once I learn the tricks. For more detail on the console, click here.
The console trim and brightwork is original and although scratched from 61 years of use, cleaned up well enough to use as it is. The power window switches are tight and work well. Before moving on, the ash trays deserve a bit of work. These are dirty and rusty but I've seen much worse. I give them a quick ride in the grit blaster and then paint light coats of reflective aluminum. They are presentable and we move on.
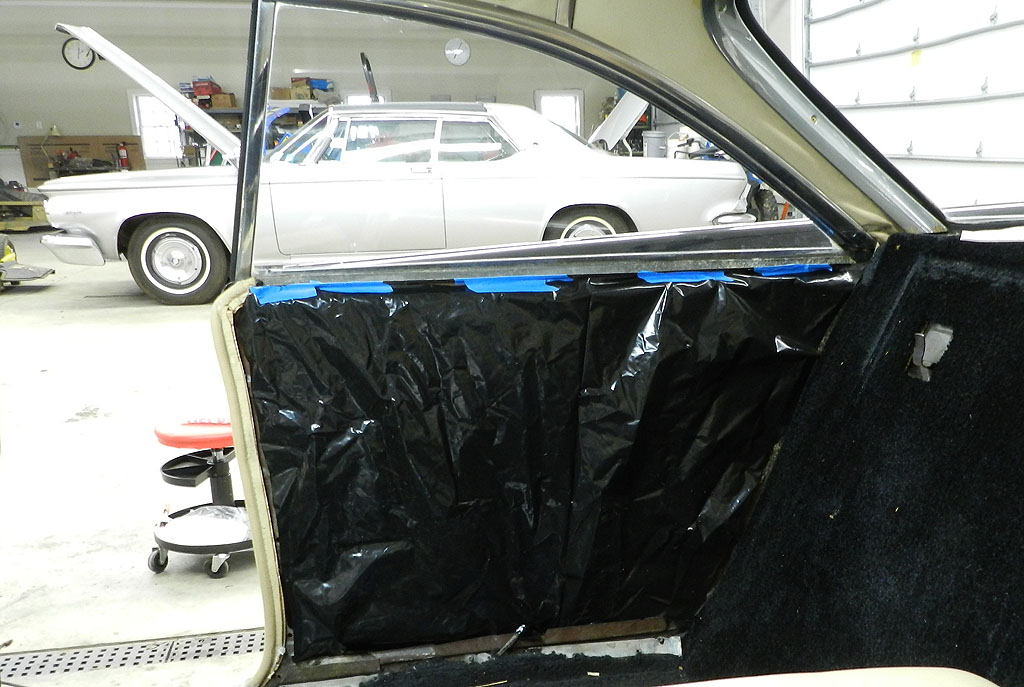
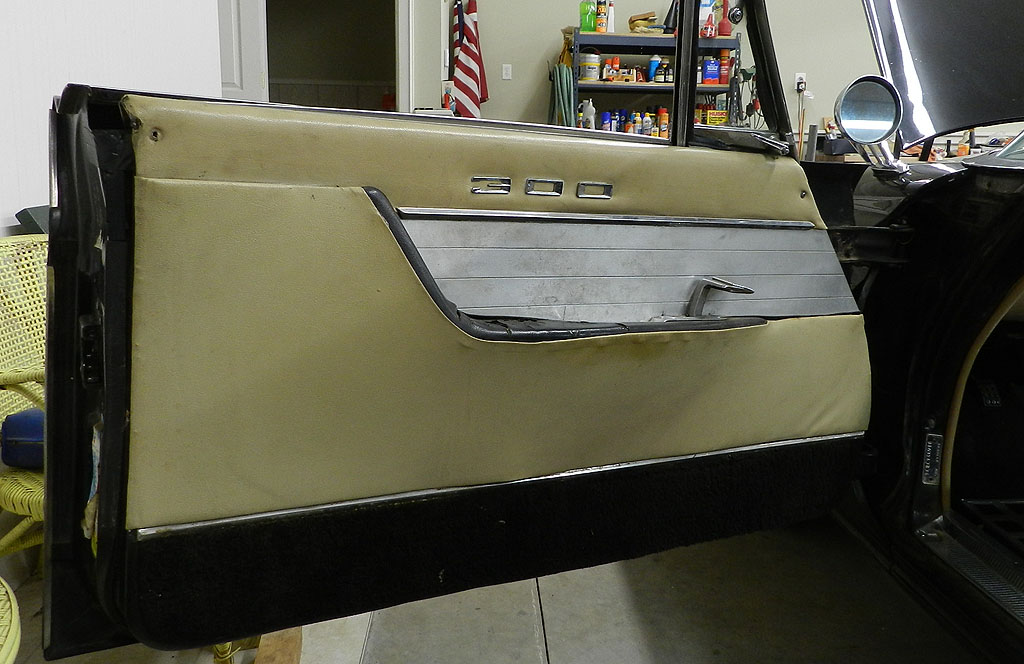
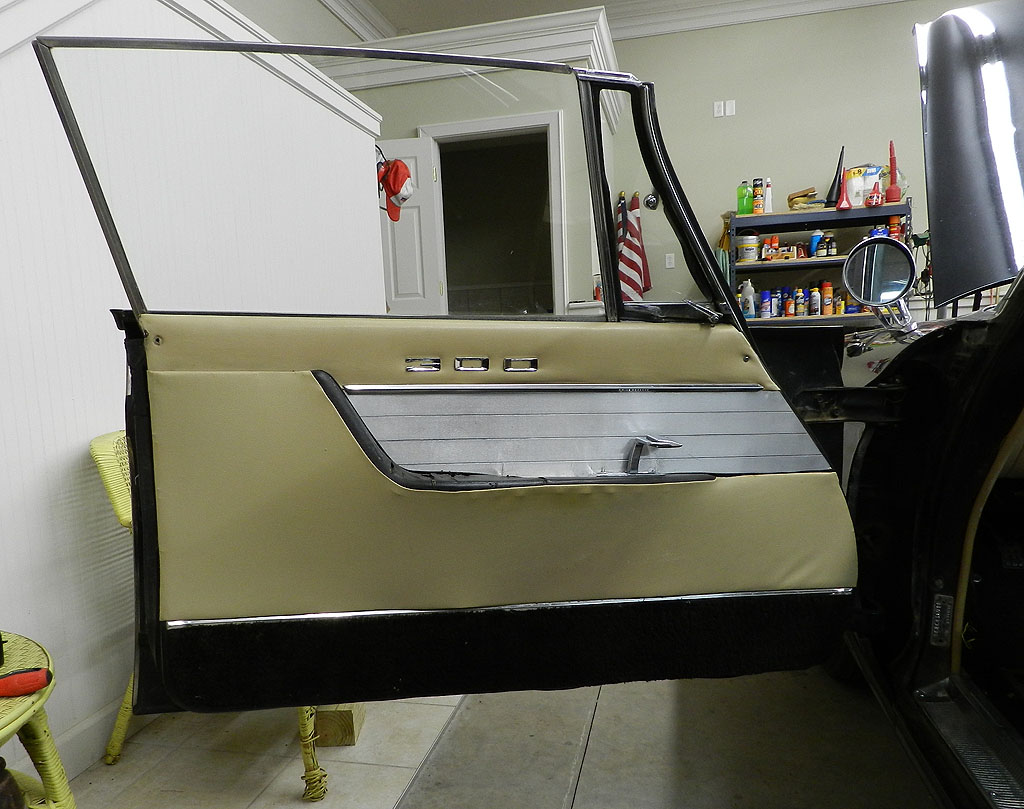
The drivers door has yet to receive attention. I removed the panel to find no vapor barrier (no surprise) and that the  power window motor had received extra bracing. This is a good thing and should be added to anything with power window motors 1960 though 1964. The original design had the window motor suspended from the transmission. After years of door slams, the transmission fatigues, fails, and the motor falls inside the door. A brace is a great solution to the problem. The window lift and door latch mechanisms were lubed, the door handle removed and lubed, a vapor barrier installed and the panel reassembled. A nice thing about this car; both front door locks are keyed alike and match the ignition lock. You can watch the video about the front door here.
 The center console section needed work on the arm rests and the front ash tray. There was enough
work there to warrant its own page. Also included is a video on
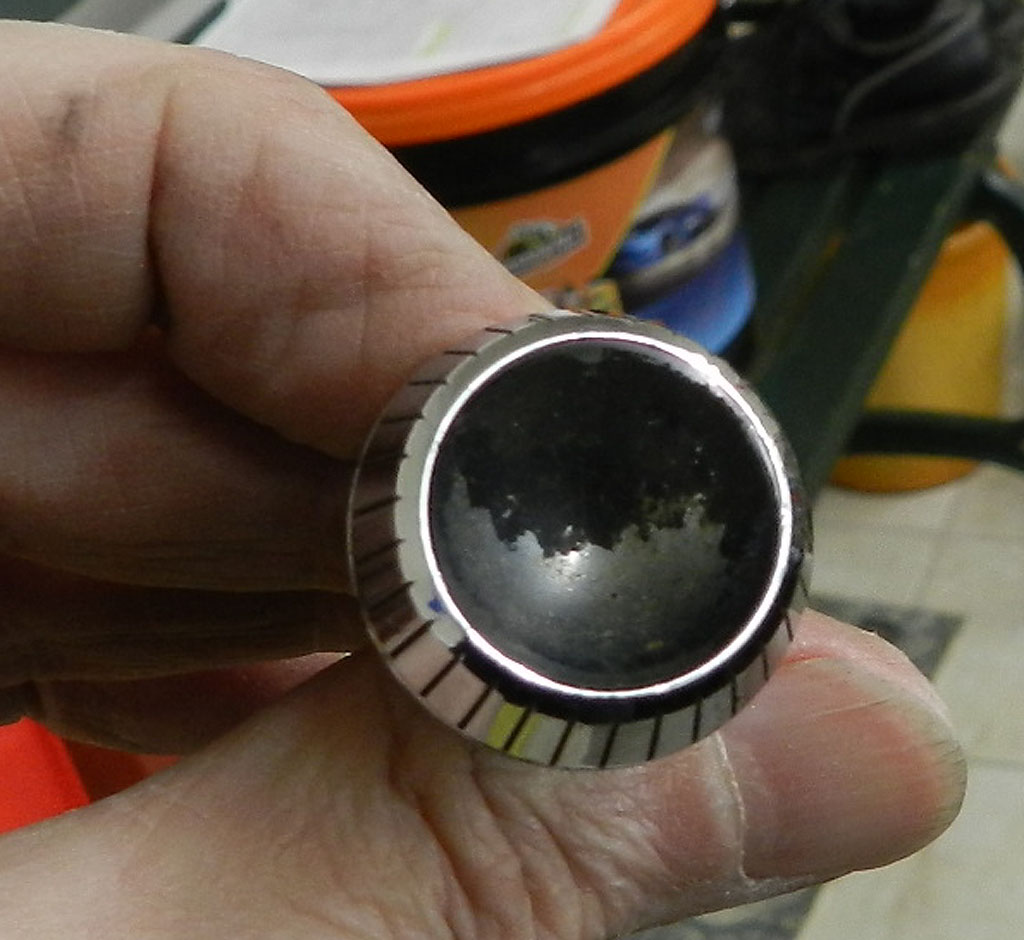
installation of the front ash tray -- an adventure of its own. Since we had the paints out, might as well
take care of the headlight switch. It had lost some of its black paint so we took care of that.
The center console section needed work on the arm rests and the front ash tray. There was enough
work there to warrant its own page. Also included is a video on
installation of the front ash tray -- an adventure of its own. Since we had the paints out, might as well
take care of the headlight switch. It had lost some of its black paint so we took care of that.
Click here for the next page. |