|
|
|
|
|
|
|
|
|
|
|
1957 Chrysler 300C
Page 3
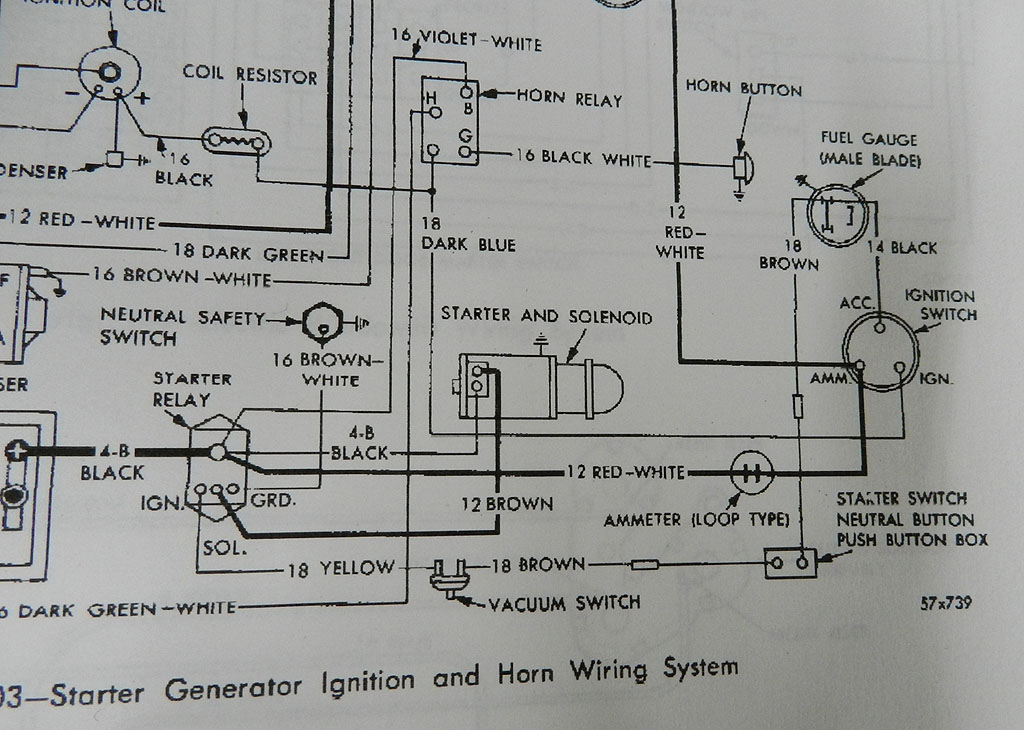
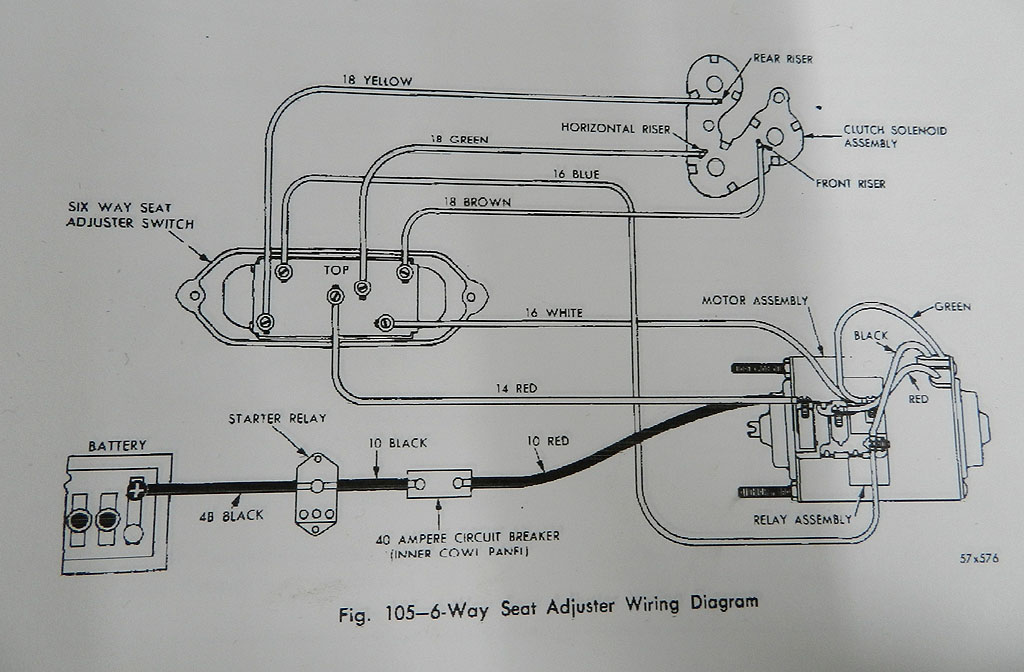
Wiring diagrams in the 57 manual:
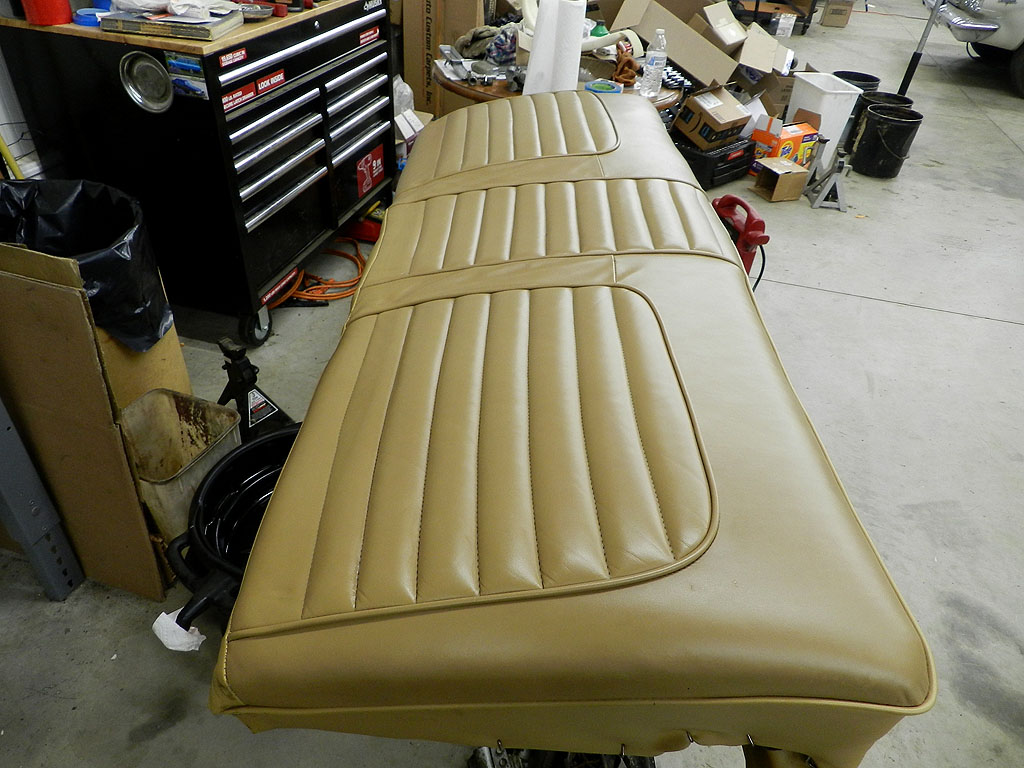
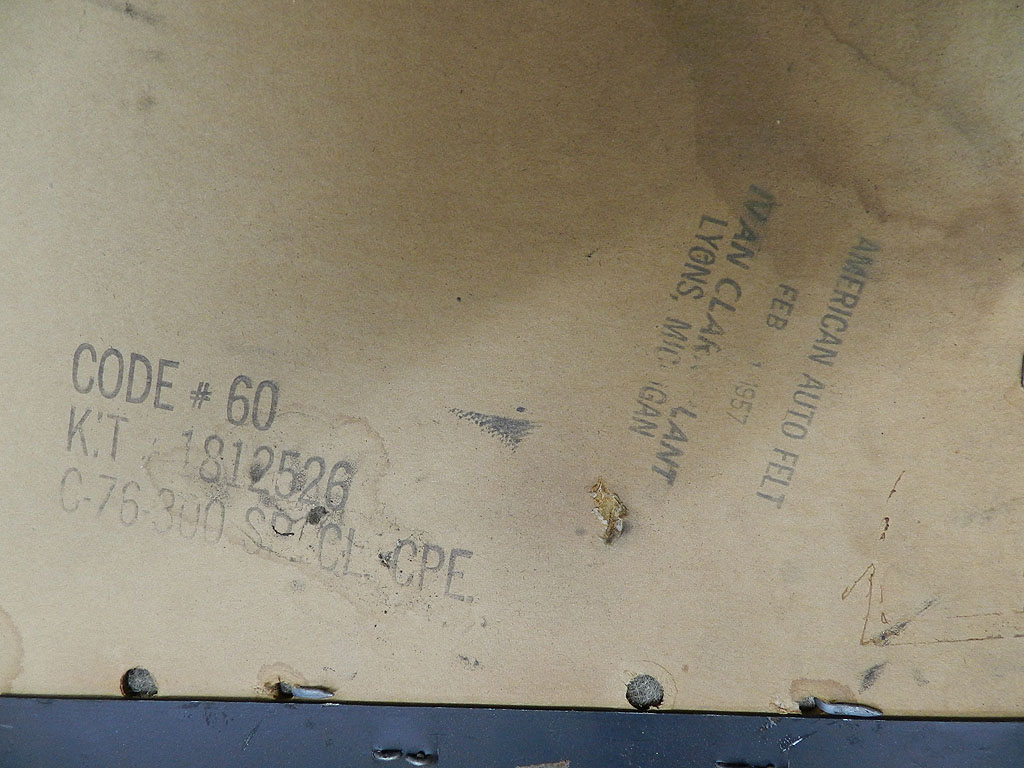
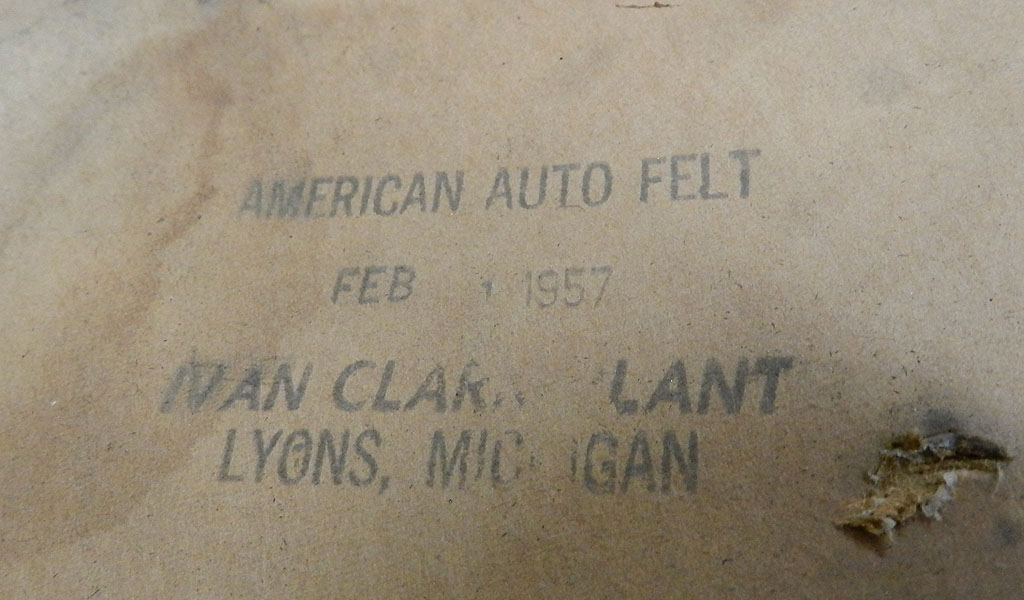
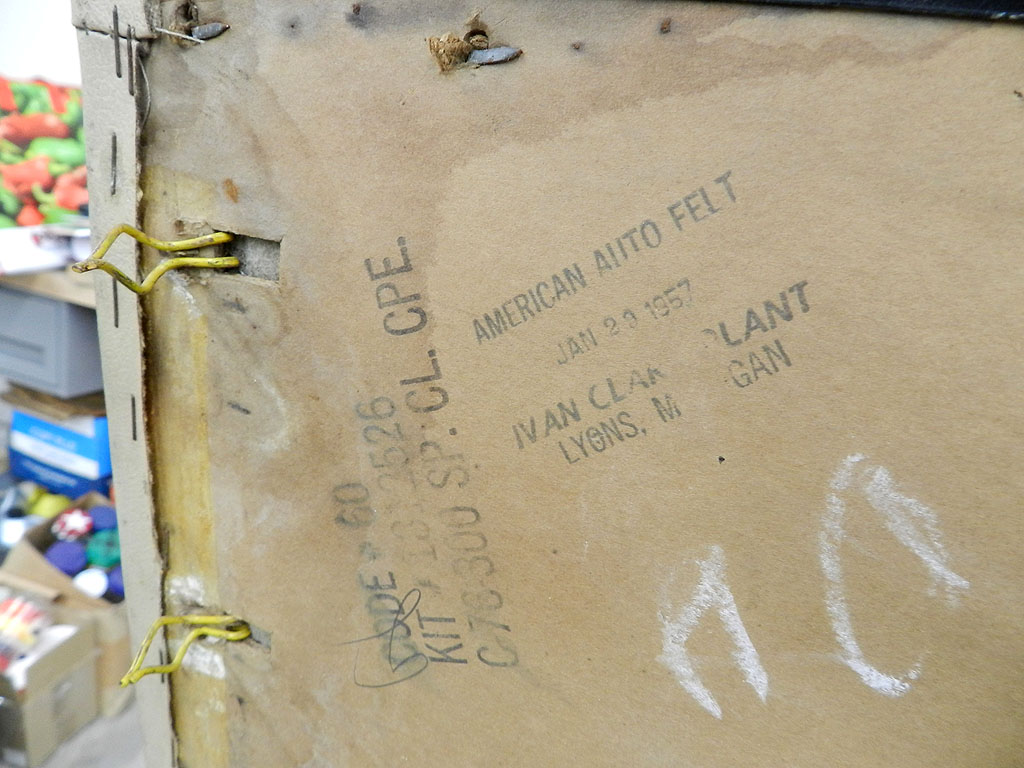
Code #60, KIT 1812526 C-76-300 SP. CL CPE is printed on the back side of the rear interior panel. Also American Auto Felt, Feb 1, 1957, Ivan Clark Plant, Lyons, Michigan. The build date on this car is Feb 6th so these are the original panels.
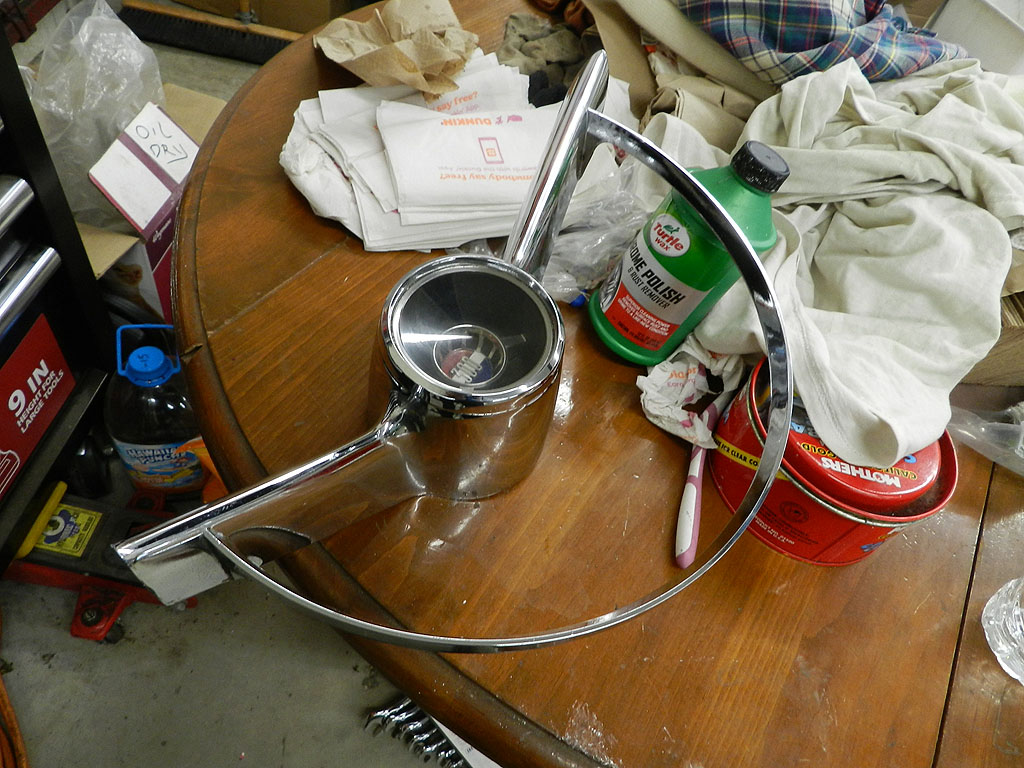
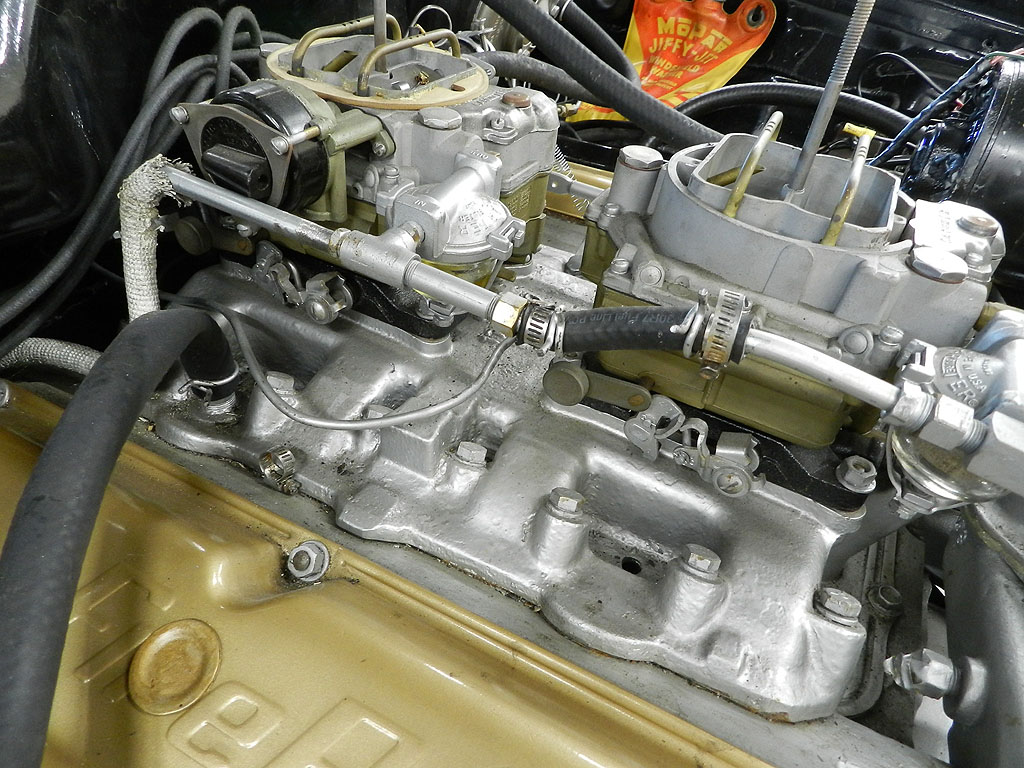
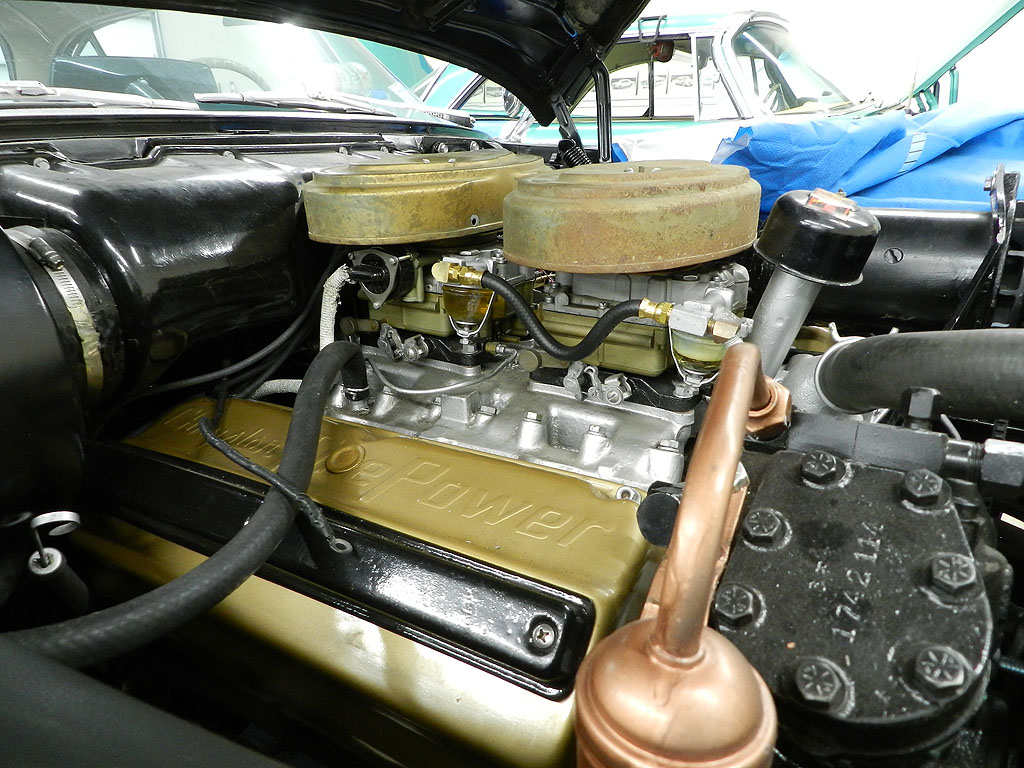
Moving on, I checked the ignition key on the door locks. Surprise, the locks all match the key although the passenger door lock doesn't want to work. I will get into that. Washed polished and waxed horn ring and center hub, stored. The cobbed up carb to carb fuel line was bugging me so I installed the correct rubber hose. MoPar Pro part number FU-1030. It is maybe 1/2" too long, giving a little too much droop, but it works fine.
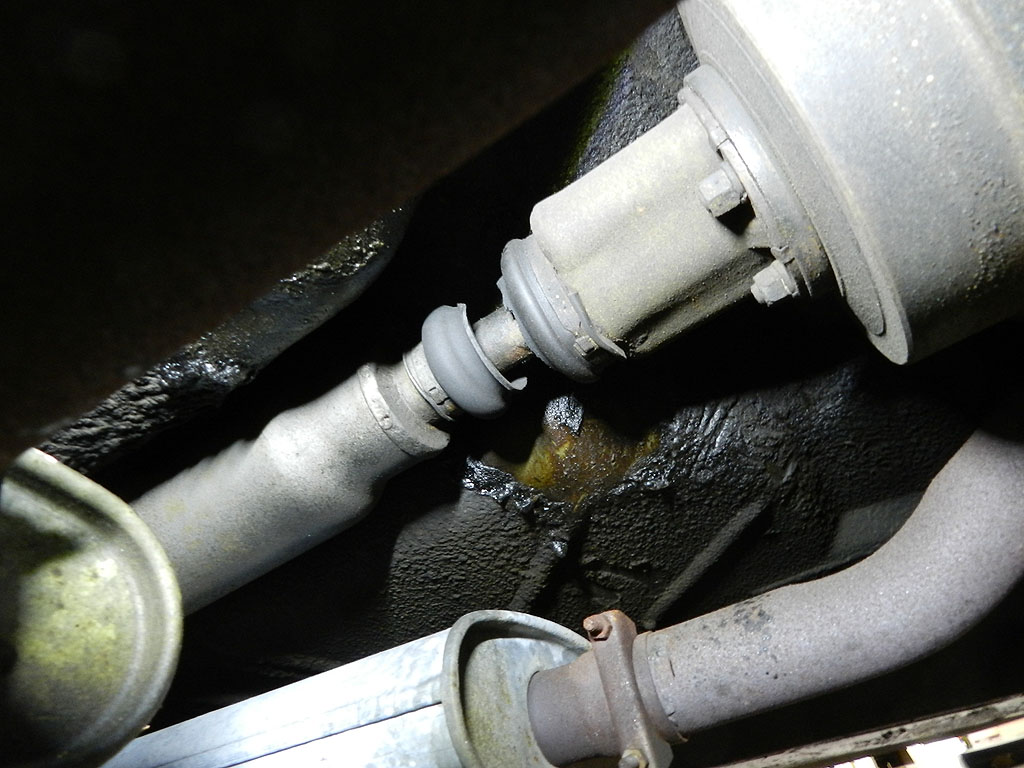
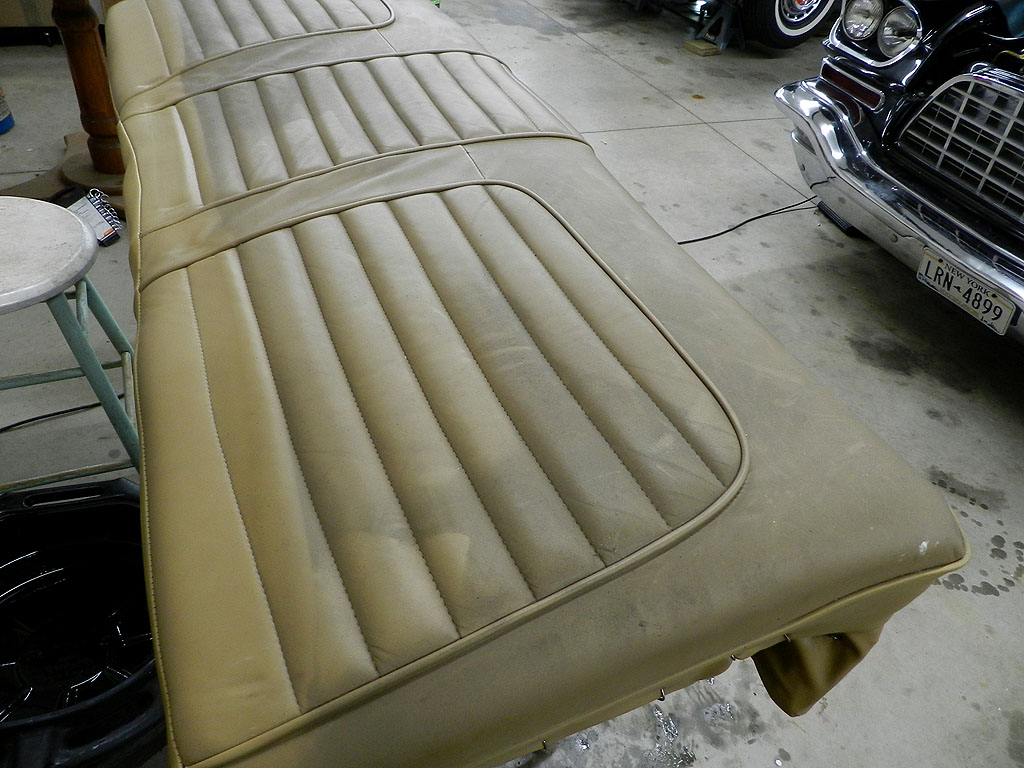
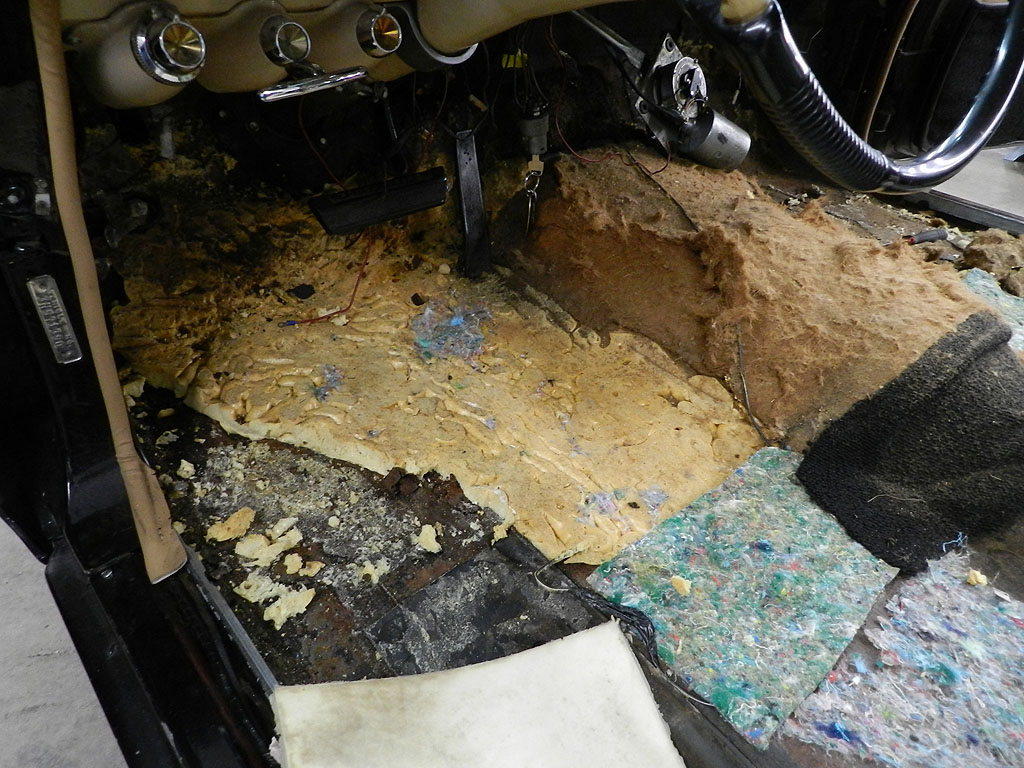
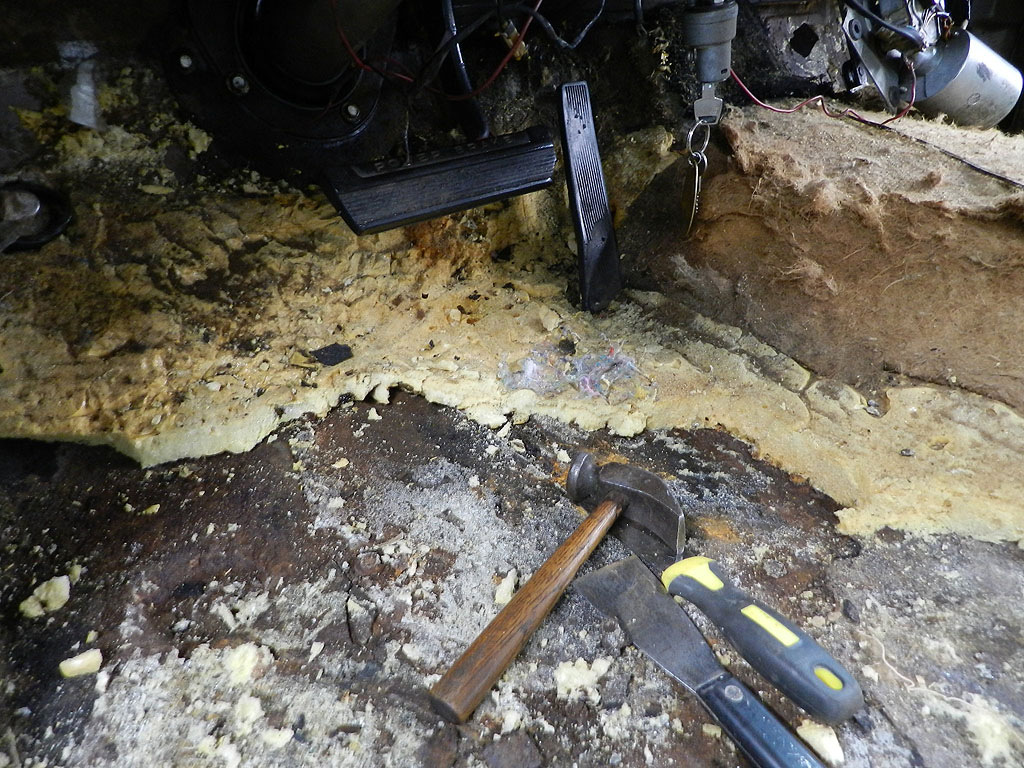
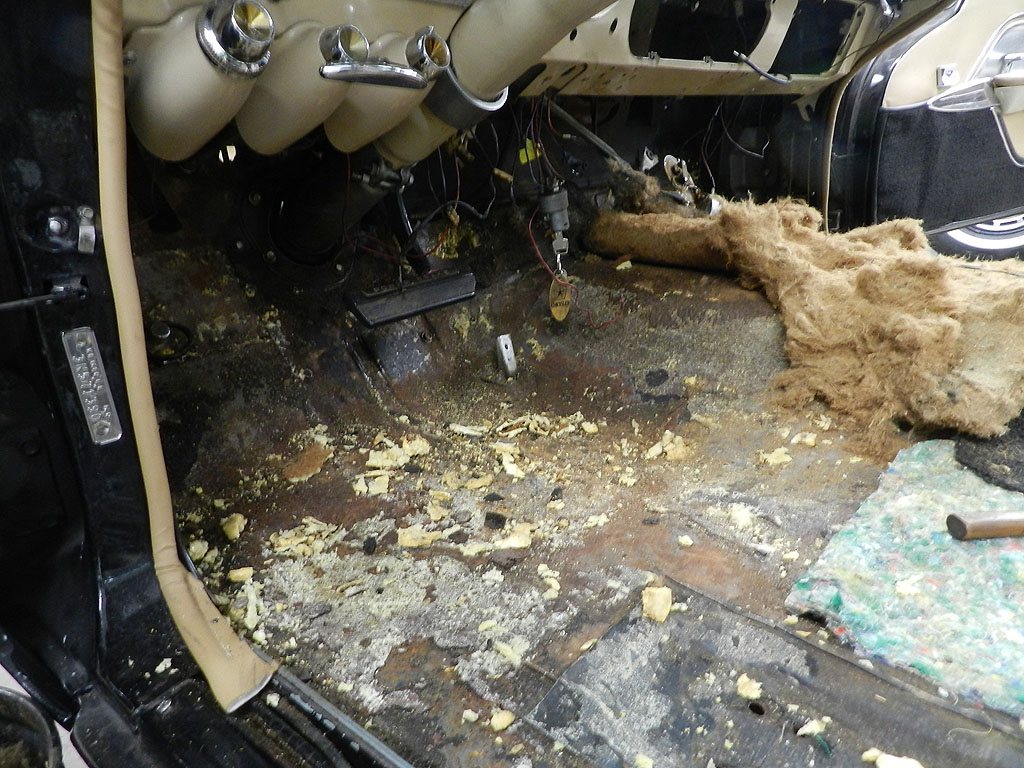
I was able to reach under the cushions and find the four nuts that hold the seat to the power seat frame. That makes the front seat a lot lighter and removal much easier. The power seat mechanism will need repair; elevators and sliders are stuck and the seat motor chatters. The seat is on the list of things to do. Also making the list is the replacement of the drive shaft boot. This boot left during the Reagan administration. It is time to attack the Great Stuff expanding foam on the passenger and driver foot well area. There was a lot of it and it took a while to remove. The stuff likes to stick to the surface it is sprayed on. I used a hammer and putty knife and a lot of patience. Underneath the Great Stuff were very nice, solid, original floors.
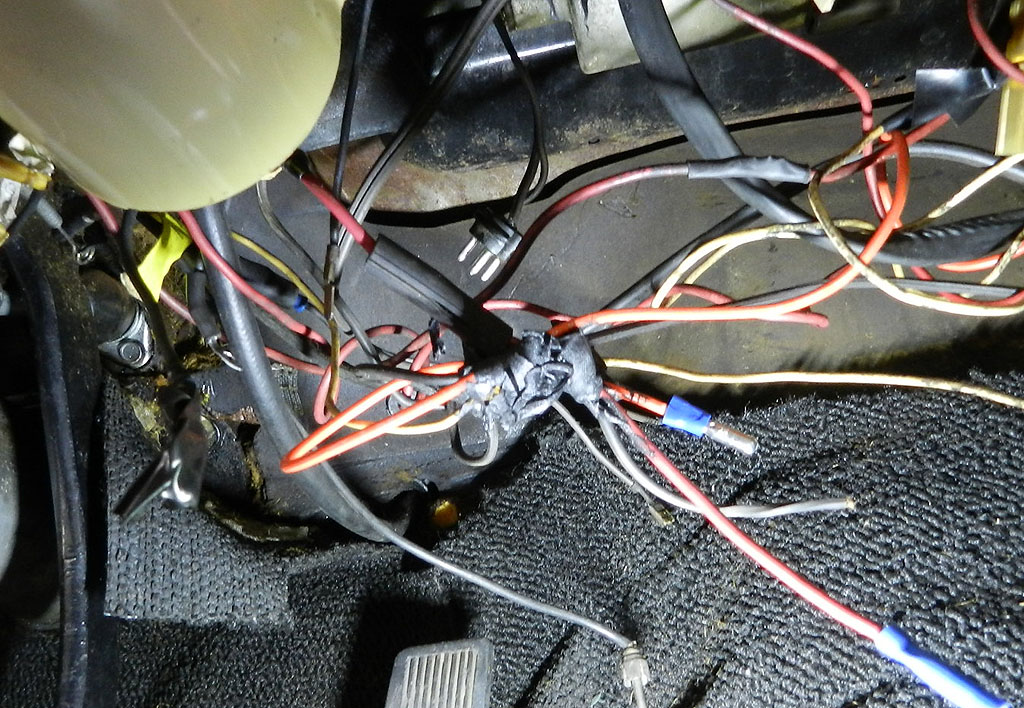
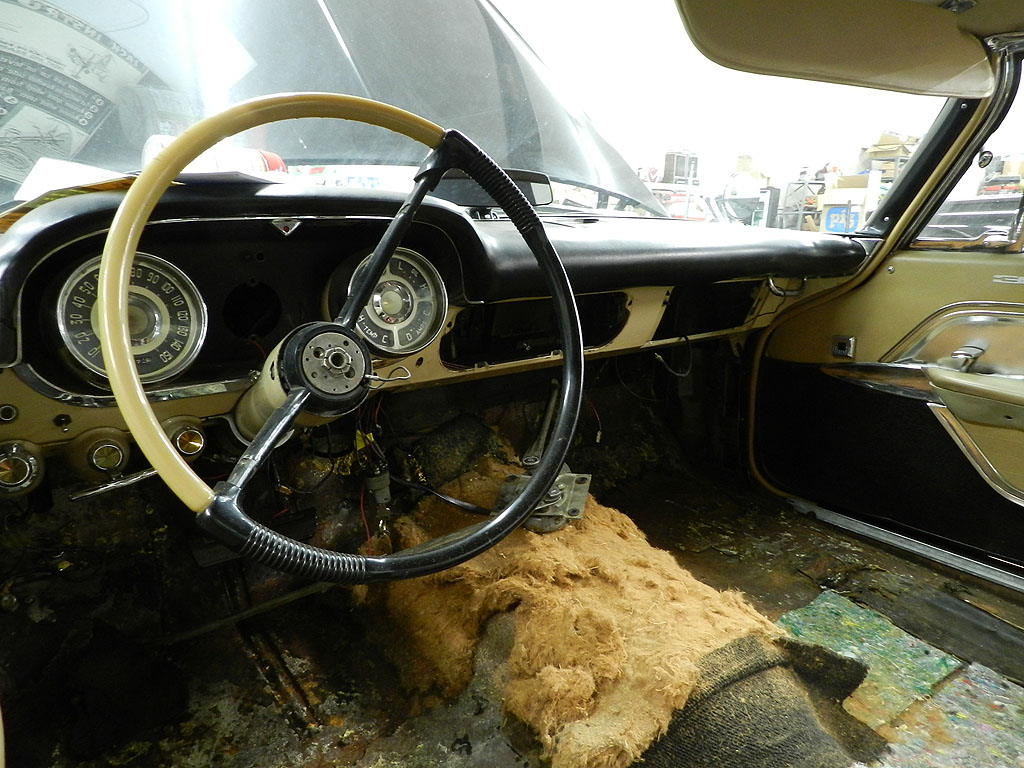
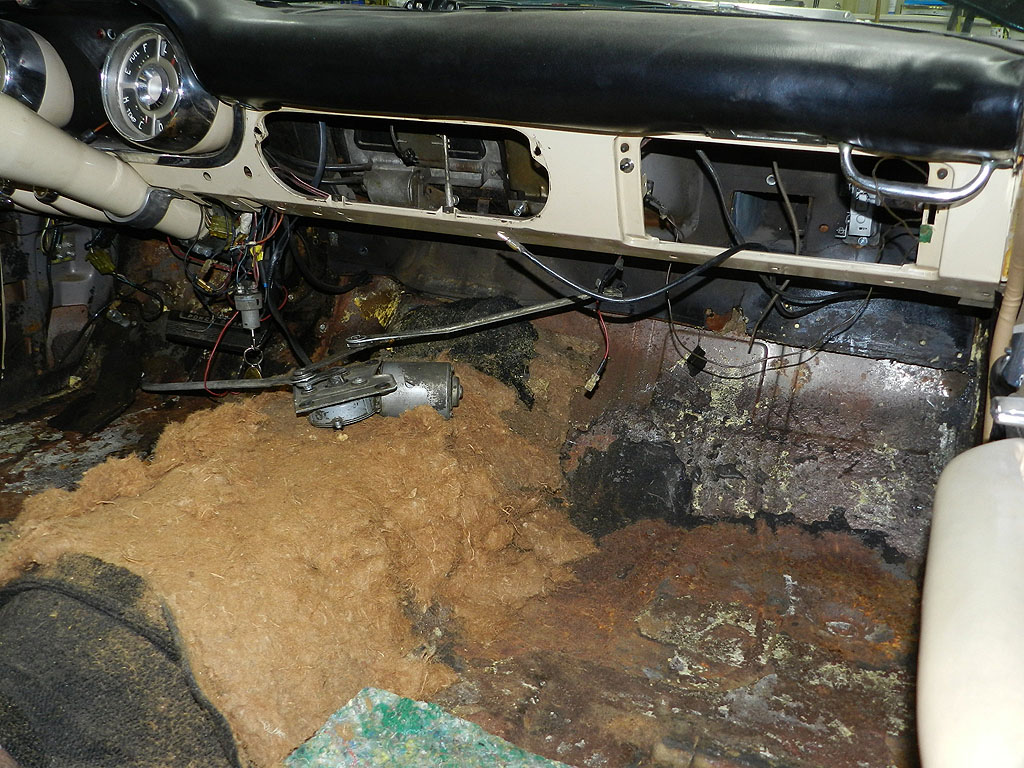
While we wait for new wiring, we might as well maximize access. The clock, glove box, glove box door, radio, heater controls, wiper motor, front seat, rear seats are removed. I was surprised how heavy the radio is. With these pieces removed, it is so much easier to see what we have to work with. At some future point, the speedometer and gauge cluster will also come off. This will make wiring so much easier. I have them in place now so we can problem shoot things the next time the car is running.
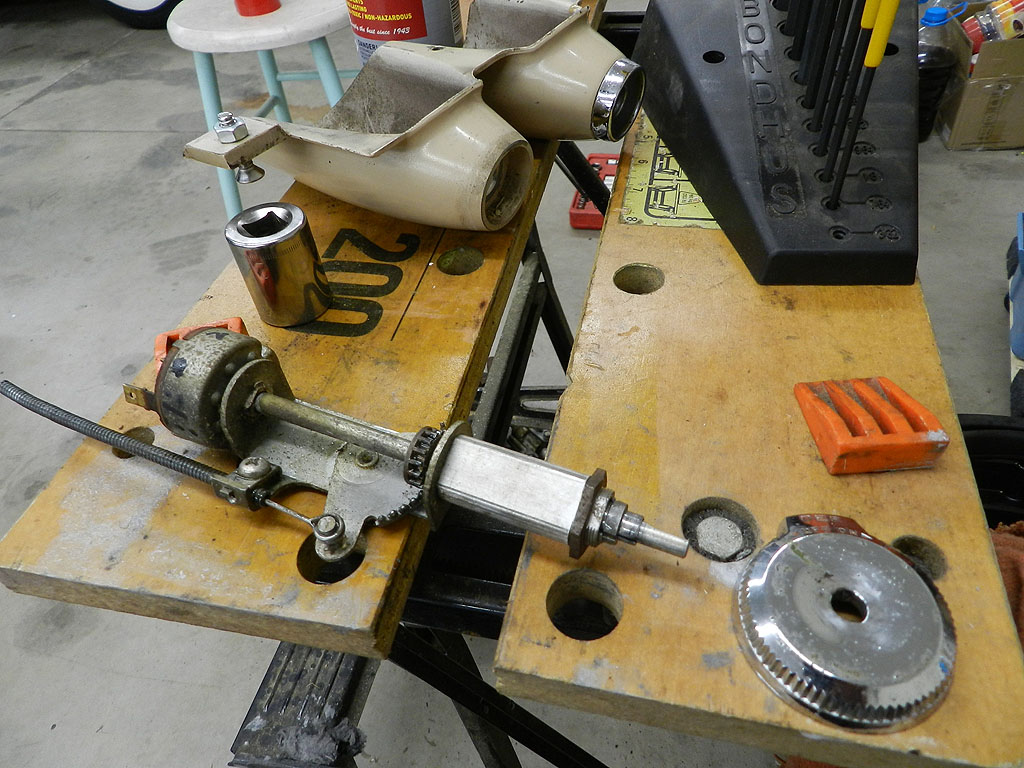
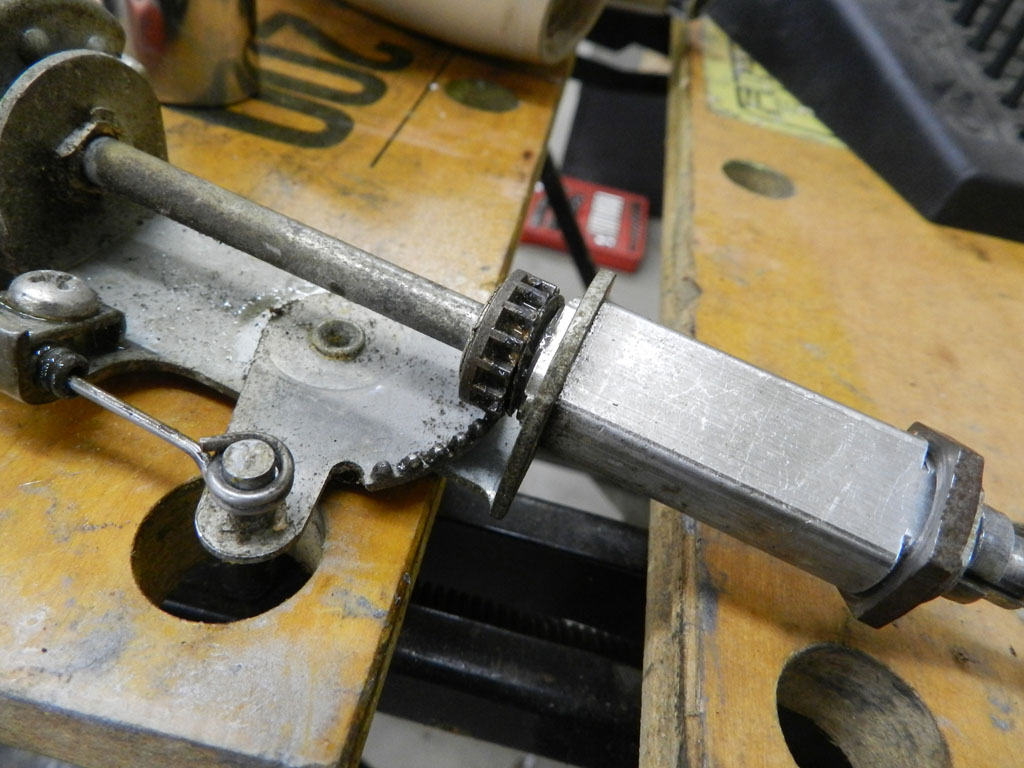
I removed the ignition switch and blower control pod. For some reason the defrost dial does not move the Bowden cable.
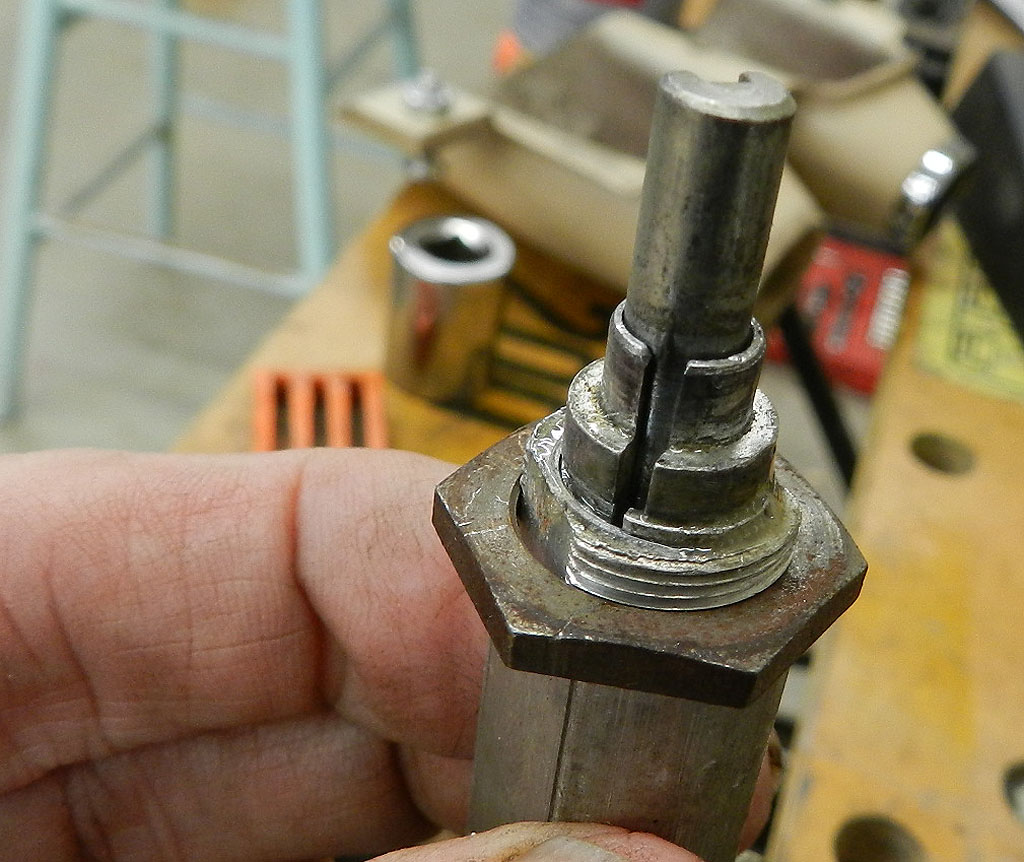
It turns out there is a "C" ring to retain the shaft from sliding fore and aft. It had fallen out. I thought I could replace it with an "E" clip but you can't; the ring has to be small enough to get under the retaining nut.
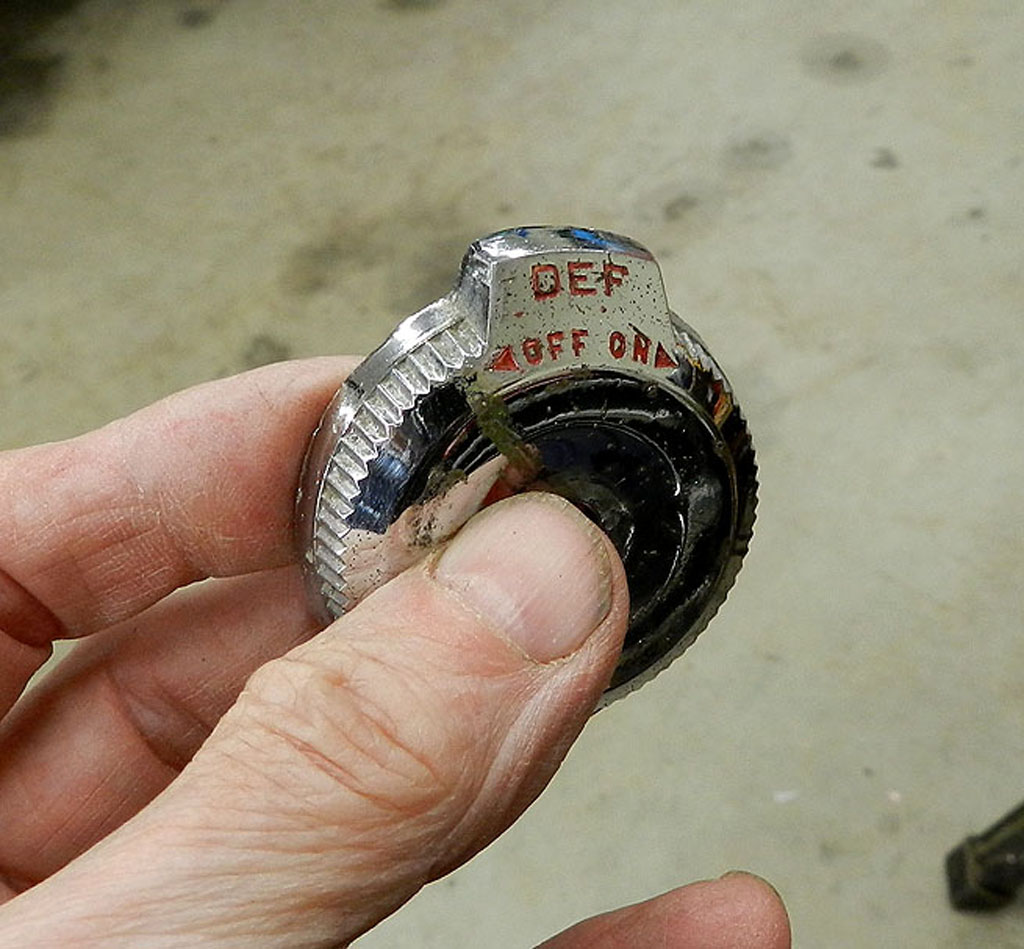
I gave the clip more of a bend and reassembled. I didn't think but you have to sequence the position of the defroster knob to full up and cable full in otherwise the knob won't be in the correct position when it is off. So I took it apart and did it again. It can be very difficult to get the mounting nut started since the screw threads are cut off top and bottom and easy to cross thread. I think the headlight switch and the wiper switch also have these flats to annoy the mounting nut.
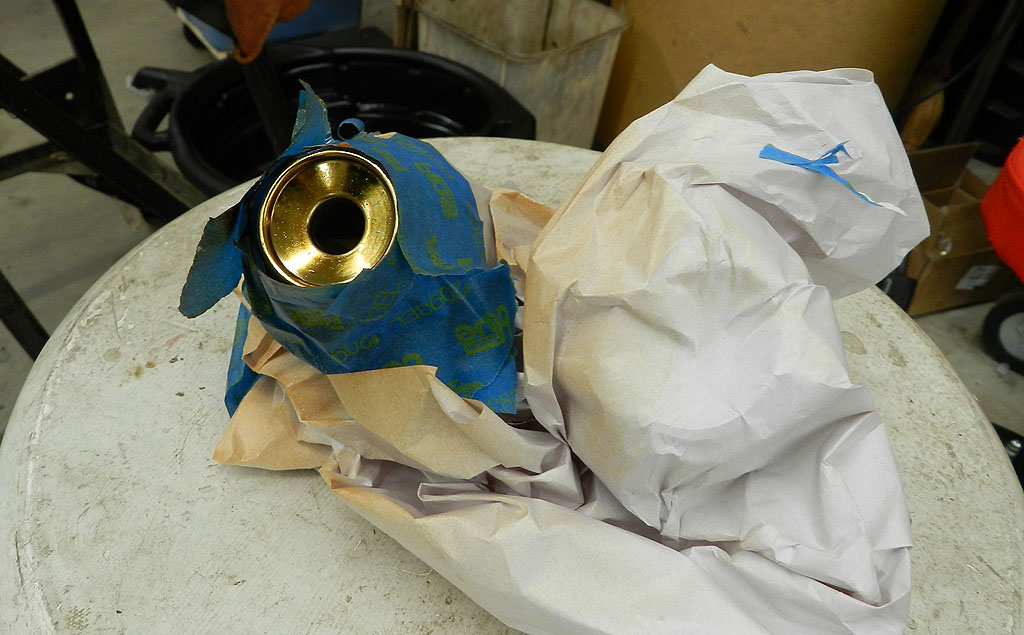
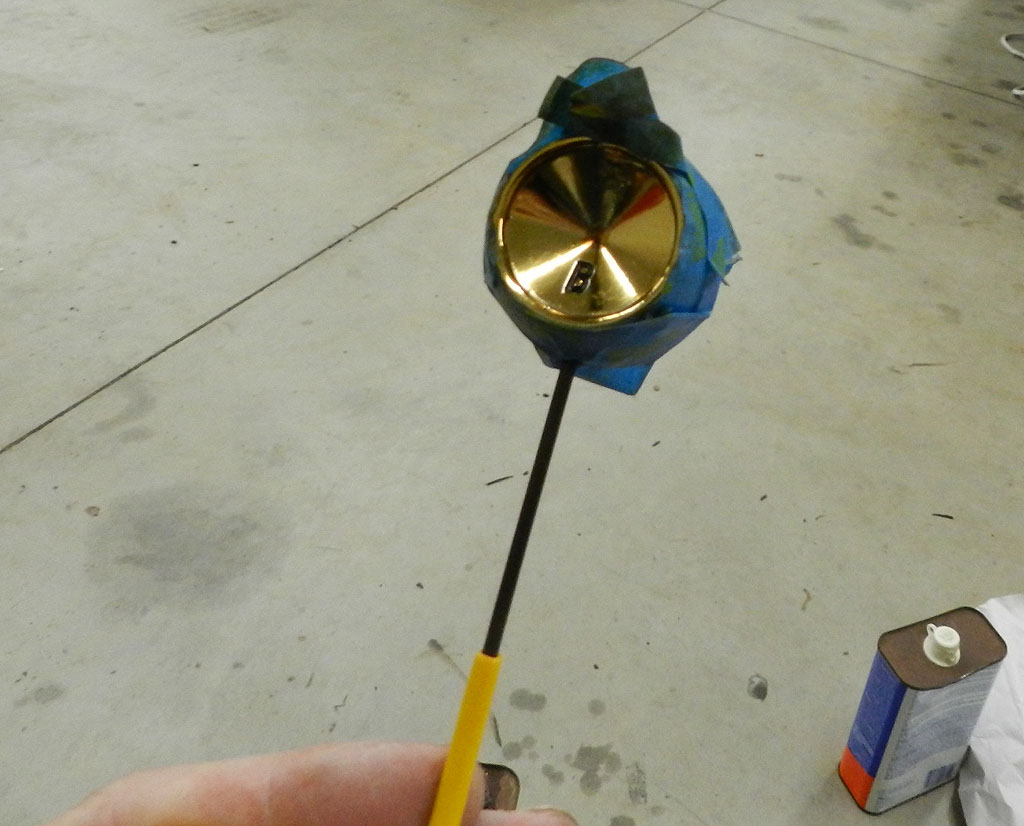
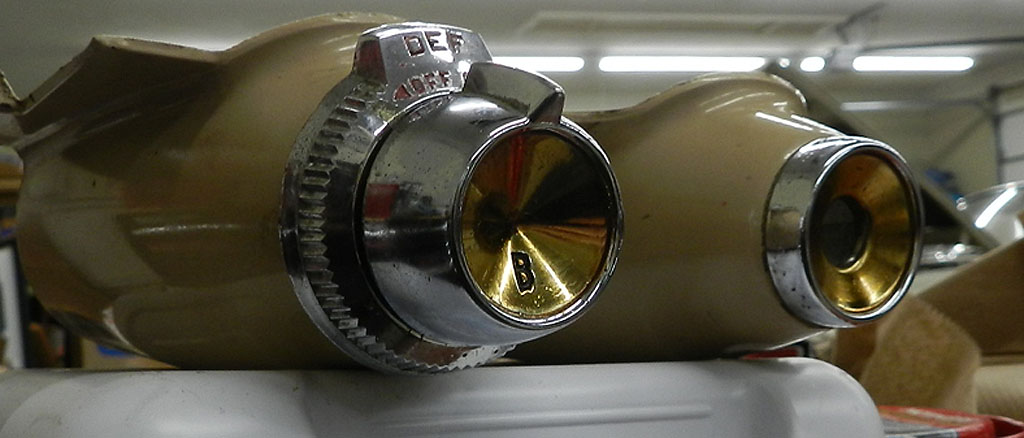
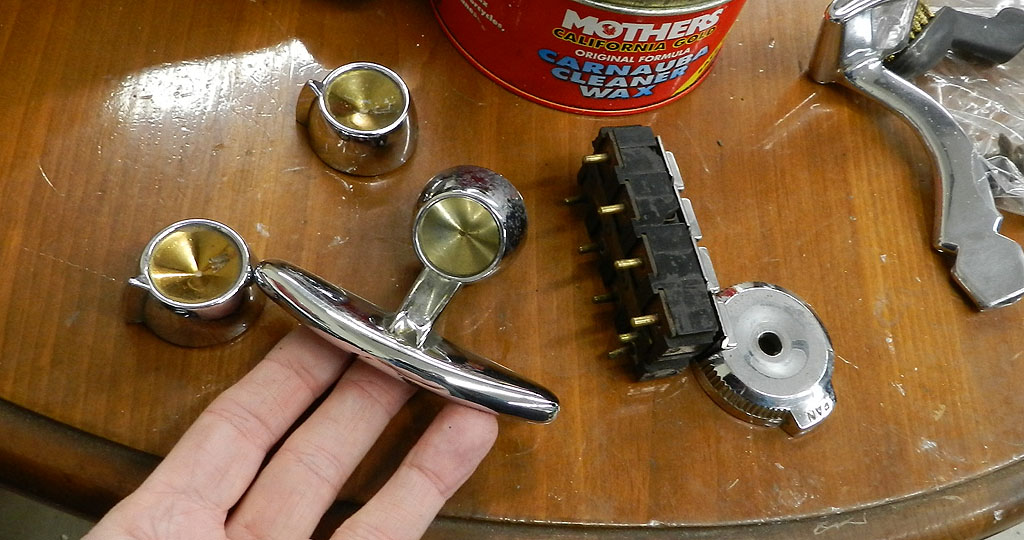
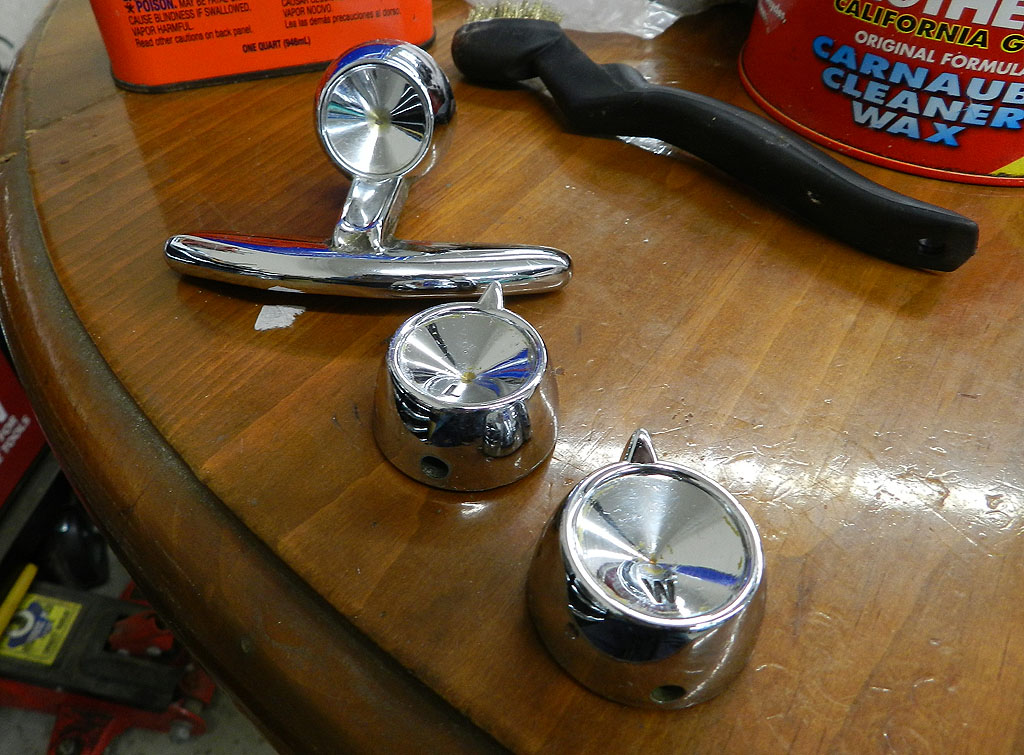
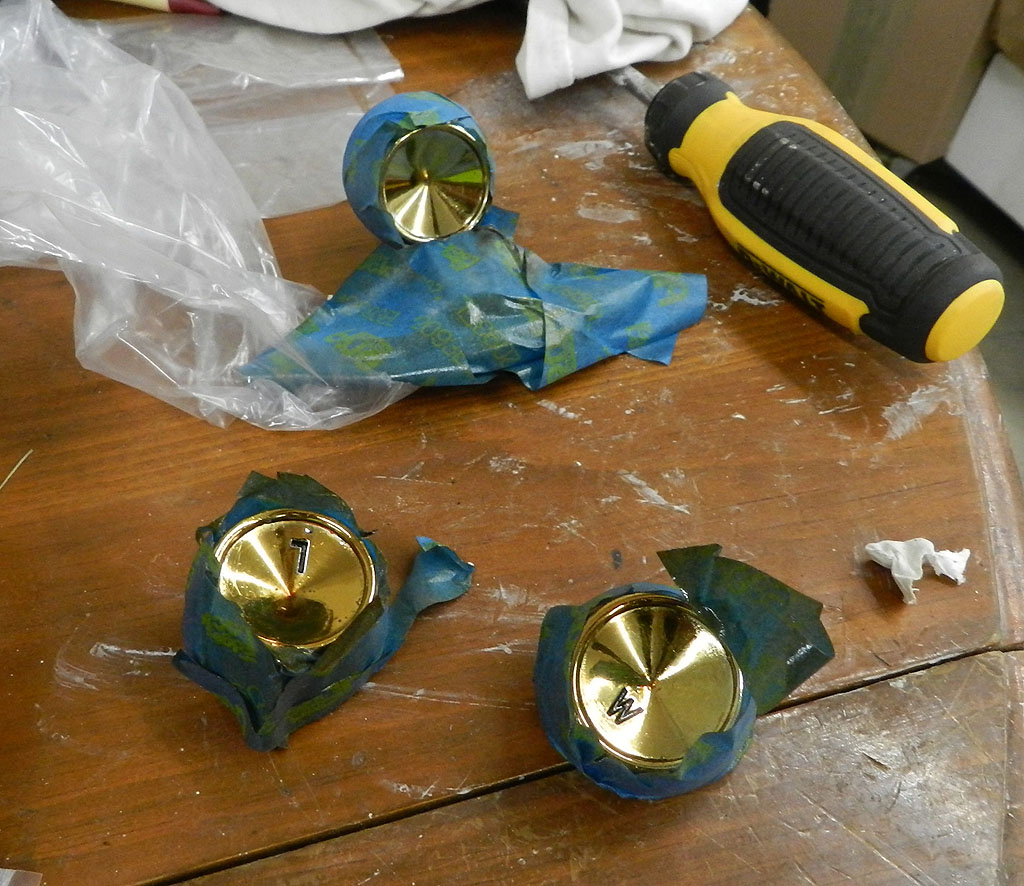
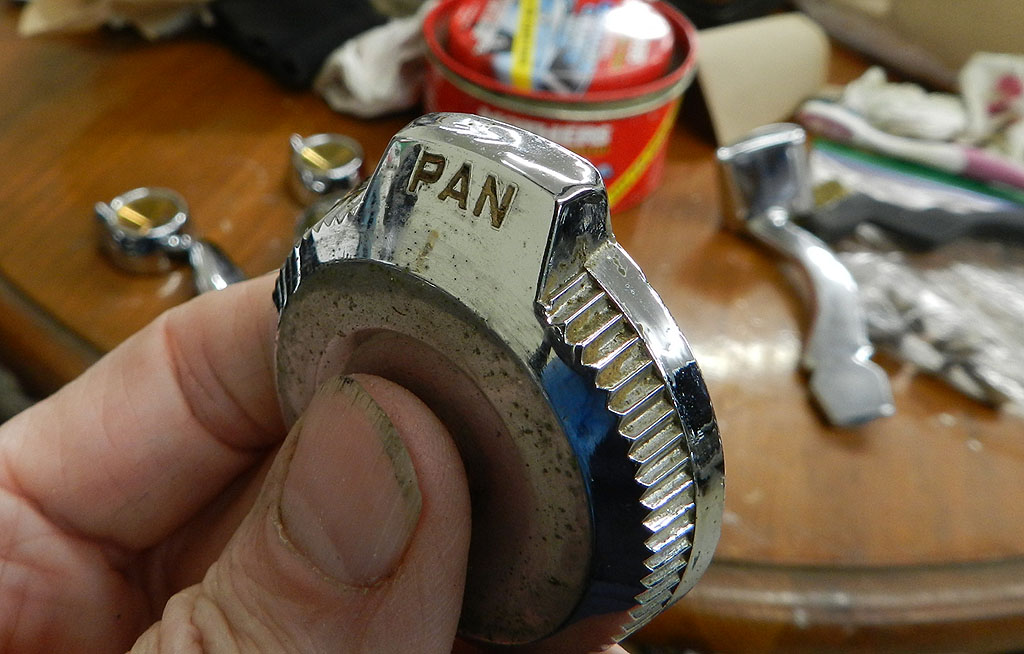
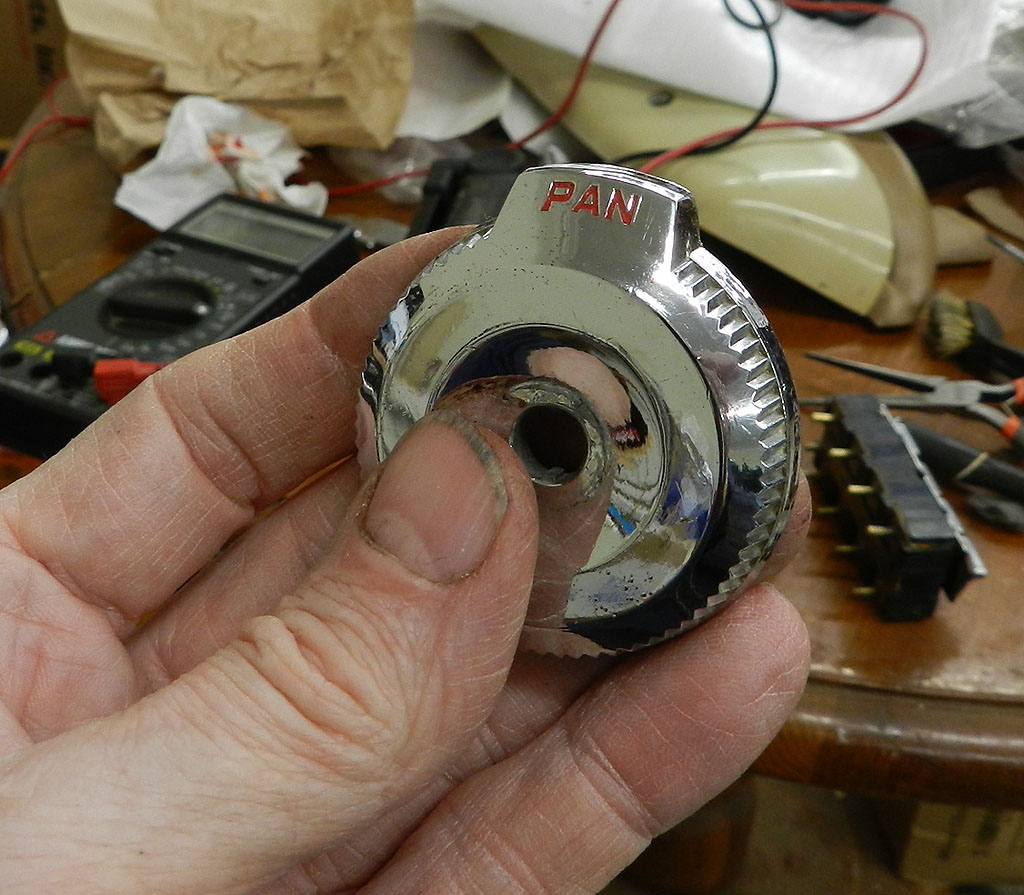
The headlight, parking brake and wiper switch pod remains to be done. The knobs and brake handle were in pretty good shape and still had some color. We removed the old and painted with the new for a nice match. The bezel under the headlight knob is for dimming the panel lights. The PAN still had traces of red paint so we freshened it up with new red.
The radio had been missing the knobs. Murray had them. I painted the centers and installed. This is the deluxe model radio with signal seeking and rear speaker. It is quite heavy. I don't know if it works. An operating radio is not important to me so I'll wait to test it when the new wiring is installed. 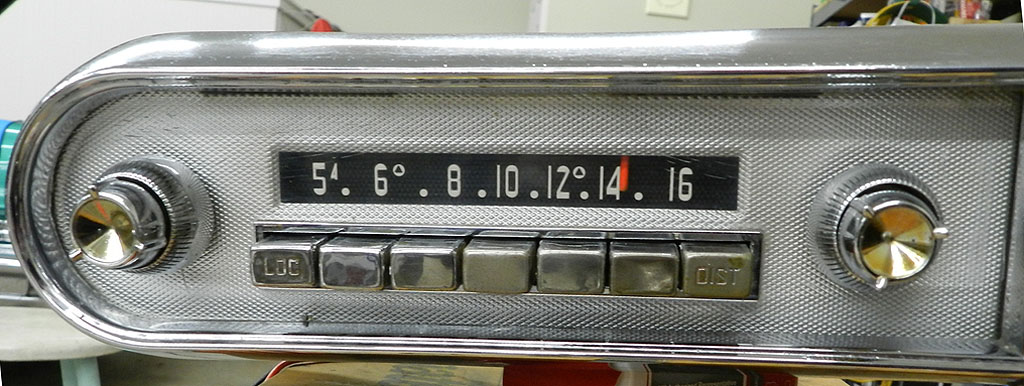
This car also has a power antenna. I am pretty sure 57 is the first year
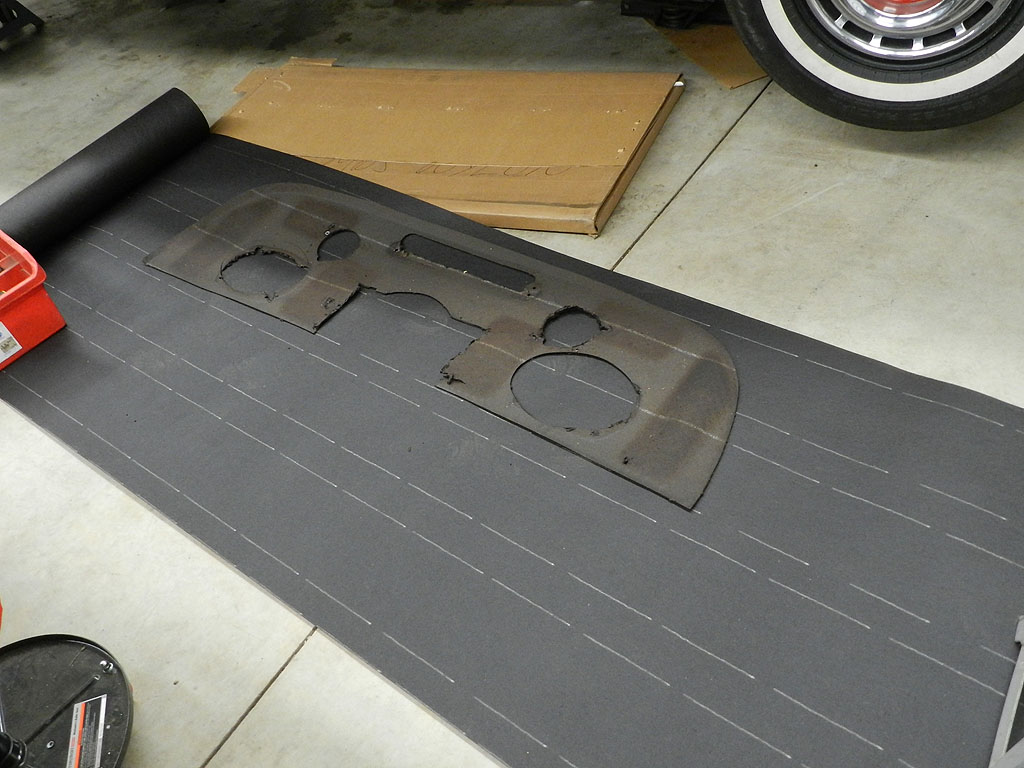
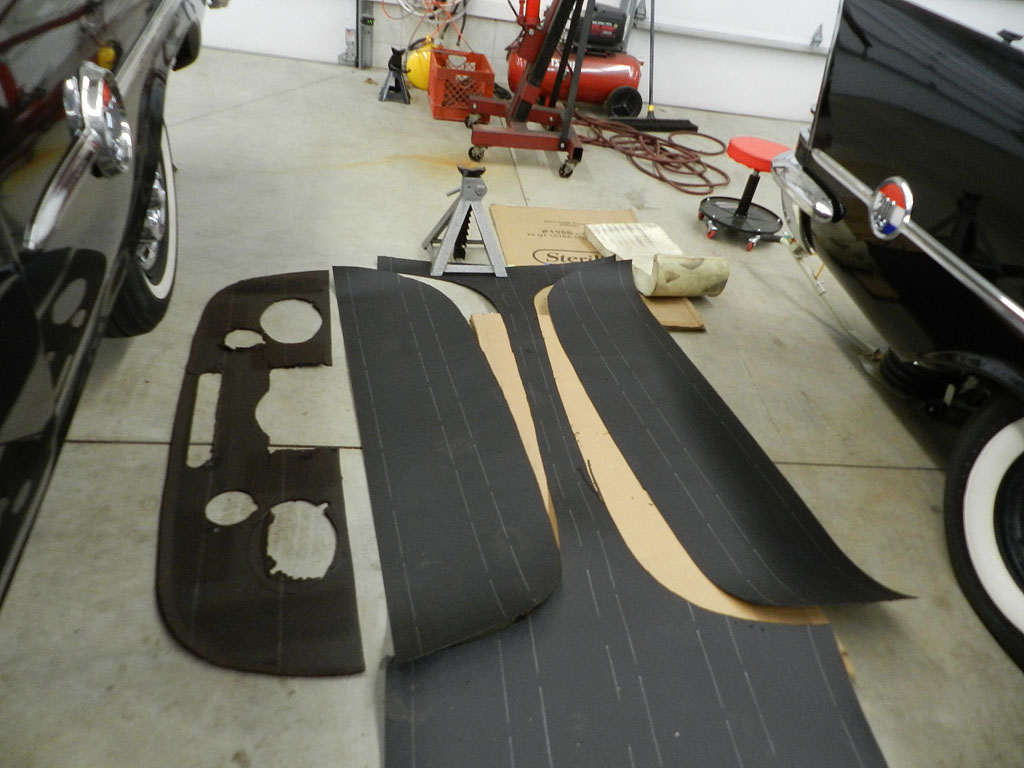
There is insulation under the package tray shelf. It is 1/8" thick asphalt felt. The original piece had been cut in too many places as previous owners installed such things as the AC ducts so a new one is needed. This asphalt felt is pretty much the roofing paper of today with the exception of thickness. Modern paper is 1/16" thick. The easy answer is to cut two pieces and lay them together to get 1/8". I have the package shelf piece on order with Quirey so I took this opportunity to cut new insulation.
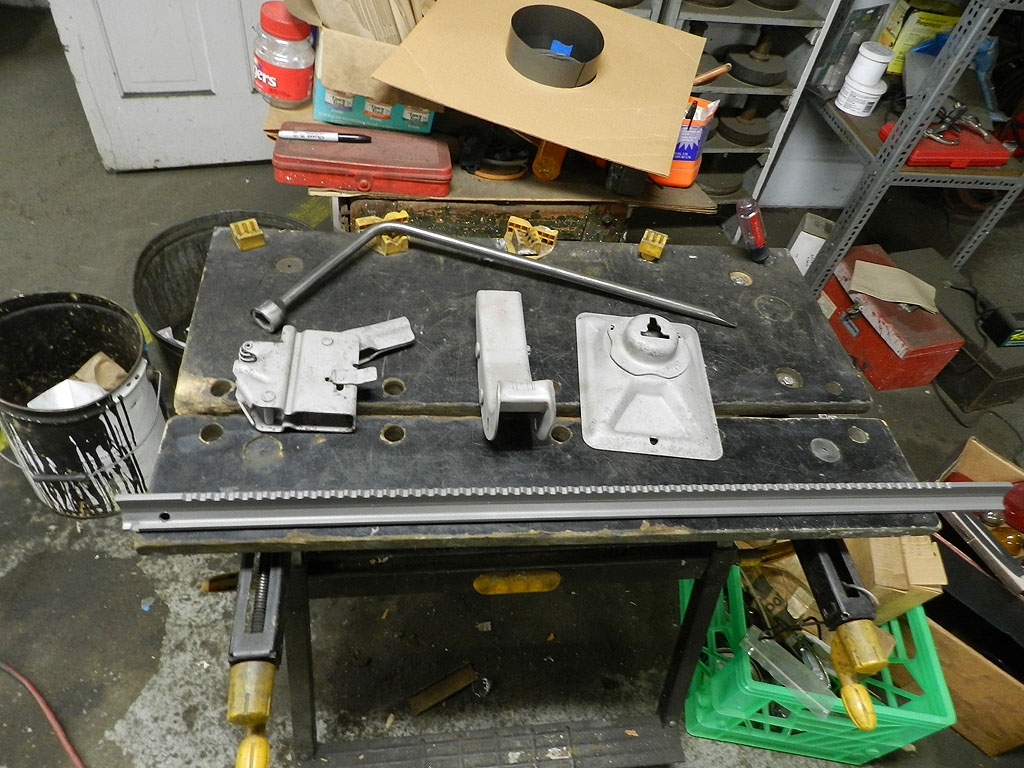
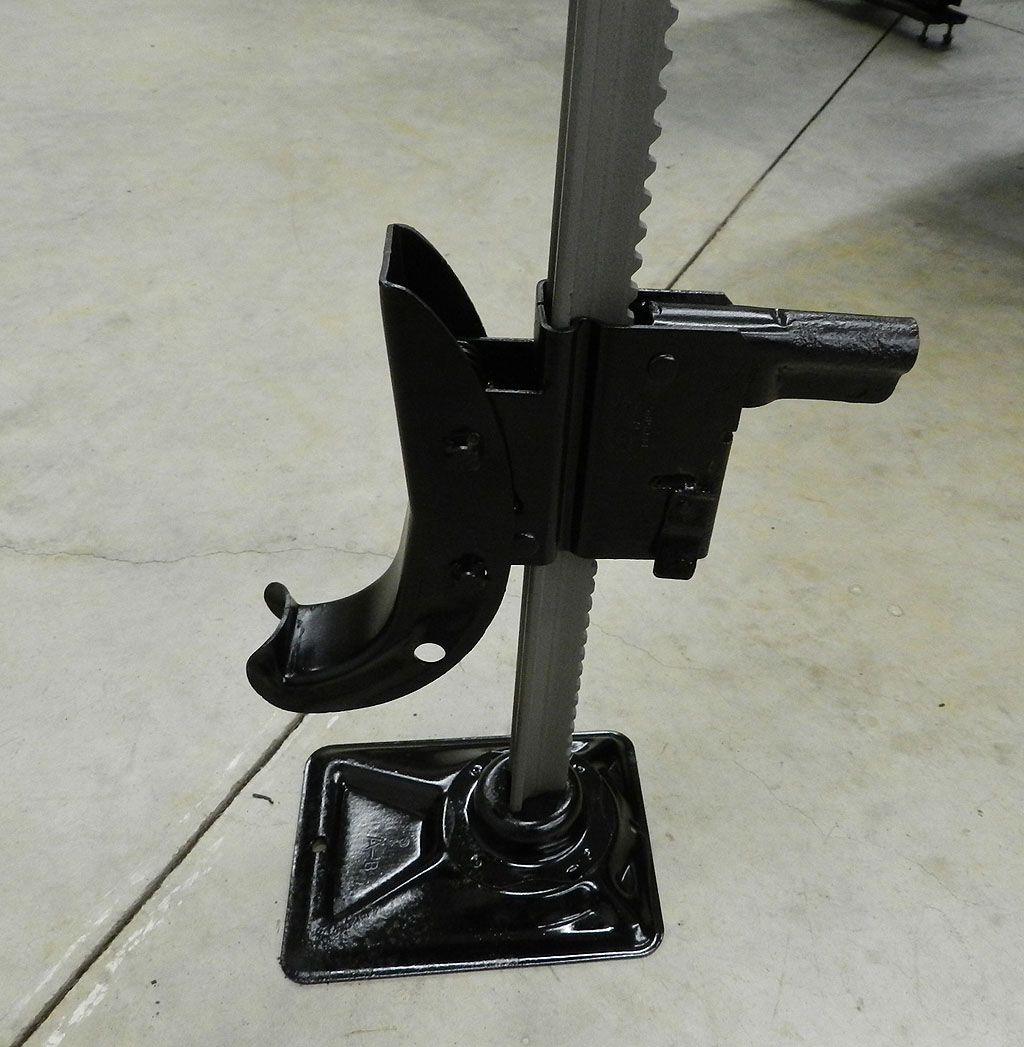
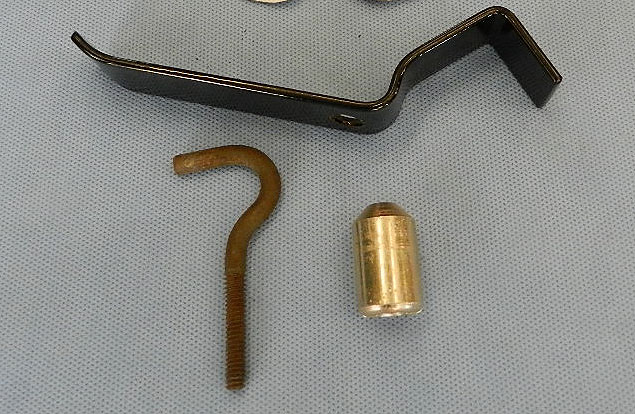
The jack shaft, base, bumper hook and tire iron were missing. Correct 1957 jacks are tough to find and since I never use a bumper jack (compact hydraulic jacks are better), I will substitute something from the warehouse. I get a better result when I remove the slider and paint it separately. Eastwood chassis black and Eastwood spray gray make good looking pieces. 57 and 58 Chryslers had a special hook and nut to secure the jack in the trunk. The club has these available, I have one on order.
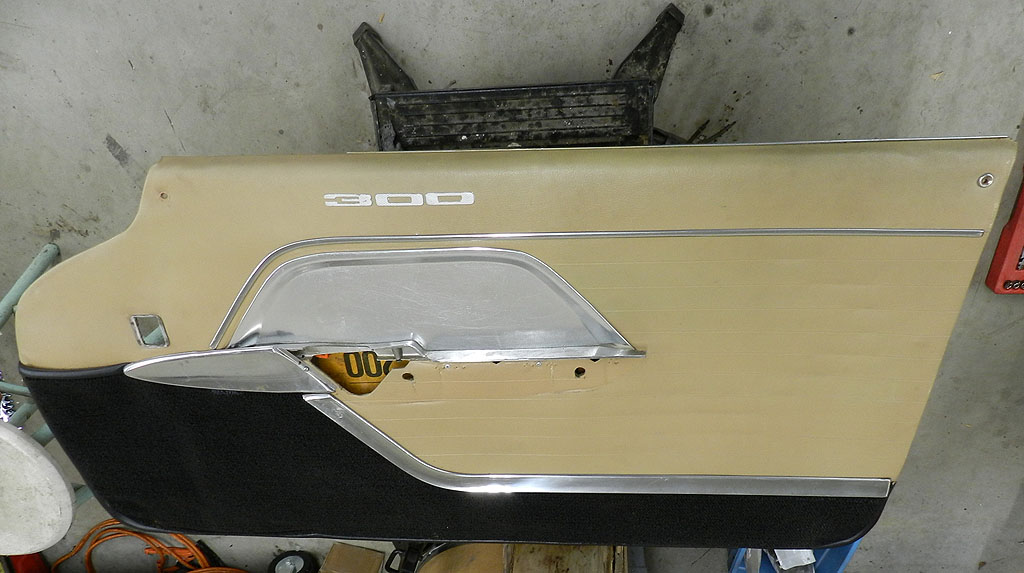
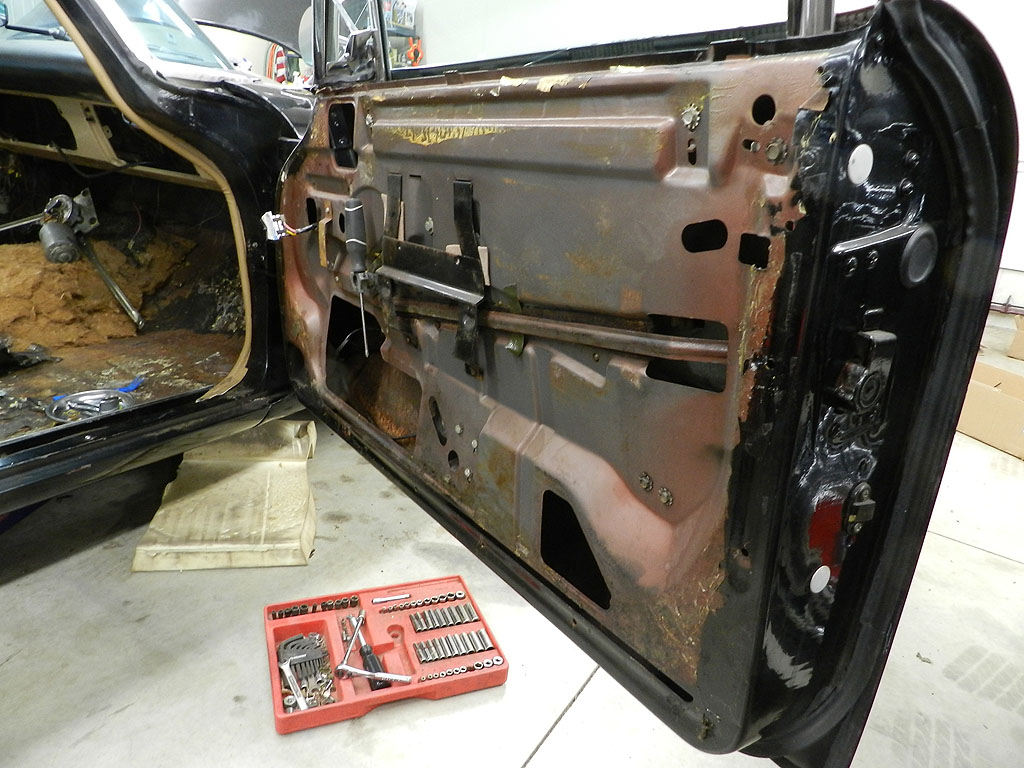
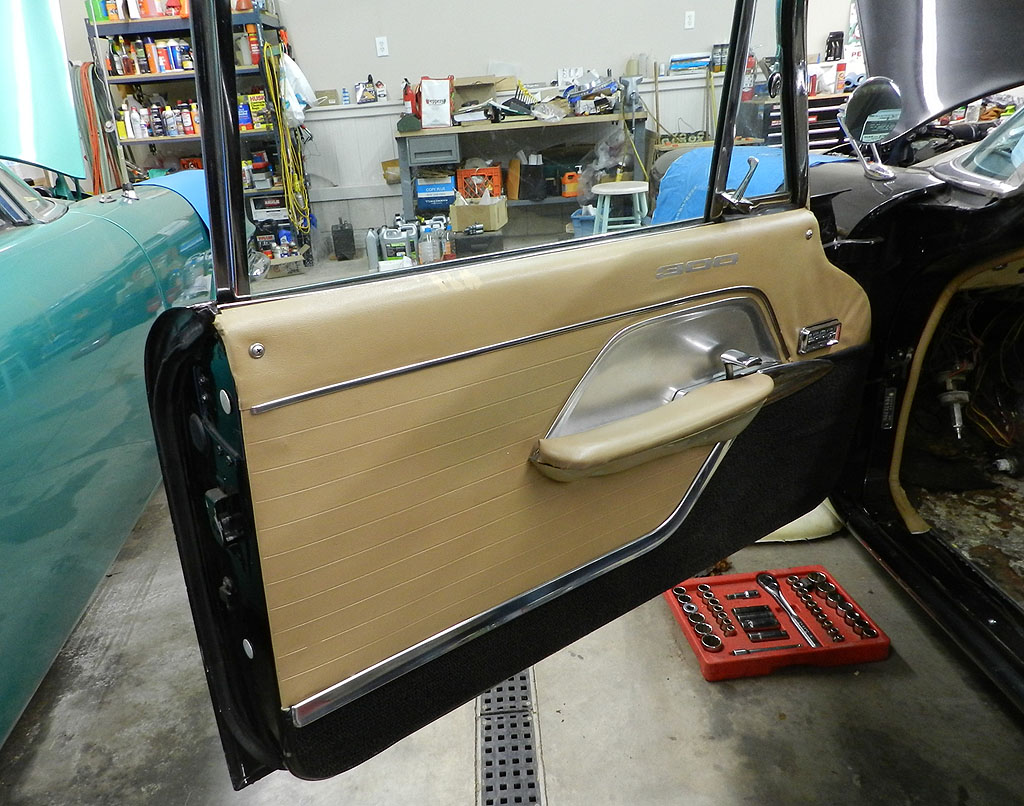
We got into the passenger door to lubricate the window slides, the door latch, and to fix a loose door handle. The door is in great shape; no rust. It even has the wire holding the lower weather seal. The door lock needed a lot of lubrication and now works fine. The loose handle was just loose nuts. The date on the door panel board says Jan 23, 1957. The door panel cleaned up well, and the window motor works well.
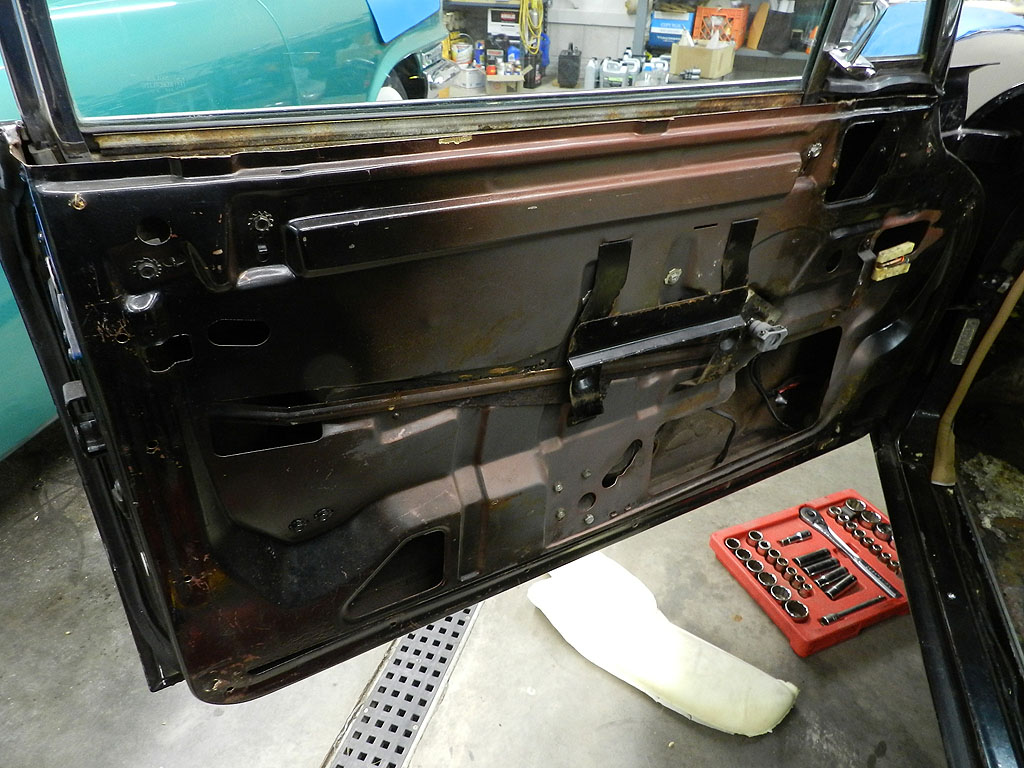
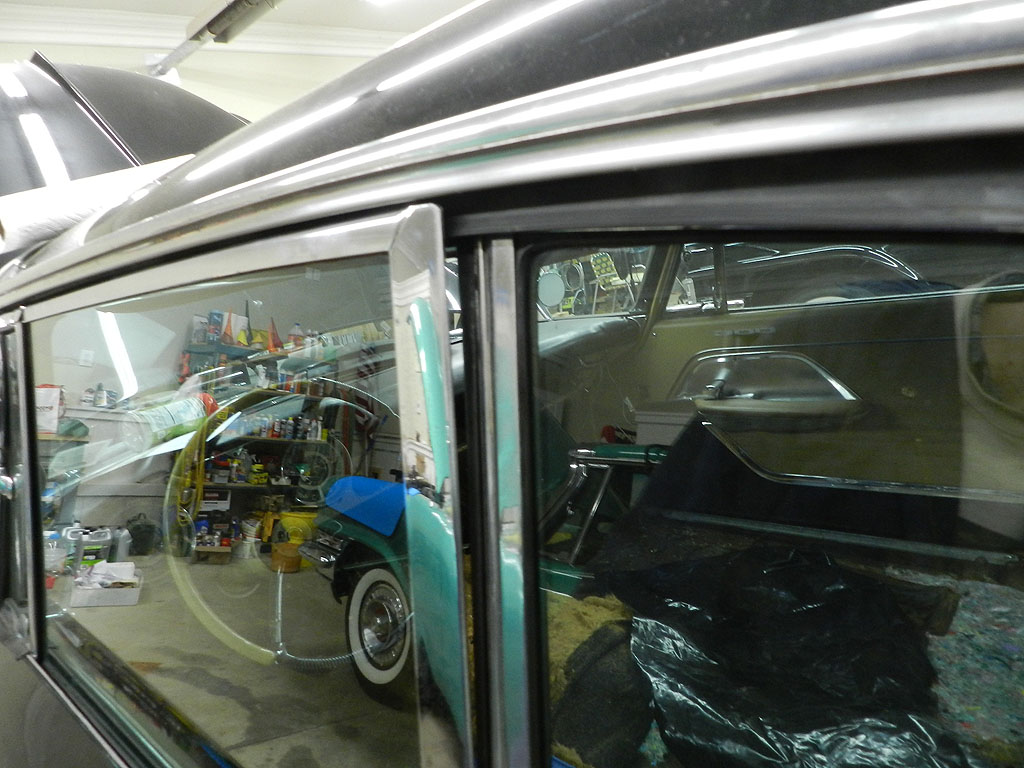
Moving over to the driver door, it is also rust free and in great shape. You can see traces of the original copper brown paint on the door. The master switch for the power windows will need attention but we are able to lubricate the slides and locks. The motor tests fine. But as you can see, the window alignment is going to need work. The passenger side is the same way.
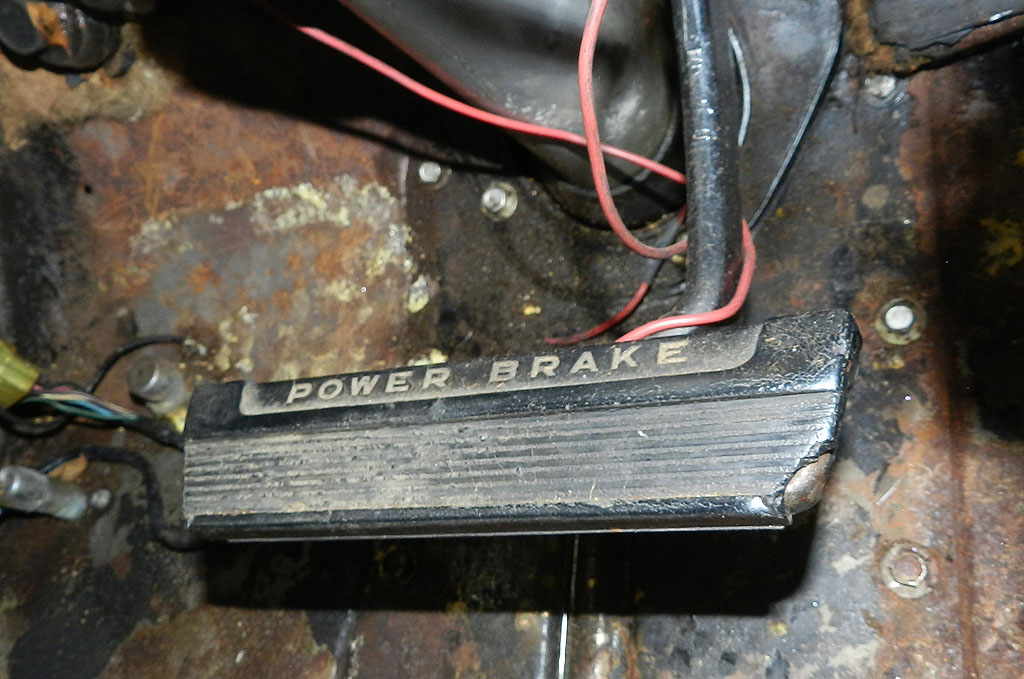
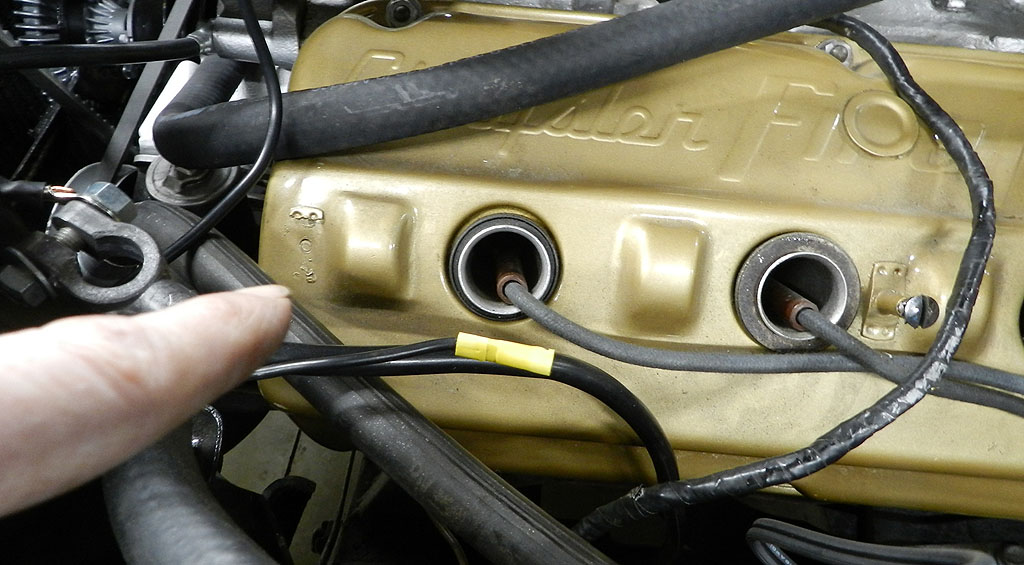
I was surprised the amount of wear on the gas pedal and the brake pedal. I had a new gas pedal in stock and will swap it in some time. The brake pedal can be re-cast by Quirey. I will swap in something that fits and send the original out. Unrelated to pedals, I wondered why the front screw was missing on the driver side spark plug cover. When I removed the cover, I found the front receiver had broken off. We will put this on the list of things to do.
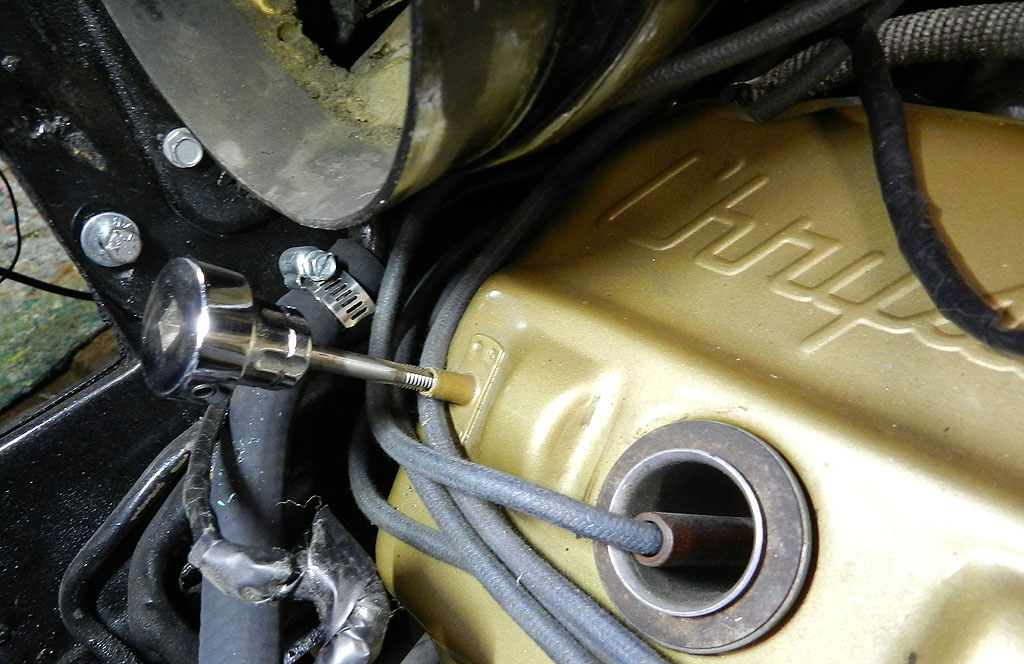
Moving over to the passenger side of the engine, the blower motor was removed for access. I found the
rear screw on the wire cover was glued in with Dum Dum. The receiver on the valve cover had been cross threaded.
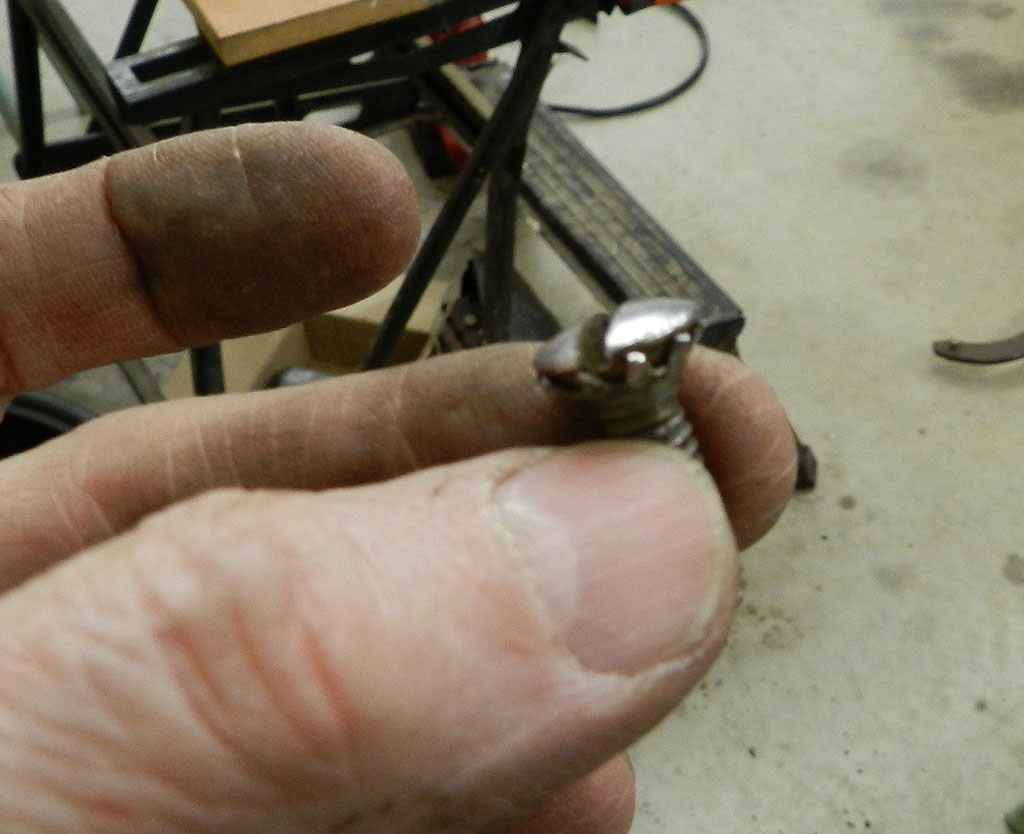
I was able to re-tap. The screws are 1/4-20. According to Graefen's book, there are 3 types; slotted, Phillips, and
recessed hex head. All three have external star washers.
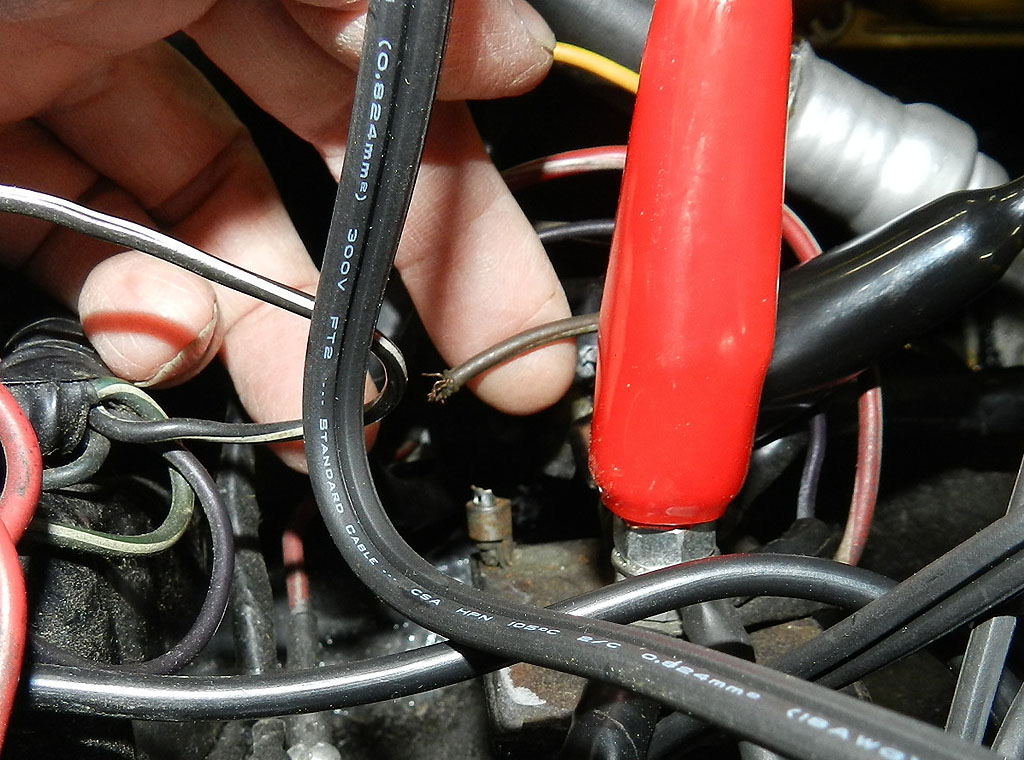
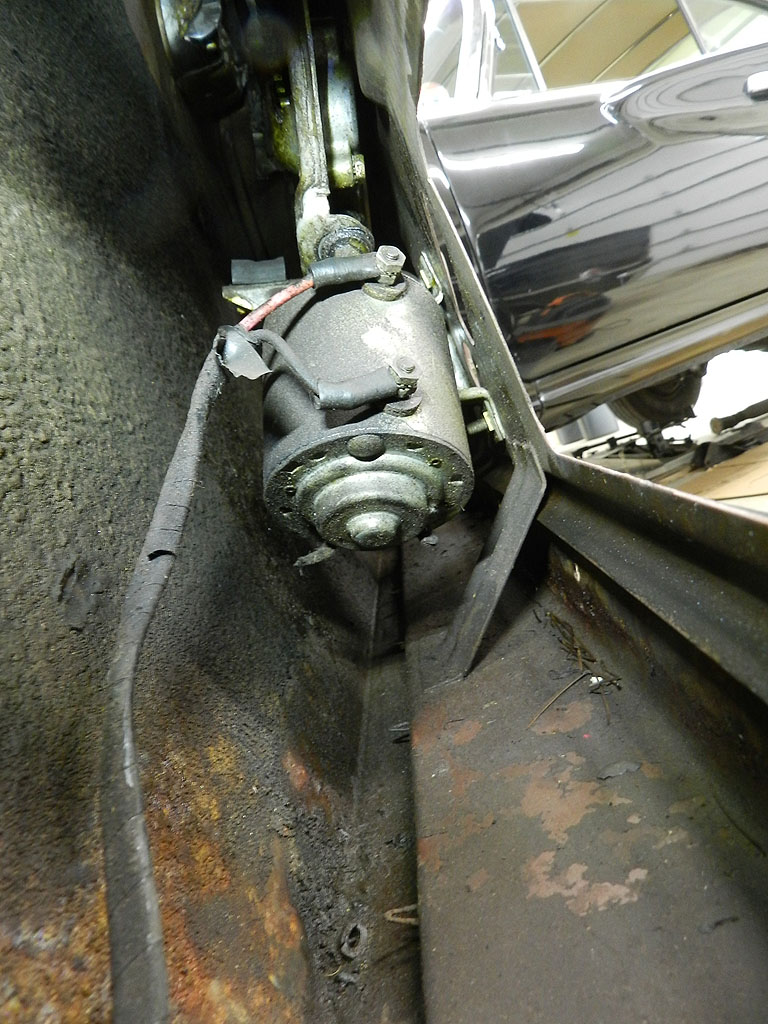
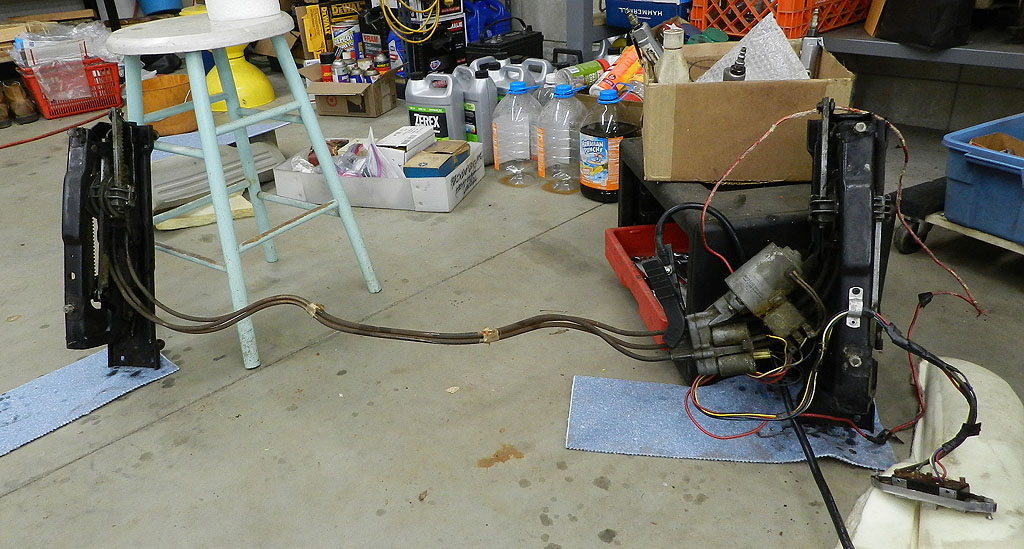
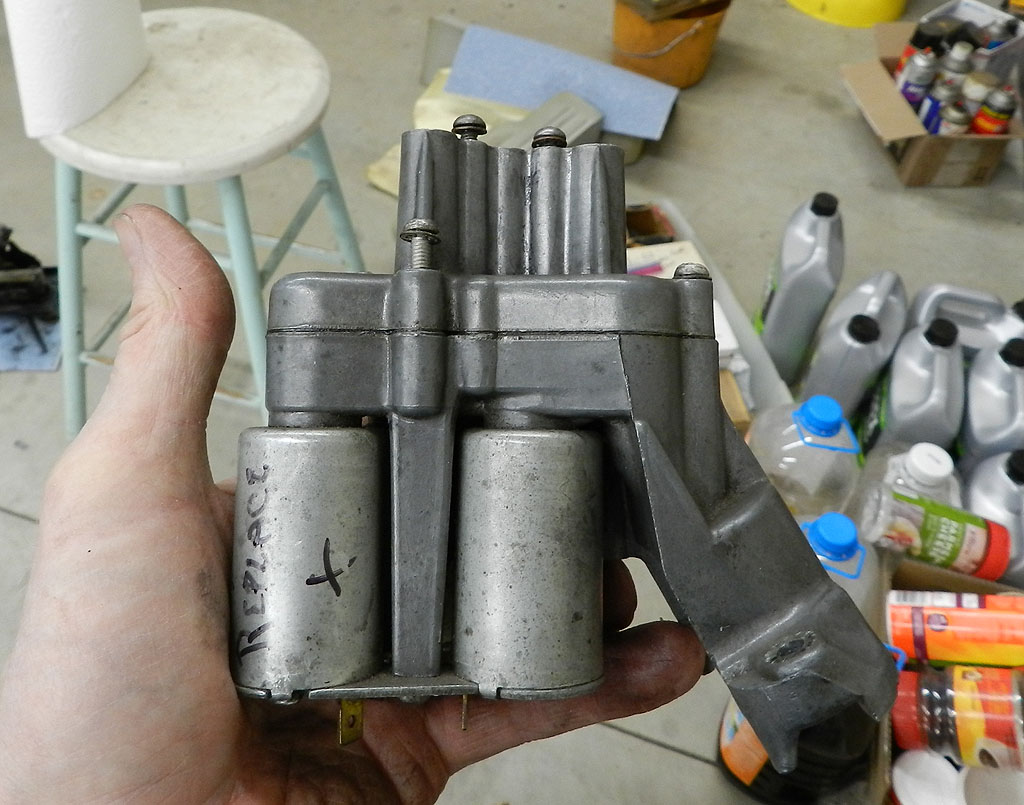
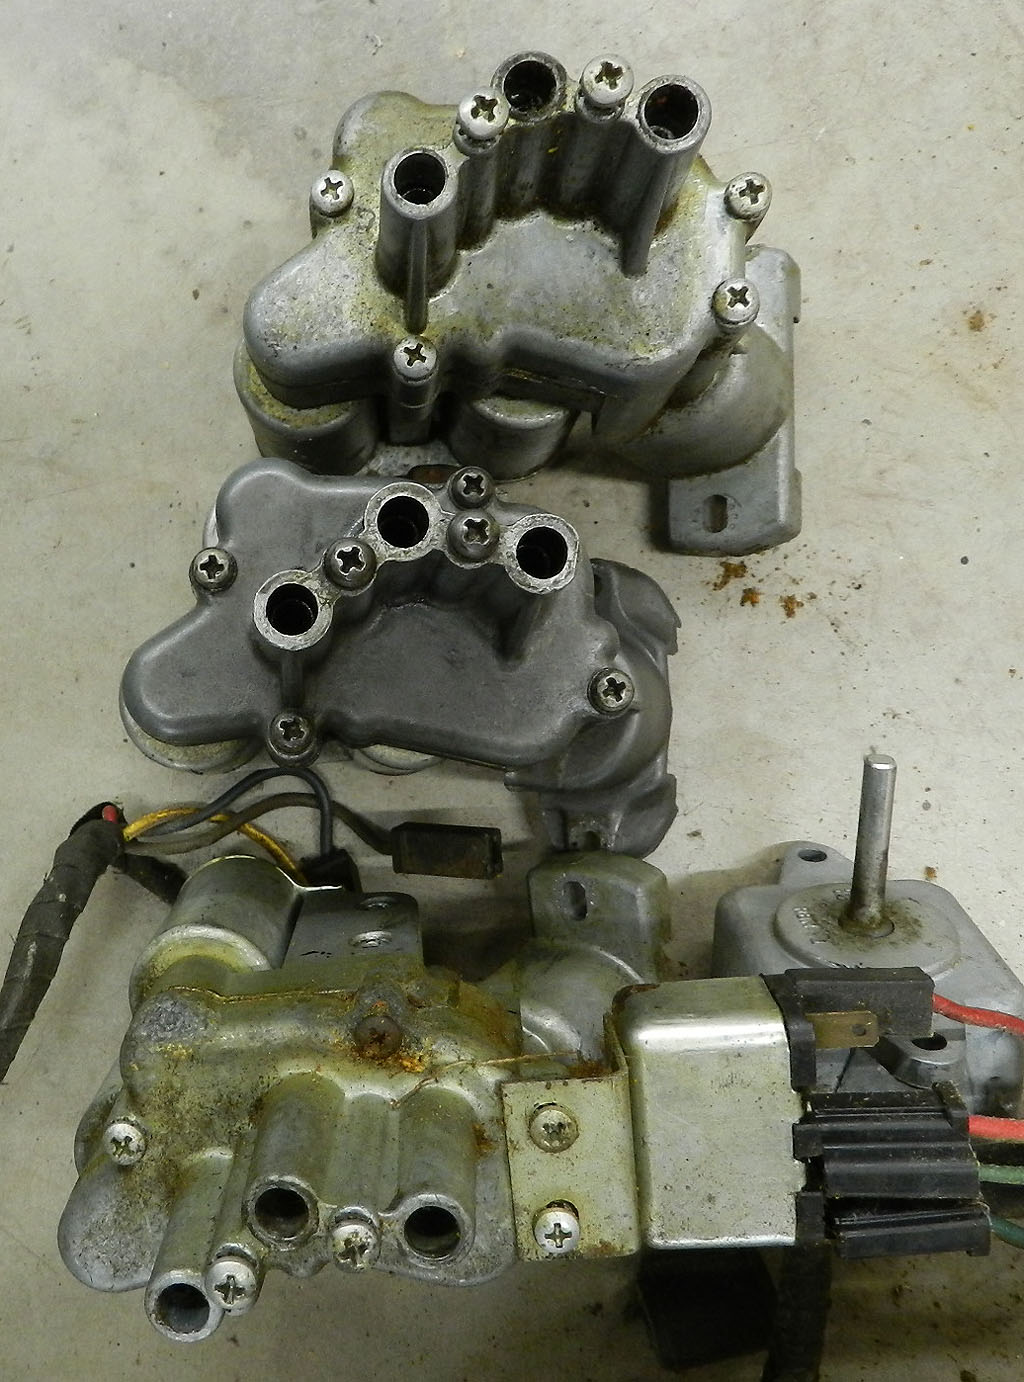
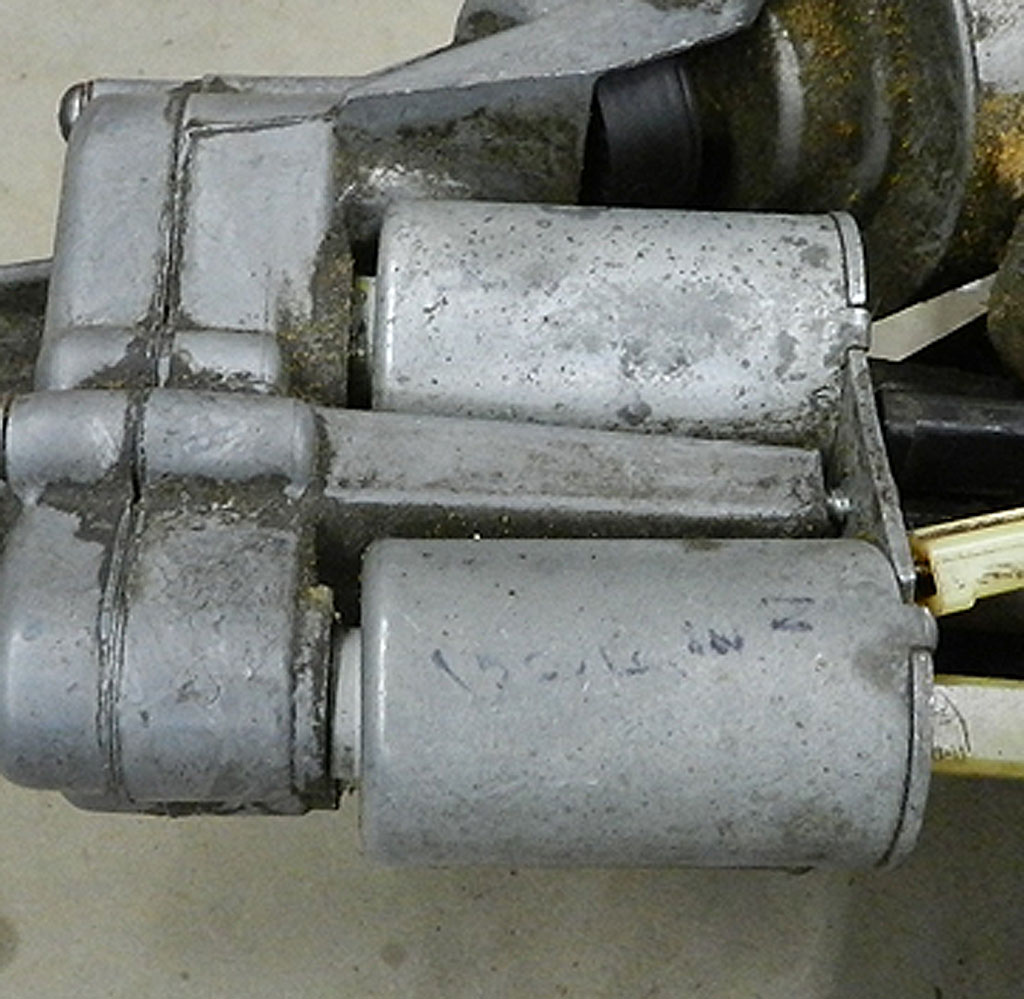
The power seat assembly has been removed. It is easier to work on it on the garage floor. Hook up a battery jump box (ground to the frame, power to the red wire) and you can test. This one moved only a little. If you turn the tracks vertical, you can douse the sliders and rollers with lubricant which will run down the slide and lubricate the entire assembly. After the lube, I was able to get horizontal fore and aft, front riser up and down, rear riser up and down. But then the horizontal would move only one way. In the other direction the clutch would not engage. There are 3 solenoids. One does the horizontal, one does the front riser, one does the rear riser. The motor reverses rotation to give the change in direction. Since I get motion in one direction but not the other, the motor, clutch, transmission and drive cables are working. The solenoid for the horizontal drive is not reliable. A wiring diagram is here along with a picture of the assembly that holds the transmission, clutches, and solenoid pack. To get to this power head assembly, the motor has to come off of its mount (two 1/2" bolts), and the 6 drive cables have to be disengaged. This is not difficult. Reassembly is difficult, but let's worry about it later. At this point, I need to scare up spare parts in case I can't get the horizontal solenoid to work.
Sometimes I try to fix things that aren't broken. Case in point, I spent some time studying the service manuals (57 and 58) for seat switch and wiring diagrams. I learned that although they call this a 6 way seat, you can't get the rear to rise and the front to lower at the same time. The word "tilt" confused me, perhaps from a modern definition where seats can do that. We can't do it here because the motor rotates in the same direction to raise the front and to raise the rear. To raise one and lower the other would require the motor to rotate in both directions at once. "Tilt" in 1957 means I can raise the front. I can lower the front. I can raise the rear. I can lower the rear. But if I am going up on one of the risers I can't be going in the other direction on the other riser. I had been trying to fix what wasn't broken. I found a pair of 66 Imperial power bucket seat frames. It looks like they have the same transmission and clutch pack as 57. I disassembled and greased one of the 66 power heads. Tested and it works well. I went to install this power head on the 57 motor but learned the drive shafts are different. The 57 has a short drive with a slot across the shaft, the 66 is longer and a D shaft. Unless you cut and change wires, which could be done, you can't use the 66 motor. For kicks, I tried installing the 66 clutch pack on the 57. It didn't fit flush before and still doesn't but it works fine. There is enough travel in the solenoids so it doesn't care it isn't sitting flush. Installed that assembly in the seat (wrestle with the short pipes. Probably best to install in the head first then into the drives) and tested, works fine. Added more lanolin lube and put the seat assembly aside. The video on the fun with the power seat mechanisms is here.
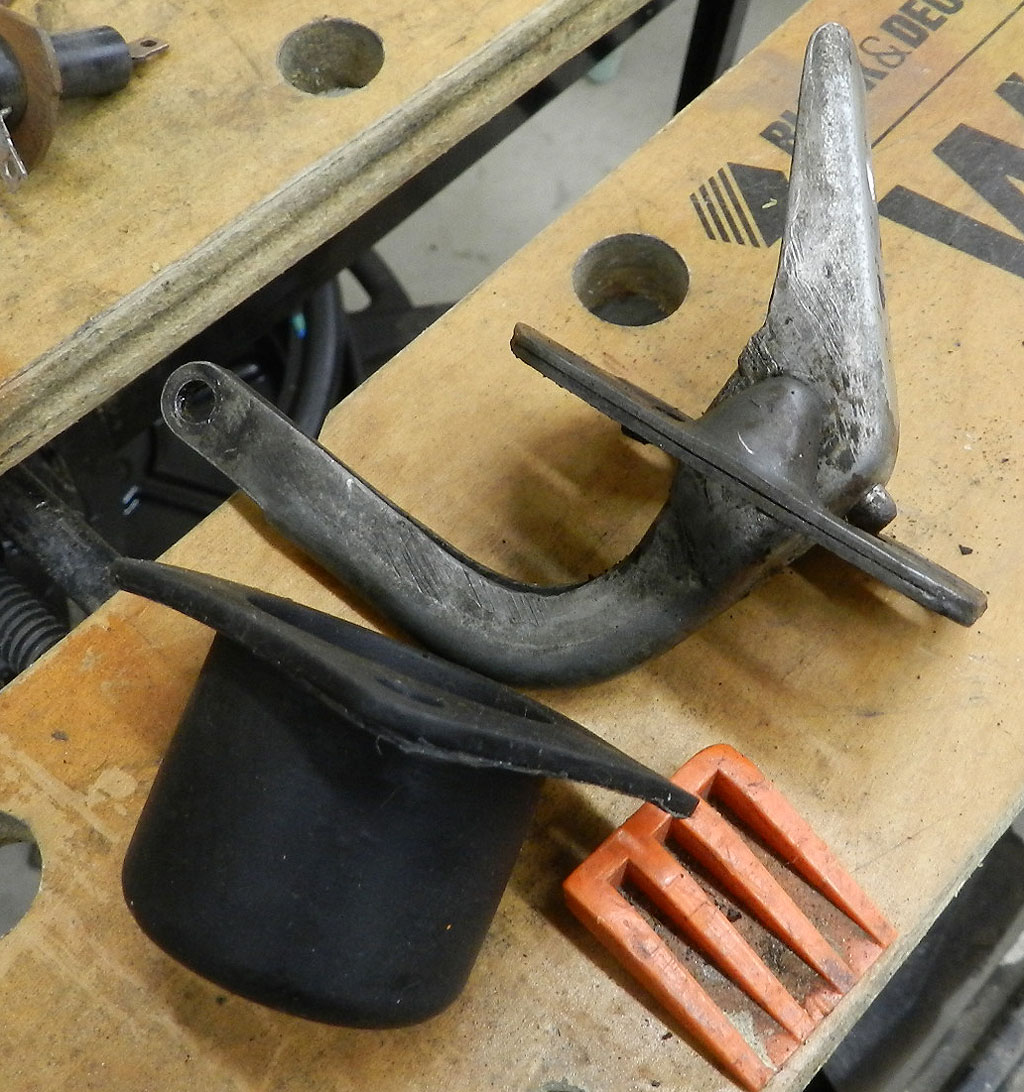
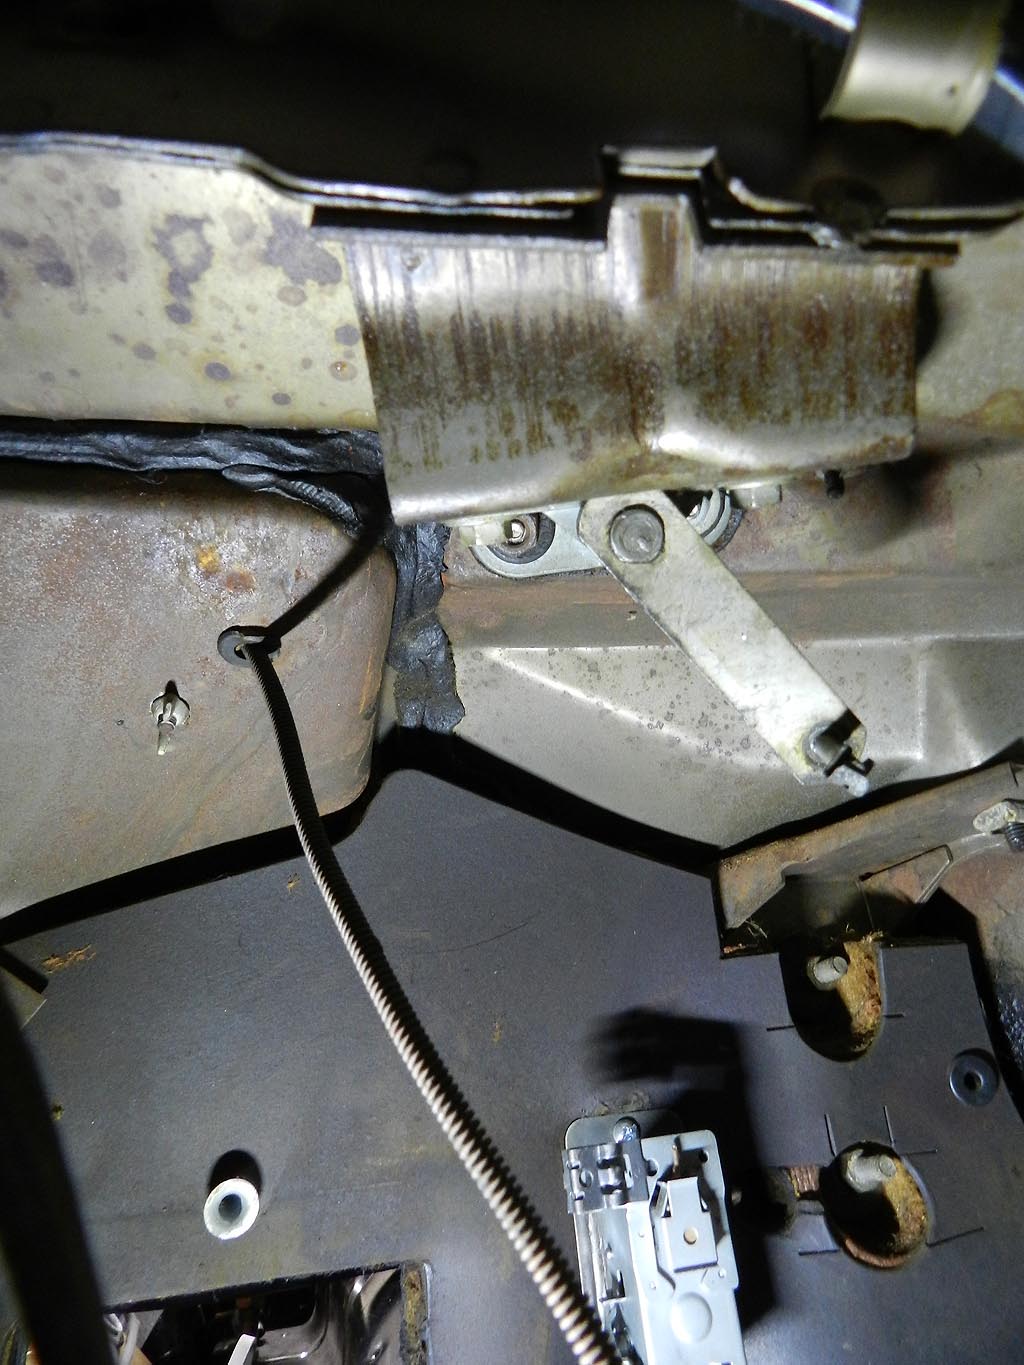
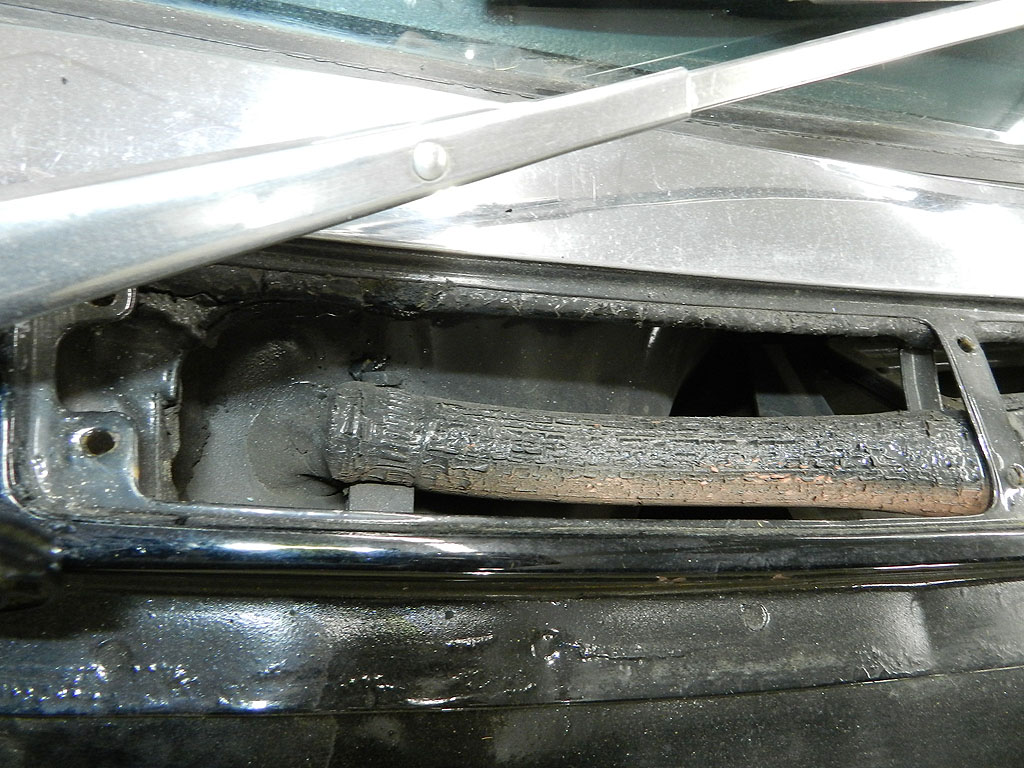
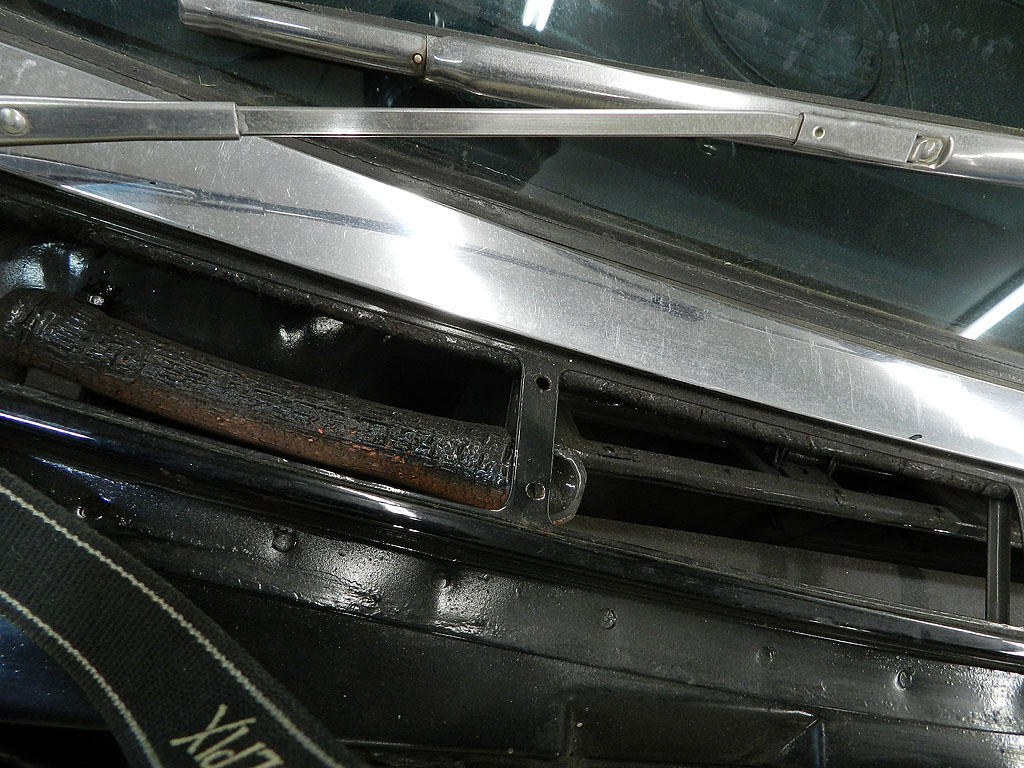
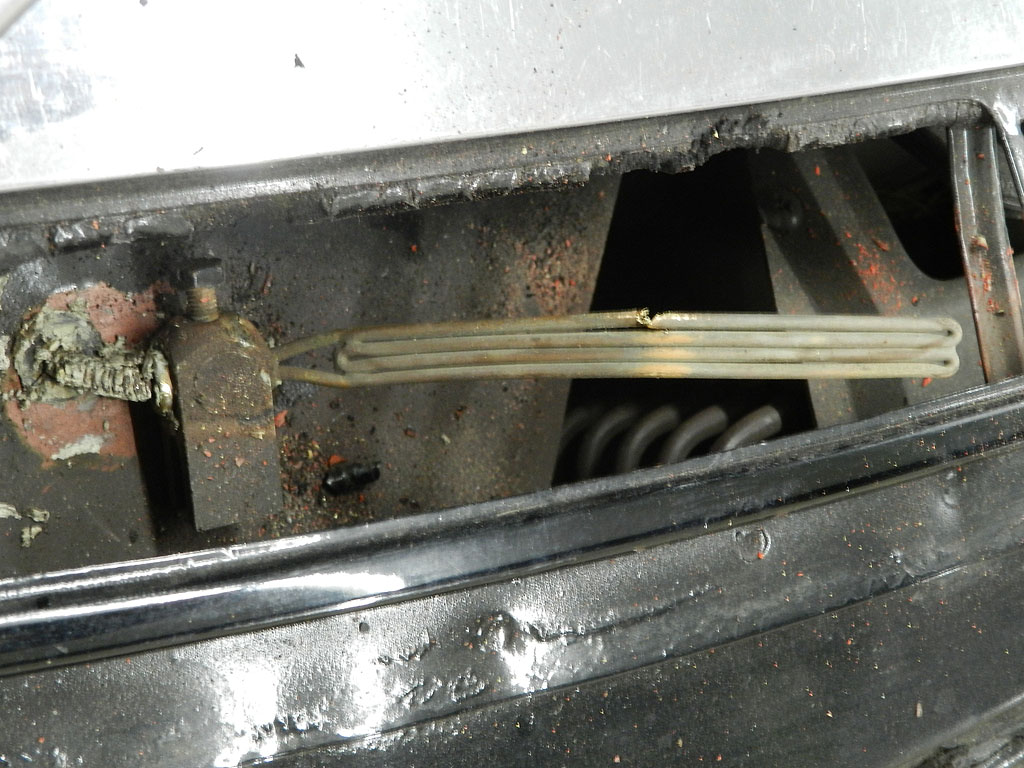
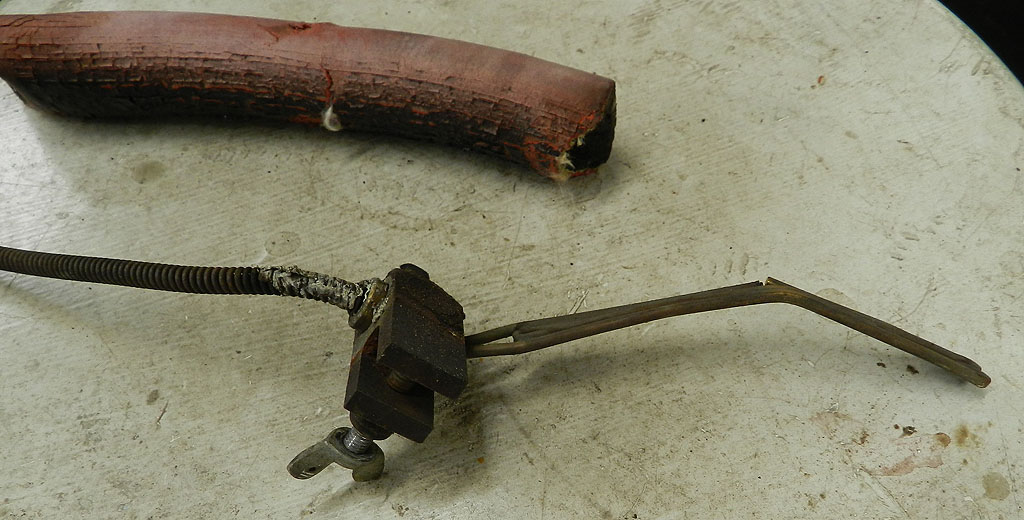
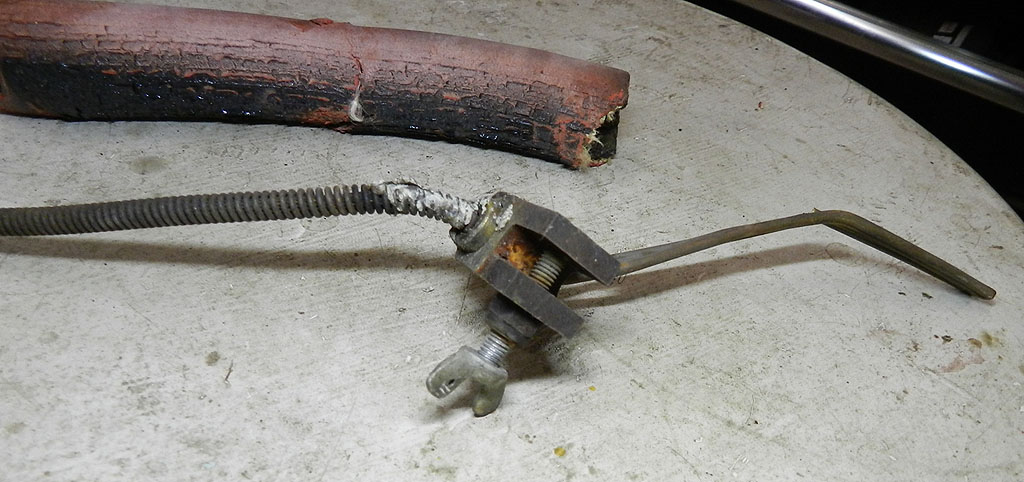
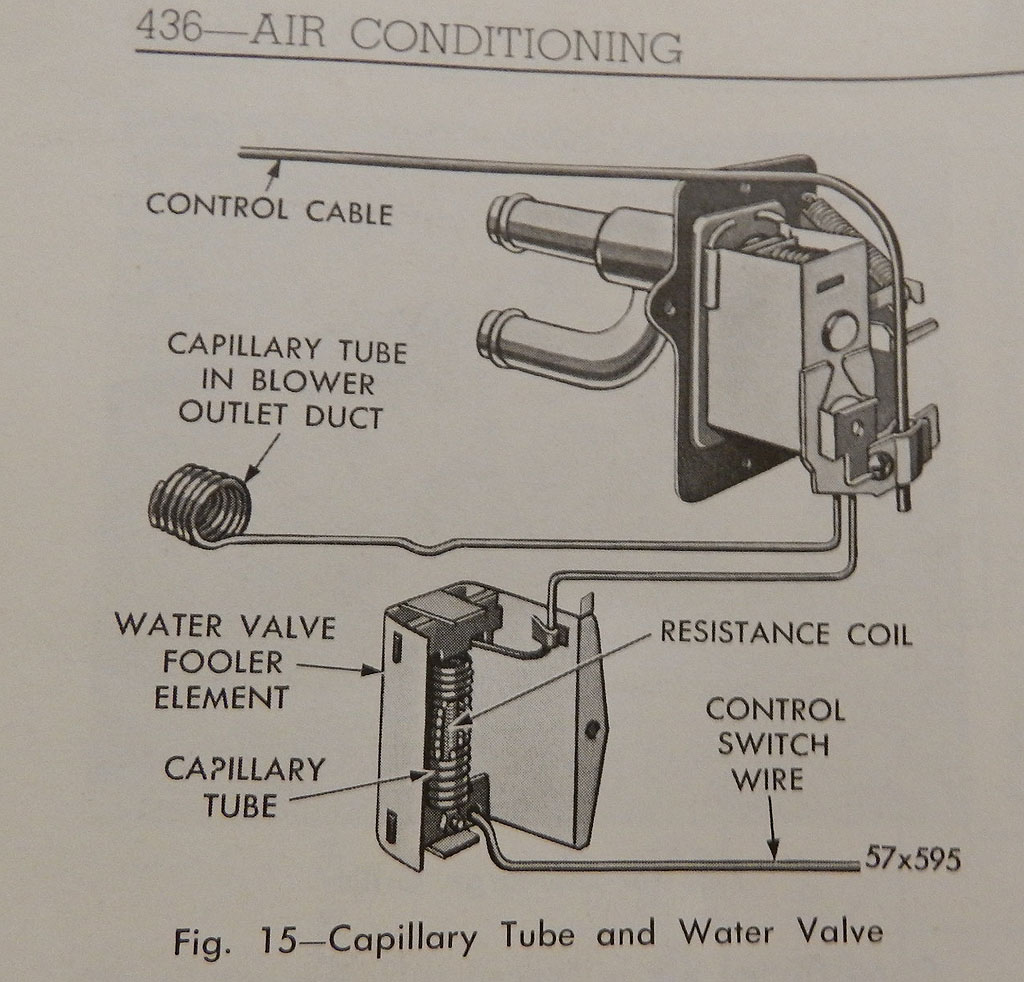
There is this strange thing in the cowl area. I found a cable similar to a Bowden cable in the passenger cowl area, but it is not the Bowden cable for the heater water valve. This one runs up through a hole in the cowl air inlet and goes outside. Until I removed the cowl screen (it is held on by "frog leg" clips at the ends and at the solid areas), I could not tell where the cable went. With the screen removed, I found this very old heater hose, angle cut at one end and clamped to something at the other. I checked other cars and asked around, nobody has seen this before.
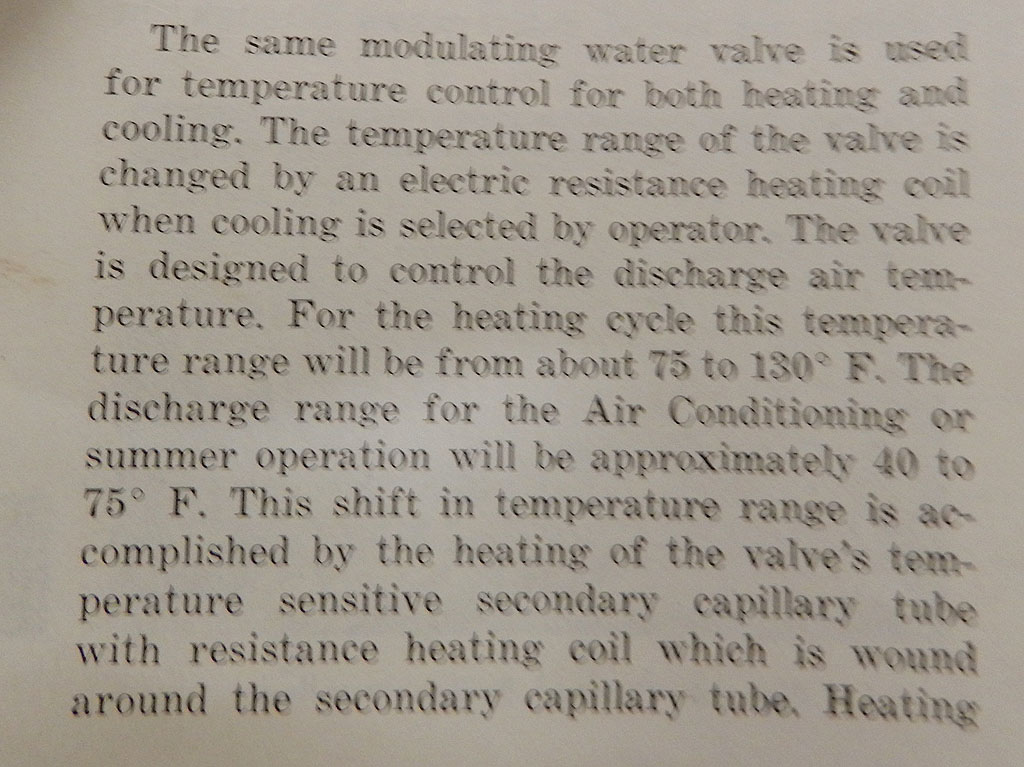
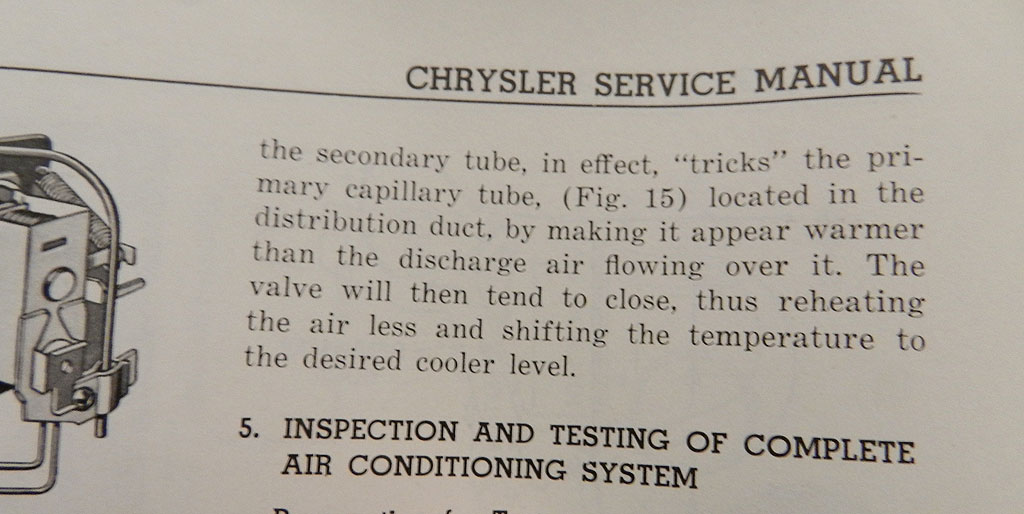
I removed that "thing" is the cowl. It looks like it is a heater, and I thought it might be that "fooler" part of the AC system, but why would it be outside? I more think it is some odd thing installed by a previous owner, but I am stumped as to the purpose.
We have been waiting for warmer weather to run the car. The first run was only a minute or so and it smoked
so bad we had to quit. It was too cold that day to open the garage doors. Well, we had a warmer day so we
opened the doors, stuck the exhaust pipes outside as far as we could and fired it up.
It started quickly, ran on all 8 and oil smoke
billowed from the passenger exhaust pipe. We let it run to build heat and the smoke quit. We had to stop the test
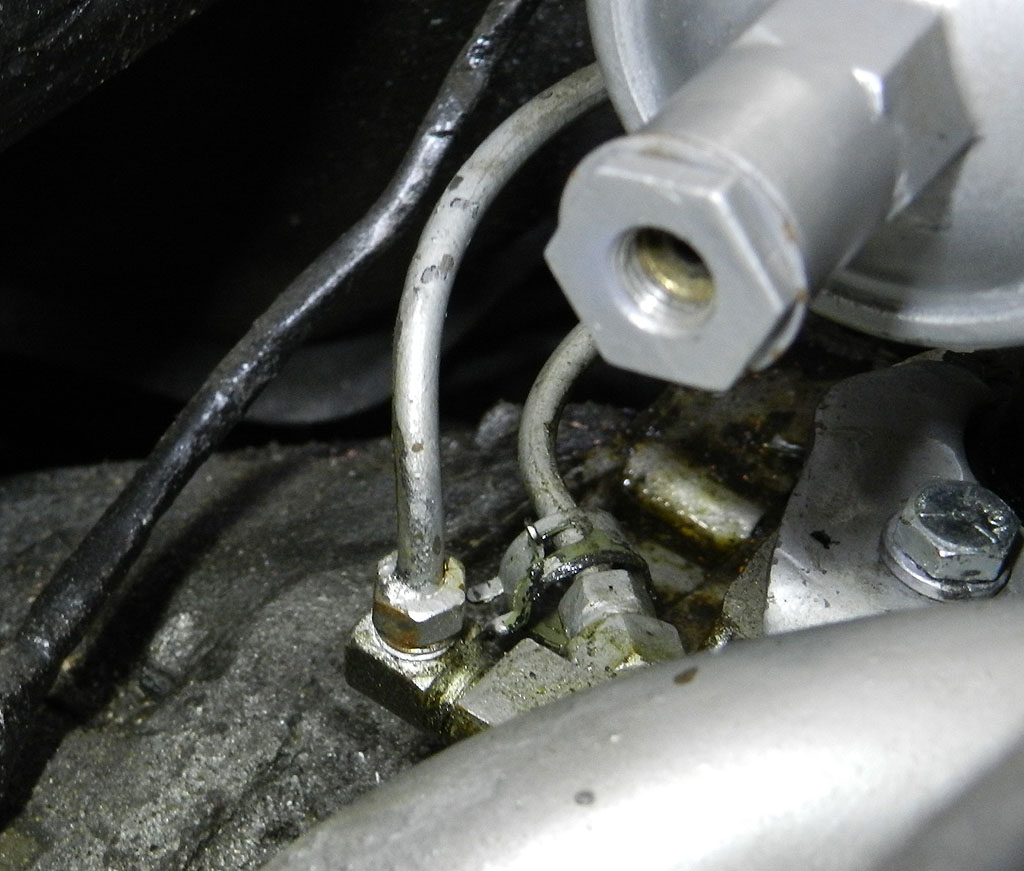
there due to a substantial oil leak from the upper rear of the engine. My guess is there is an oil line unconnected
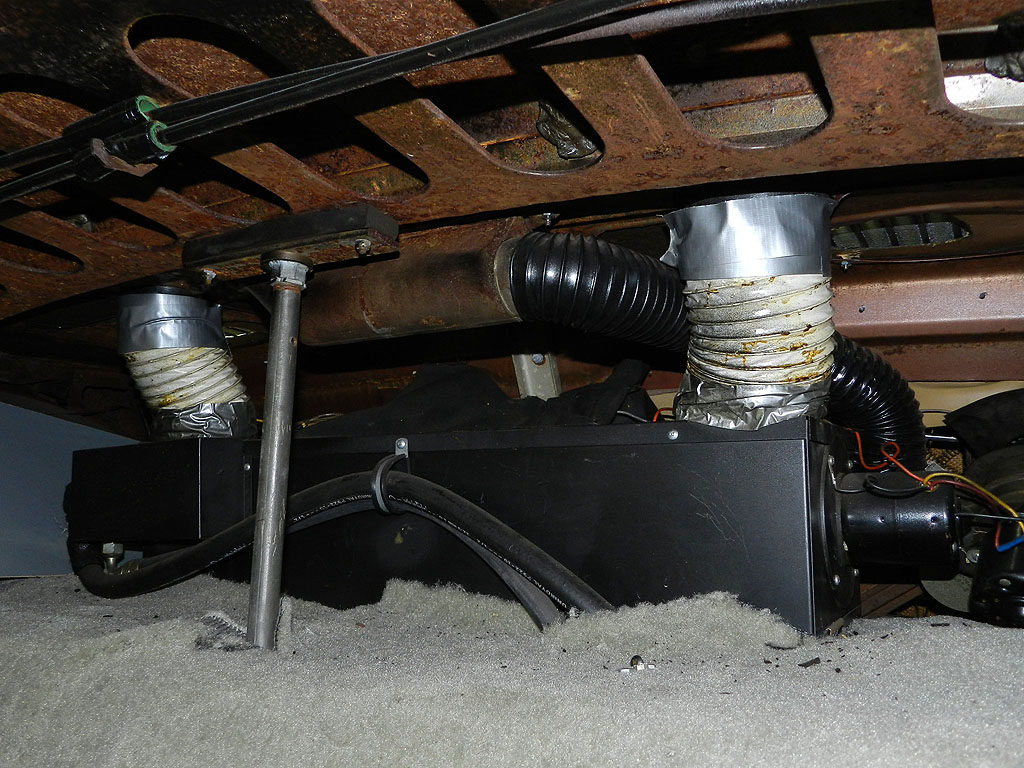
but you can't see or get to the back of the engine with the heater box in the way.
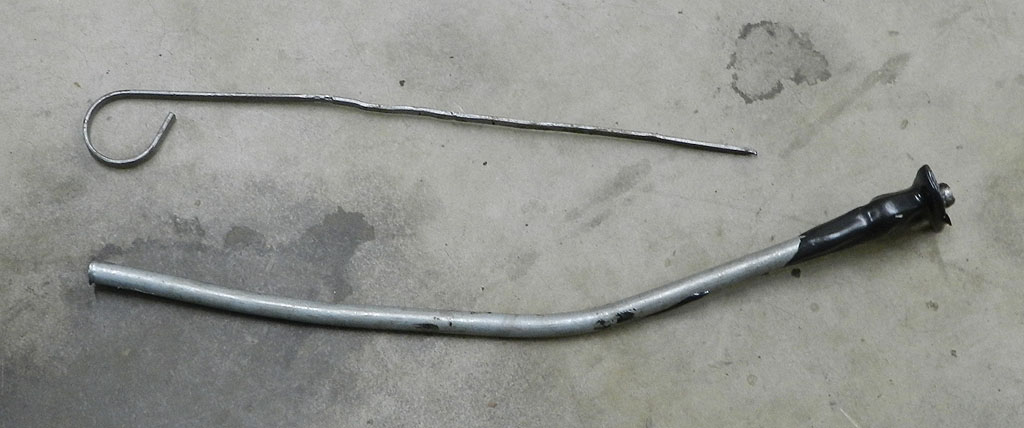
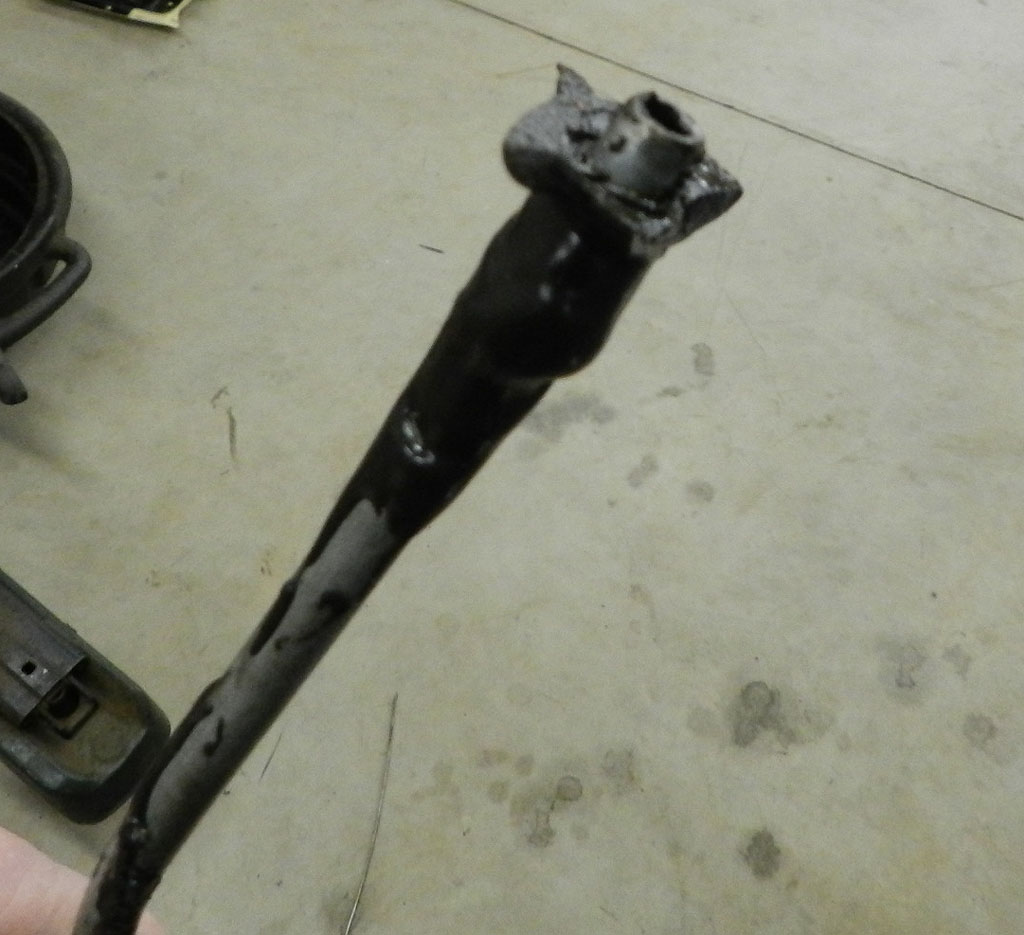
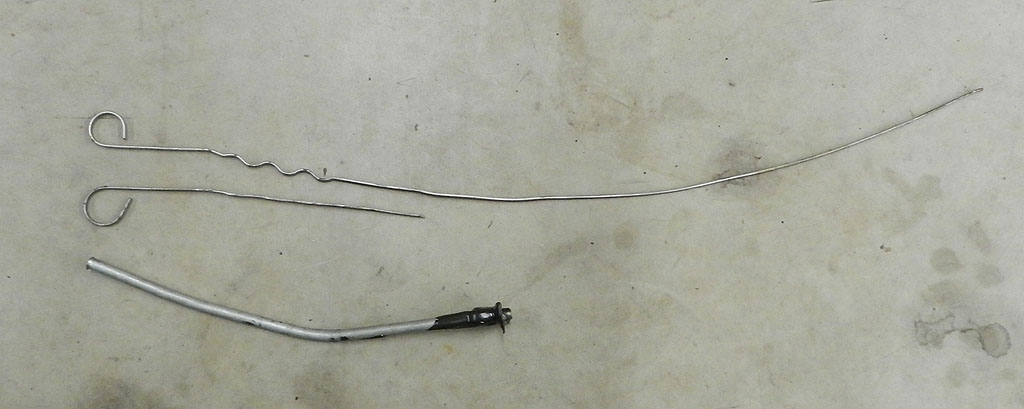
The leak might be from the dipstick tube. I don't know why but they put a short dipstick in and the tube is something home made. There was JB Weld at the block which and that might be source of leak. We will have to run the engine again to see. Also, there is something in the block that stops the stick from going in, perhaps a broken piece of the original stick. I can't get to it from above so I will need to remove the oil pan. There is some comfort in that the pan is badly dented and needs to be replaced. New pans are available from HotHeads. So, at this point the source of the oil leak is still unknown and the to-do list is getting longer.
Here is the video of recent activity. |
|||||||||||||||||||||||||||||||||||||||||||||||||||||||||||||||||
