|
|
|
|
|
|
|
|
|
|
|
1957 Chrysler 300C
Page 4
Talking with our friend Al about 300C power windows, he mentioned that the
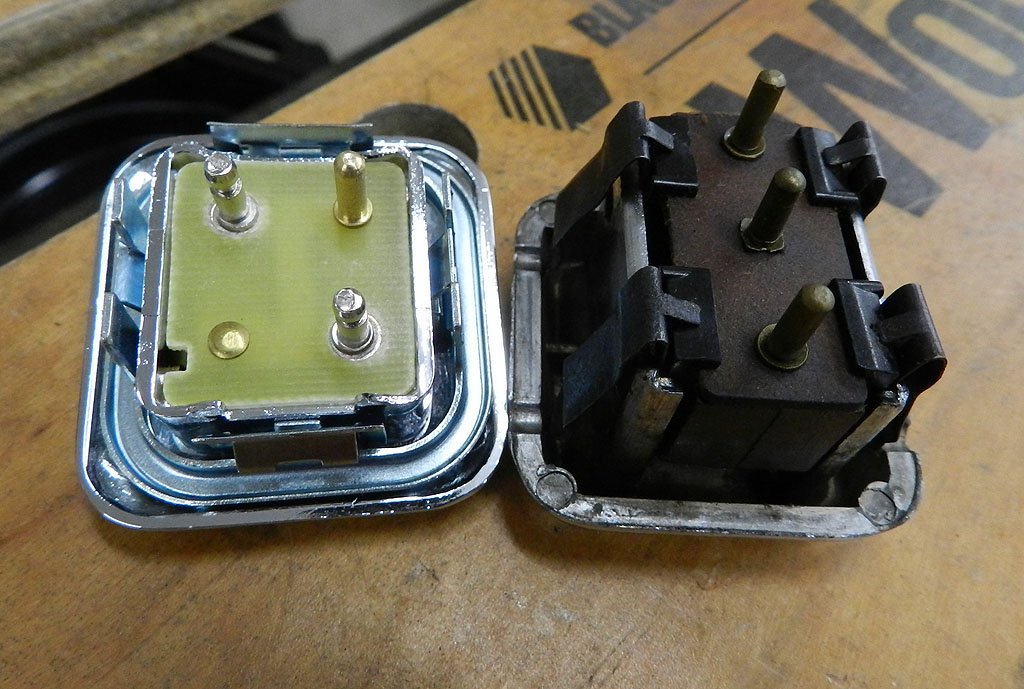
switches in his 1959 Chevy Impala looked pretty close to the ones in his C. Finding nice 1957-59 Chrysler window switches has become a tough and expensive job. Al looked into the Chevy switches and found you can buy brand new switches
for low prices. He decided he would use those switches on his C.
I decided to install them on this car in a way that preserved original wiring should a future owner want to go back to Chrysler pieces. The Chevy switch bodies are too wide to fit into the existing metal surrounds. The best way to install them is to remove the original metal surround and install the new switch as an assembly. You use the new bracket tangs to anchor onto the door board. The switch sits fine, fills the hole and is secure. One note, the new Chevy switches are also tightly clamped together -- they do not release from their mounting bracket as easily as the Chrysler switches do.
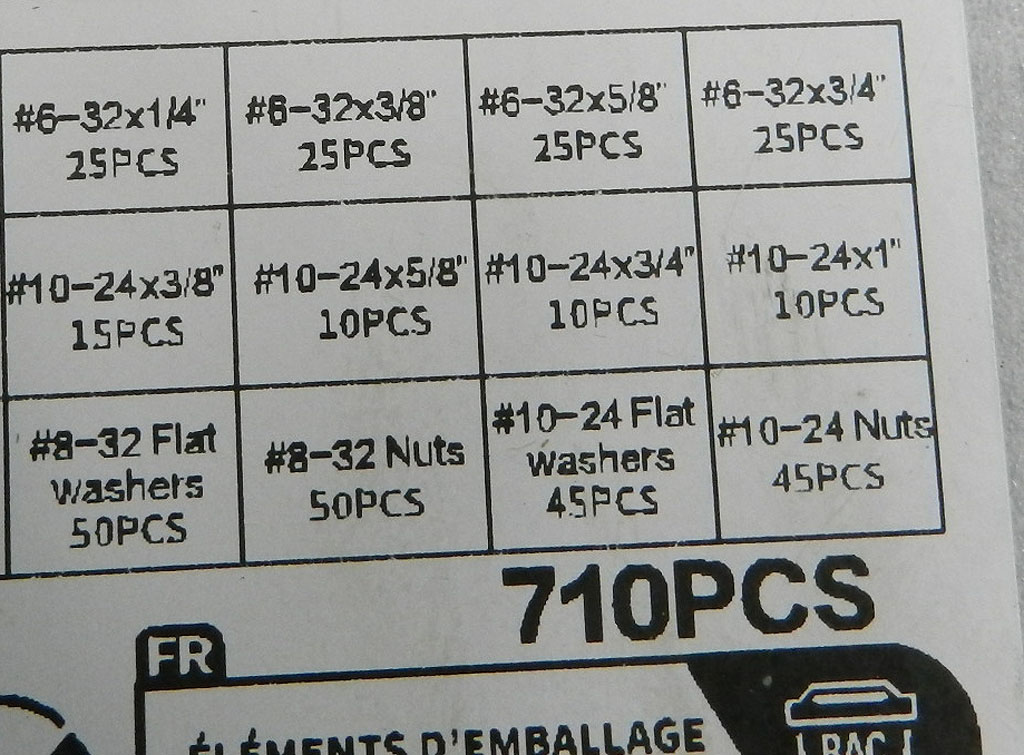
On to the pigtail connectors. Since I didn't want to cut the Chrysler terminals or splice into the existing wiring, I looked into barrel or bullet connectors to join Chevy wires to Chrysler terminals. I didn't find any small enough (in the .125" diameter area) but I found that a 6-32 x 3/8 screw fits great. You screw it in, it bites and won't pull out. Put a nut on it to capture the blue connector. This is a solid connection that can be disassembled when needed. I have completed the 3 single switches and will get to the master when the window motor comes back. While I was into this project, I also cut Tyvek tube and placed it as a wear protector over the door edges where the wires come through. Probably over kill but....
Adjusting the side glass. The alignment of the driver and passenger door glass was poor. We started on the passenger side. We could see the quarter window was having trouble reaching full travel. On these cars, full travel
of quarter windows is not only full up but also full forward.
On these quarter windows, they have a strange motion; at the end of their up cycle, the window moves forward more than it moves upward. This closes the gap between the front of the quarter window and the rear of the front window. For best sealing, you would move the quarter window top stop up as far as you can. But there is a danger -- these regulators can run the transmission drive gear right off the end of the moon gear and you are stuck. The window can not go backward to catch the moon and re-engage. You have to disassemble things until you get to the transmission which must be removed. Then the window can move back and the transmission can find the moon gear. This is a lot of work, plus one of the transmission bolts is not accessible. You can disconnect the regulator from the window, or you can drill an access hole for the bolt. The point being, it is a lot of work. You are better off being conservative in your top stop adjustment. We have a video here.
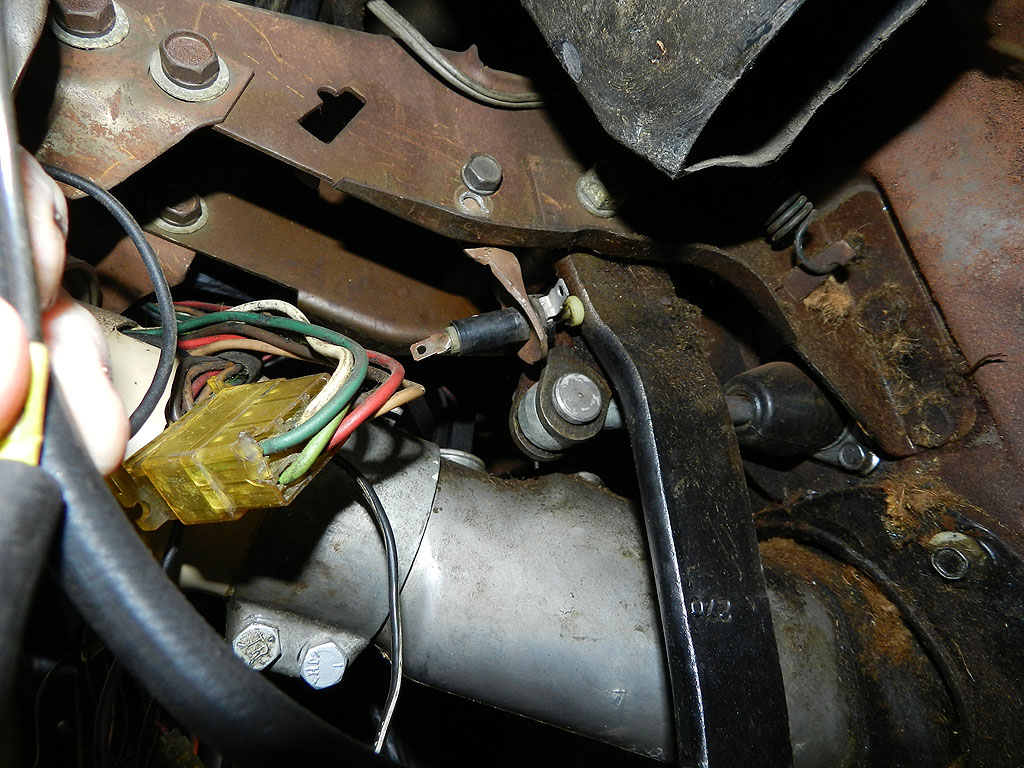
It was very cold outside, low of minus 2 and high of 18, but it was nice inside the garage so I decided to work on the wiper motor. I got out the electrical diagram. The switch is pretty simple once you remove the wires for the washer pedal. Feed is black wire with white stripe going to what I marked as "1". There is a terminal next to it I marked "A" which goes to the pedal. The rest of the wires are in bundle connectors that install only one way. The feed wire comes from the accessory post on the ignition switch.
We will be installing new wiring soon so I thought I would get ahead of the game
Since we are doing wiring, might as well take a look at the dome lights. The circuit for these things is different in that it is unfused and always hot. They are fed by a pink wire from a junction in the harness at the trunk kick up area. I add an in-line fuse there just for safety. That pink wire snaking its way up to the dome lights runs under the head liner and over several sharp edges, so a fuse is a good thing. To the dome lights. I was dismayed to find DUM DUM on the passenger side light, both on the front and on the back sides of the bezel. The headliner is new, and DUM DUM got on it. Careful cleaning got it all off. Both bulbs in the dome sockets were bad. I replaced with new. Installation of those lamps is difficult due to limited access and that you have to rotate the base over two connectors, not just one. I use a tiny screwdriver or an awl to help with the final rotation. Bulbs installed, both domes work. On these cars, dome lights only work from the switch on the driver side dome light bezel; they do not go on with door switches. While we were working in the area, we also reinstalled the coat hooks which were in a bag in the trunk.
Let's tackle the gas tank. I noted there was no ground strap over the sender outlet. This may be the reason for no reading at the gauge. The rubber fuel line at tank is old and hard. I could hear some gas sloshing in the tank but not sure how much. Loosened the gas tank strap nuts (they are at the back on 57). The 57 tank has a drain plug (1963 was the last with a drain). There was 17 gallons in the tank. Minus fuel, the tank is removed after removing the filler pipe grommet. The outside of the tank is in good shape. Removing the sender, the inside of the tank is spectacular. The sender is an old one and still has a cork float. Testing the Ohm reading, it says 30-200. The new sender I ordered is wrong at 10-70 Ohms, but should work on a 1960 - 1964 tank.
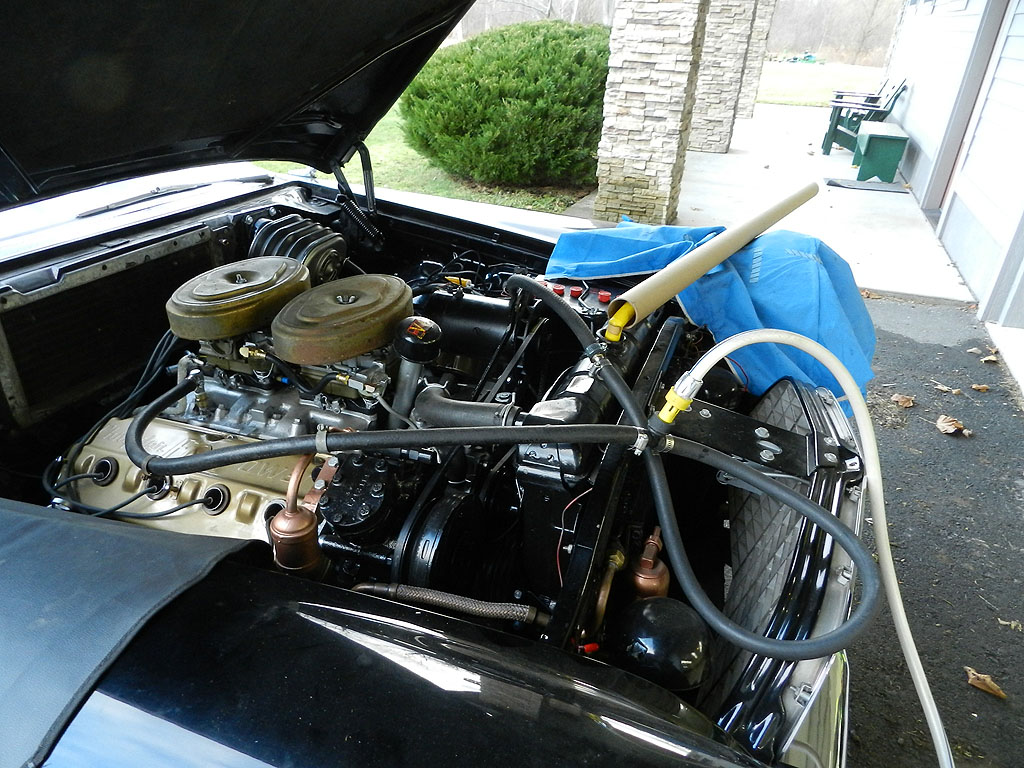
I noticed one of the nuts on the valve cover (passenger side) was not sitting down. Another case of somebody trying to put a coarse thread nut on a fine thread shaft. The fine thread was damaged but might be saved if I can get a die on it. The valve cover has to come off for the die to fit and that is when I found two bolts on the cylinder head! I am glad I took off the cover. The bolts had not been there too long and had not done any damage. I was able to dress the thread and save the stud. These studs are fine thread (5-16-24) on one end and coarse thread (5/16-18) on the other.
Here is the third video of the correction series. |