|
|
|
|
|
|
|
|
|
|
|
1957 Chrysler 300C
Page 5
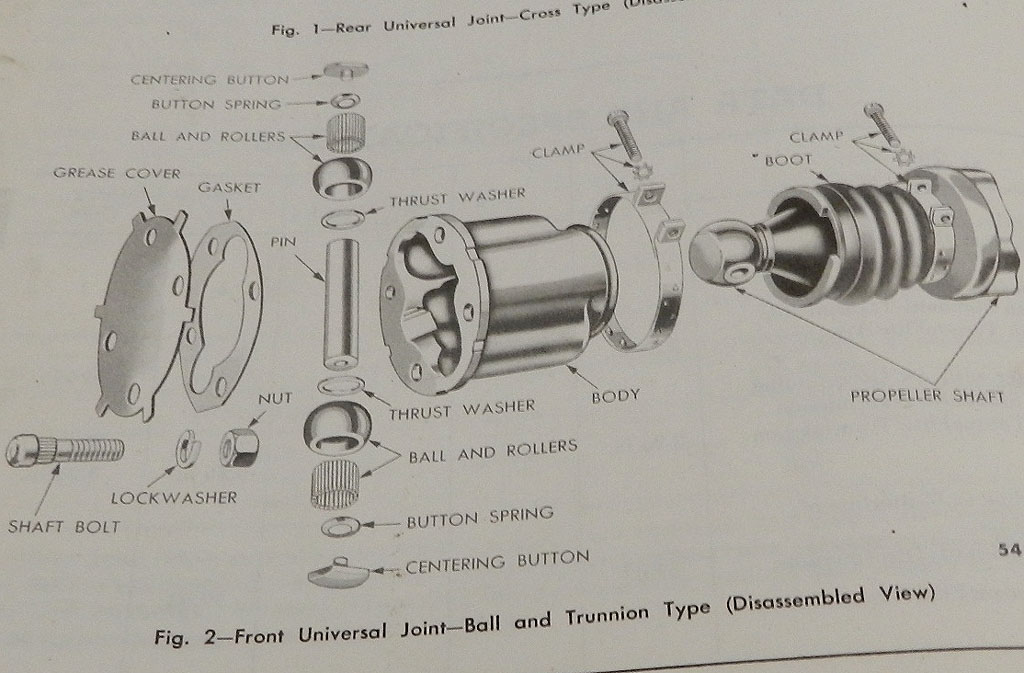
The drive shaft boot was torn so I installed a new boot from Mark Sherman. The ball and trunion feels very good, no looseness or wear spots. It had plenty of grease still in it. The inner boot retains most of the important grease up in the head. Installation of the new boot went very quickly. It is normal to have pins come loose in the balls. Fixing that is easy if you insert needles into the balls after they are back on the pin and horizontal. Feed pins one by one, it goes quickly and works well. I have never been able to install any of the new straps that come with the kits but I tried again on this one. Even with two sets of hands, pliers, Vice Grips, no luck so used Zip ties.
It was time to run the bench test of the new gas tank sending units. I have a spare gauge pod from the E. You run power to the gage fence (four terminals on the same rivet), ground the pod, run a wire to the sender, and ground the sender -- there are a lot of grounds you need to make it work. Using the 15-210 Ohm sender, the gauge reads perfect; empty is E and full is F. Using the 10-70 sender, the gauge needle reads too high. Empty is half, full is full. I bought the sender from Auto City Classic, Isanti, MN. Get model TSM5759S with the wire type head, not post type. Just for fun, I tested original sender. It works but decided to install the new one. Cut tank insulating pad for the top of the tank, installed tank, pad, new rubber line, gas tank ground, filler tube grommet, tightened J bolts. Put in 1/2 gallon and found the drain nut was leaking due to a cracked rubber seal. I will make a new gasket. Here is a video of the sender and gauge test.
The passenger side quarter window had run off the moon gear so we moved the top stop way down. Now the transmission does not jump the moon gear but of course there is a gap at the front window. While trying other various things, I noticed this quarter window sits way higher than any other quarter windows. More investigation and review of service manuals is needed.
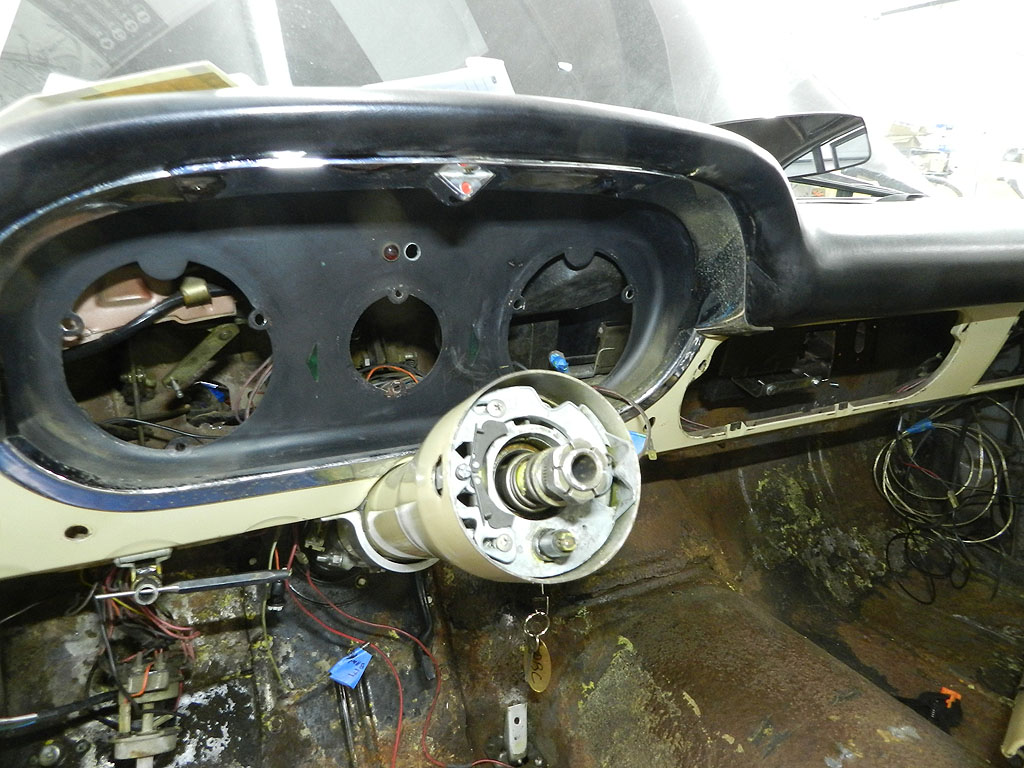
I bought speaker wire from Home Depot for the rear speaker and ran the wire along the passenger side gutter. Normally it runs down the driver side but it doesn't matter. I disassembled the speedometer and noticed for the first time that the speedometer and instrument cluster are chrome. 57 housings are painted beige. Chrome means these are 1958.
Cleaned polished and waxed speedometer base and chrome. Scraped debris off of the dial. The stuff softens well with Simple Green detergent. There are see scratches from prior owner that won't come off with lens polish but they are not seen when the gauge is in the dash. I use RTV dabs for new the lens gasket.
Might as well do the same to the instrument cluster. Someone had been in here before and lost one of the tiny mounting screws. Look at the green pod and you can see how bad these clusters get.
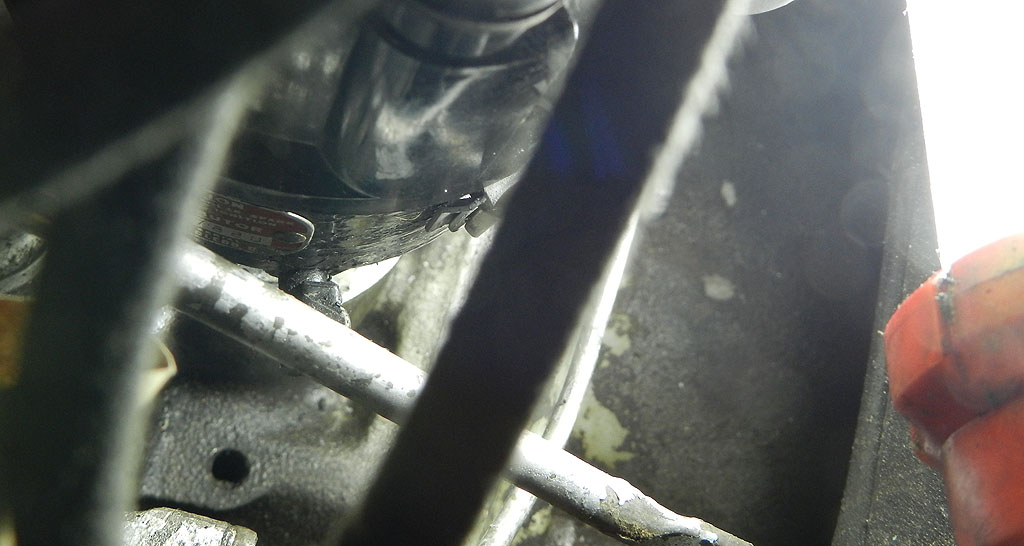
Getting into the broken dip stick and dip stick tube problem. The dip stick tube
enters the block at the rear, near the distributor, pretty much at center.
Something is blocking the hole in the block.
The oil pan was badly dented. The ones available from HotHeads are for rear sump and mine is a center sump. HotHeads was very good about the return. I can't use their pan because the steering center link crosses just behind the drain plug and the new pan is too deep in that area. I will knock out the dents and use the original pan. I installed a new stock output 392 oil pump from HotHeads along with a spin on oil filter adapter.
I also received the headlight and the front parking - turn signal light harnesses. You have to reuse the existing sockets and grommets. The sockets aren't too bad but be prepared to need new grommets. The originals are now almost 70 years old and not likely to survive removal.
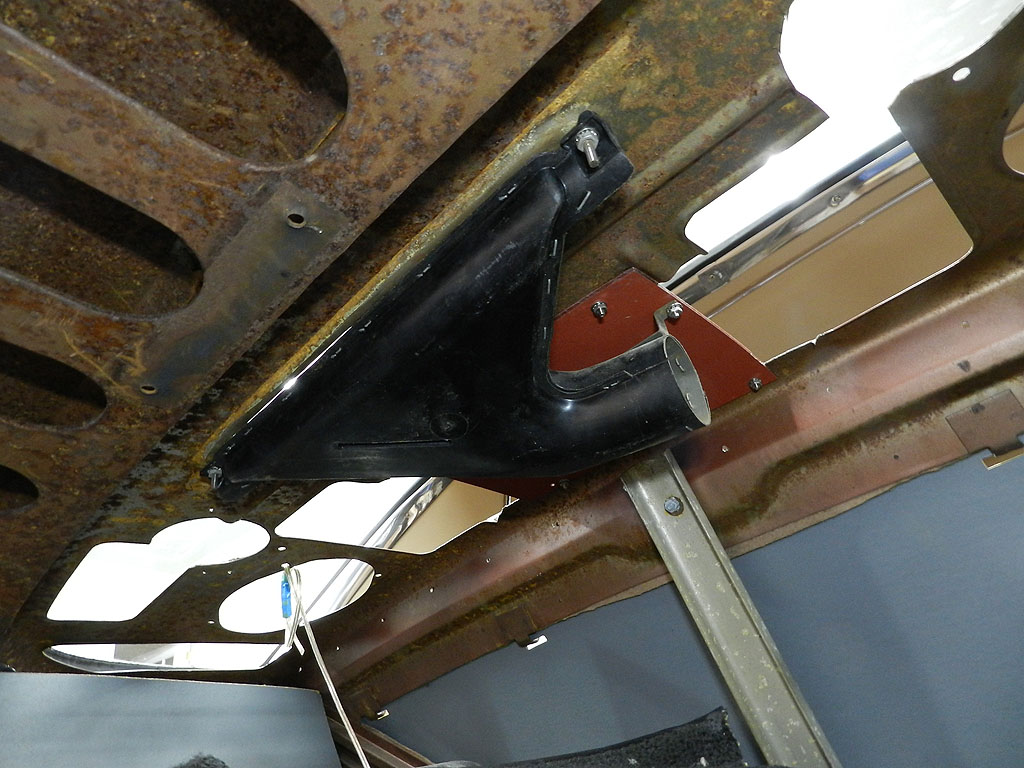
This car was ordered with a rear defog unit. A previous owner had cut the mounting plate so I had to make a new one. The 57 (and probably 58) defoggers are different than 1959 and newer. The newer ones have a dished mounting plate (stiffer) and a larger center hole. The 57 plate is a flat piece and the blower sits low off of a stand off. Since this 57 blower still works, I decided to reuse it rather than swap in a whole newer unit. The new plate was not too difficult to make.
Back |