The "Turq-E" arrived at the garages in November of 2022. The starter was acting up. Sometimes it would do nothing, sometimes it wouldn't stop cranking.
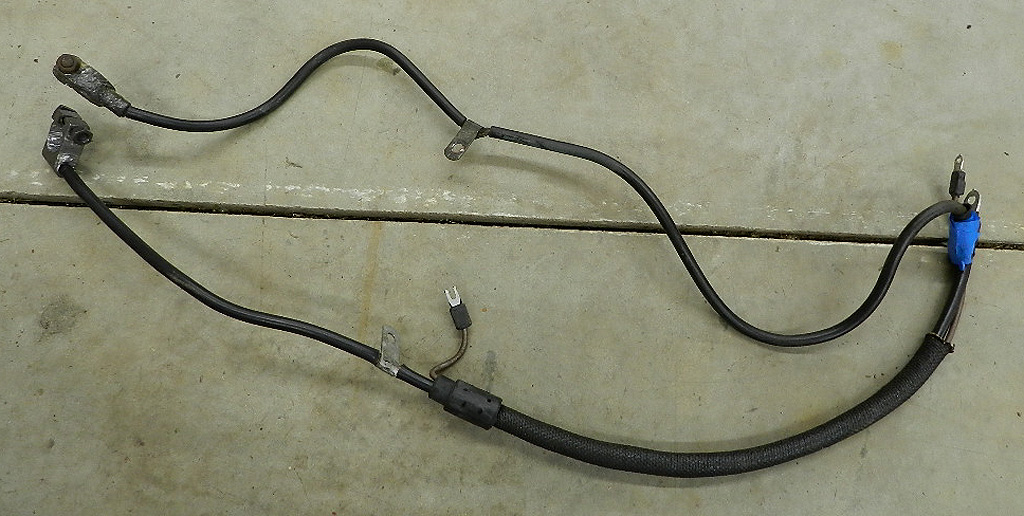 We found was the solenoid wire was not in the sheath with the battery cable. It got against the exhaust pipe and burned through.
But the solenoid wire was not the problem with the starter. Even with a new wire, the starter worked so poorly we removed it. This is not an easy job. We sent it for rebuild, reinstalled it and still had problems with it. We removed that starter, installed a 1960 starter (59, 60, 61 all the same) and now it cranks OK.
Here is the original battery cable on top, a correct battery cable below.
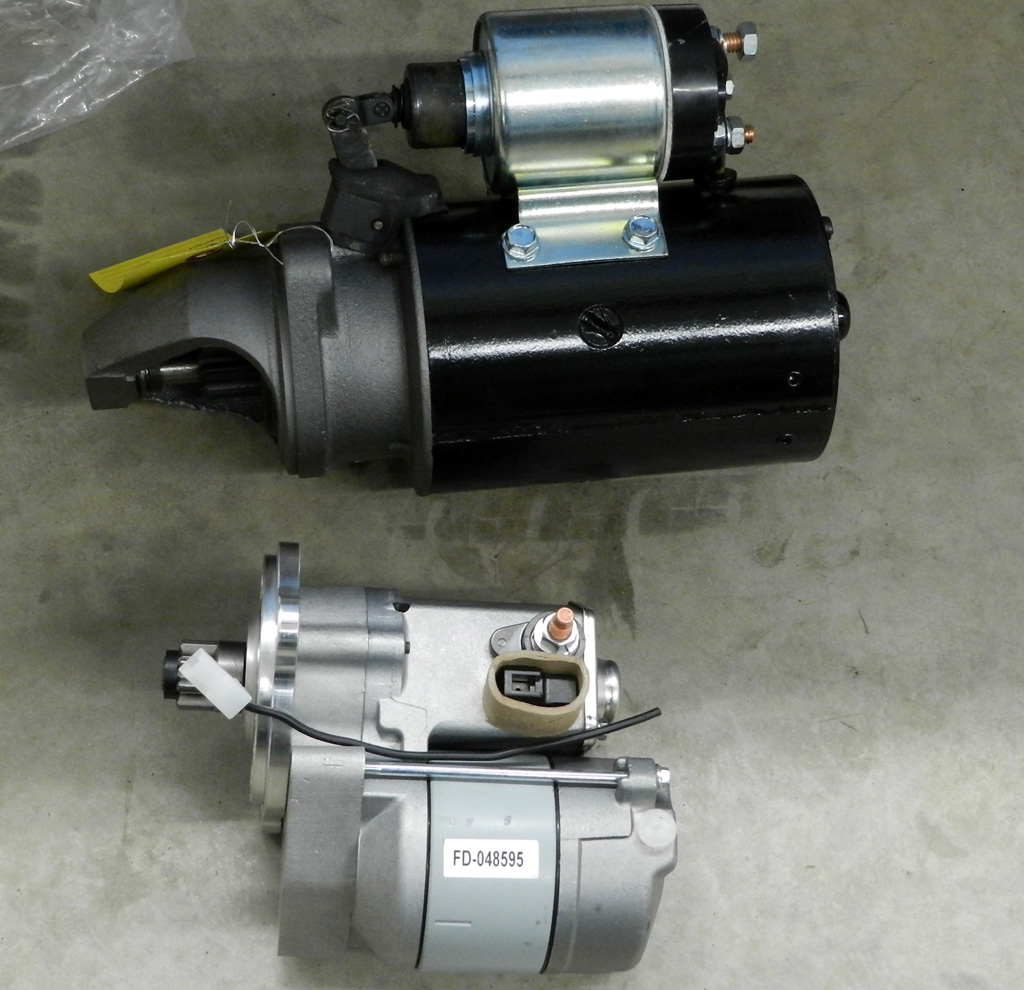 Here is a picture of an original starter (24 pounds) and a new version starter (8 pounds). The new version is from Quality Power Starters, 31510 Yucaipa Blvd. Yucaipa, CA 92399. Their number 126-001 for $245. The new version is easier to install but requires a few modifications to fit. It was a coin toss and we elected to install the original style starter.
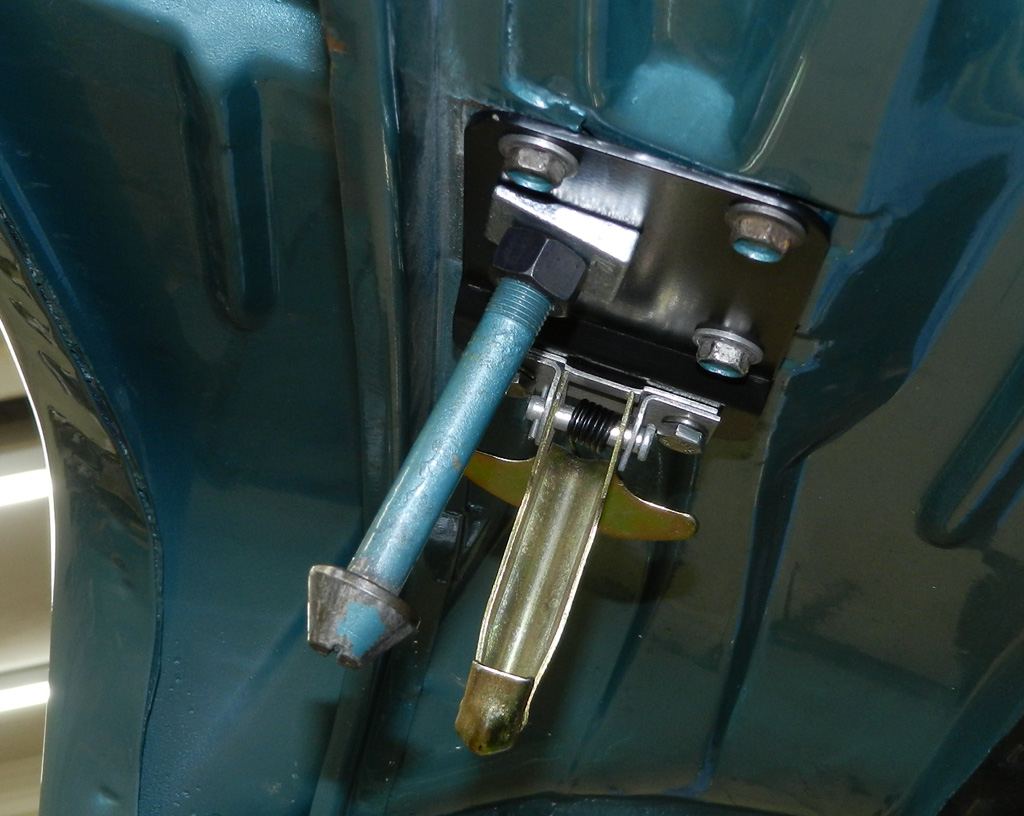
We installed the Grady hood safety catch. If you have a C, D, or E, you need to install one of these. They are available from Forward Look Parts. There are two styles; straight pin and angled pin. If you are unsure which style you need, order the angled -- they seem to be the most common. Installation is not difficult and there is an installation video here.
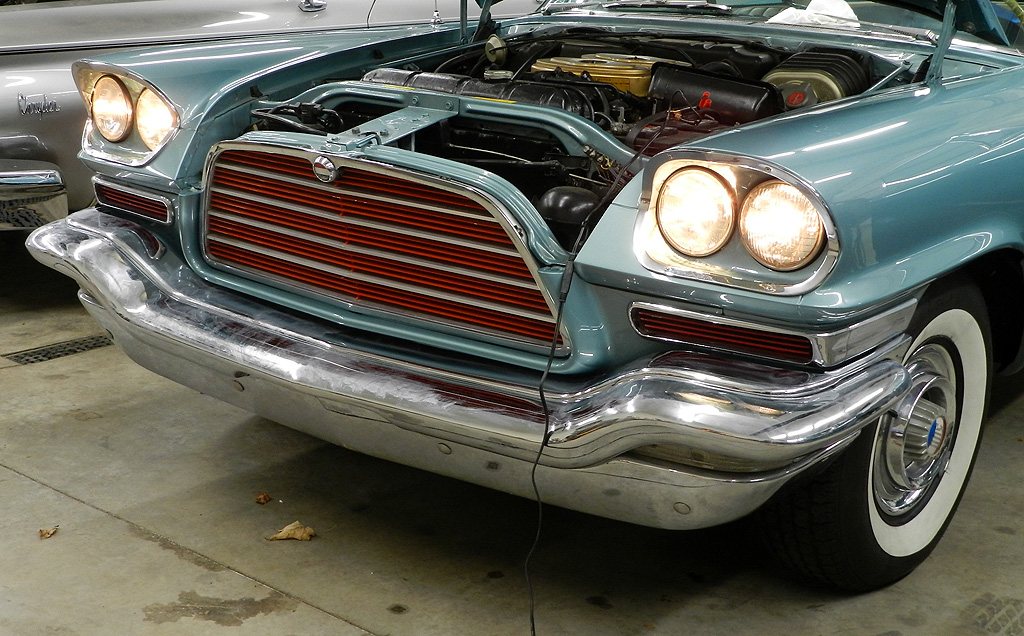
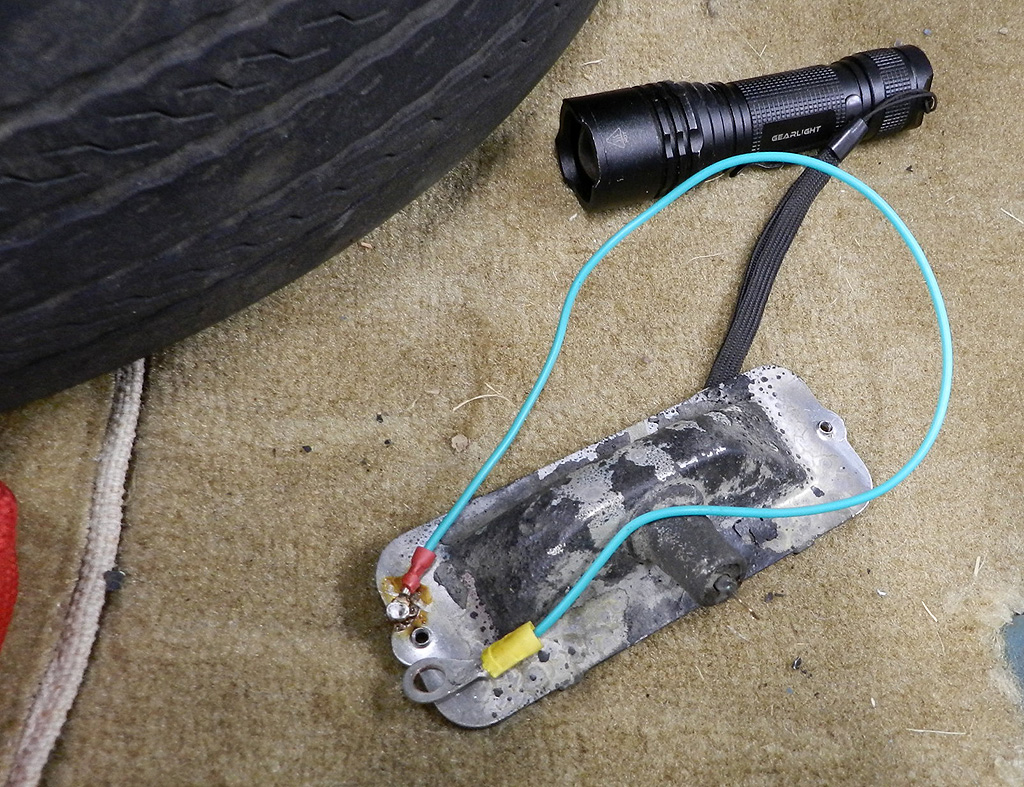
Getting further into the car we found the headlight dimmer switch is frozen. The instrument panel lights, the horn, the rear license plate light do not work. We were able to save the dimmer switch and get the high beams working. The license plate lamp housing wasn't grounding so we made up a jumper and it works fine. We will get back to the panel lights and horn problems shortly.
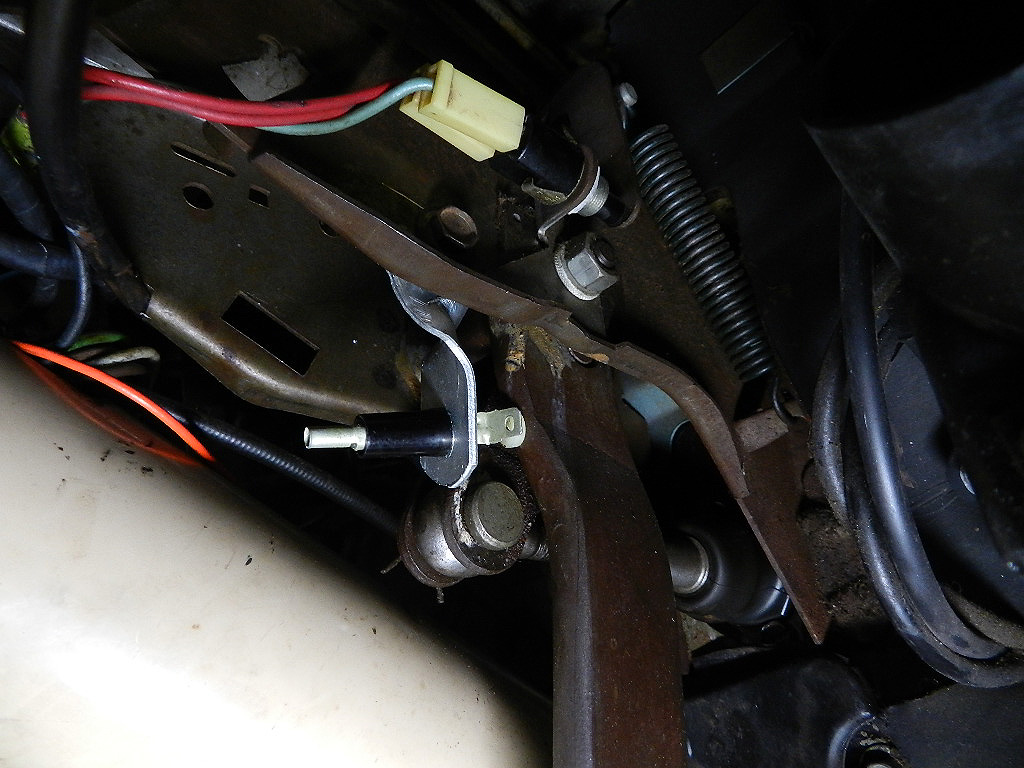 The brake lights do not work. The passenger front window does not respond to any switch, pass rear quarter works only from the master. All windows need lube. The master switch is wrong fore and aft and some switches are upside down.
To fix the brake lights, we installed a mechanical switch to replace the hydraulic. There is a video here. The passenger front window motor was dead and was replaced. The master switch was corrected, all windows were lubricated and now work properly.
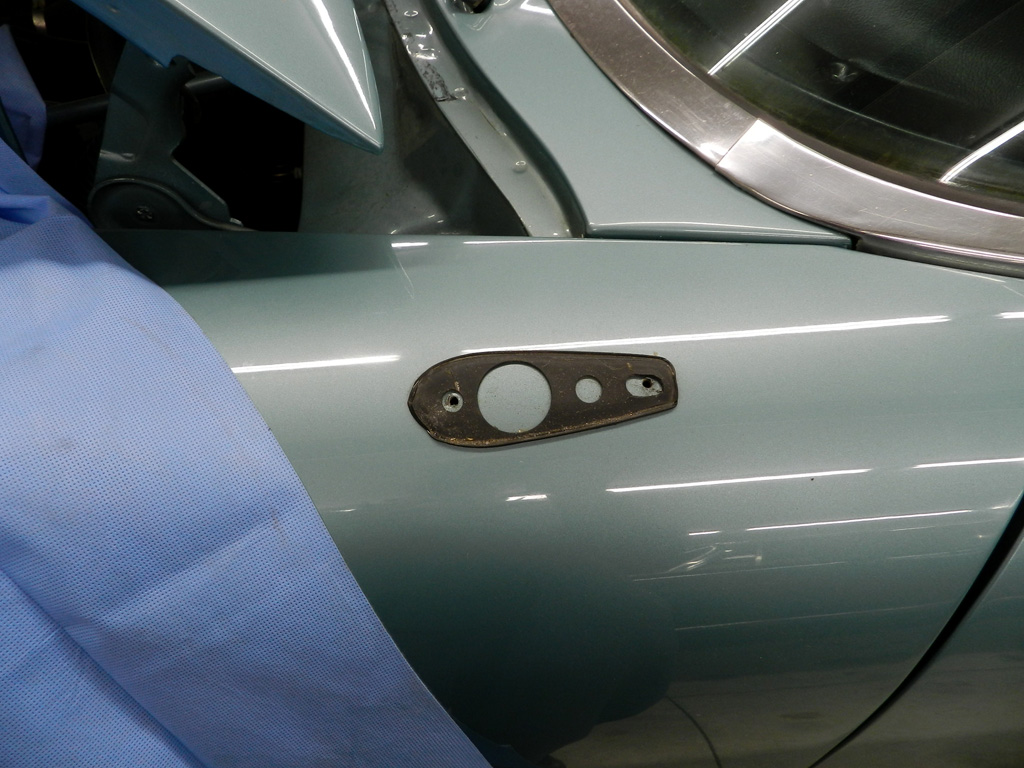 The remote left fender mirror and has the adjuster toggle on the dash but does not do anything. We found there is no mirror cable between the toggle and the mirror. Also, the mirror was installed without a hole in the fender for the adjuster cable. I don't mean to suggest that it came from the factory this way. This mirror is one of many features added by a previous owner.
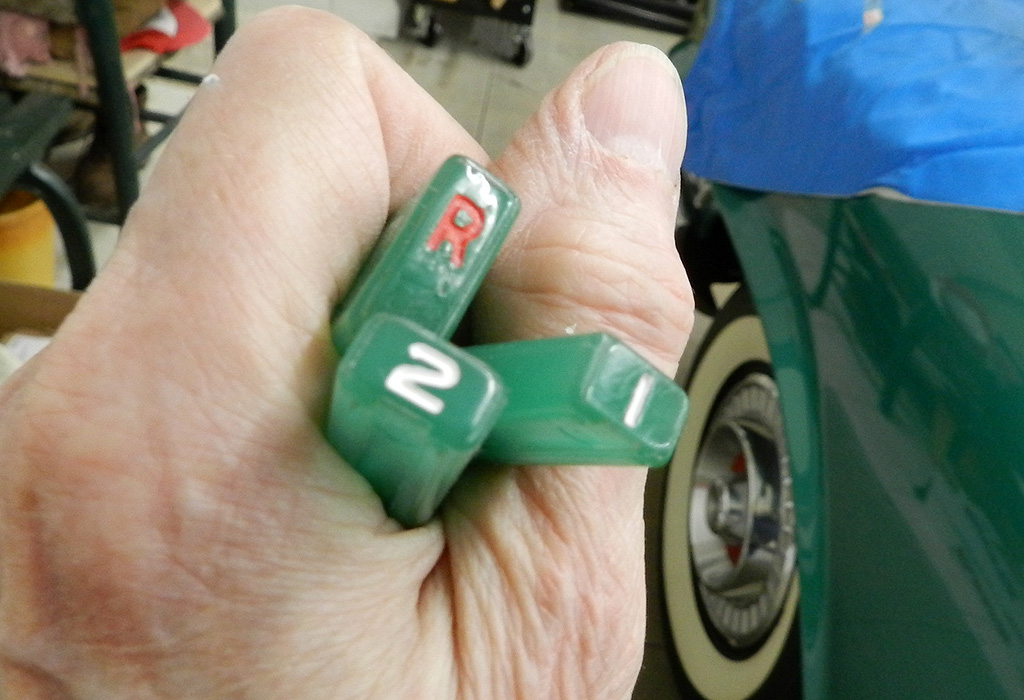
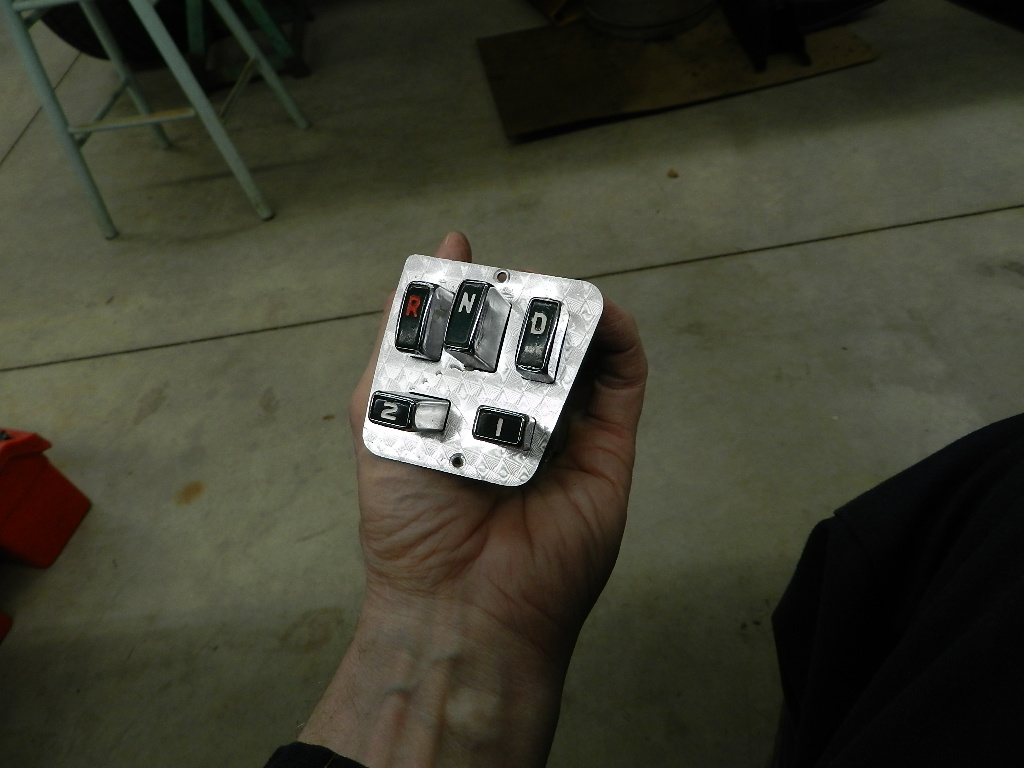 The transmission buttons need attention. I painted them with Testors. The trick is to fill the detents with paint, let it sit for maybe 15 minutes, and then wipe off. If you are too early, the paint is wet and you lose some of the fill. Too late, it is hard to remove. If you don't like the results, it is quick and easy to remove new paint and start again.
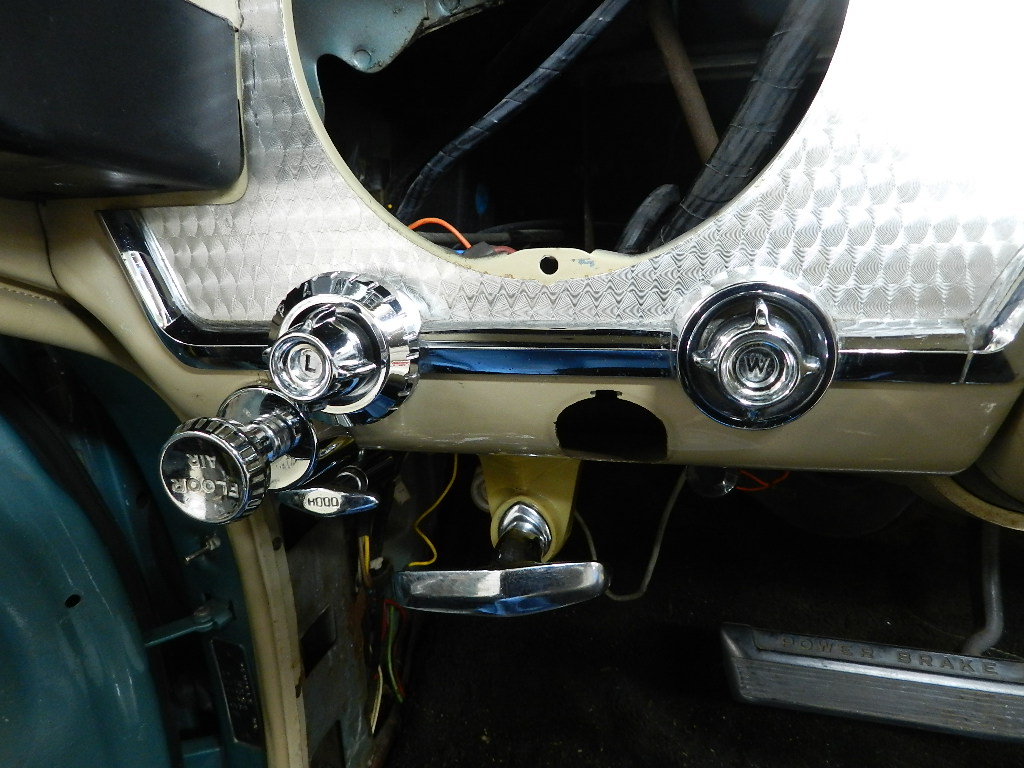
I began looking at the headlight switch. It doesn't always work on park and is also likely the reason there are no panel lights. This is a 1 year only switch. Unlike the switches from 1962 and up, this headlight switch connects to wires post by post.
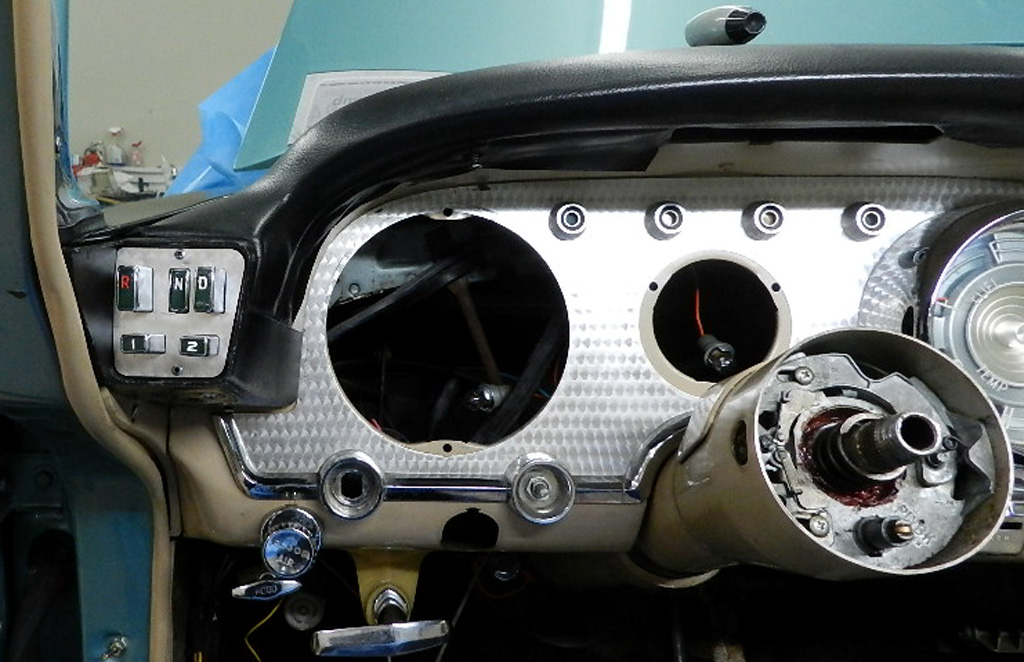 It is also hard to reach in the dash. If you have to work in this area, remove the speedometer and then you will have access. The speedometer is held in by two 3/8" nuts at 3 and 9 O'clock. Working blind and reaching up from below, unscrew the speedometer cable, remove two panel lamps, the two nuts and the speedometer pod comes out. Once the speedometer is out, you can reach in to remove the clock which is held in by 4 nuts and you have even more access. If you are going to work in this area, remove the turn signal lever. This thing is so long and always in the way, plus easy to break. It just unscrews, quick and easy.
This is a picture of the back side of the headlight switch. You can see the various wires.
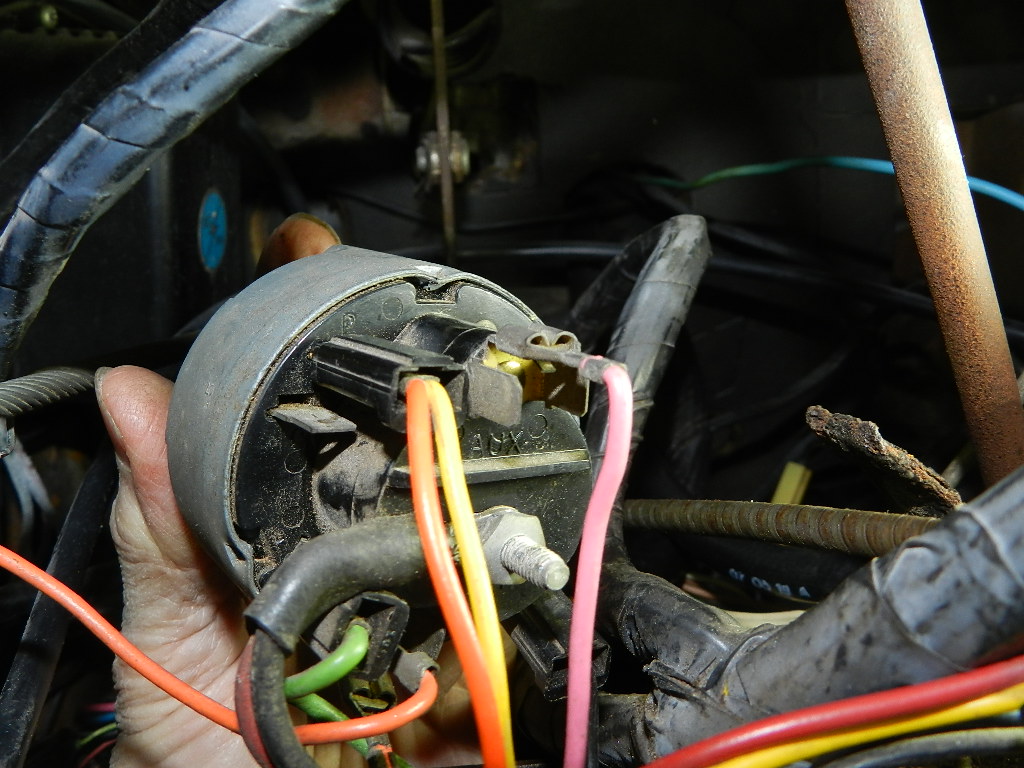
 You need to make notes about which wire goes where. The service manual has a good diagram. The pink wire goes to brake light switch. The green wire to headlight dimmer switch. Twin wire orange and yellow wires are for park lights. Orange wires at the bottom run panel lights.
 The black wire runs tail lamps on park and headlight setting. The large wire at the center is the battery feed. I sent the switch to Jeff Carter at JC Auto for rebuild. It didn't take long for the switch to come back, then I installed the wires, the switch and touched up the L W and PANEL knobs. Now I have park lights, headlights and dash lights plus the rheostat for the dash lights works. We have a video here.
We investigated the horns (lack thereof).
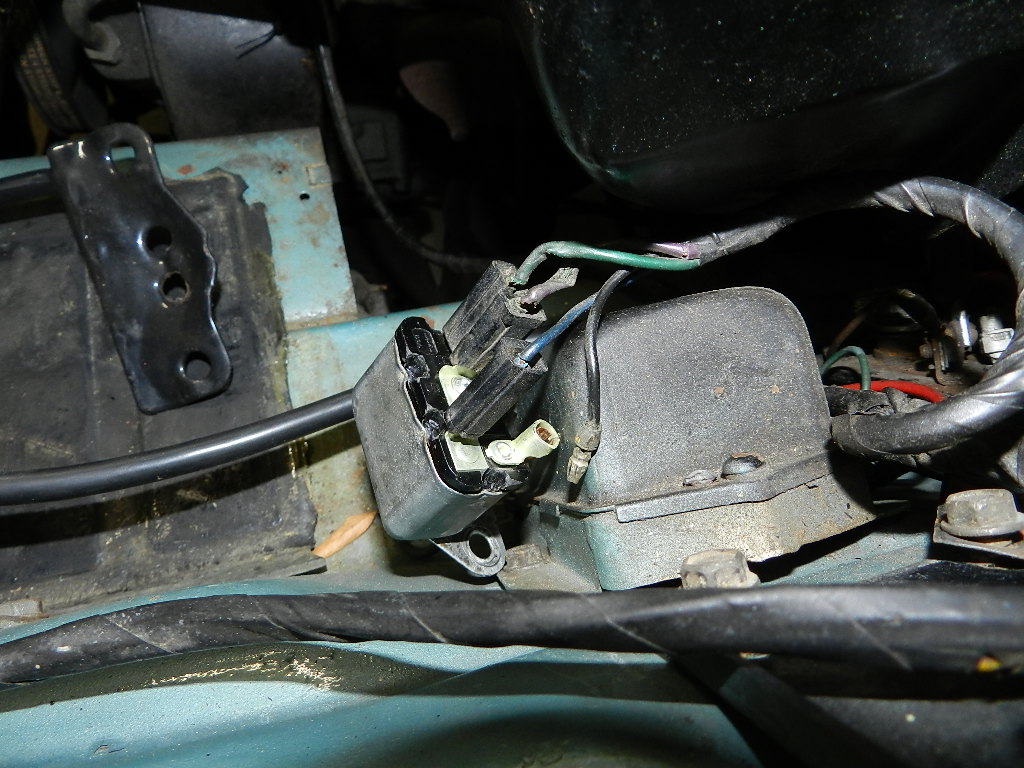 The 59 uses the same relay idea as the 57 through 60; the horn only works when the ignition key in the "on" position. This makes the relay more complicated -- it has a power
 feed from the battery plus a power feed from the ignition.
The H wire goes to the horns. B is feed from battery, the flat tang on S is the feed from the ignition and the round barrel connector is the wire running to the horn switch looking for ground.
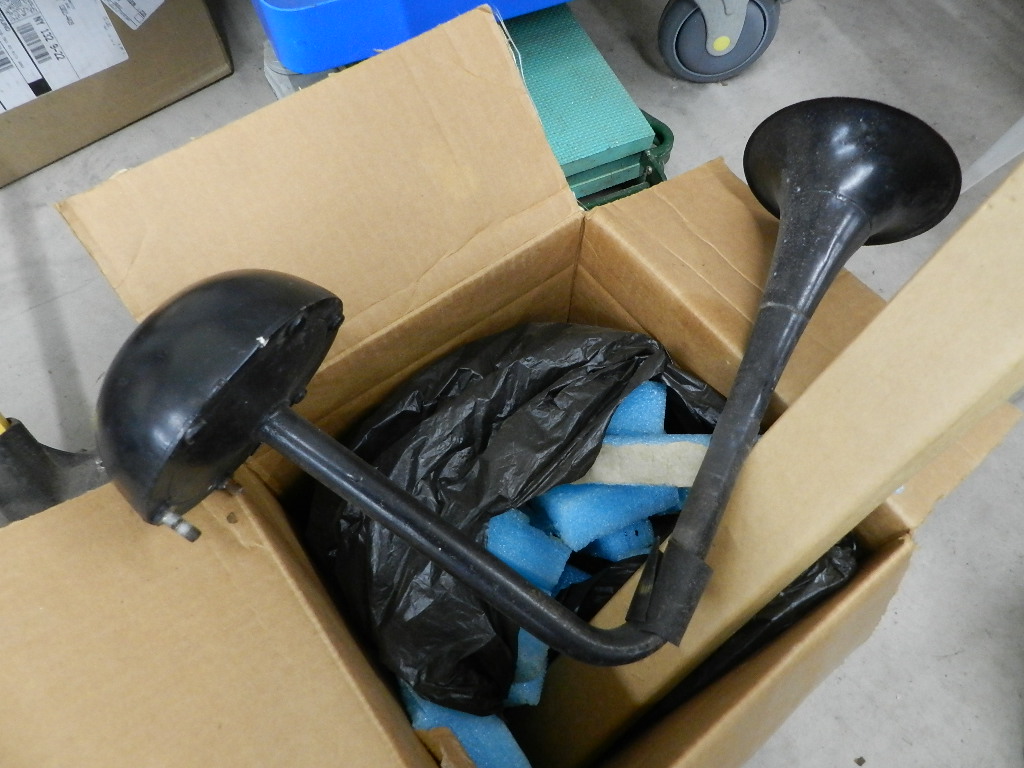
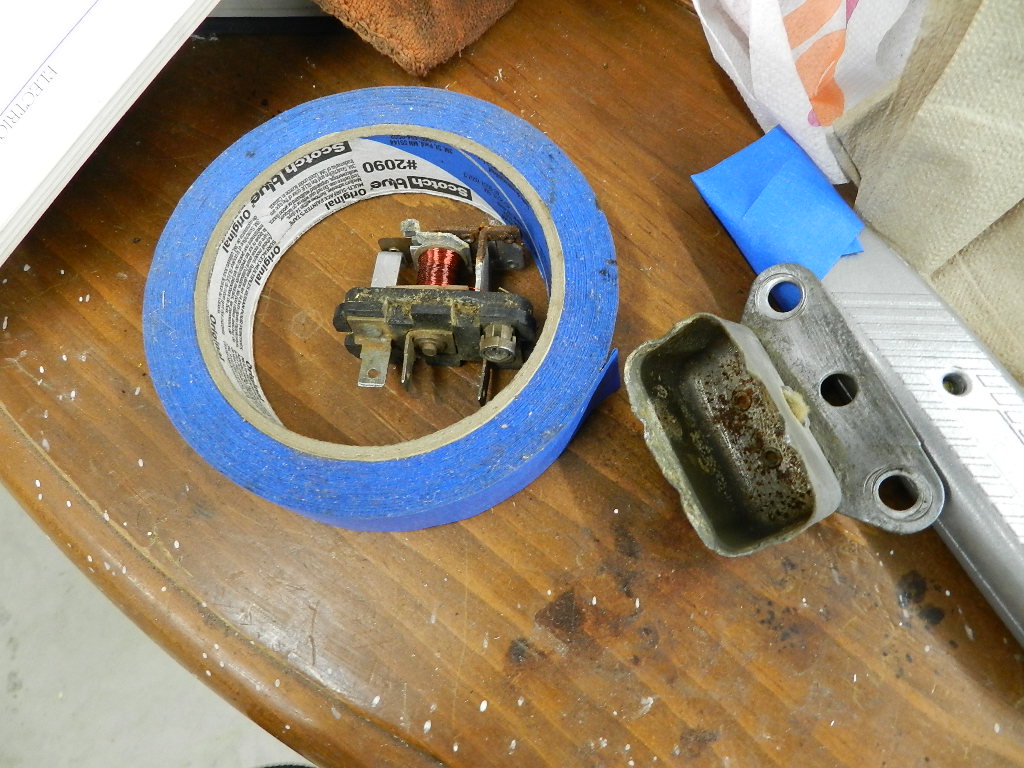 By the time it was all done, we determined the relay was bad, I could not get continuity on the horn ground wire, and the trumpet horn mechanism was rusted tight.
Changing the relay internals while retaining the one-year-only canmister fixed the relay problem. We ran a new wire to the horn switch and rebuilt the trumpet using parts from another horn. There are two videos of this adventure; here and here.
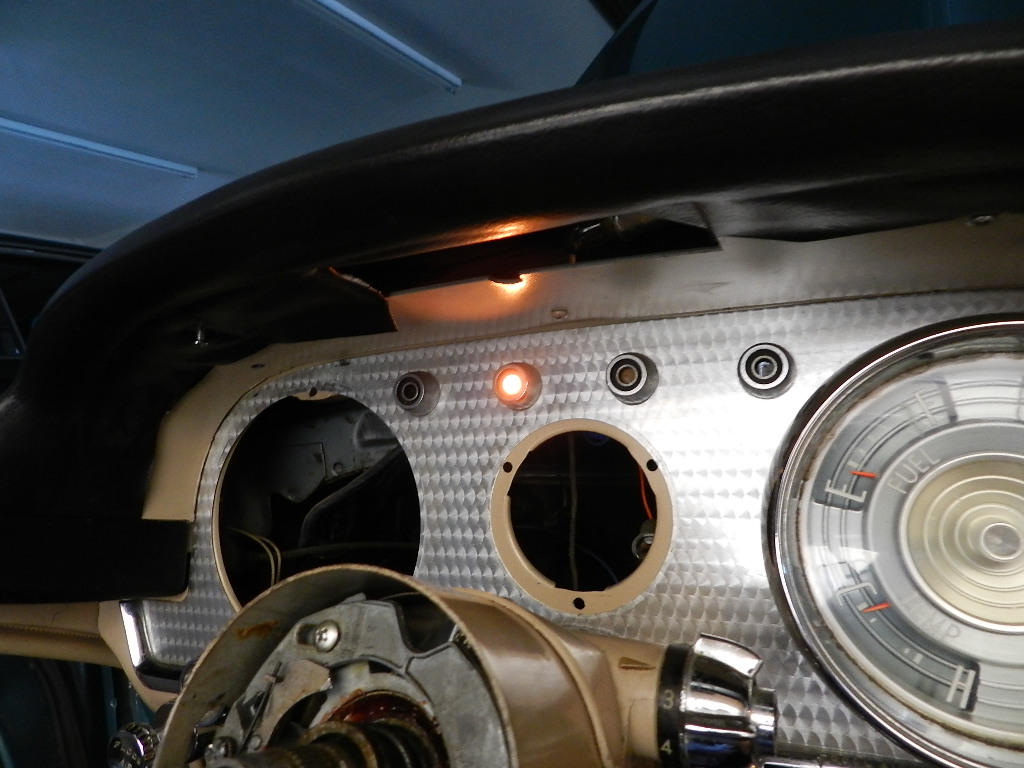 There is a light on the instrument panel for the parking brake. When the brake is on, the light is on so you won't drive and cook the parking shoes. This light was not working. I found a blue wire broken at the parking brake switch. It took some searching to find the other end of the blue wire but made the repair and the light works. These little things are nice to have working as they should.
On the heater controls, I wondered why the temperature control lever moved so easily.
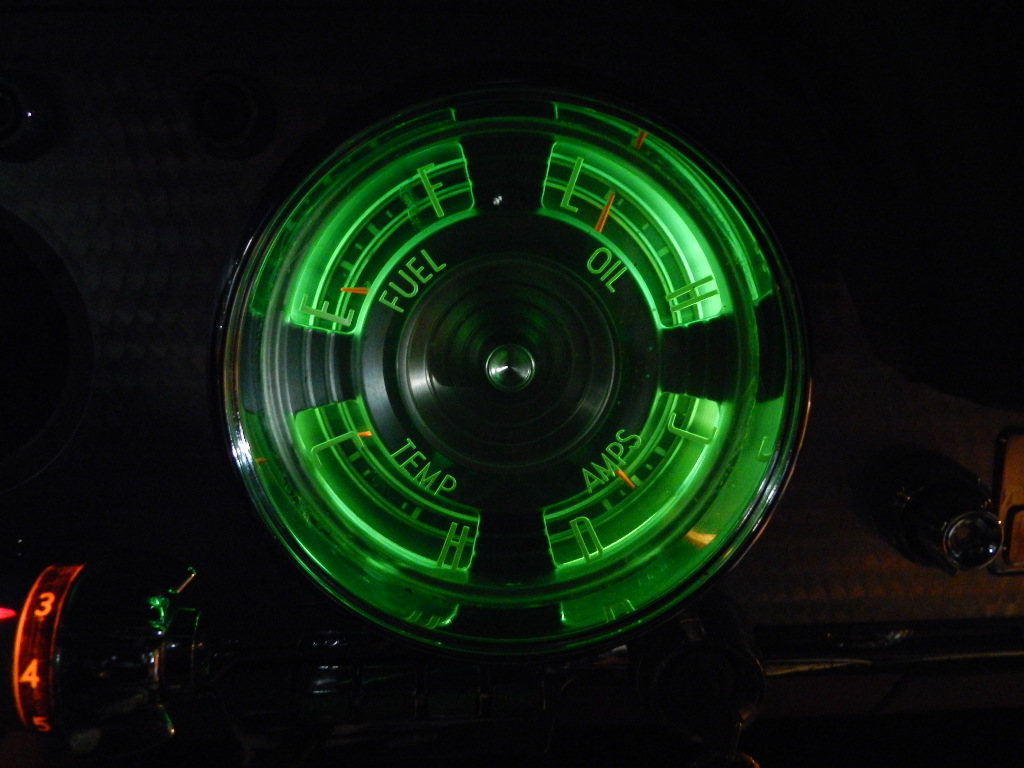
 The Bowden cable is broken. This turned out to be a big job to fix. The heater controls have to come out for access to the Bowden cable, so the gauge cluster had to come out. This is not as easy to remove as the speedometer pod. There are two 3/8" nuts at 3 and 9 and a few gauge lamps like the speedometer, but there are two wires to each of the temperature and fuel gauges, a pressure line to the oil
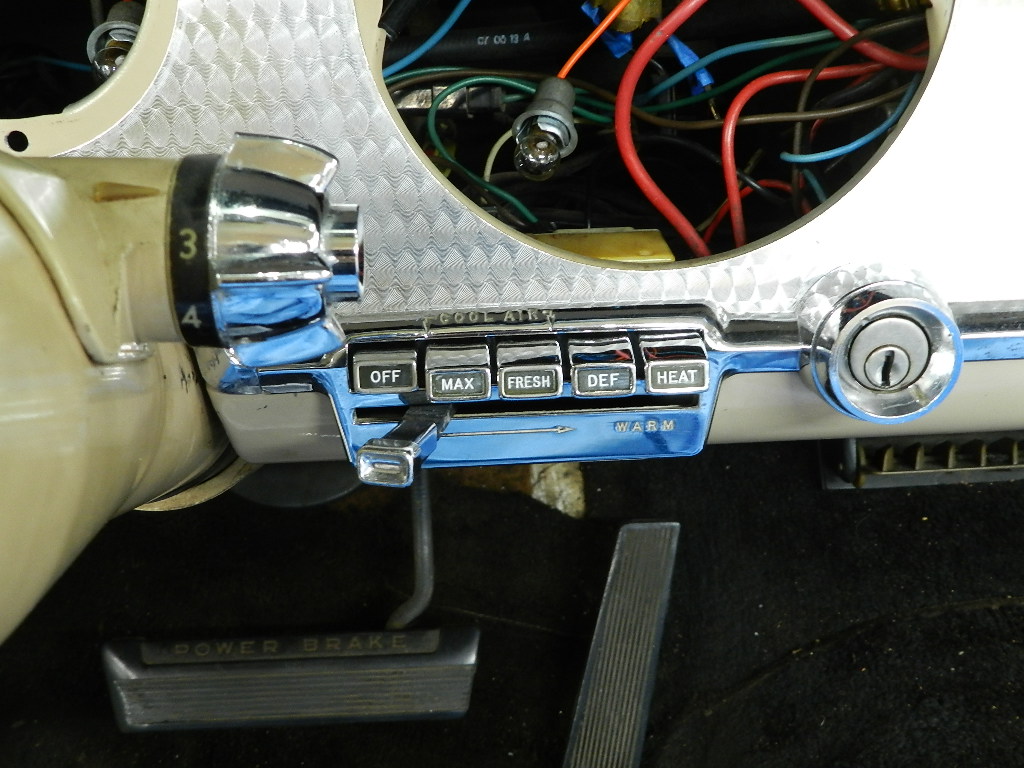 gauge, and a large red wire runs through the inductor loop on the ammeter. Once removed, you have good access to the heater controls. You also need to remove the glove box door and glove box in order to reach the other end of the Bowden cable.
The Bowden cable is also a 1959-only piece. 57 & 58 are much different, 60 and up cables are too short.
I was able to re-use the original cable by bending a new end on it. There is a video on this adventure here.
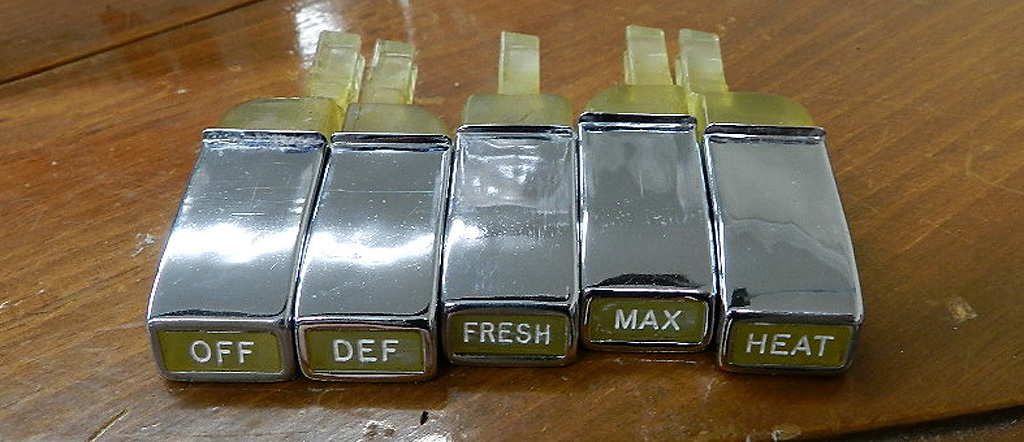
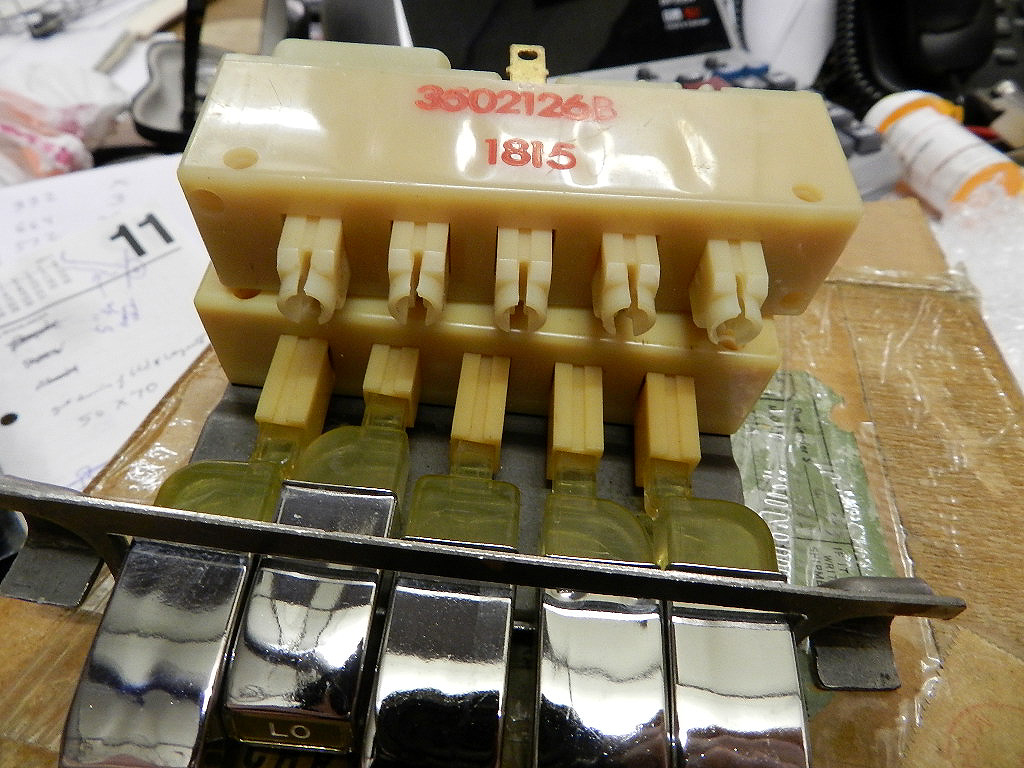 While the heater control was out, the push buttons were re-painted. 1959 is the first year of the push button heater controls and the module appears to be another 1959-only item. Although it is similar to later modules, the push buttons fit into trapezoidal slots on the module. Newer modules have round receptors.
Since the speedometer and gauge pods were out of the dash, this is a good time to give them a cleaning and address the old caulk that seeps onto the lens from the perimeter.
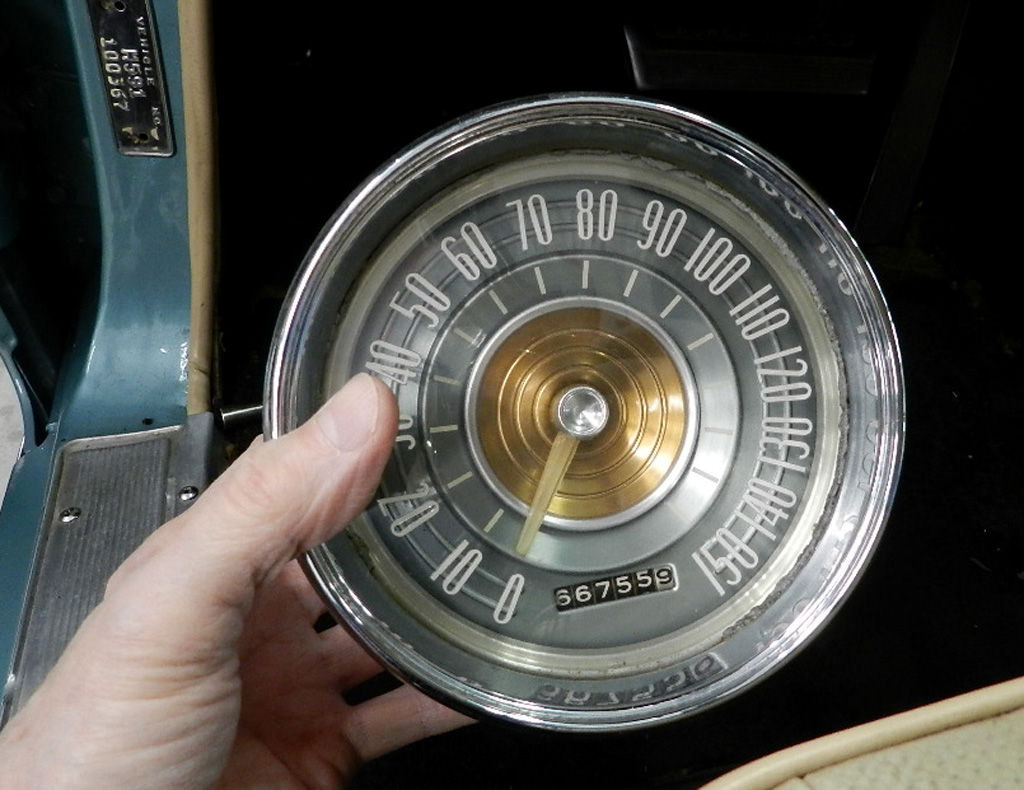
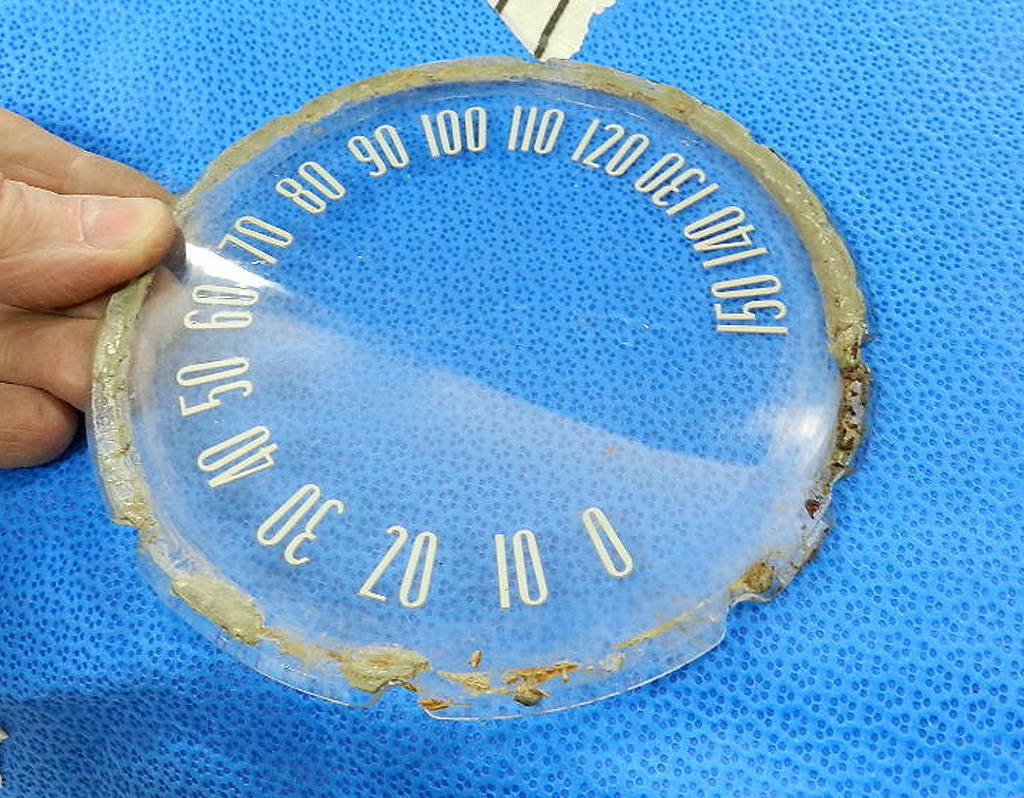
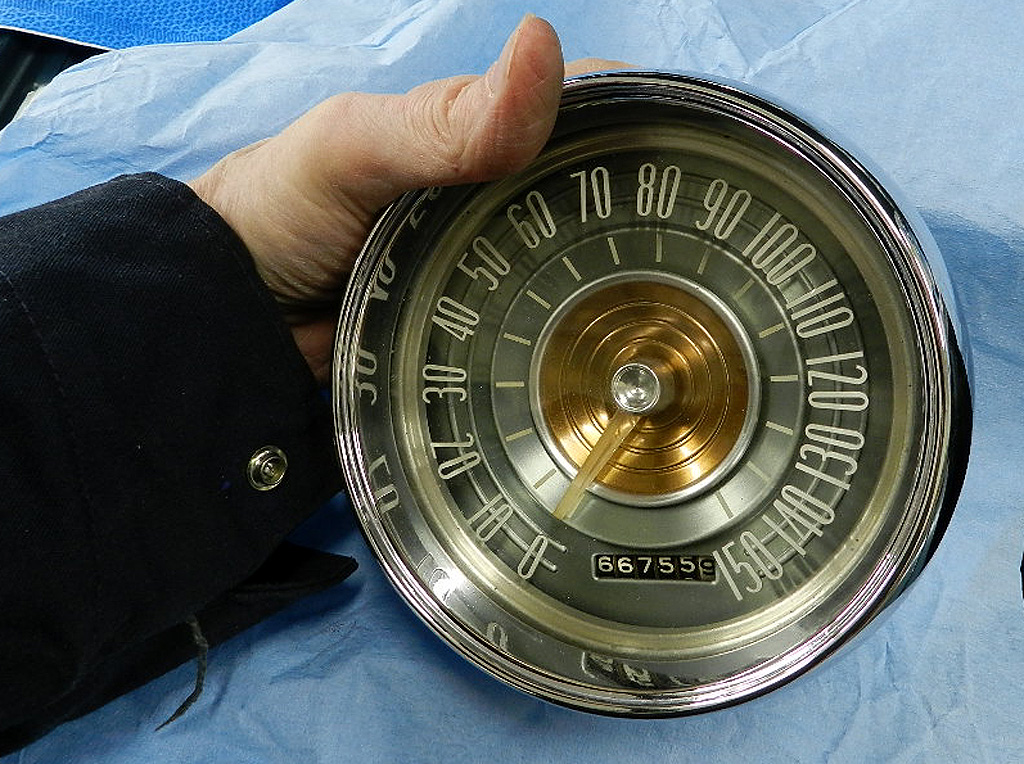 The disassembly of the pods is easy and then you can remove with the gauge lens. It took a lot of careful scraping and cleaning to remove the old caulk. For re-assembly, I used dabs of RTV in 4 spots of the perimeter, let it get half way set, then installed the lens. This RTV will retain the lens and keep it from rattling. This works for both the speedometer and the gauge pods. This "creeping caulk" problem is common on 57 58 59 dash pods.
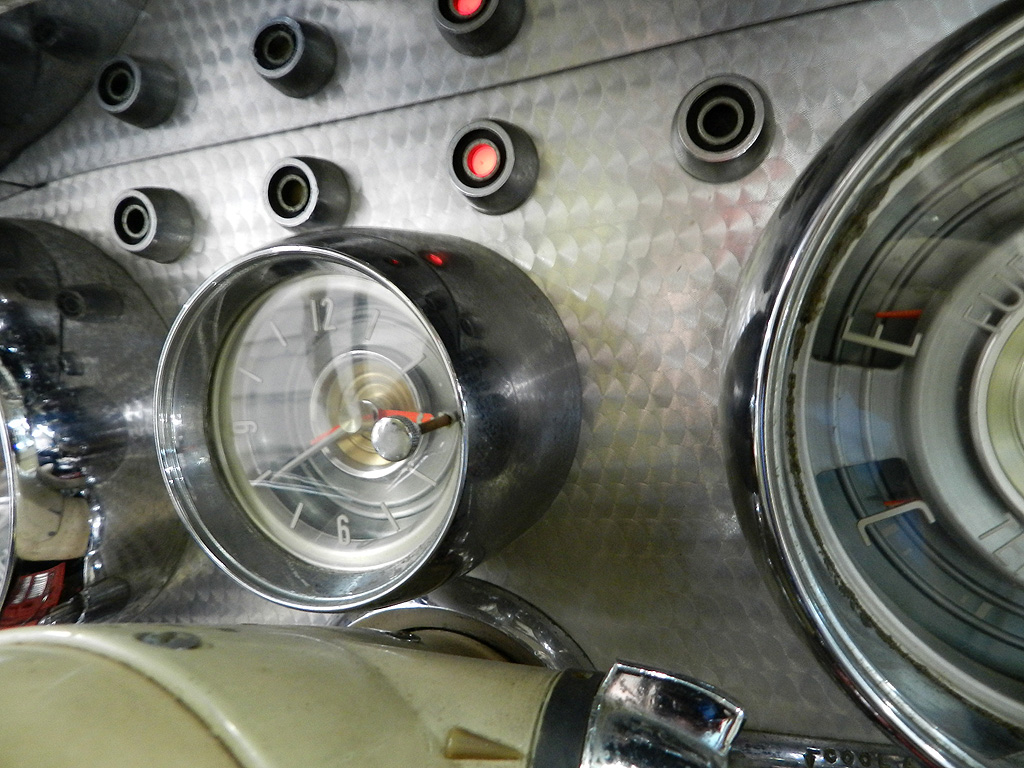
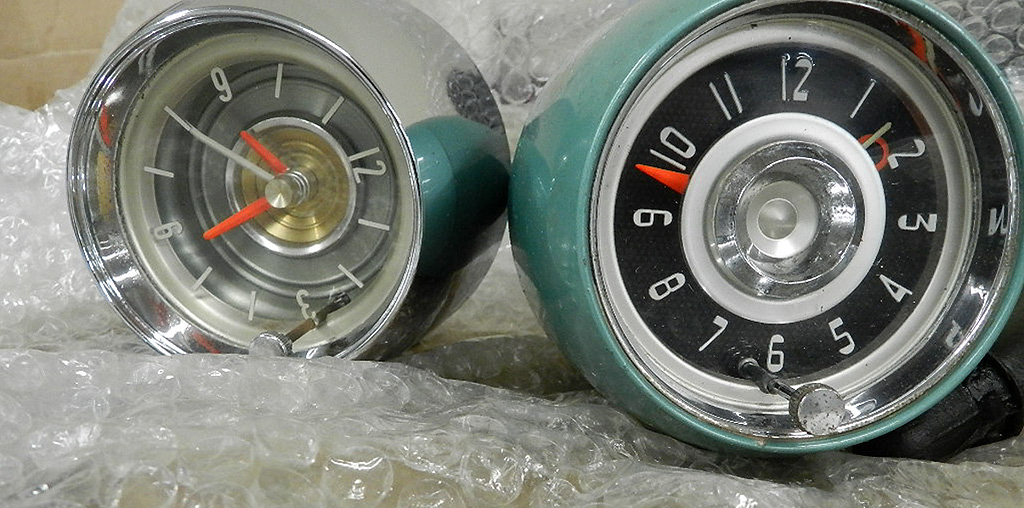 With the pods out, this is the time to remove the clock and see if we can get it working. With power to it, the clock makes a constant grinding noise. I have a spare 57 clock and thought I might swap mechanisms but the faces are different. At this point, the fate of the clock remains undetermined.
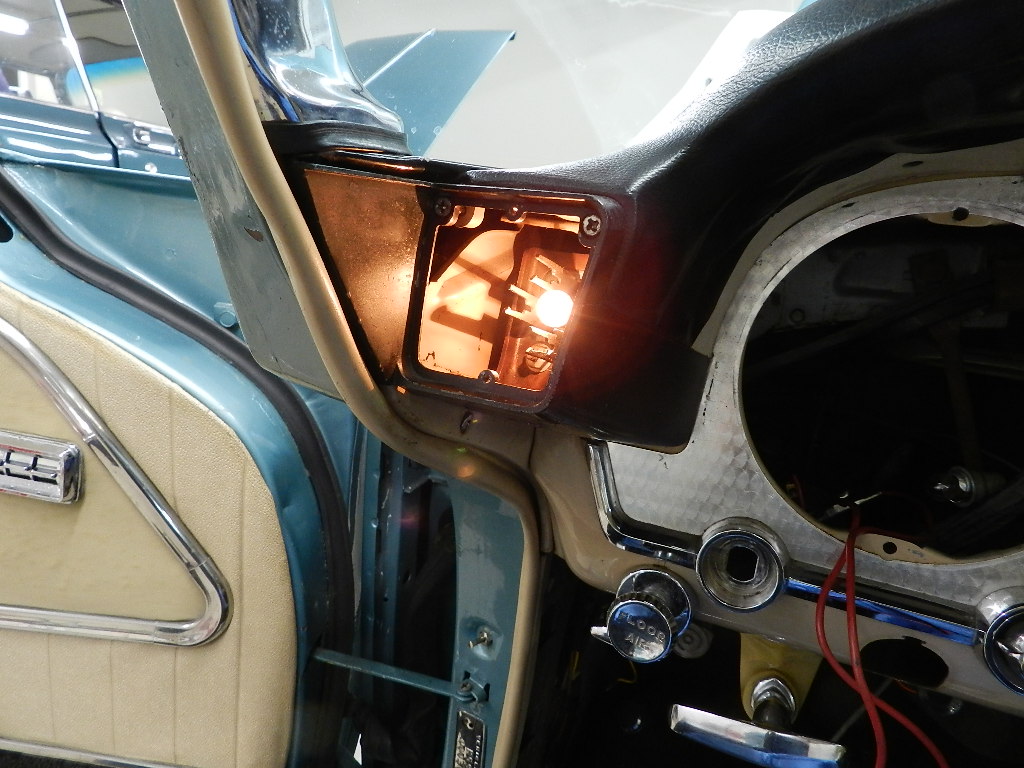
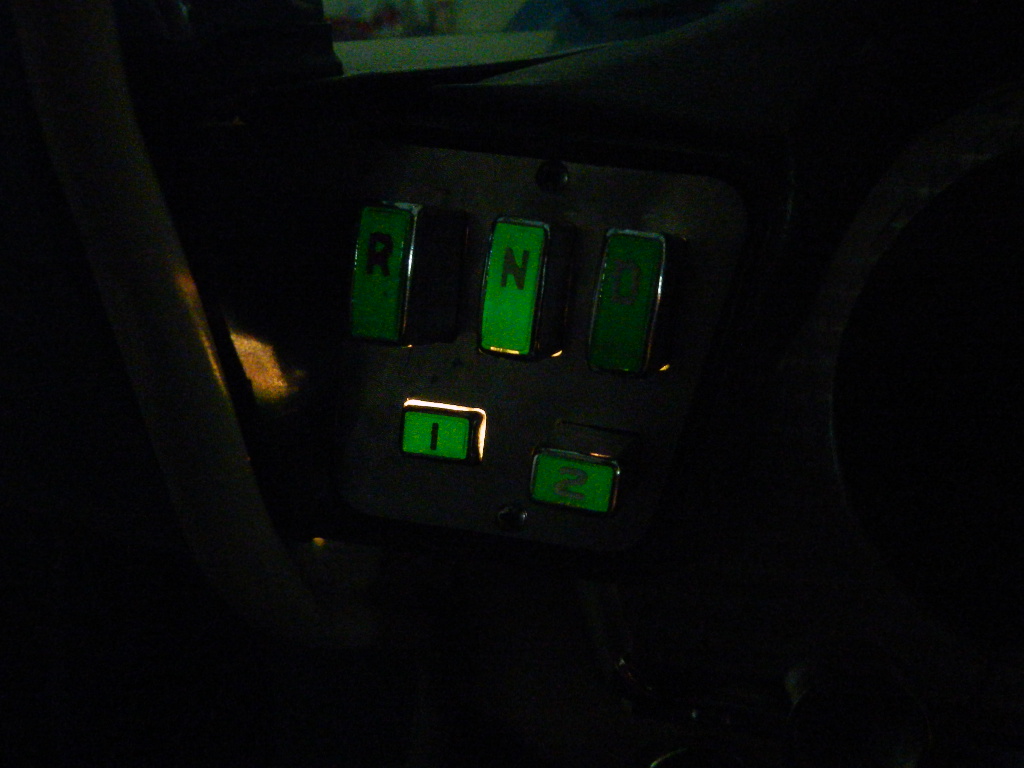
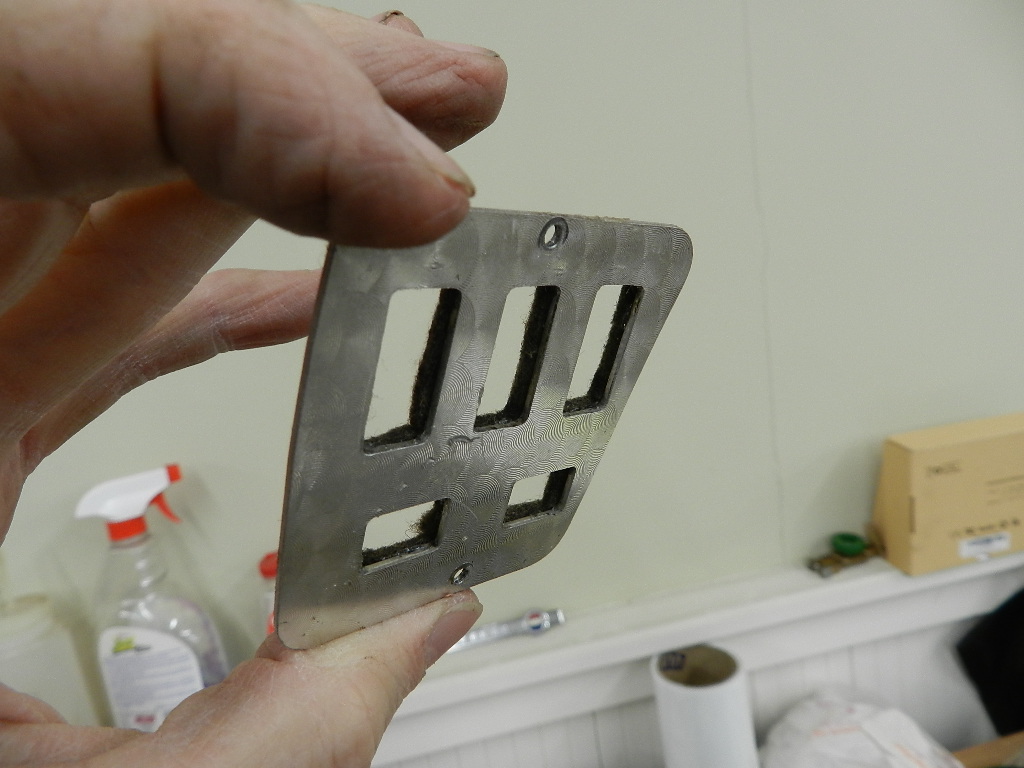 The push buttons for the transmissions did not illuminate. We found a broken lamp and replaced. Then we found we had light seeping from the edges of the push buttons. On the back side of the transmission button plate there is a felt gasket. It had fallen apart over the years and was letting light through. Apparently no one makes replacement gaskets so we cut the original apart and reattached to the plate so the gasket was tight to the sides of the buttons. One of those little things.....
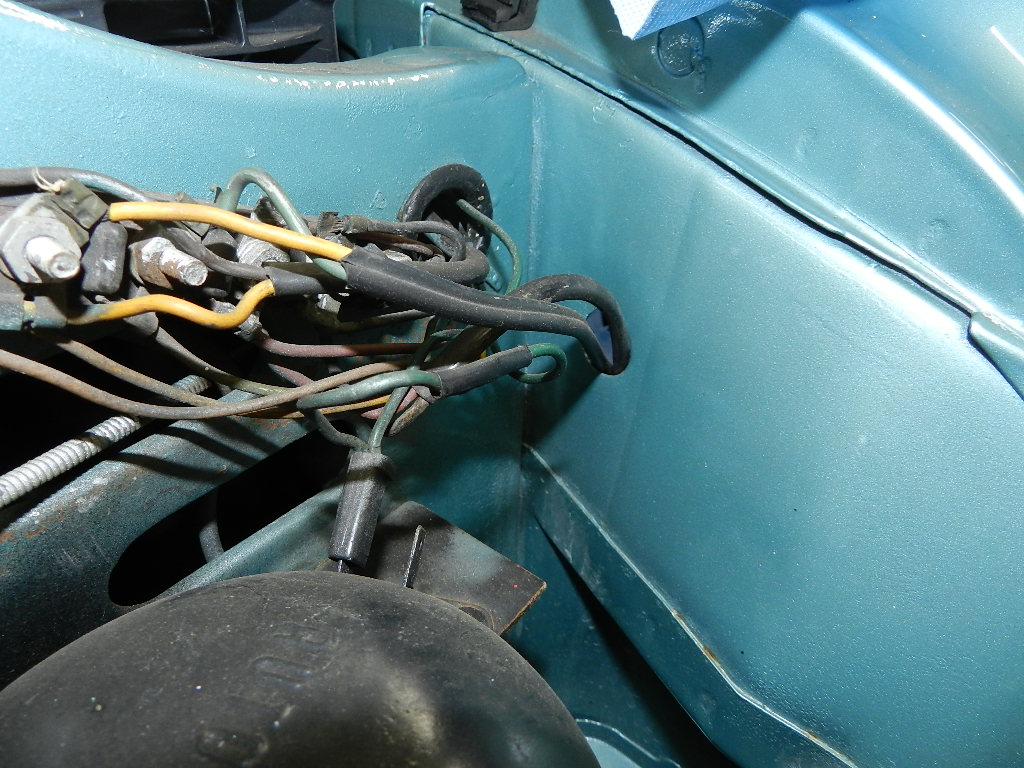
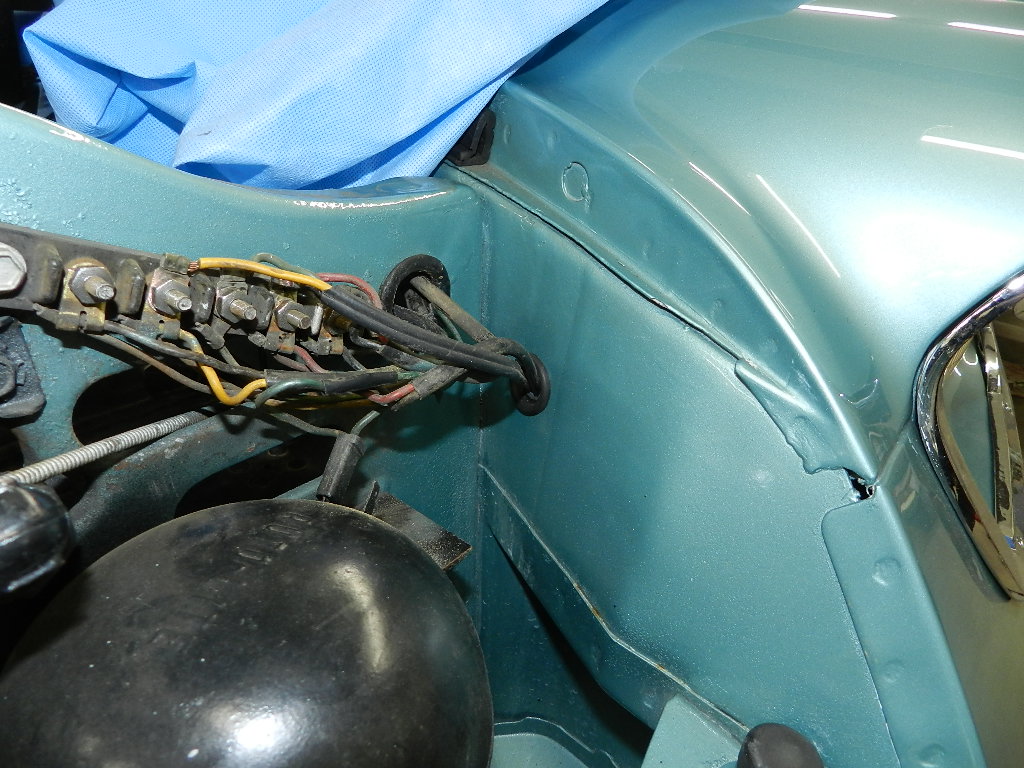 This car was repainted many years ago, and the paint as well as the chrome has held up very very well. But I noticed on the front fenders, they forgot to reinstall grommets in the fenders for the parking lights. This is not a healthy thing to leave so we installed grommets. A little thing, but something that should be done properly.
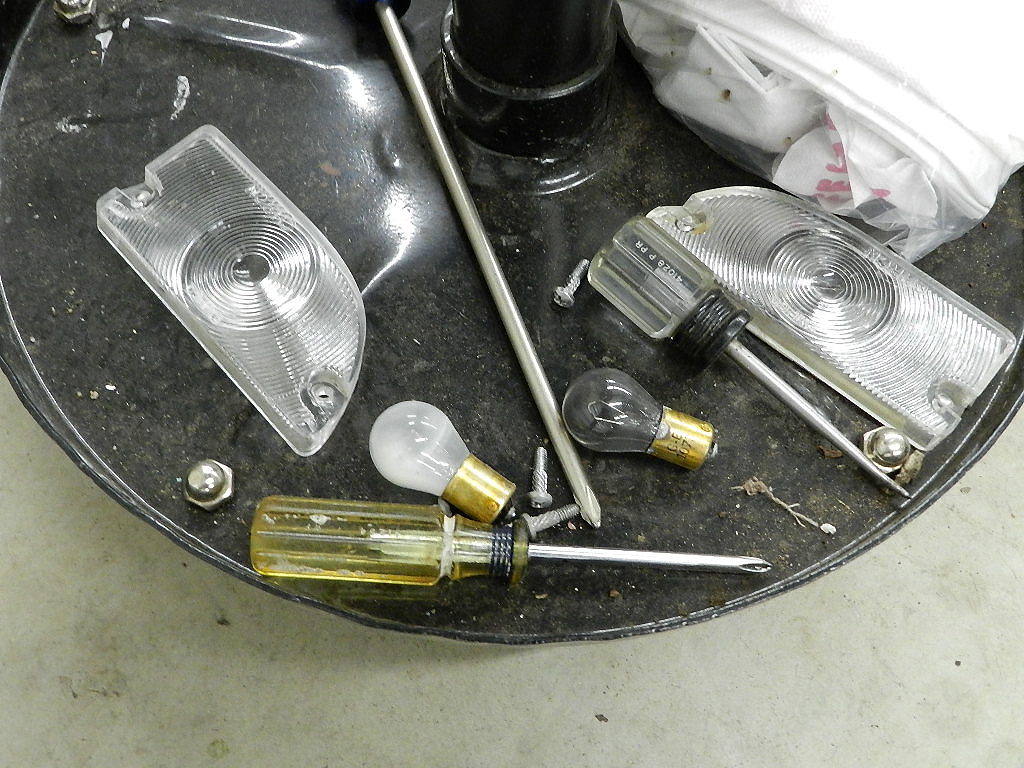
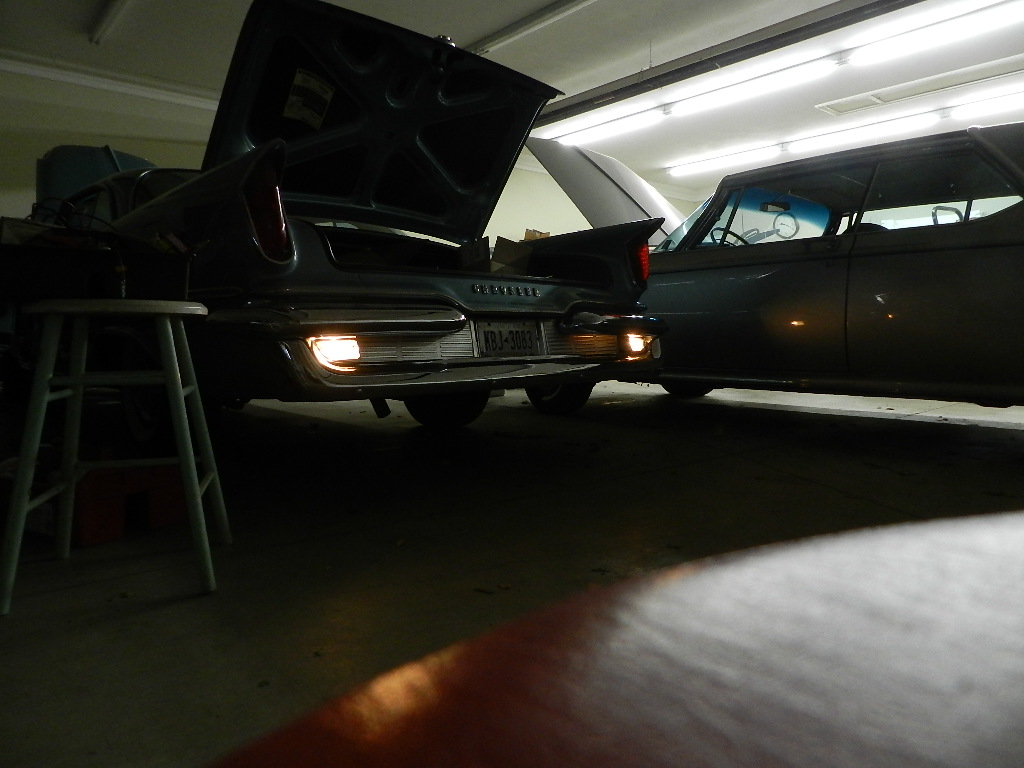 We decided to check the back up lights and found they were not working.
The switch for these is on the push button transmission mechanism and not easy to get at unless you have the mechanism out. With the speedometer out, there is plenty of access to it. The switch is good. The lamps in the rear bumper were both burned out and easily replaced. New back up lens gaskets were installed as well.


