The fuel gauge was not working.
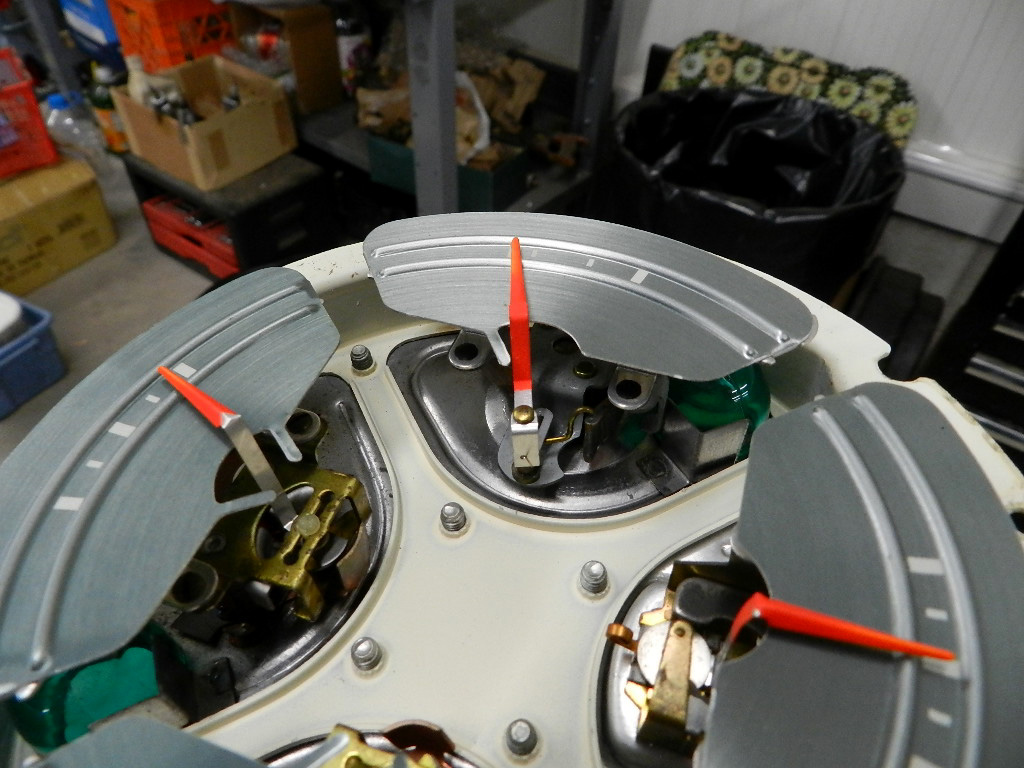 We tested the gauge in the cluster and it was good. To test a gauge, put 12V on the feed wire, ground the other wire from the gauge and ground the gage housing as well. A good gauge will respond. We started checking the wire that runs from the gauge to the sending unit. It was good to the junction block but there was a break in the wire somewhere after that. We ran a new wire to the sending unit. We have a video of this here.
In order to run the new wire to the tank, we had to remove the rear seat and interior panels.
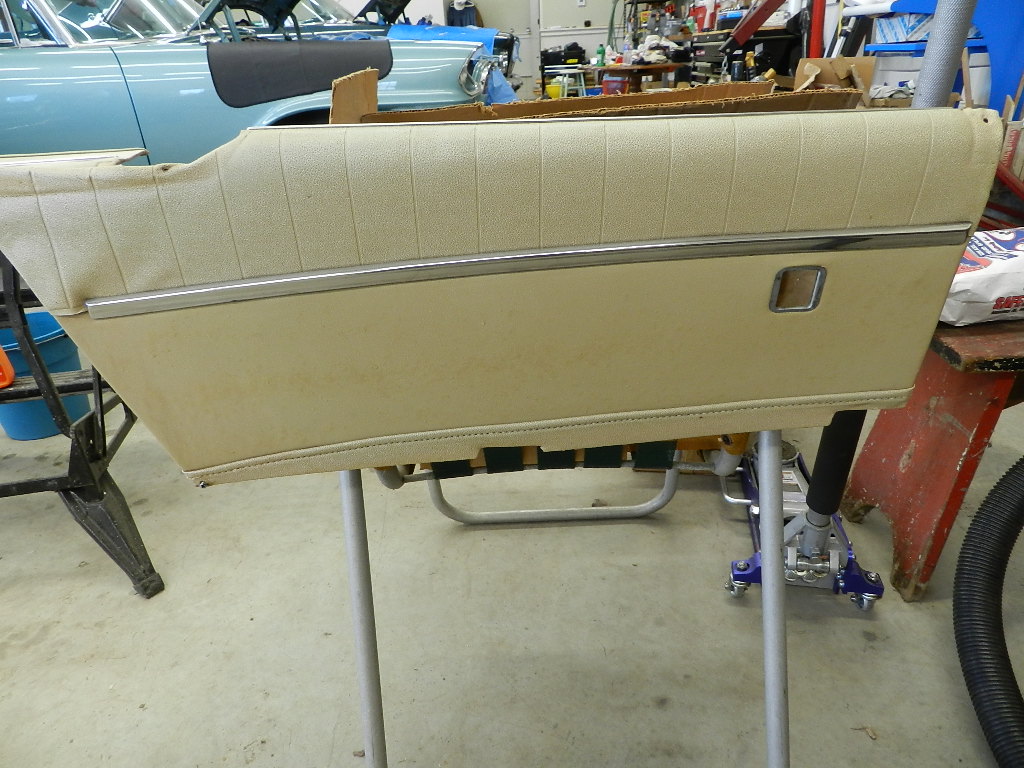
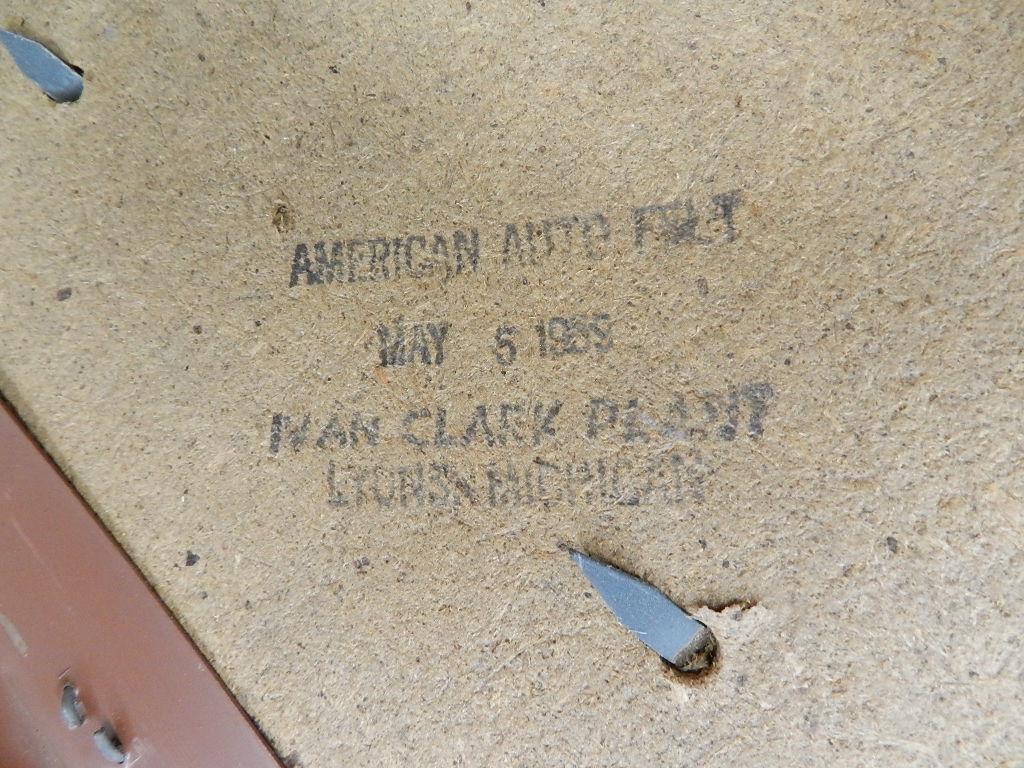 We might as well lube the quarter windows now and clean the rear seats. The panels and seats cleaned well with Lexol and conditioner. On the back side of the panels it says American Auto Felt, May 7, 1959, Ivan Clark Plant, Lyons, MI.
Since this car has a build date of February 18, it is likely a previous owner replaced the interior.
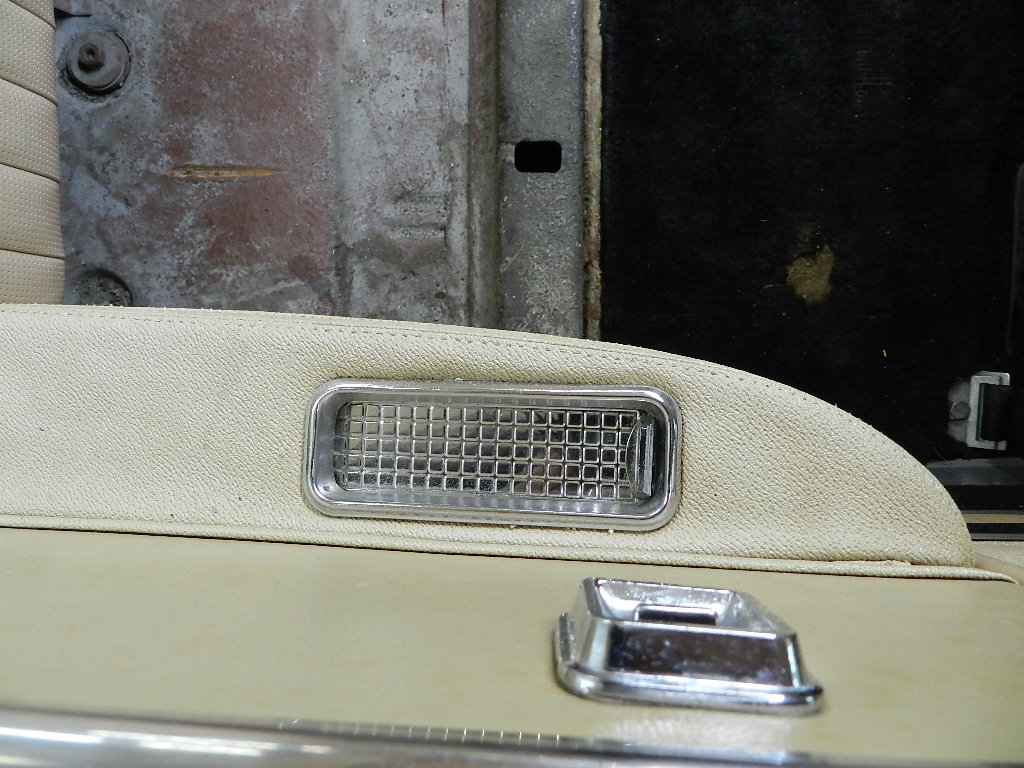
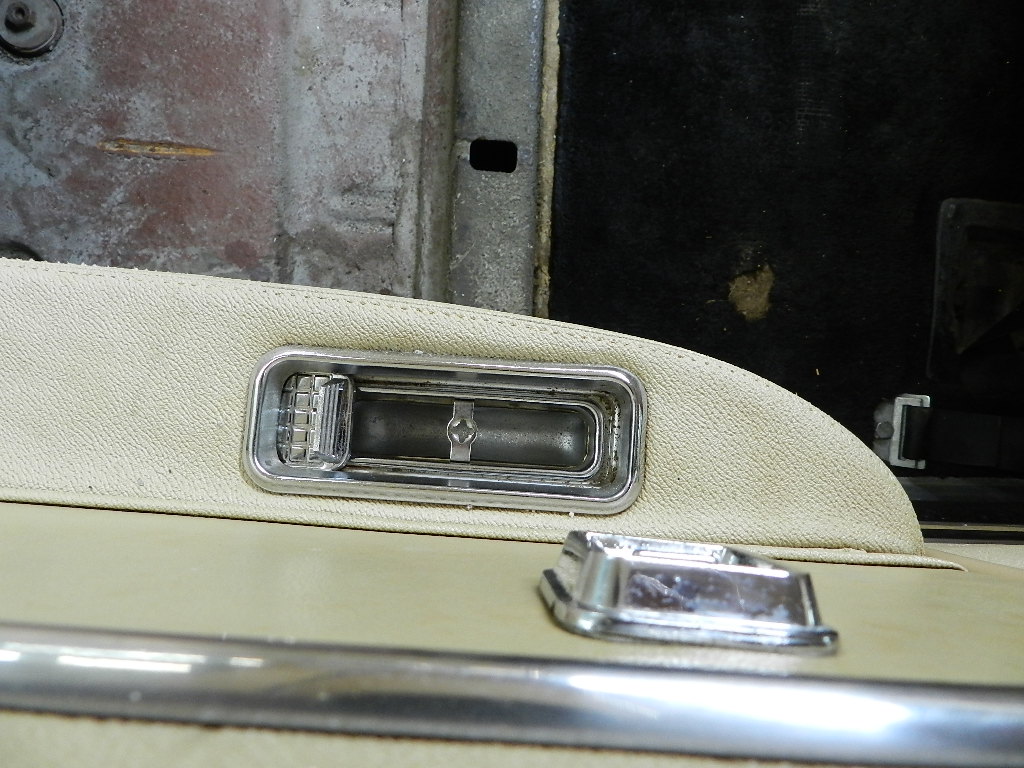 The rear seat quarter panels have ash trays build into the arm rests. We removed them, blasted out the rust and repainted with reflective aluminum.
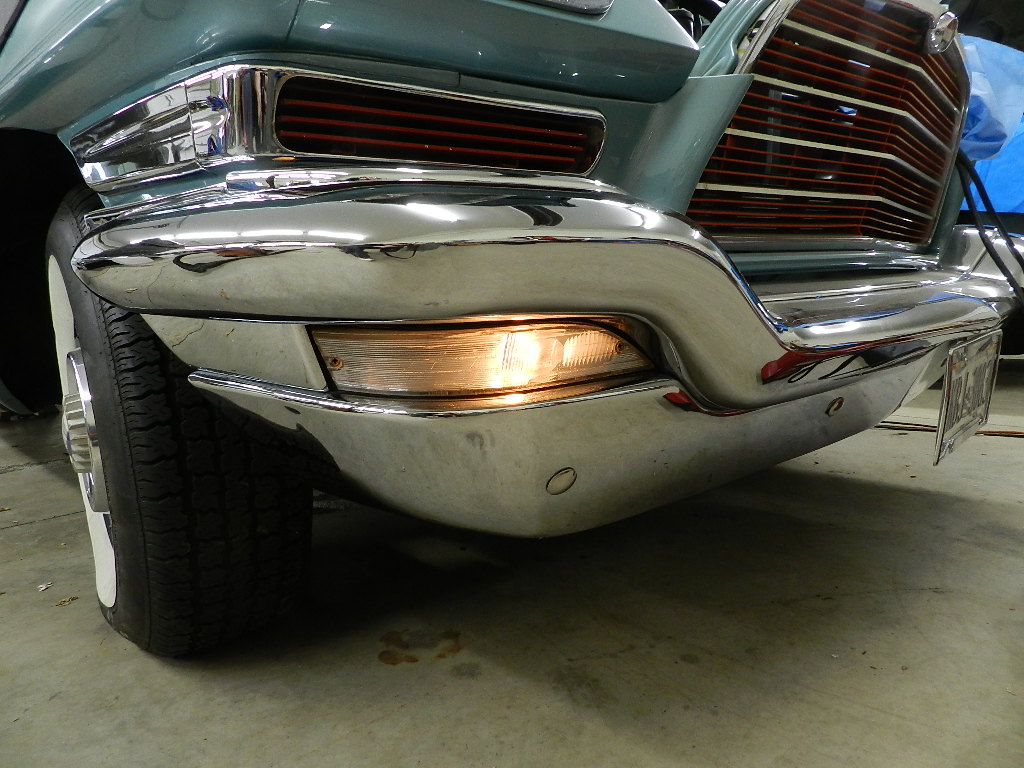 We received lens gaskets from Quirey and turned our attention to the front turn signals. The old gaskets were shot and one of the lamps was loose on its base. We washed lenses, applied lens cleaner, painted the turn signal housings with reflective aluminum. Tested, all signals and lamps work and they are brighter. We have a video here.
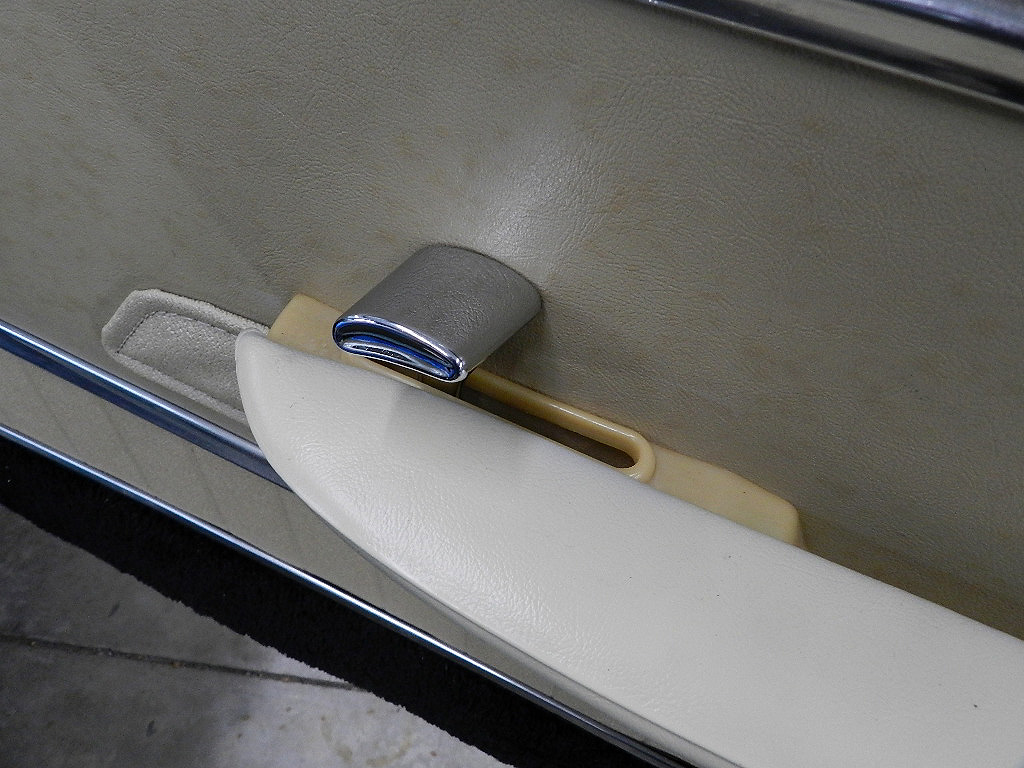
New inside door handles are available for the 57-59 Chryslers so we grabbed a set and installed. We have a video here.
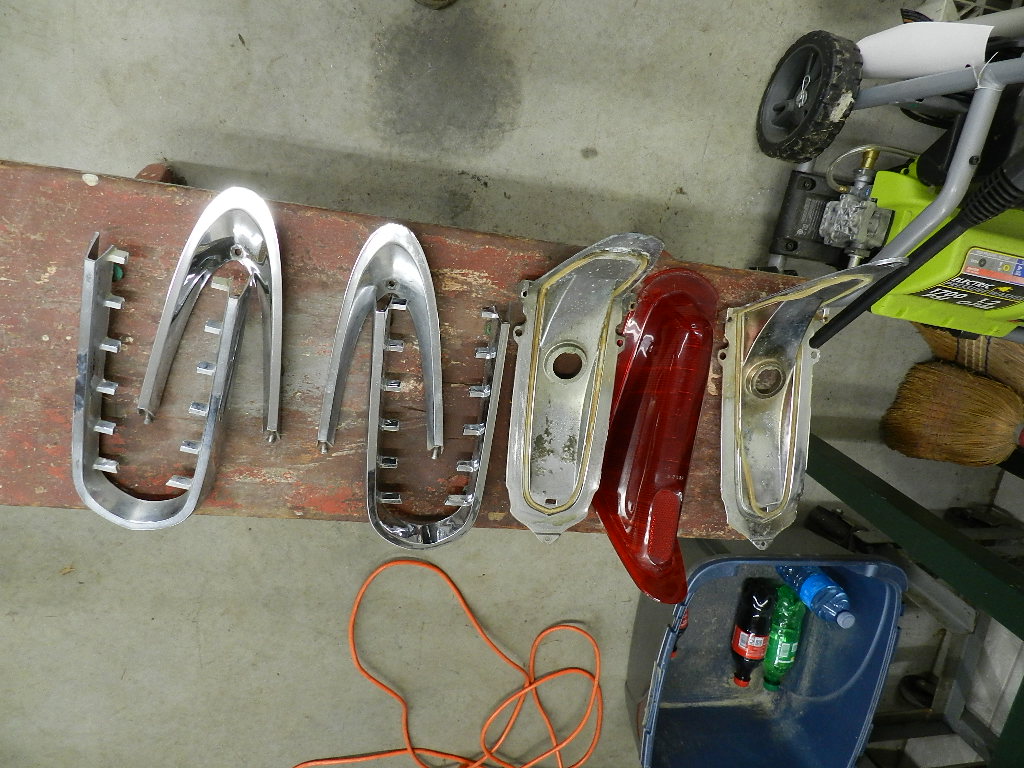
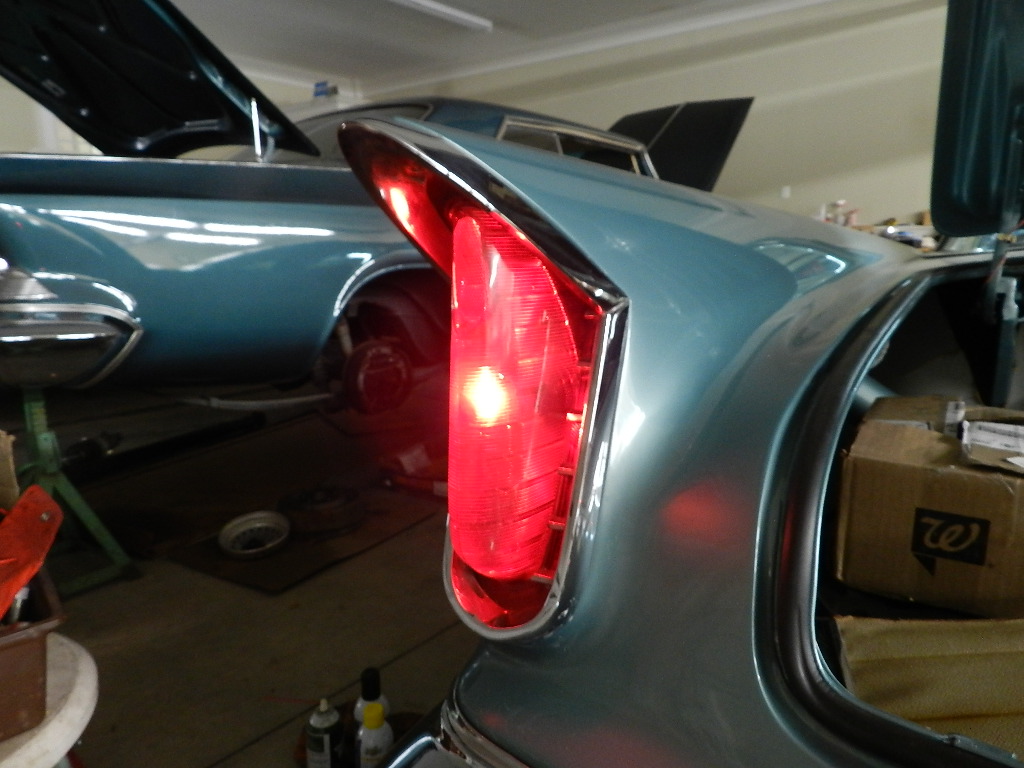 We had a minute between projects so we took a look at the tail light lenses. In order to remove the lenses, you have to remove and disassemble the tail light housing. While this is a little bit of work,
the good news is 1959 housings and lenses are generally in nice shape. Under the edge of the tail fin, they are out of the sunlight and age well.
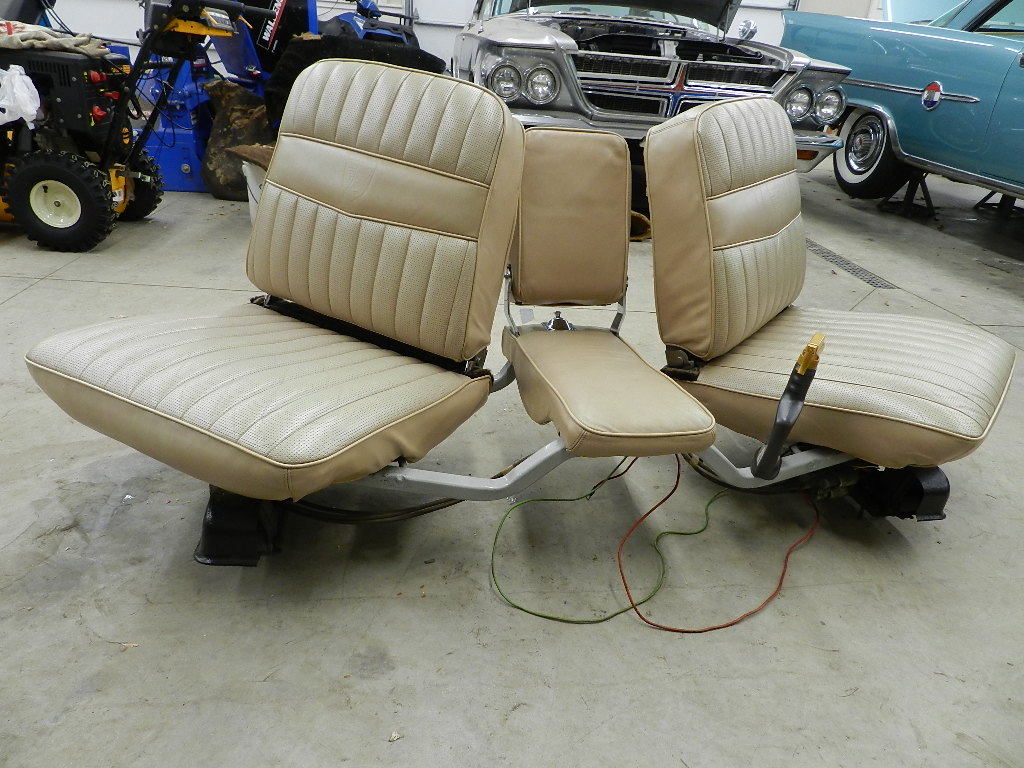
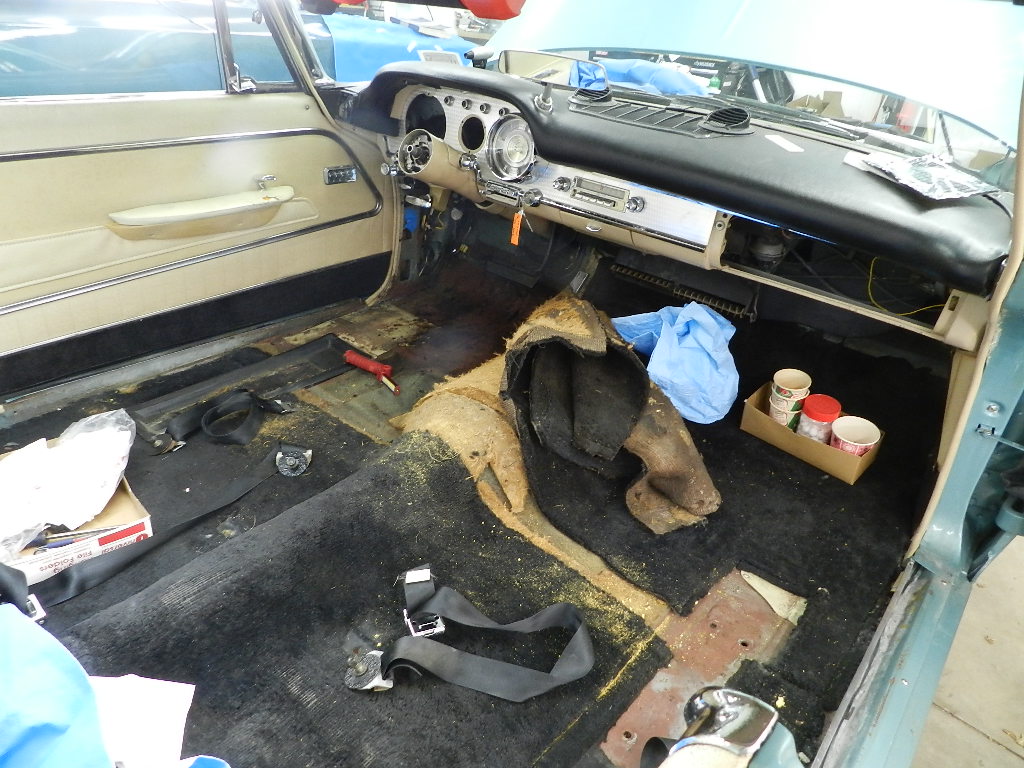 The carpet was worn and now is a good time to replace it. This required removal of the front seat, which was surprisingly heavy with its power motor and mechanism. The 4 anchor bolts and nuts are in good shape and came off easily. We disconnected the power seat feed wire (red) and the cigar lighter feed wire (green) from the circuit breakers since that is easier than disconnecting at the seat. With the seat out, we might as well take a minute and give it a thorough cleaning with Lexol. A new carpet was ordered from Quirey. Here you can see the old carpet coming out from the driver's foot well area. This gives us the chance to replace the throttle pedal boot, which was long gone. Replacing the pedal boot is a simple thing that takes a lot of time.
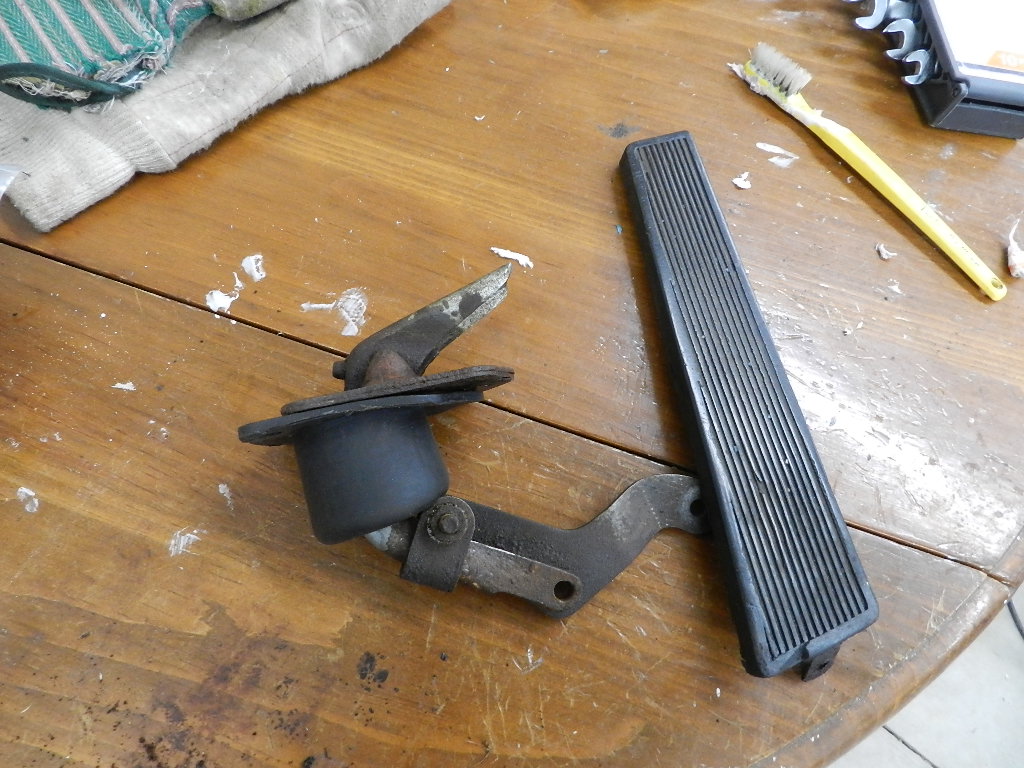
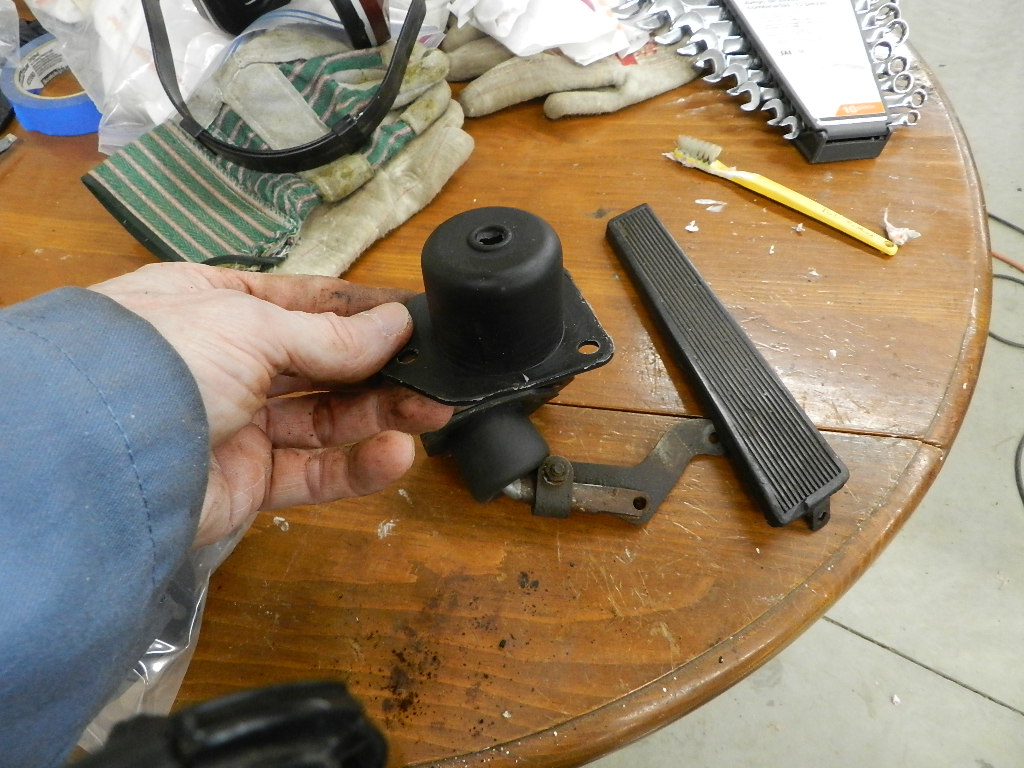 The pedal assembly has to be removed but to do that you need to get the carpet up in that area. This may or may not require removal of the driver sill plate and kick panel, perhaps even the driver seat -- whatever it take to get the carpet loose enough so you have access to the pedal pivot. That pivot is held to the floor by 3 screws which have been exposed to whatever came off of your shoes for all these years, and those screws aren't going to want to come out. Two of these three broke on this car and had to be drilled out. With the pedal disconnected from the linkage, it comes out, the new boot goes on, and the pedal reinstalled. Boots are available from Quirey and fit 1957 - 1964. Wondering about that bracket on the throttle pedal? That is the link to the AutoPilot, and in these pictures it is installed upside down.
Time to install the new carpet. I took the old jute from the worn carpet and re-installed
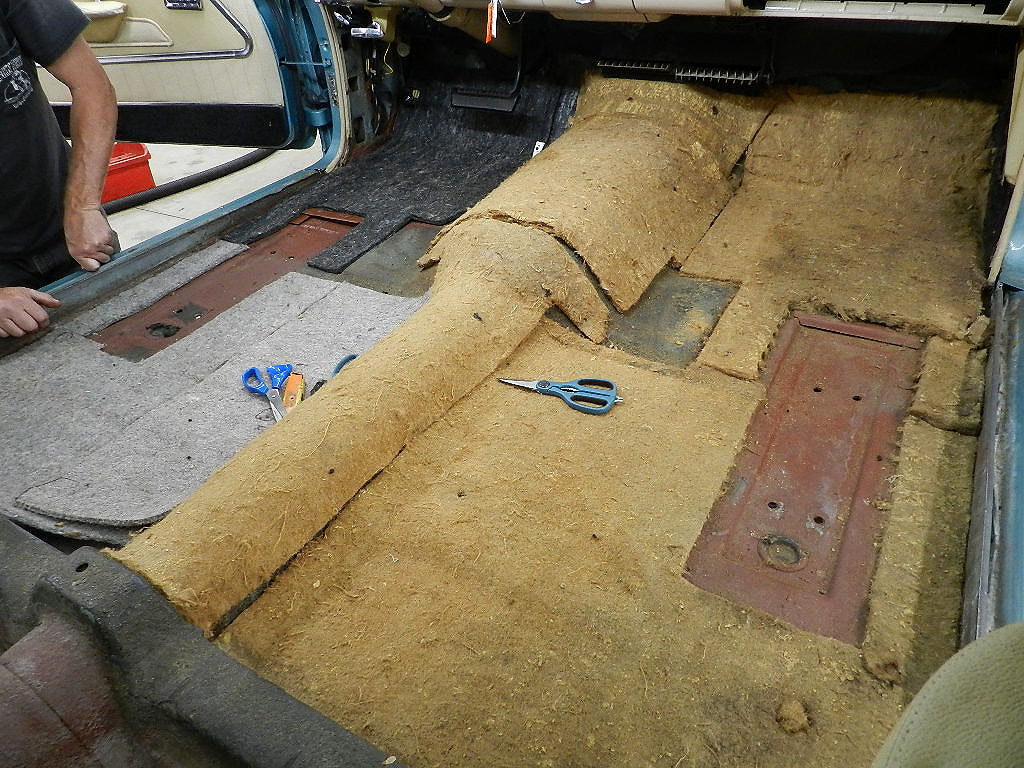
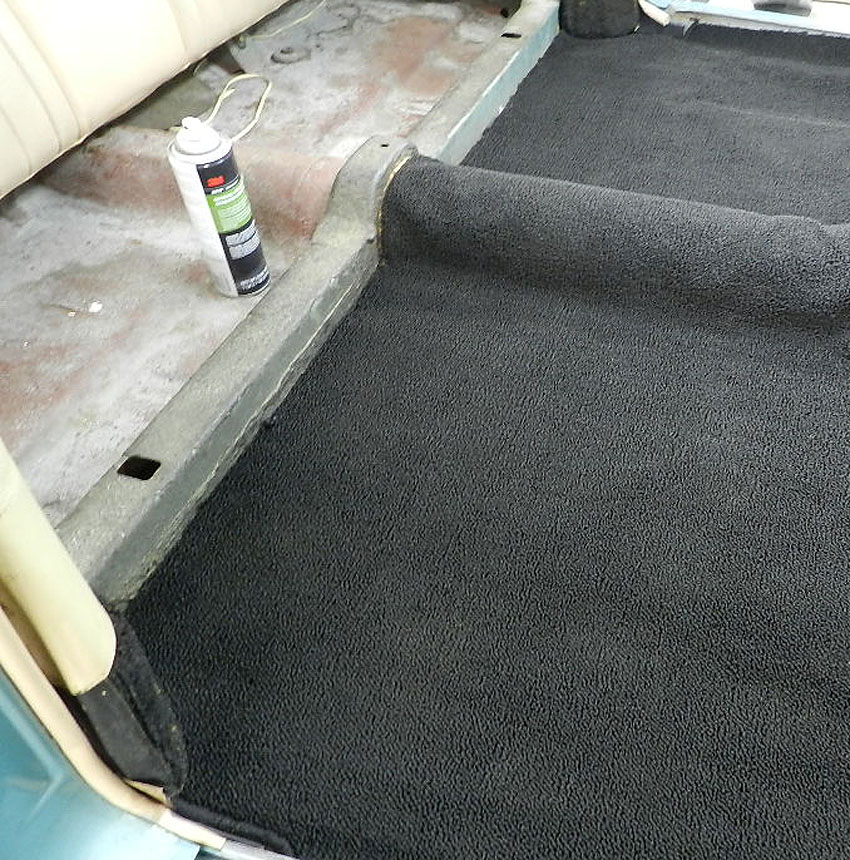 it in the car so I could get an idea of what the carpet was expecting. I used new jute in the driver side sections where the old material was beyond service. Sometimes I use adhesive to locate the jute to the floorboards, sometimes I don't. This time I did and was pleased with the results. The rear carpet was thrown in for a quick test. It fit very well side to side and around the drive shaft tunnel. I used adhesive around the tunnel to get a nice tight fit, cut holes for the seat brackets and seat belt anchors. The rear seat bottom section went in without a problem. Unlike the 1960 and up cars, these seats have locks in the front of the frame and are easy to install.
Before installing the front carpet, I decided to get the car running to test the oil pressure gauge connection and the heater water valve. No sense installing new carpet only to have it leaked on by things that need to be fixed. The car has not run since it arrived last November. It fired right off after priming the rear carb and settled to a nice idle once fuel from the tank reached the pump. The oil pressure gauge responded quickly, shows good oil pressure and does not leak. The ammeter shows charge and regulated after a few minutes of running.
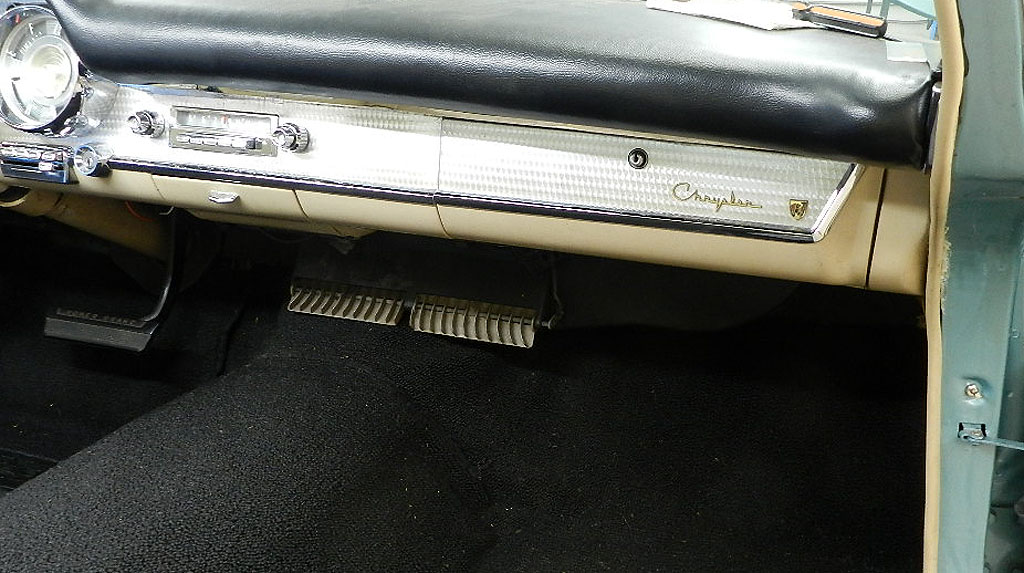 The gas gauge shows E, no surprise since the sender was expected to be bad. It ran for 15 minutes, temp gauge responded, checked the heater water valve, no leaks, there was circulation in the radiator and no leaks there either. Tested headlights high beam while running and they are working again. The AC compressor engaged when the max cool button was pushed. There is flow from each exhaust pipe although the heat riser is stuck -- either it in the open position or the flapper is gone. The engine started right up after a hot soak. After fighting for so many months, the car is coming around. With the water valve checked, I reinstalled the glove box and lid. Reassembly is always a good thing. We have a video here.
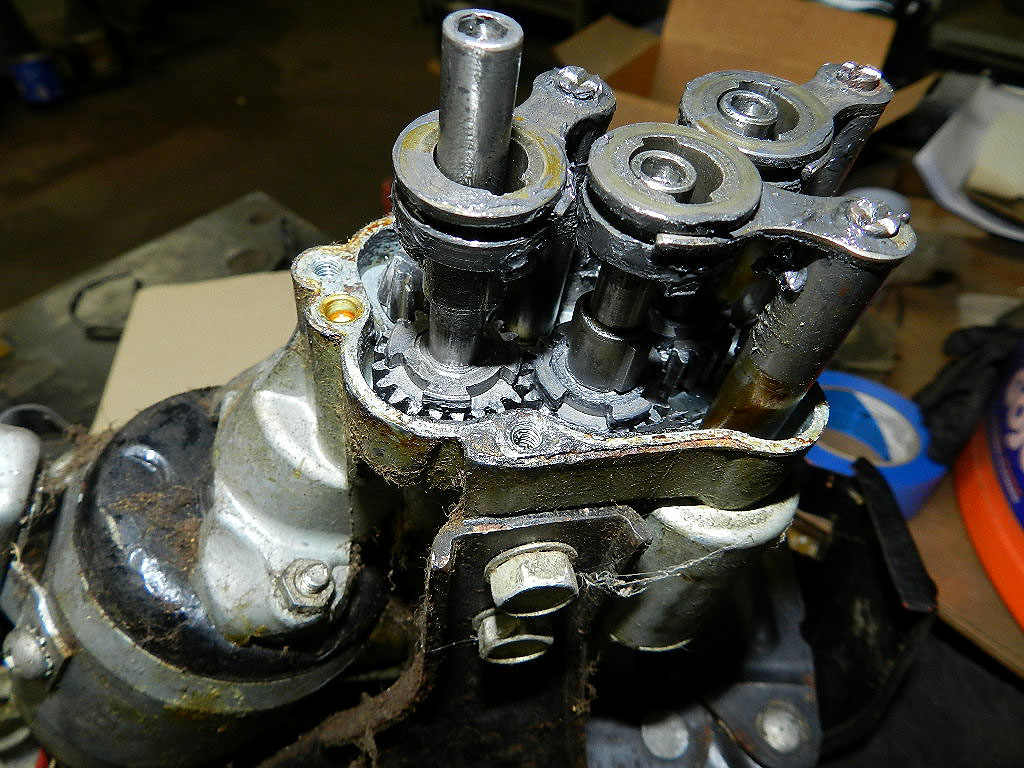 I had the power seat system out and decided to clean and lubricate the mechanisms. And then it quit working. The fore and aft had been working, although chattering. Now the motor ran but without any fore. Or aft. I had never worked on one of these before so I got out the 1960 service manual (the 1959 manual is a supplement and thin on information). It was the 1958 service manual that has the best information; it has a diagnostic section on power seats, horns, window motors, etc. It is a very helpful section that is not repeated in other manuals. If you don't have service manuals, you can read them on line at John Holst's site. For this car, it turned out the plunger in the fore and aft solenoid had seized. I had a spare power seat assembly which donated parts. Here is the video.
With the power seat problem repaired I could complete the installation of the carpet. I decided to install the gas pedal on top of the carpet. I had seen this done on a 57 and liked how it anchored the carpet in that area. With the carpet installed, the seat frame and seat cushions could be reassembled. It looks like a car again and we move on to other things that need attention.