Page 5
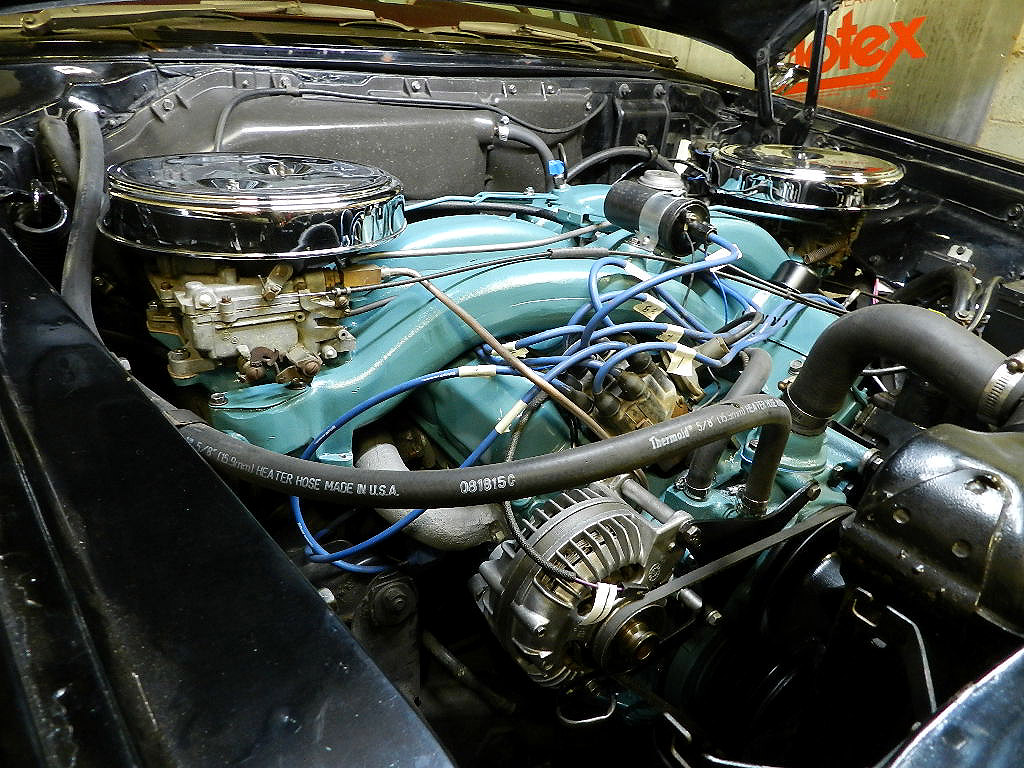
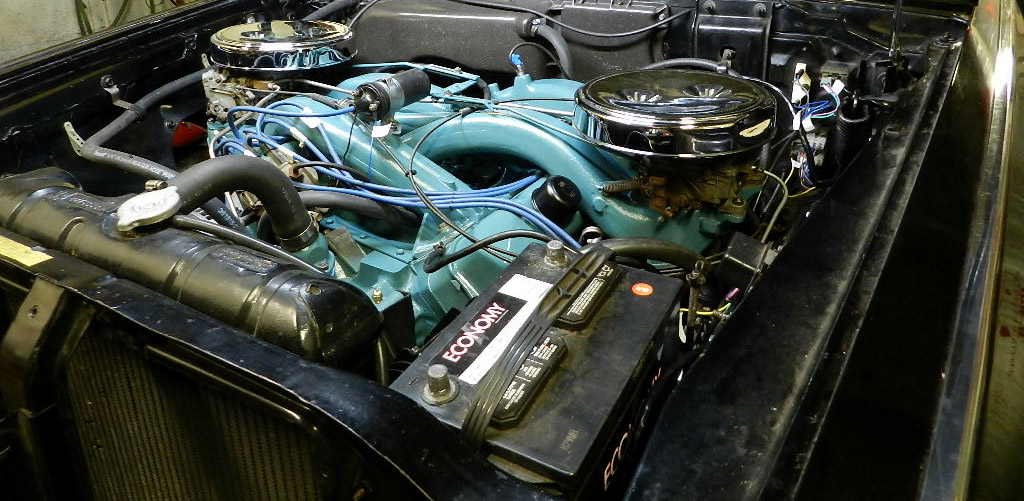
| I need to get the engine ready for the first run so I am using the carburetors, distributor and plug wires that came off of the engine. They were all working at the time so I think they should be in good enough shape to get us running for a first test. |

|
| Reassembly: grab a shovel and scoop parts and pieces as fast as you can into the engine bay. Slam the hood, wave your magic wand. Open the hood and there you are. |

|
| The hoses for the ram balance tube are cut from the Gates 20351 radiator hose. When they are fresh, they assemble easily. After some use, it will take heat to get them flexible enough to remove. Depending on how much use they have seen, they will get stiff and are not likely useable a second time. |
|
|
Bleeding the brakes proved to be an adventure. I went by the standard procedure
of right rear, left rear, right front, left front and then the remote. I put a bunch of fluid
through the system and had no brakes. So I read the manual.
The sequence is: inlet bleeder screw on remote booster, outlet bleeder screw, left front
right rear, right front, and left rear. Then I had brakes.
Fluids were added, radiator, transmission, power steering and only 1 small leak. A bit of antifreeze from the transmission inspection plate. It turned out to be a bolt left loose at the waterpump. Antifreeze ran down the block to the oil pan and along the edge to the transmission. Who would have thought? |
|
| I decided to drop the gas tank, remove the sender and see how bad the tank might be. 20 years ago I stored it empty with a plastic bag over the fuel filler thinking gas can't go bad if it is empty and the tank won't rust if air can't circulate. Turns out that was a good plan. Click here for the video. |
|
|
I've always wanted the passenger side rear view mirror but was never able to
find the special wedge required on the mirror base. Finally I had some wedges
made and I installed a new mirror (from Murray Park) using my new wedge.
Video here.
In the course of the passenger mirror project, I was surprised to see so much variation in the location (fore and aft) of the driver side mirror. In 63 and 64, the remote mirror drivers side was a factory option, and the passenger side mirror was a dealer option......meaning if you ordered a passenger side mirror, the dealer installed it. While the dealer may have had a template, more likely they installed the mirror without it resulting in a lot of variation in the mirror location car to car. But I didn't think a factory installed mirror such as the driver side would have much variation. We'll never know but perhaps the factory punched the fender hole for the cables and shipped the mirror in a box in the trunk for the dealer to install. That might explain it. In case you want it, here is a list of the dealer options and codes. |
|
| Next on the agenda is the installation of a new interior from Legendary. |
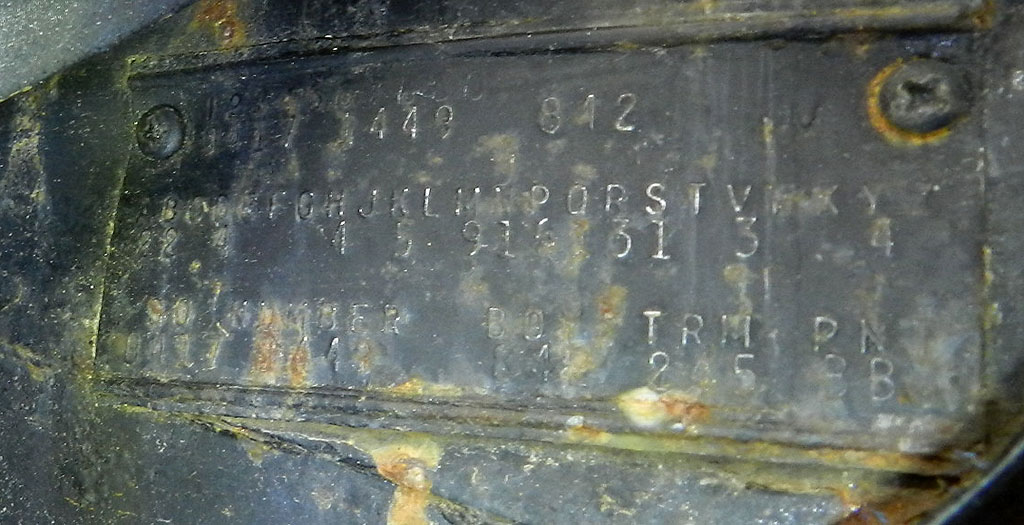
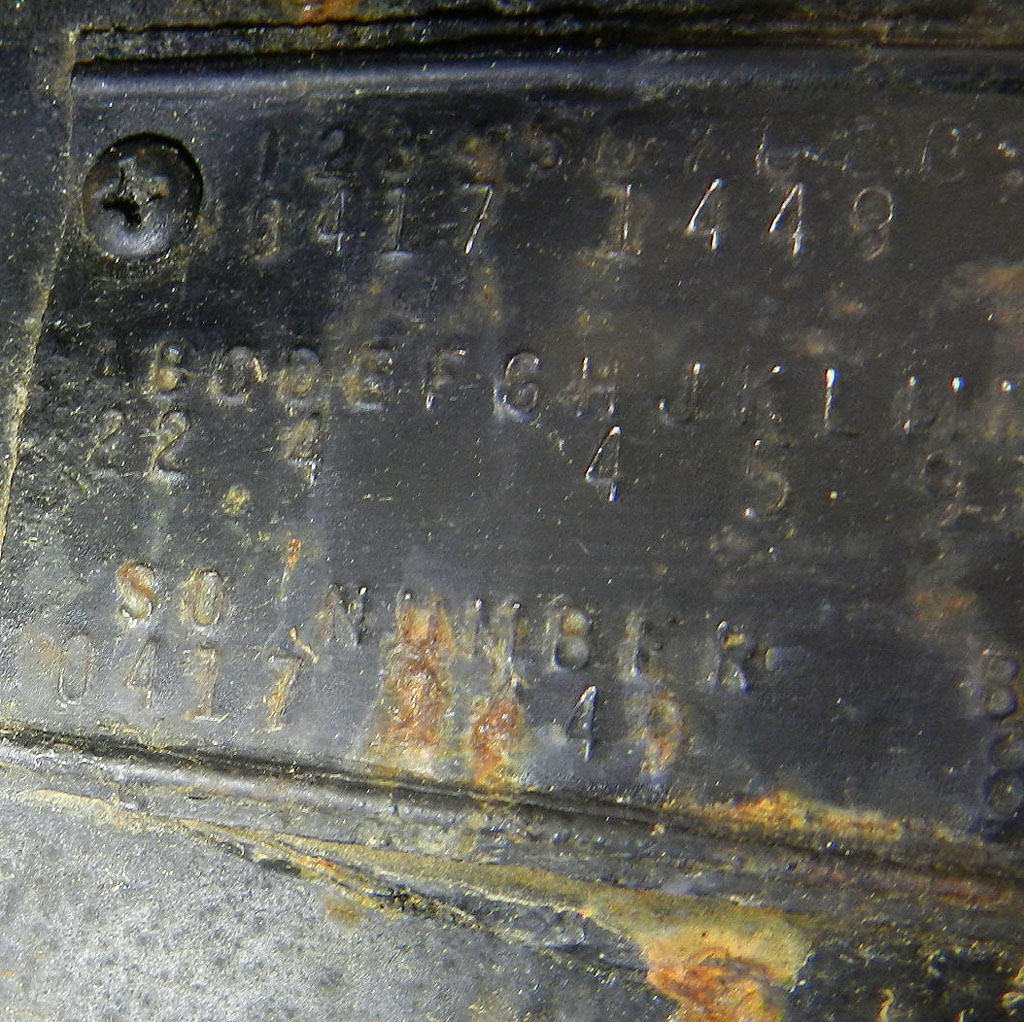
J production notes
Paint:
159 in WW1 (Oyster White). [40%]
89 in MM1 (Alabaster). [22%]
64 in TT1 (Claret). [16%]
50 in BB1 (Formal Black). [12%]
29 in NN1 (Madison Gray). [7%]
3 in PP1 (Festival Red).
1 in YY1 (Cyprus Tan).
5 with 999. One of those also had 999 interior.
7 were built with manual transmission.
7 were built with 999 interior code.
178 were built with power antenna.
118 were built with power passenger seat.
325 with glass code 1 (all windows tinted)
34 with glass code 2 (windshield only tinted)
2 with glass code 4 (unknown)
2 with glass code 8 (unknown)
38 with no glass code
233 with heater code 381 (heater only)
167 with heater code 385 (AC)
There were no heater delete cars.
79 with radio code 2 (Golden Tone radio)
37 with radio code 3 (Golden Touch Tuner)
108 with radio code 4 (Golden Tone radio including rear seat speaker)
147 radio code 5 (Golden Touch Tuner radio including rear seat speaker)
7 with radio code 6 (AM/FM)
3 with radio code 7 (AM/FM + rear speaker)
19 with no radio code
To the next page
Back

