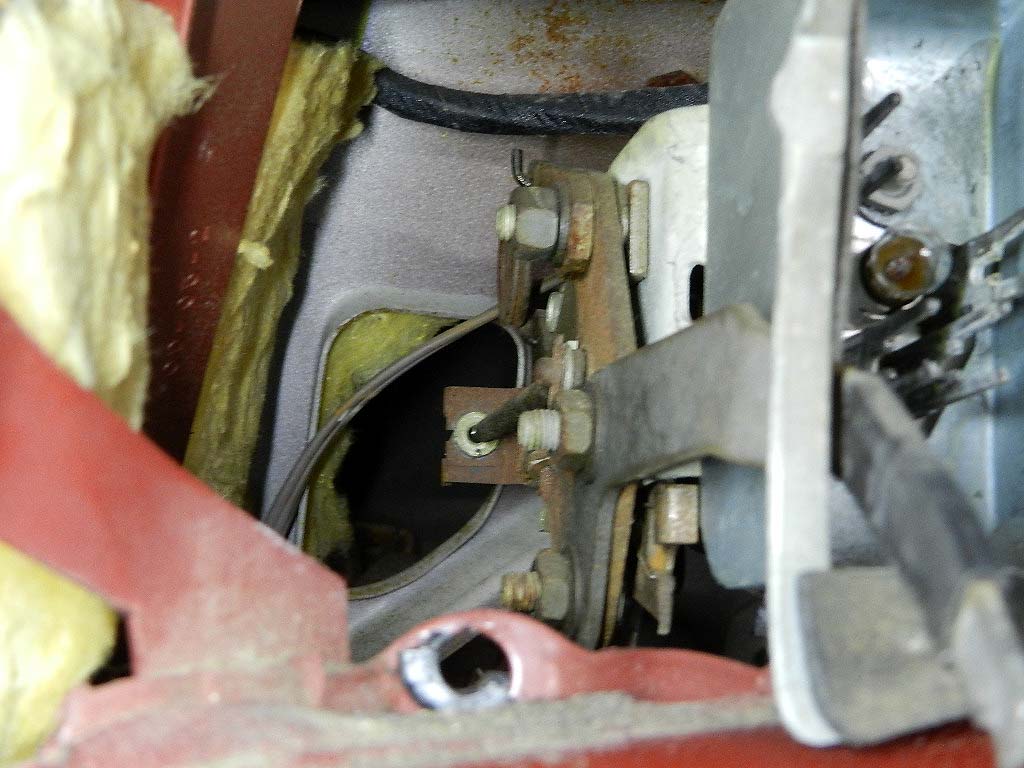
With the cables removed from the push button mechanisms, the firewall grommet is pushed through and the cables snaked into the engine compartment. The transmission cable is on top at the grommet. We dropped the transmission pan to check the filter and fluid, and released the cable at the spring from below. The park cable was easily removed. We then compared the cables to the new ones for length and found we did not have the correct ones. The correct ones are 58" long and are Atlas part number 808-199 for the transmission and 808-057 for the park. I had ordered on line and their web site didn't differentiate between the J and the other 1963 models. A note: while the transmission cable is the same for the J and the Sport, the park cable is different. That may be due to the exhaust header on the J. The cable project is stalled while correct cables are obtained. One more note; you might think 1964 push button cables and park cables are the same as 1963. They are not. You need to be very careful when ordering cables.
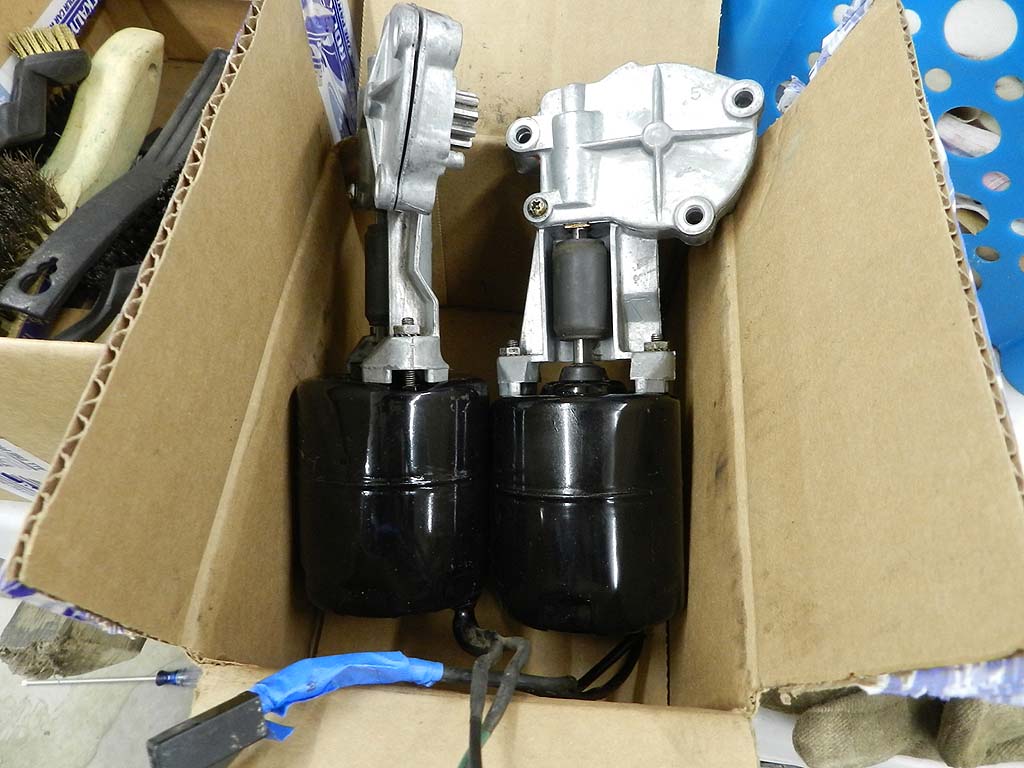 The power window motors are freshened. We have all 4 windows without motors, and this means we can manually raise and lower windows by hand.
This makes it so much easier for lubricating the slides; you apply lube, raise and lower the window as fast and as much as you want. This works the old stuff off of the joints and the new lube into the joints. This is especially beneficial for the rear windows, where there is sideways motion in addition to vertical. After just a little effort, all four windows now move silky smooth. This is also a convenient time to install the rear cat whiskers. We got them from Quirey and they snapped right in.
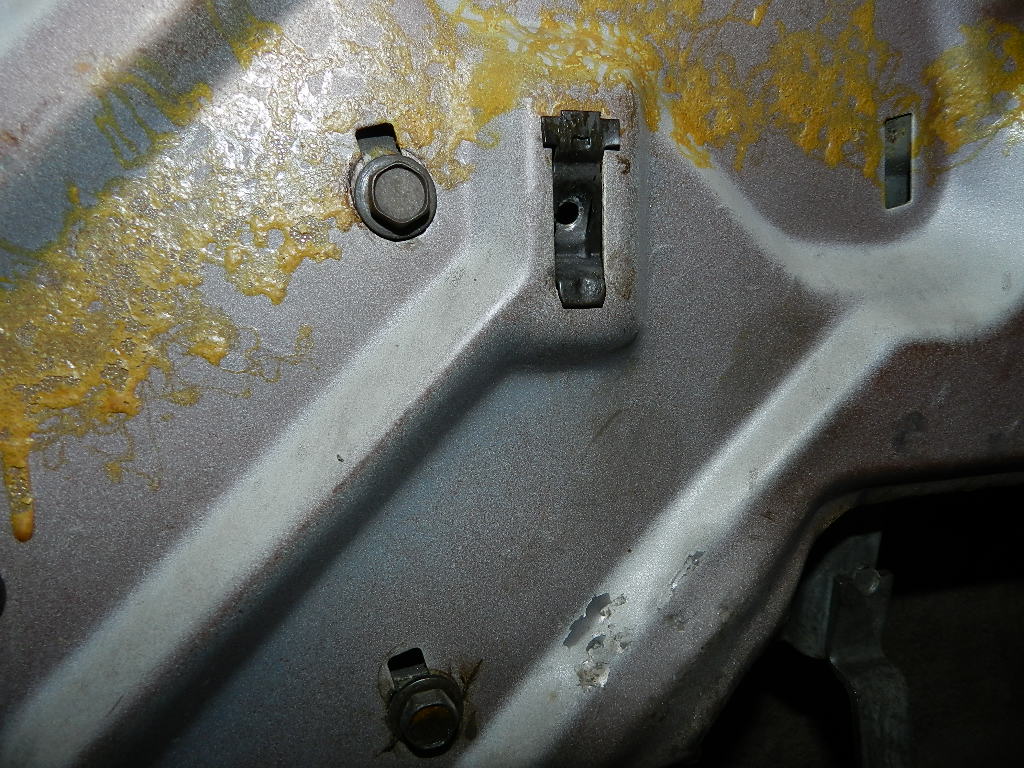 Working around the doors, one of these mounting brackets popped out. These are the receivers for the large Philips head screws on the arm rests. A simple enough bracket, these are a Chinese puzzle to get back in place. You hold it by the top, put the body through the door panel, rotate so the top cutouts allow the top to sit, then pop the bottom back in. It took me some time to figure it. Because the slot is bigger than the bracket, the bracket can move up and the bottom pop in through the panel. For that reason, you should tape the brackets while positioned as far down as possible. If you'd rather see the video explanation, click here.
Buttons Buttons Who Has The Buttons?
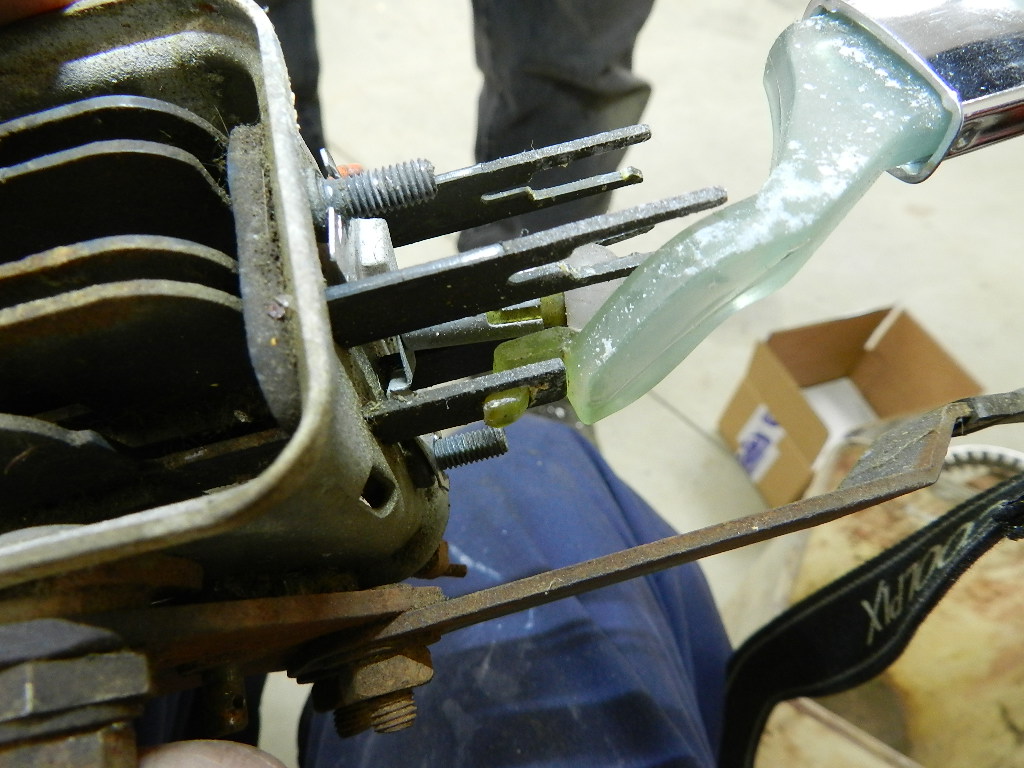 Unlike earlier years, the neutral button for 1963 and 64 is "secured" to the transmission selector pin. If you try to remove the neutral by pulling, you can break it. The removal procedure is documented in the factory service manual, but who would think to read that? All the other transmission buttons (and heater buttons) can be removed in the normal way, by pulling.
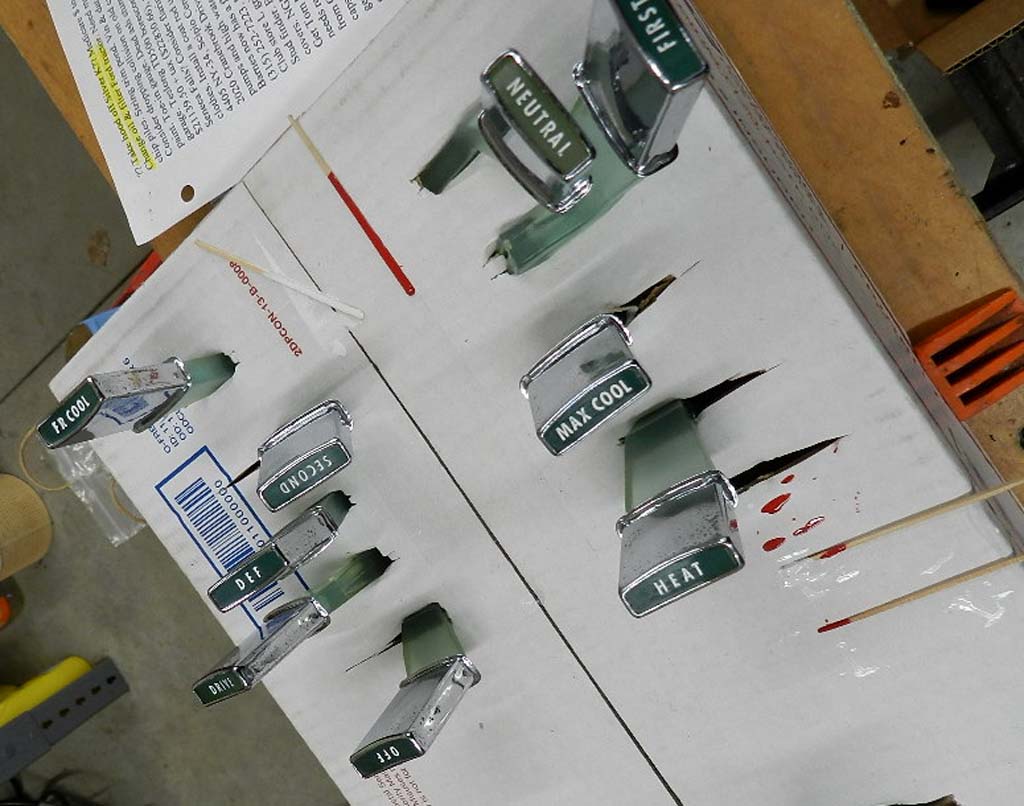 Now is the time to clean the buttons, remove the old lettering and apply new paint. All the buttons are white except for reverse, which is red. I use Testors model paint. Generally I paint the full button face, let dry and wipe off the excess. Jamie did these buttons. He applies paint with toothpicks just to the letters, let it dry a bit, and wipe excess with a clean rag and carb cleaner. His results are very good.
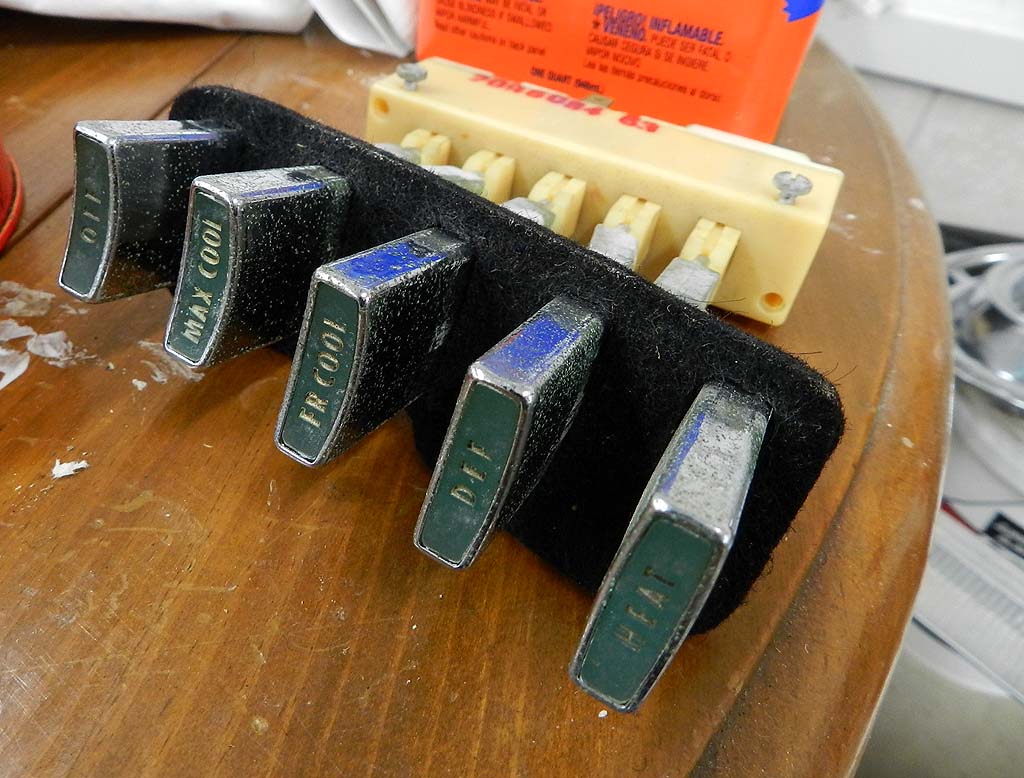
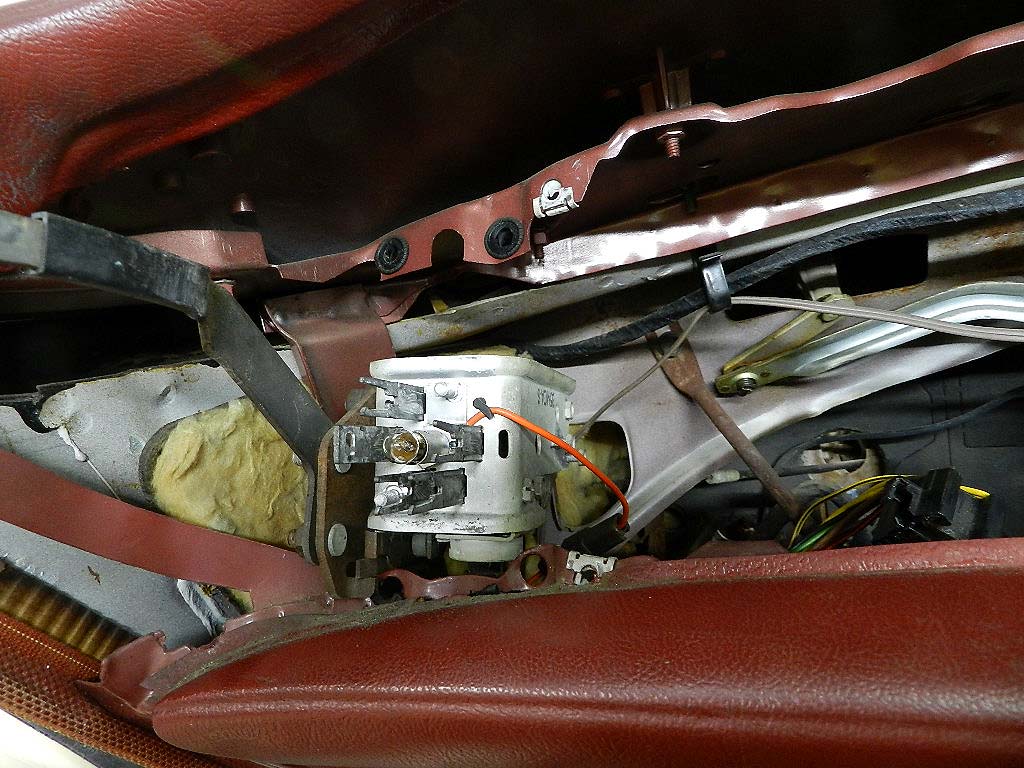
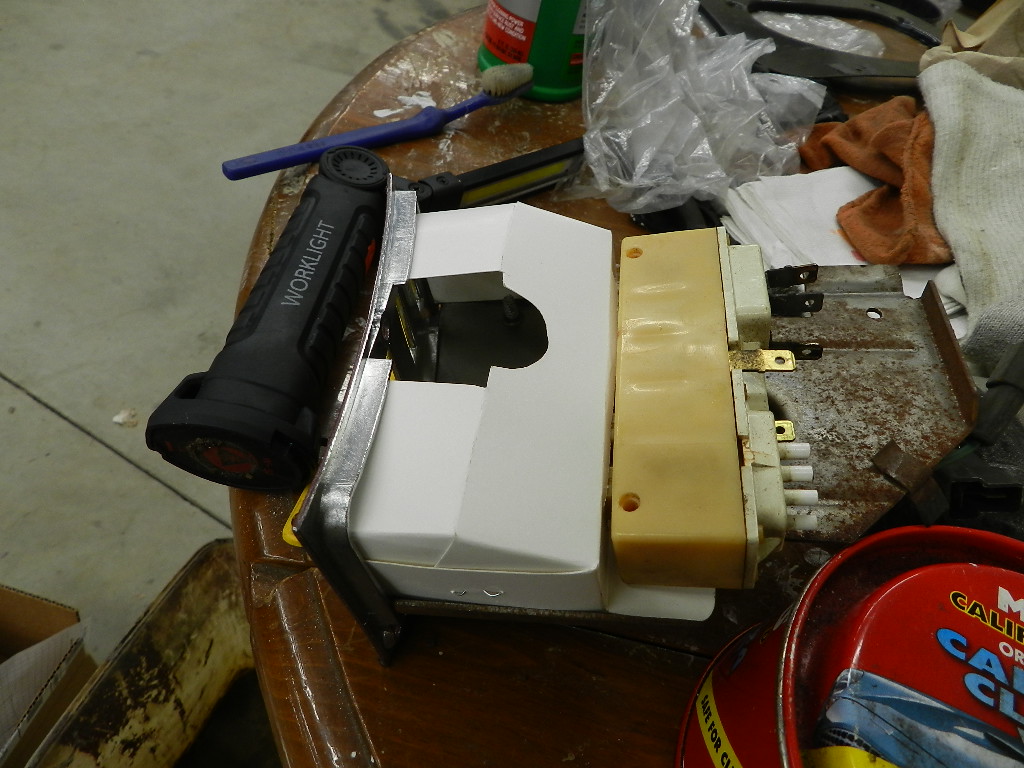 The heater buttons have a light shield. The original was in pieces after all these years. Quirey has new pieces for the 1963 and 64, their part number 379. This is how it is installed; it is held captive by the pushbutton switch base. If you have your heater switch out for any reason, this little touch will go a long way.
The UPS truck was busy this week. We received a new gas tank and the exhaust system. The tank is a 64. It comes without a sender and without a filler neck, both of which we have. The exhaust came from Classic Exhaust in Geneva, Ohio. This is a Sport 300 exhaust system since we are using regular exhaust manifolds instead of J headers. Exhaust system installation is a job I do not enjoy. Perhaps this time will be different.
There are some minor scratches on the transmission button bezel and the heater bezel. Jamie had paint mixed some time ago for his J and had not used it yet. The "gooseberry" blend is a great match. The paint is made for spray but we are applying it on the small scratches with a brush. As such, it is very thin and requires maybe 6 coats to cover.
While the car is on jacks, might as well see what it has for rear brakes. With our 5 legged puller, one hub gave up with a little fight and one hub gave up right away. Both back brakes have new shoes, springs and wheel cylinders.
Sharp eyes may notice that one brake is missing the spring on the parking brace. This spring is not included in replacement kits. I found one from a spare axle and installed.
The drums look great as well, measuring 11.010". We will paint the drums and reassemble.
Since we had a minute, we painted the rear ash tray with reflective aluminum and gave the instrument panel a cleaning. There is still a mile-long list of things to do. One step at a time..........
To page 4
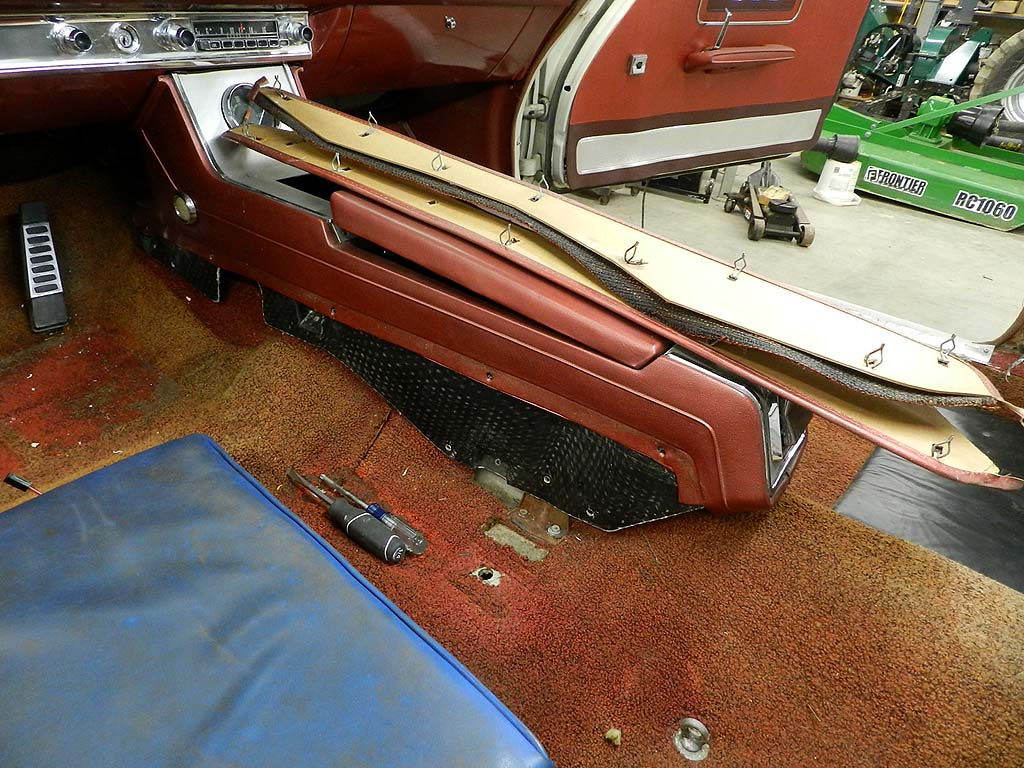
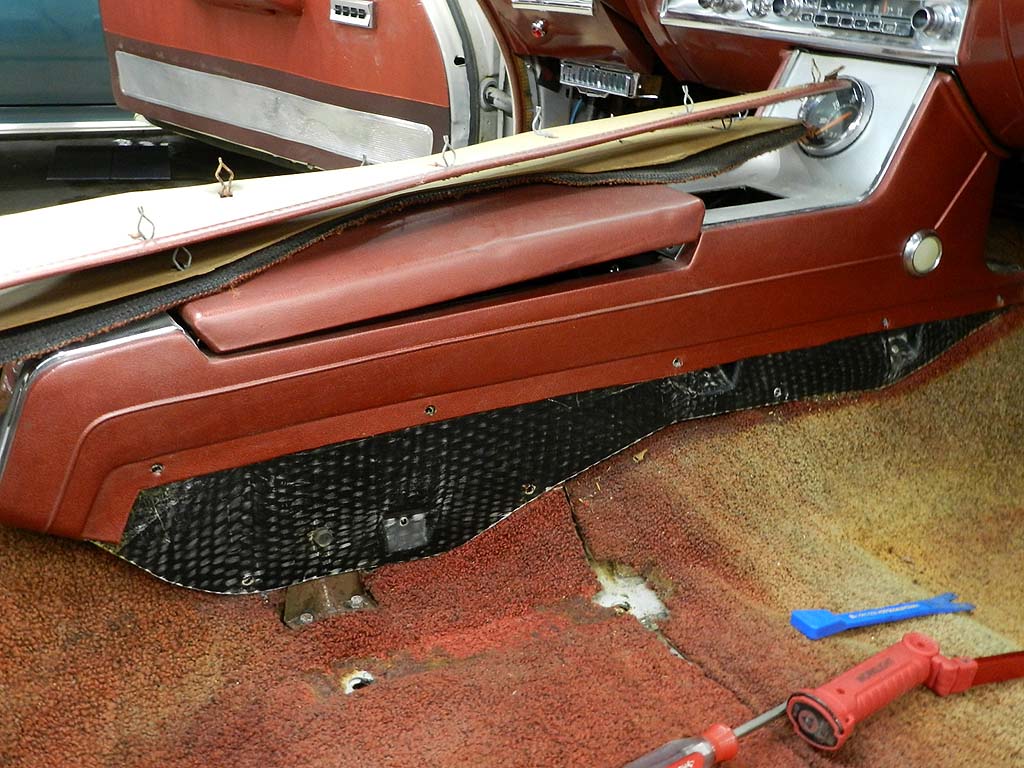
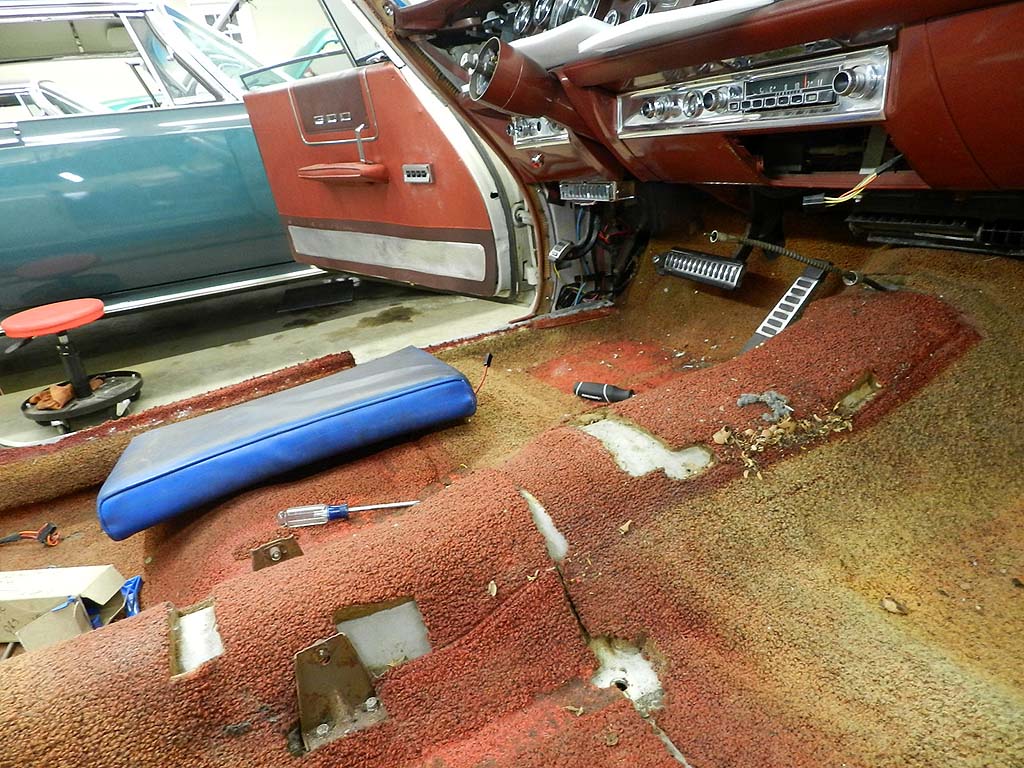
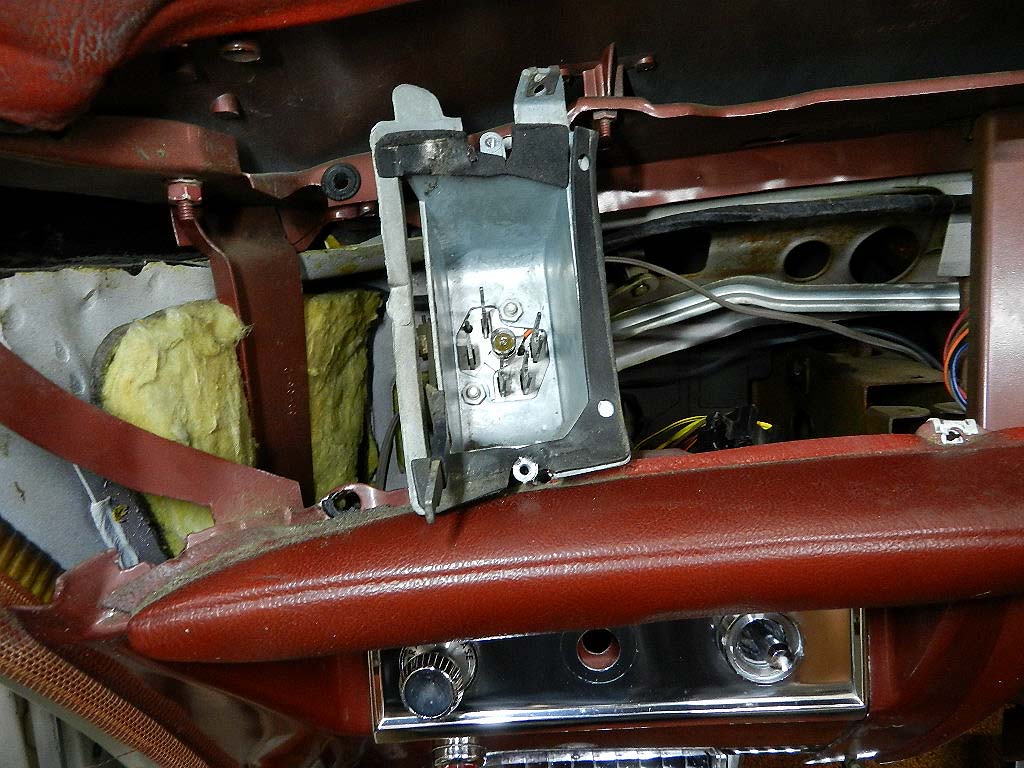
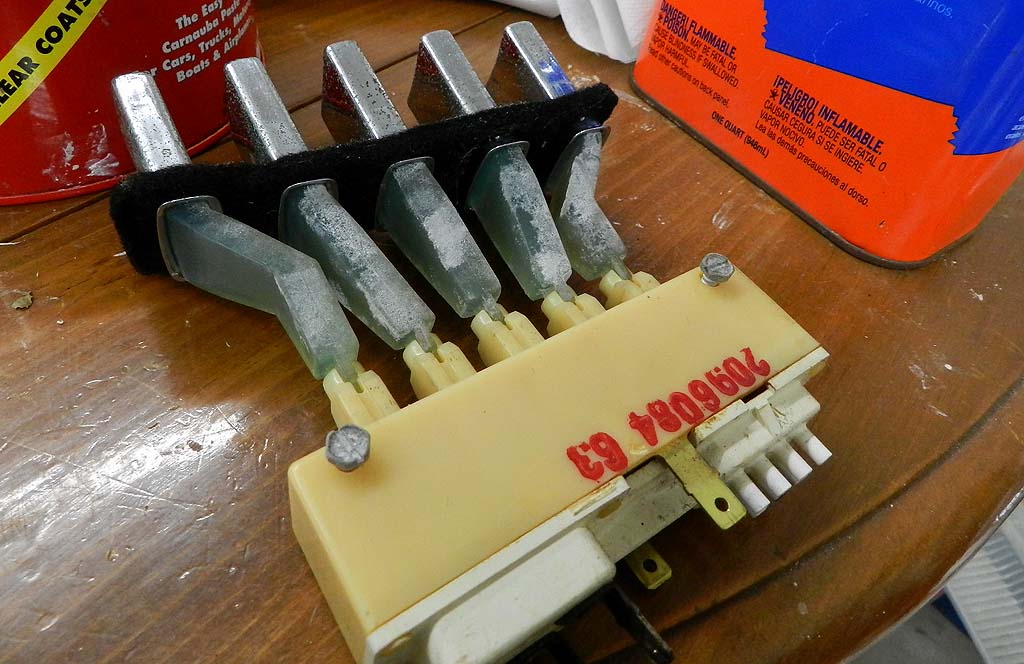 We decided to replace the transmission and shift cables. New ones were ordered from MoparMall. While we wait for their arrival, we removed the steering wheel and the instrument panel for best access. We also removed the speaker grill and speaker to make replacement of the heater switch easier. The old switch was still good but the buttons pushed hard and we have new switches in stock. This will also give us the chance to repaint the heater buttons and transmission buttons.
Here are three videos on this work; (1) (2) (3)
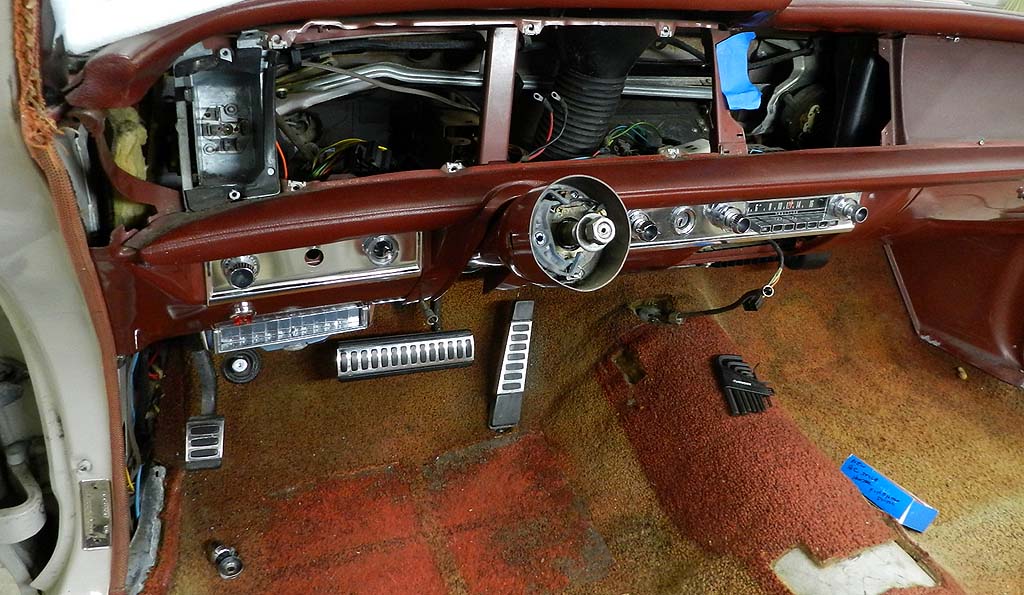
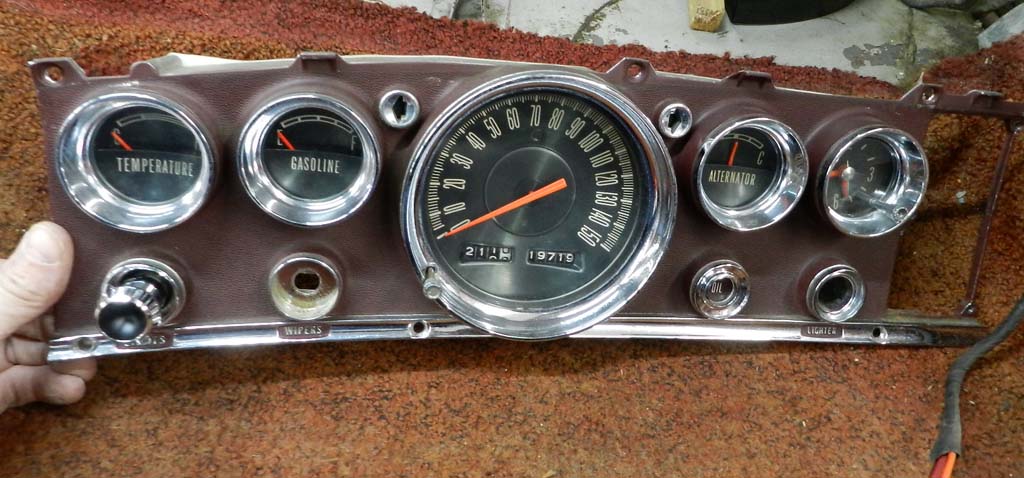
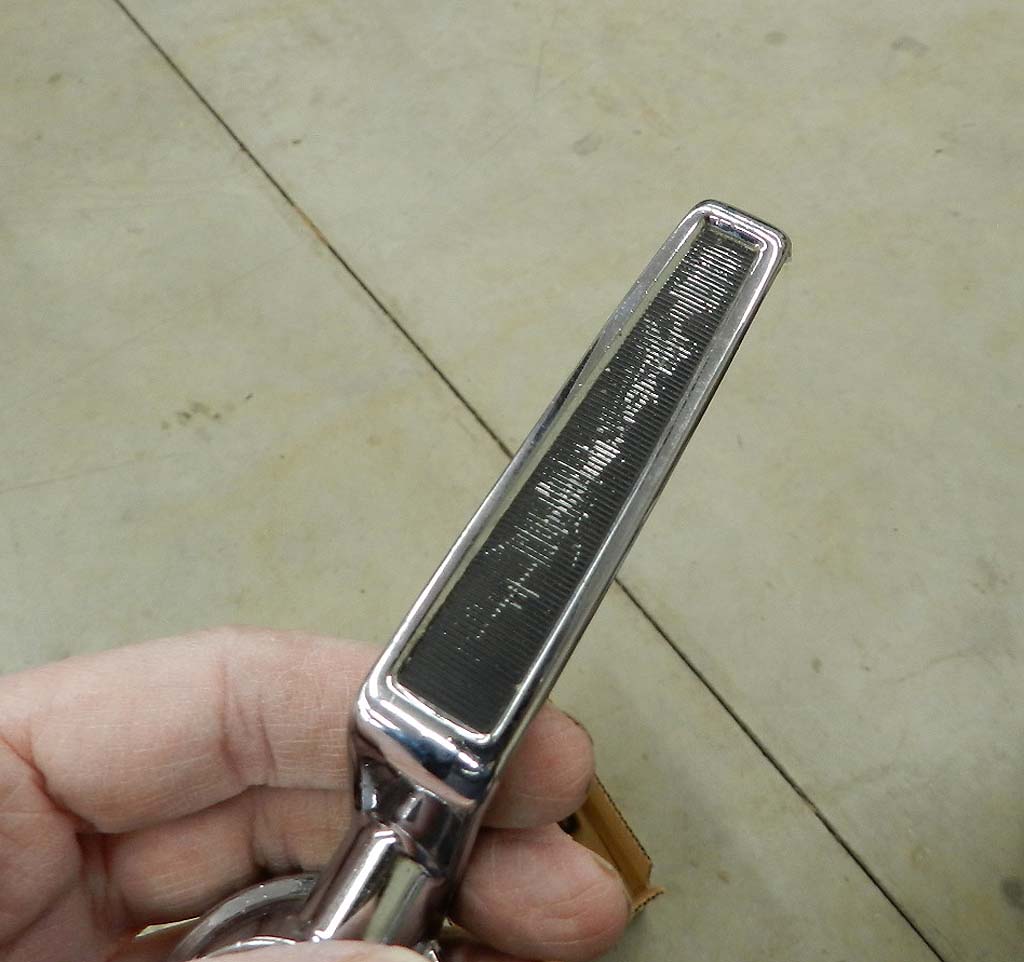
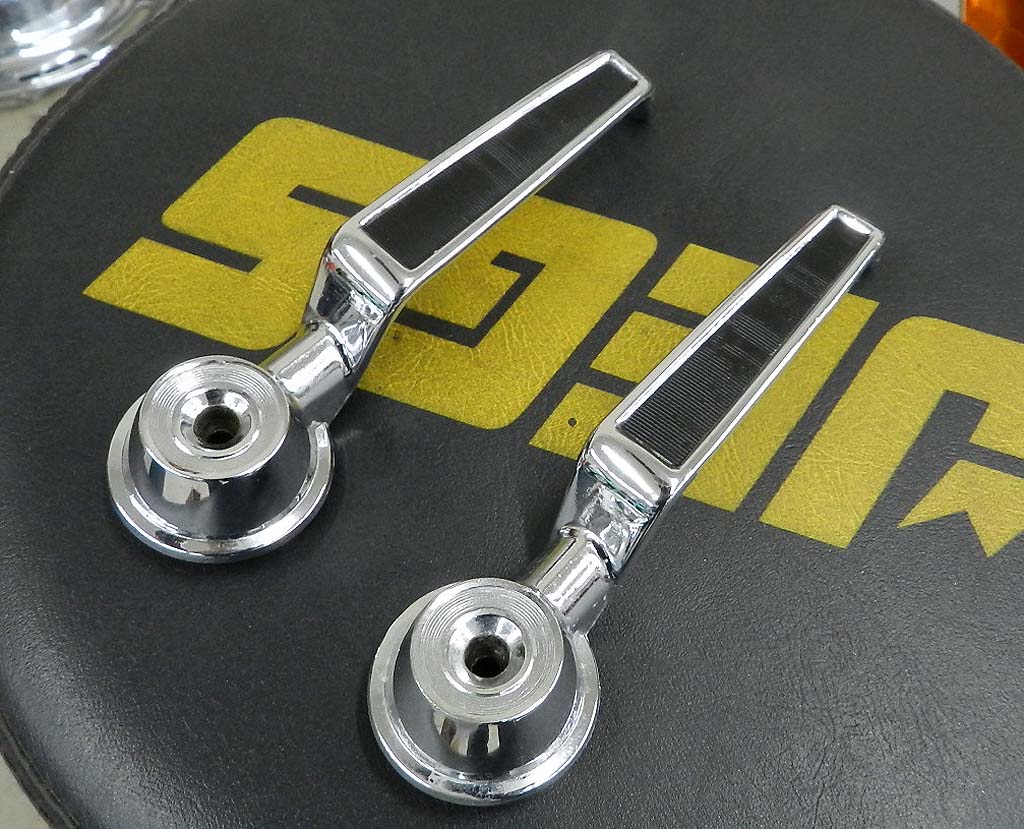 The front door panels were removed so we could freshen the window motors and lubricate tracks.
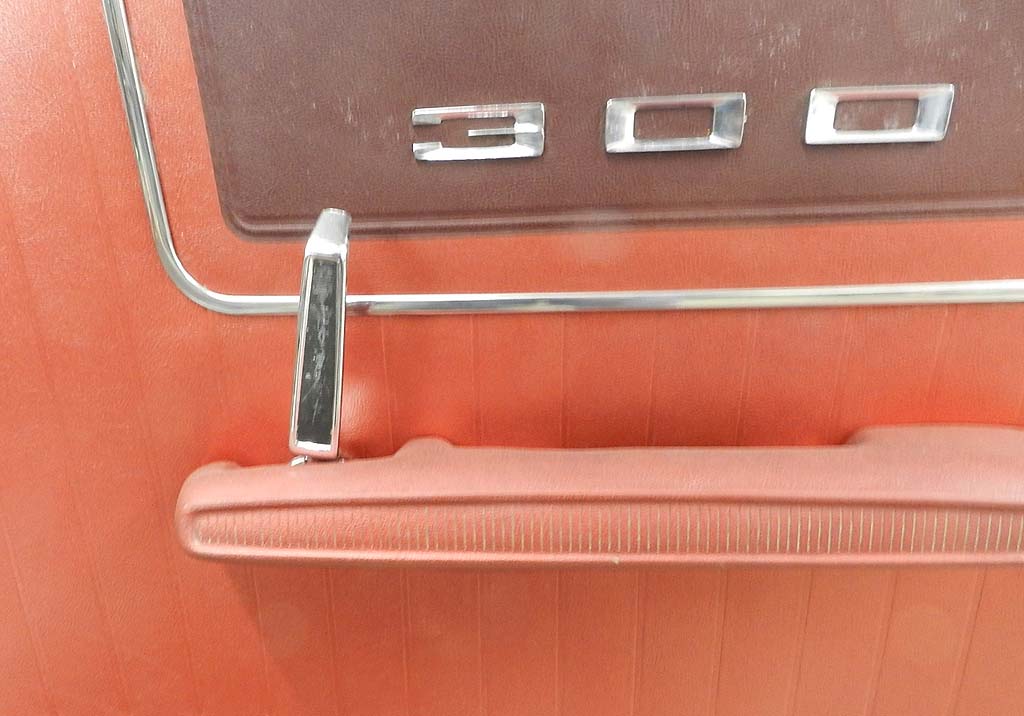 The insides of the doors are like brand new; not a spot of rust or corrosion anywhere. We repainted the centers on the inside door handles. Under hood black is a good match. By the way, do you see something wrong with picture of the interior panel? The door handle has been installed one notch too far clockwise.
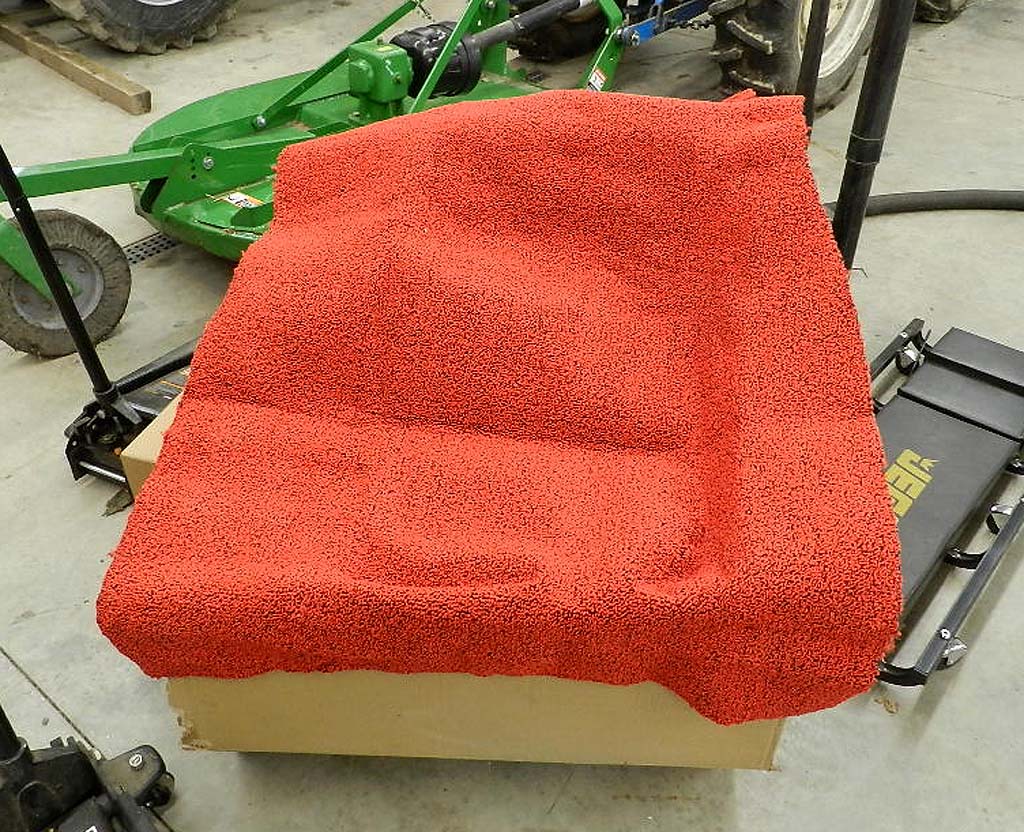
 The power window motors are freshened. We have all 4 windows without motors, and this means we can manually raise and lower windows by hand.
This makes it so much easier for lubricating the slides; you apply lube, raise and lower the window as fast and as much as you want. This works the old stuff off of the joints and the new lube into the joints. This is especially beneficial for the rear windows, where there is sideways motion in addition to vertical. After just a little effort, all four windows now move silky smooth. This is also a convenient time to install the rear cat whiskers. We got them from Quirey and they snapped right in.
Working around the doors, one of these mounting brackets popped out. These are the receivers for the large Philips head screws on the arm rests. A simple enough bracket, these are a Chinese puzzle to get back in place. You hold it by the top, put the body through the door panel, rotate so the top cutouts allow the top to sit, then pop the bottom back in. It took me some time to figure it. Because the slot is bigger than the bracket, the bracket can move up and the bottom pop in through the panel. For that reason, you should tape the brackets while positioned as far down as possible. If you'd rather see the video explanation, click here.
Unlike earlier years, the neutral button for 1963 and 64 is "secured" to the transmission selector pin. If you try to remove the neutral by pulling, you can break it. The removal procedure is documented in the factory service manual, but who would think to read that? All the other transmission buttons (and heater buttons) can be removed in the normal way, by pulling.
 Now is the time to clean the buttons, remove the old lettering and apply new paint. All the buttons are white except for reverse, which is red. I use Testors model paint. Generally I paint the full button face, let dry and wipe off the excess. Jamie did these buttons. He applies paint with toothpicks just to the letters, let it dry a bit, and wipe excess with a clean rag and carb cleaner. His results are very good.
The heater buttons have a light shield. The original was in pieces after all these years. Quirey has new pieces for the 1963 and 64, their part number 379. This is how it is installed; it is held captive by the pushbutton switch base. If you have your heater switch out for any reason, this little touch will go a long way.