Page 4
 The heater box was washed and the vacuum motor checked, then painted with detail grey. We aren't ready to install this so it will be put away for storage. Moving on, it is time to buff the sill plates. These are some of the best original plates I have ever seen. Although new sill plates are available, we will do what we can to these originals and reuse. We will also buff the sill plate extensions. I didn't get all of the scratches out -- if I needed show quality sill plates I would buy new. I like to do buffing in a well ventilated area (outdoors is great, but it is winter) because it seems the buff compound and the wearing of the buff wheel generates dust.

|

|

|
Let's get that new gas tank installed! This is a new 1964 Chrysler tank from Murray Park.
The carpet was in such good condition you can still read the manufacturer tag. I have only found this once before, and it was also a California car.
This car also has the original trunk carpet, something rarely found. This one is dirty and I am not sure it will survive an attempt at cleaning. For now I will leave it as it is. Interesting to see that the carpet extends over the axle hump and toward the back of the rear seat. This is an area no one would ever see. Chrysler bean counters could have gone with a smaller carpet and saved a nickle. New trunk lid bumpers were installed. Goers part number 7 fits 1963, 1964 and maybe back to 1960 as well.
 They don't make new tanks for the 1963 so you have to improvise. 1963 is the last year of the filler neck integral with the tank. If you use a 62 or earlier tank, the filler neck is just a little too long. Getting the gas cap on and off is difficult due to the small space between the neck and the bumper. It can be done, but it isn't something you would want to do every fill up. The

 1964 tank has a removable filler neck and is the right length for the gas cap. The new tank doesn't come with a filler neck so you have to get one. You also have to get a vented gas cap because the 1964 tank is not vented. The new tank installs quick and fits fine. I was able to reuse an original sending unit so there should not be any calibration issue about empty and full.

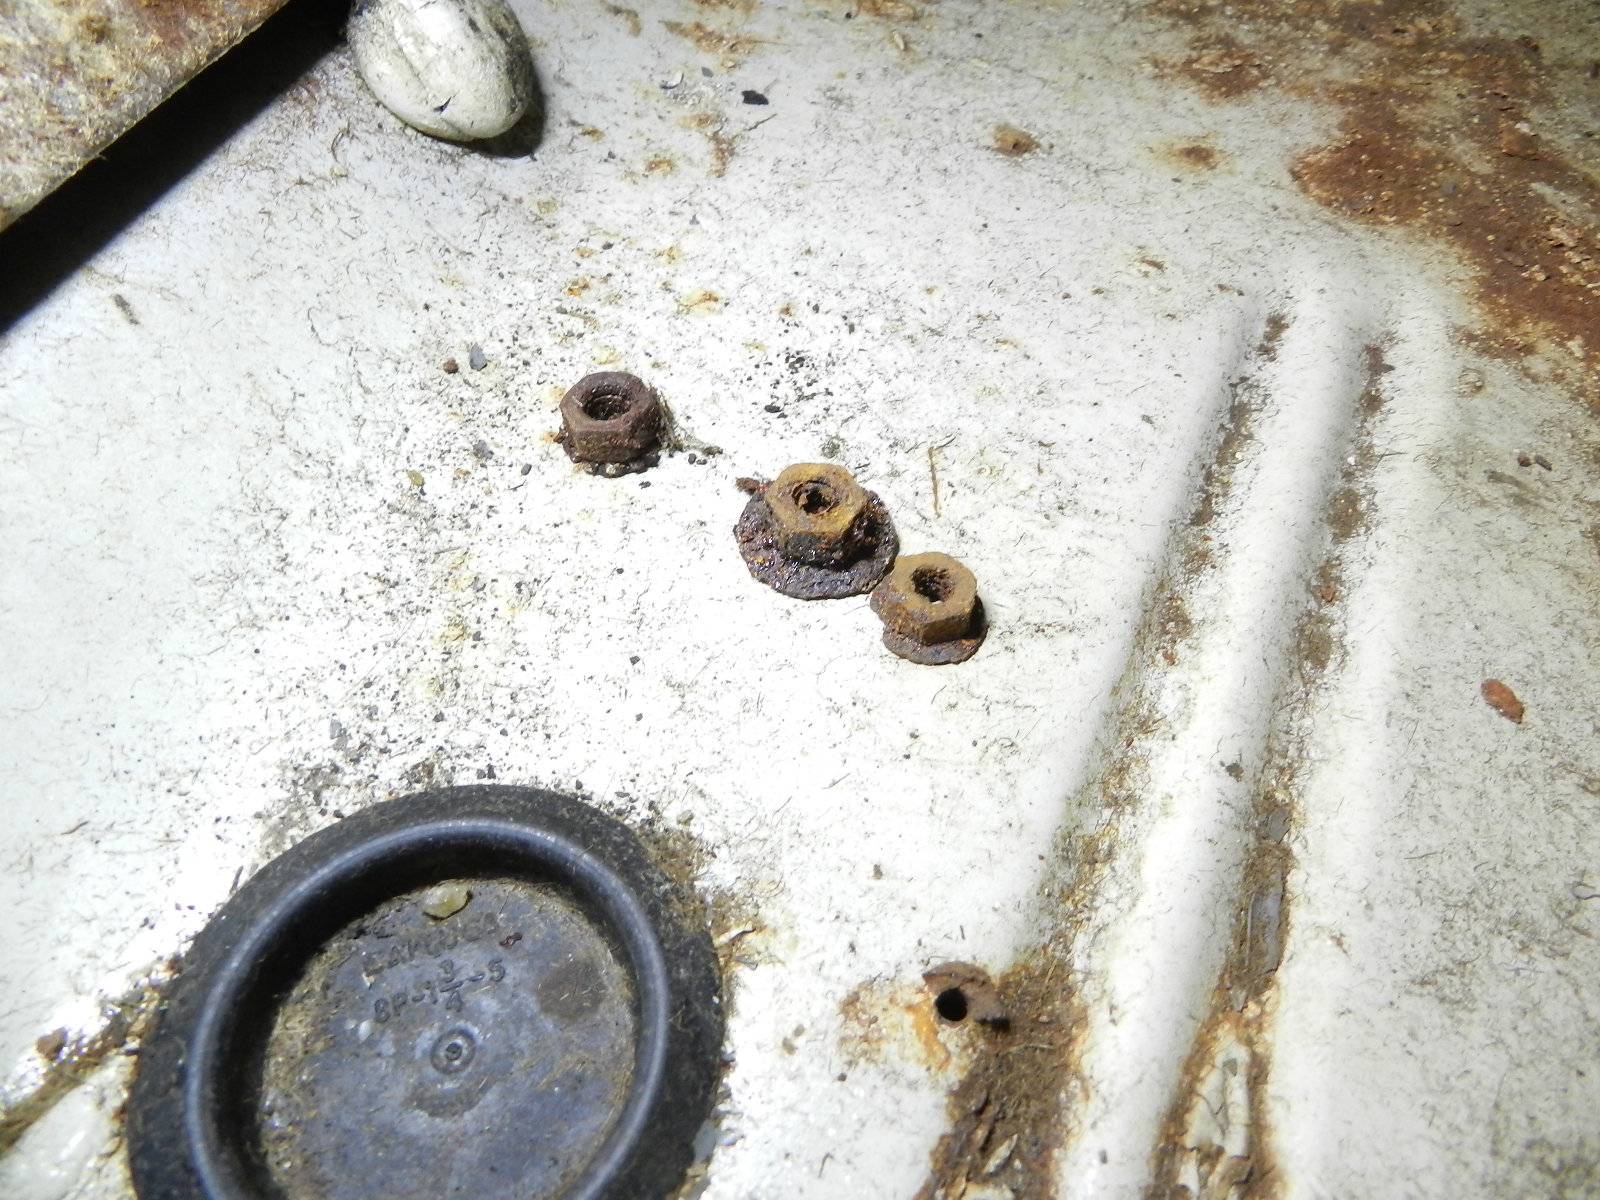 I decided to replace the gas pedal boot. This required lifting the carpet. I was pleased to find the floor in near perfect condition, including 3 nuts dropped during assembly 60 years ago. The old boot was still serviceable but this is the best time to replace it.

 I have new carpet from Legendary but we are not ready for that. Another item on the list was to replace the radio antenna. There was nothing but a hole in the fender when we received this car. Rather than install another fixed antenna, we elected for a collapsible type that could be manually raised and lowered, and would fit near flush with the fender. Since we plan to install a passenger side rear view mirror some day, and since the mirror and the antenna end up close to each other, the collapsible mast makes more sense.

|

|

|
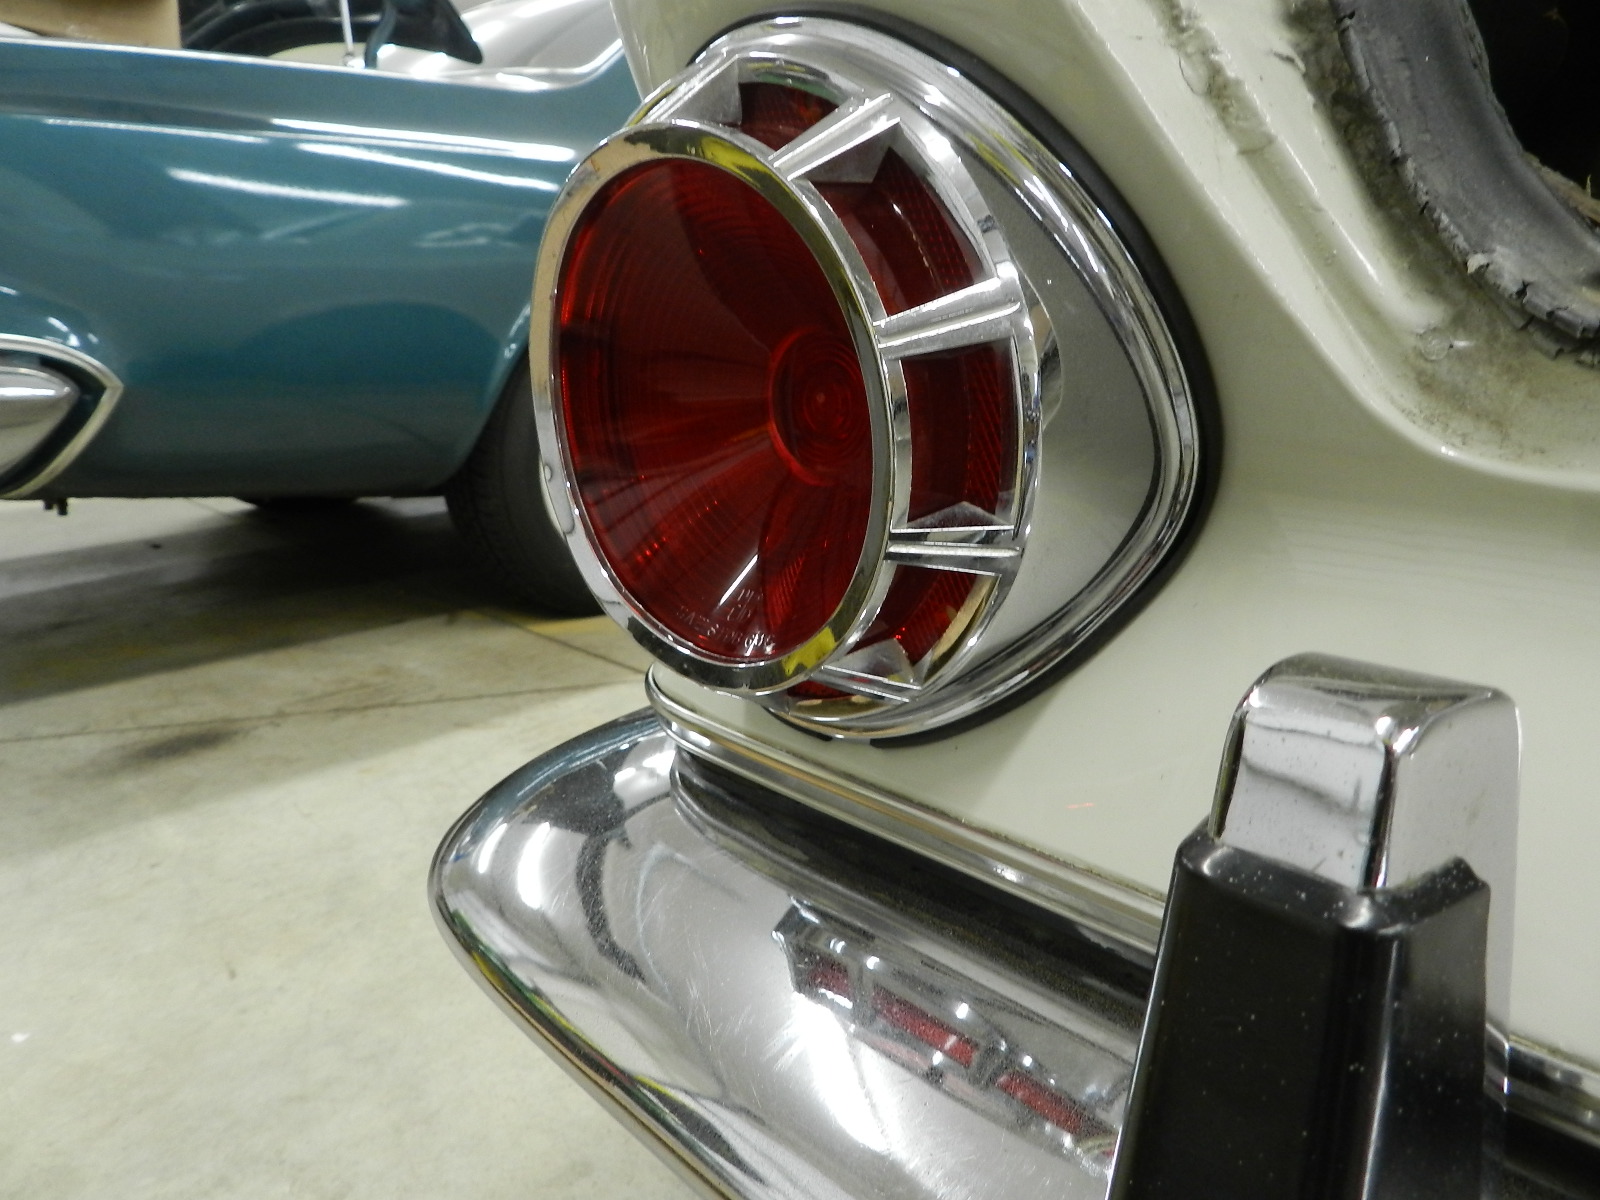
Time to get into lenses. The parking light lenses in front and the back up lenses were polished and new gaskets installed. The driver side tail light bezel had a defect in the chrome, so better right and left tail light bezels came out of storage and were installed. NOS tail light lenses were used as well. You can see how much brighter new lenses are when compared to originals.

|

|

|
|
The catwhiskers were in reasonable shape but we had a new set from Quirey so we installed new ones. It was nice that the original retaining clips were not rusty and removal was easy. I used plastic pry sticks to be sure I didn't break any paint. On the front windows by the vents, I was able to remove the two upper vent mounting bolts and get enough clearance so I could remove and install the catwhiskers in that area. That isn't always the case; sometimes removal of vent window frame adjusting screws is required.

|

|

|
A previous owner had installed a monster electric fuel pump in the trunk. I'll get a hold of the Queen Mary and ask if they want their fuel pump back. Although the previous owner had done a nice job of installation, even running a dedicated feed wire from the ignition switch, we were not going to need it so it was removed. For the fuel system, this car now has a new gas tank, new fuel sender sock, new fuel line from the trunk to the pump, new fuel pump, and new rubber connections. The fuel pump push rod was checked: 3.215"

|

|

|
Since this J is missing its headers, we are going to install an exhaust that meets the normal 413 engine manifolds, so this is not a true J exhaust. Although we are not ready to install, we did take a minute to inspect for shipping damage. We found one pipe dented, brought over the expander, and took care of the problem. The pipes were laid out on the shop floor and assembled, checking for fit. Down pipes from the manifolds were installed finger tight. Installation of the driver side down pipe required the starter to come off. Dang starters are getting heavier as I get older. The exhaust installation was left at this point for a later time.

|

|

|
Since the center console had already been removed, now is a good time for a thorough cleaning. I was pleased how well the tach cleaned up. The front and rear screens also brightened well. The console light bezels were removed. It is not obvious how they come off. The bezels pry off, and it takes significant force to get the off (and to install). As you use more and more pry force, it is easy to think this is the wrong way to do it. The pictures show the latch hooks. Should you need console bezels, they are available new from Murray Park.

|

|

|

|
| Part 1 | 14:49 | We start to learn the car. |
| Part 2 | 11:29 | Under the dash to explore wiring, we remove the gas tank, replace a transmission mount. This car power windows work only with the key on. A new 1962 headlight switch, fits fine, works fine. |
| Part 3 | 7:35 | Remove the console and other pieces for maximum access. The radio speaker is removed for access to the heater switch, the instrument panel is removed in preparation of transmission cable replacement. |
| Part 4 | 14:25 | Unpack the J interior kit from Legendary. We look into door locks, lube windows and door mechanisms, install the main fuel line, start in on the transmission and park cable replacement. Mystifying arm rest retainers, window catwhiskers. Dash buttons are painted. The dash receives touch up paint. |
| Part 5 | 20:02 | Back up lights, tail lights lenses and bezels. The new gas tank, a look at the rear brakes. Sill plates are buffed, a new gas pedal boot is installed and a carpet tag discovered. Trunk lid bumpers, and a look at the original J trunk carpet. Console light bezels are removed. |