Page 5
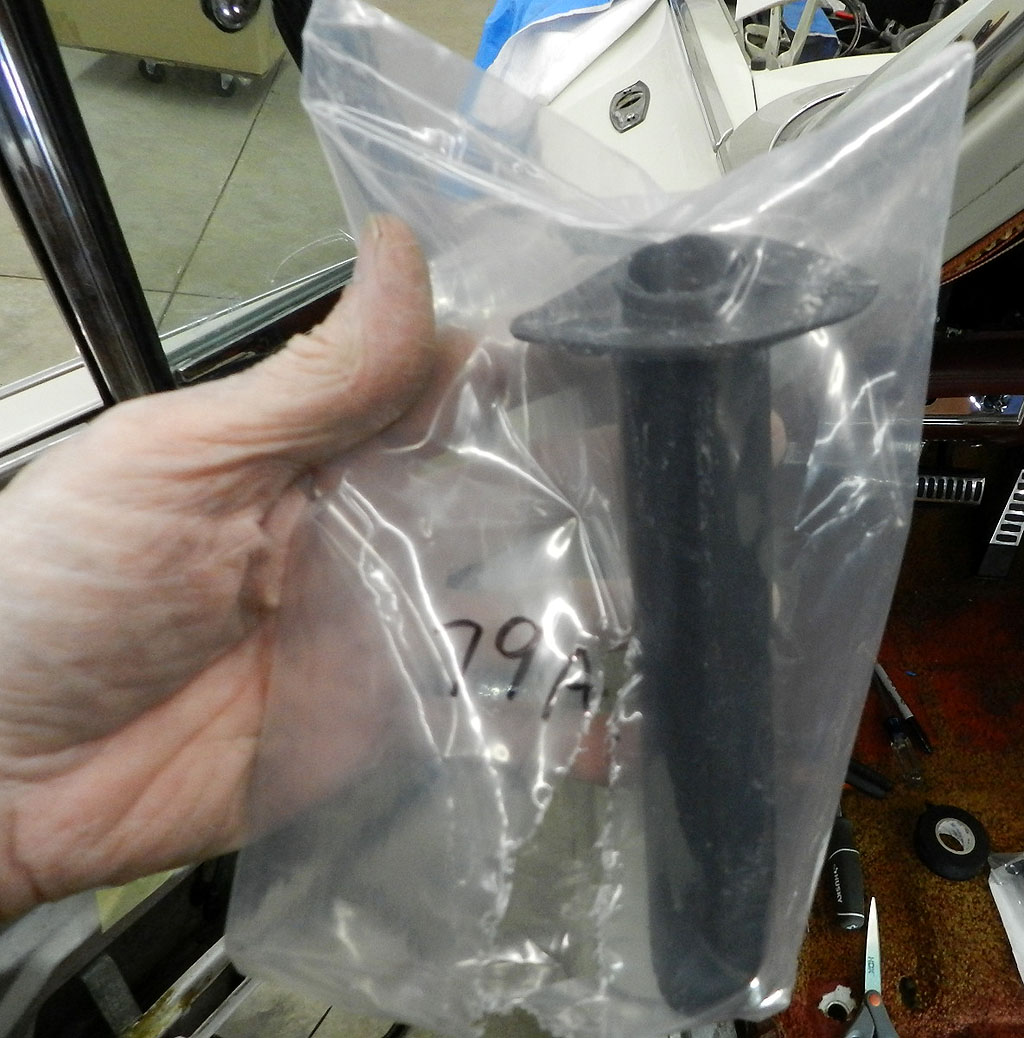
We decided to install new wire looms. These are the style 79A from Quirey. The passenger side is a snap to install since there are only a few wires to deal with. The driver side requires some finesse to get the wire bundle for the master switch through the tube.
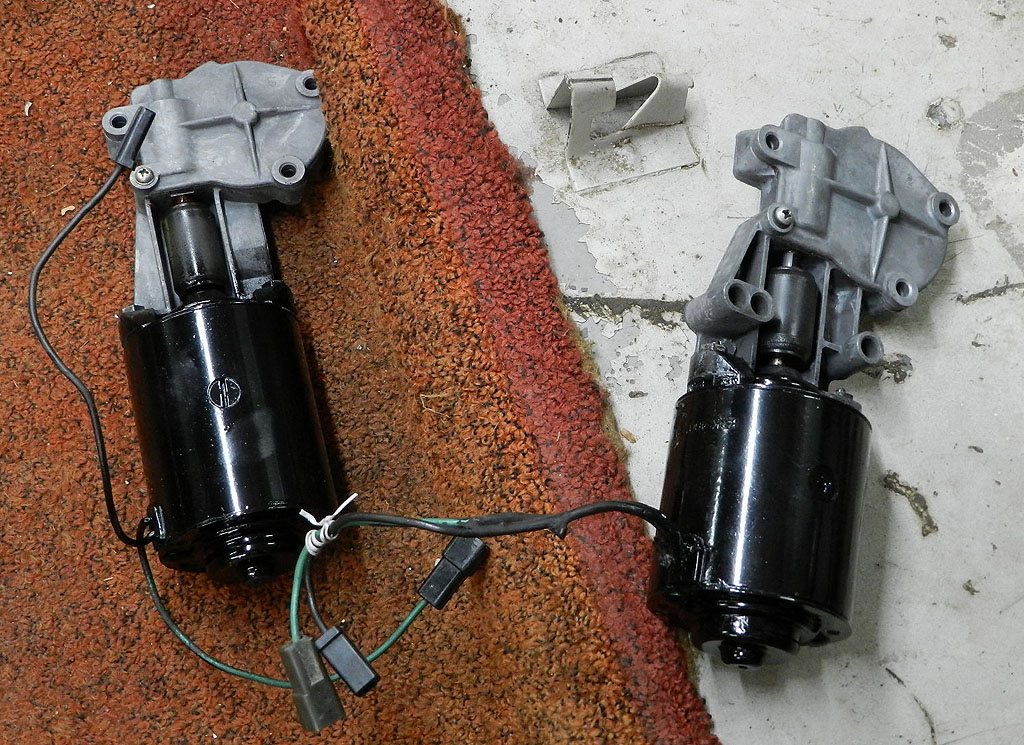
The power window motors were freshened and ready to install. The rears aren't too bad but the front motors have one bolt where you have to either drill an access hole in the door (we didn't) or work blind (we did).
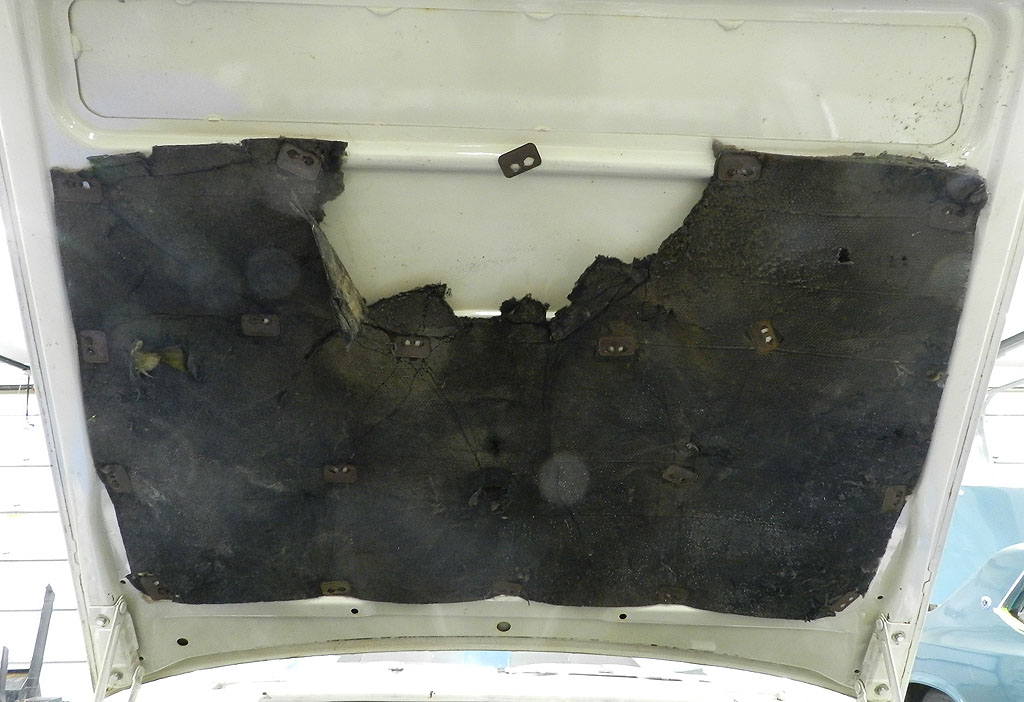
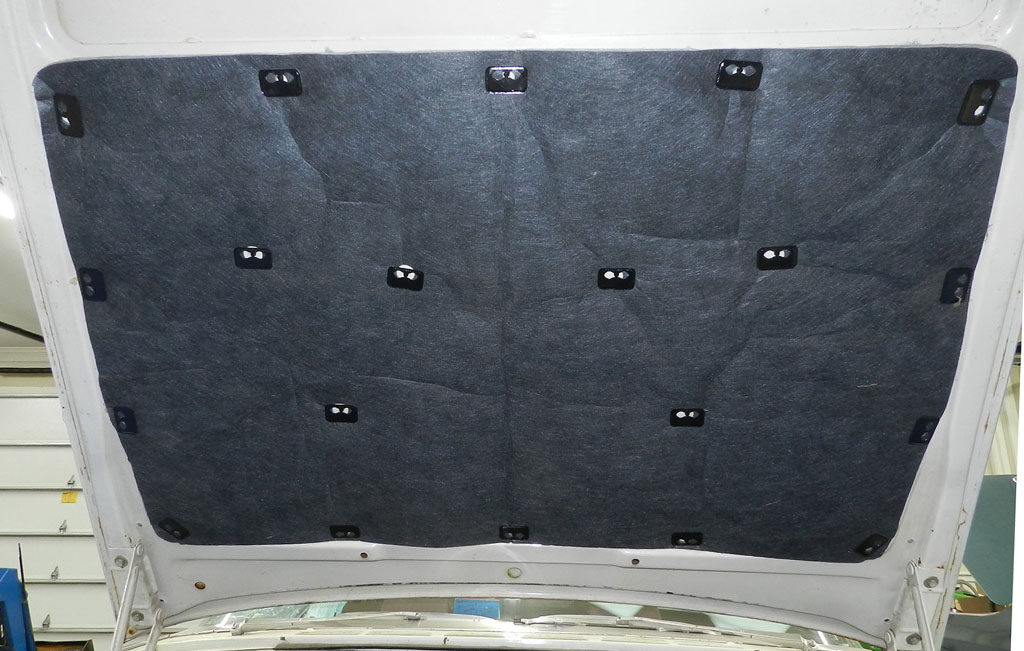
We had a new hood pad to the original was removed. All of the clips came free (no rust) and were reused. The paint on the underside of the hood was in great condition.
|
|
|
|
|
|
|
Detroit Muscle Technologies has the black plastic washers that go under the window cranks (Mopar A B body 62-76 window crank handle flat anti-abrasion spacers, 2 pack for $1.95/pack) GEN6267CS01. I had some originals but they are just too brittle to use. If you open up the ID these pieces also fit the inside door handle base.
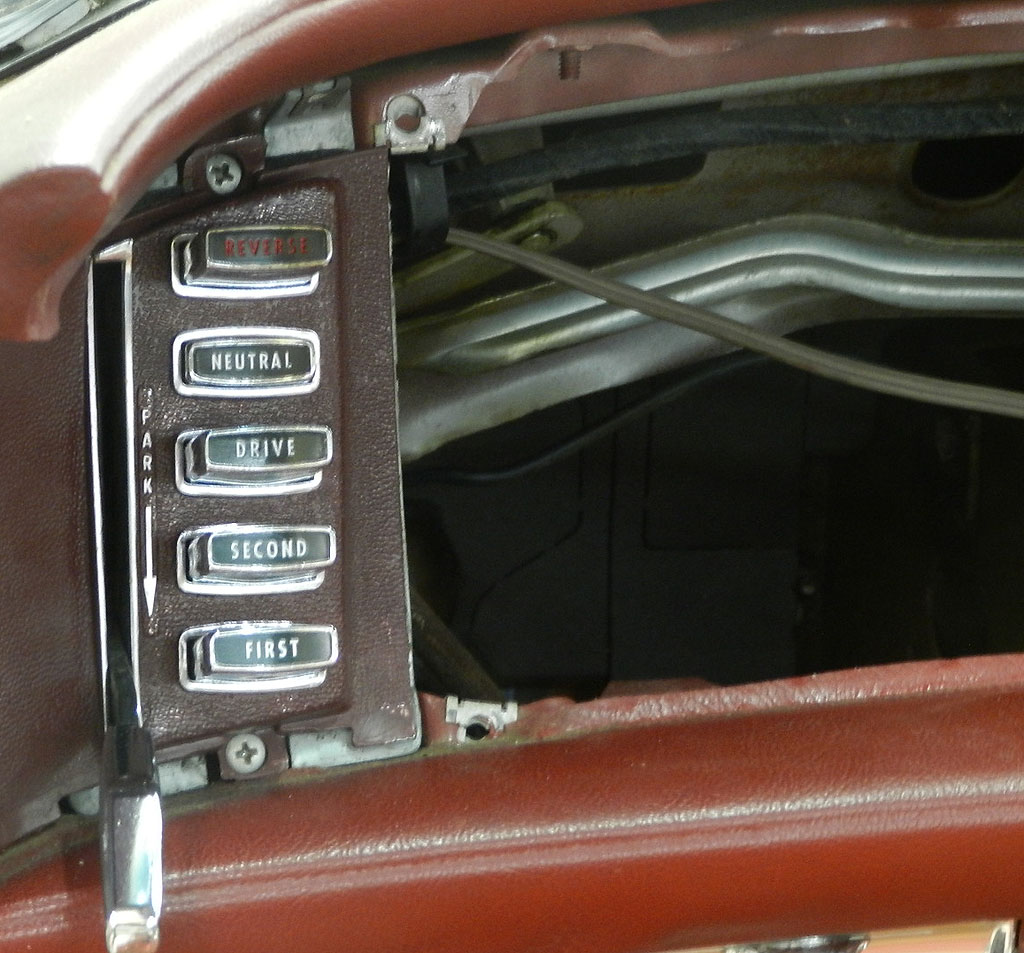 Time to adjust the new transmission and park cables. I had the park cable installed and the transmission cable just inserted into the transmission. The park lever would move only half way and stop. Turns out because the trans cable was so out of adjustment, the park could not find neutral -- as park lever goes down it moves trans levers to neutral. You can't go into park if the trans isn't in neutral. Once we had the trans cable adjusted closer, park worked fine. Re-installed neutral safety switch and adjusted for neutral by Ohm meter. Tested all buttons (drive to neutral, first to neutral, reverse to neutral, etc) and all worked so our adjustment for neutral is fine.
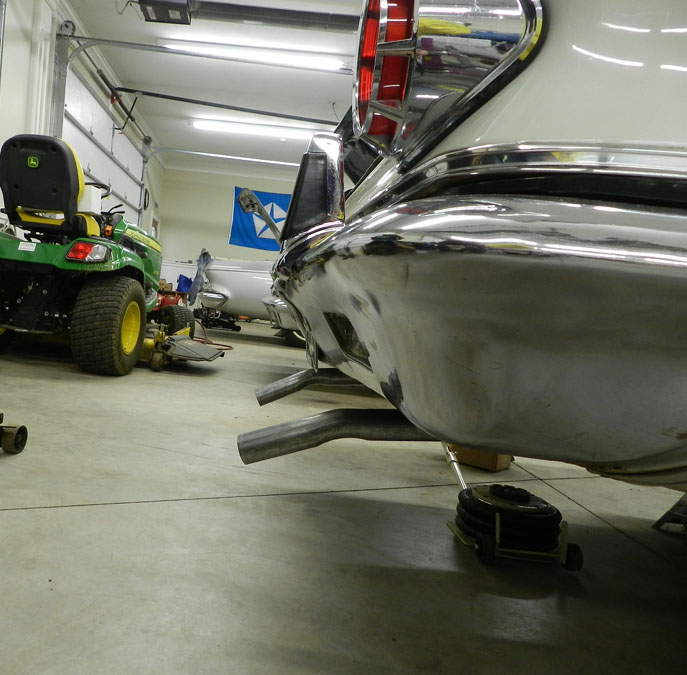 I started to install the new exhaust and chose the passenger side to do first. We had to cut
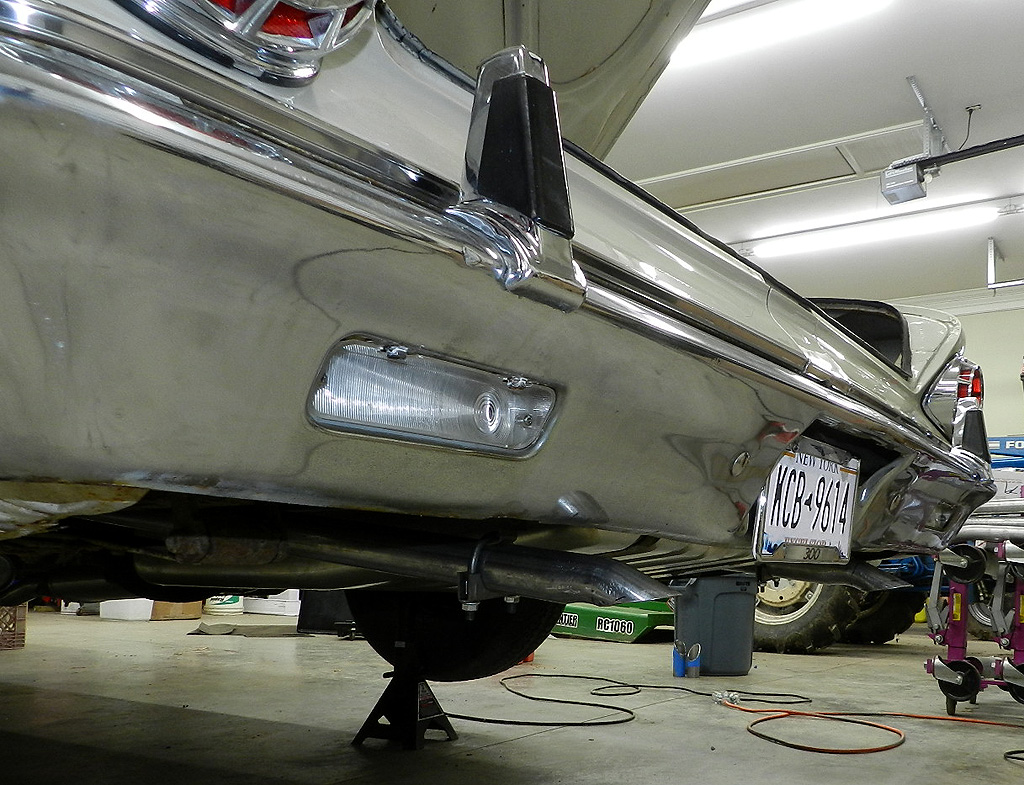 the muffler outlet by 1.5" so the tail pipe would go deeper into the muffler and provide clearance for the pipe over the axle. With that adjustment we could get a good fit front to back (except for the tail pipes which stick out past the bumper by 6").
The driver side also needed the muffler cut and an adjustment to the intermediate pipe (the system too long at full collapse). I contacted the exhaust supplier about the tail pipes. He sent new 3' sections of the tail pipe ends expanded inboard with the idea to cut the first tail pipes, install new pieces and end up with the right fit at the bumper. With a cut off wheel we were able to make the ends to the proper shape.
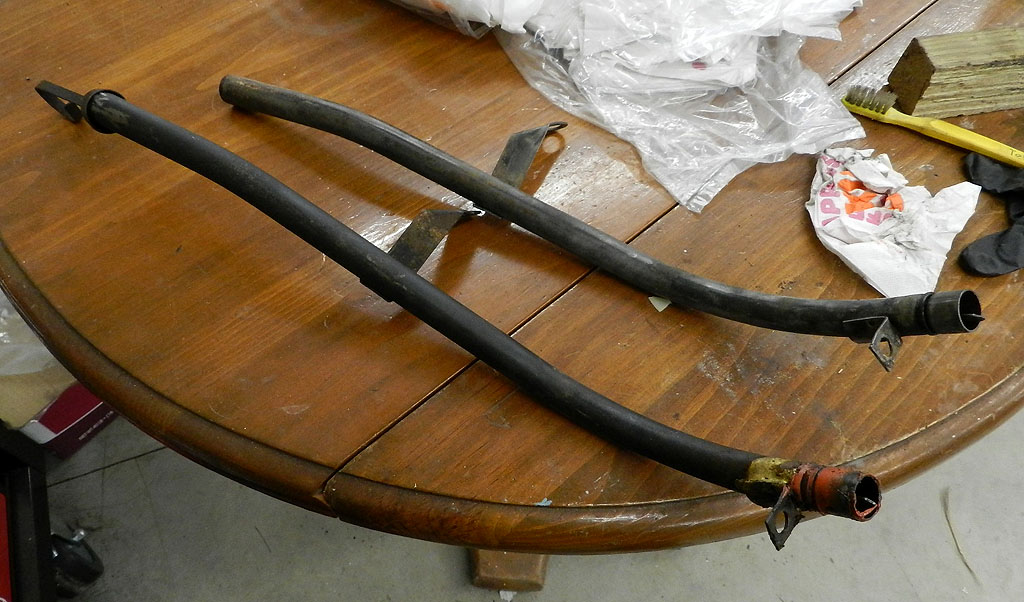
The transmission fill tube had been braized by a previous owner. I had spares so I swapped in a better one.
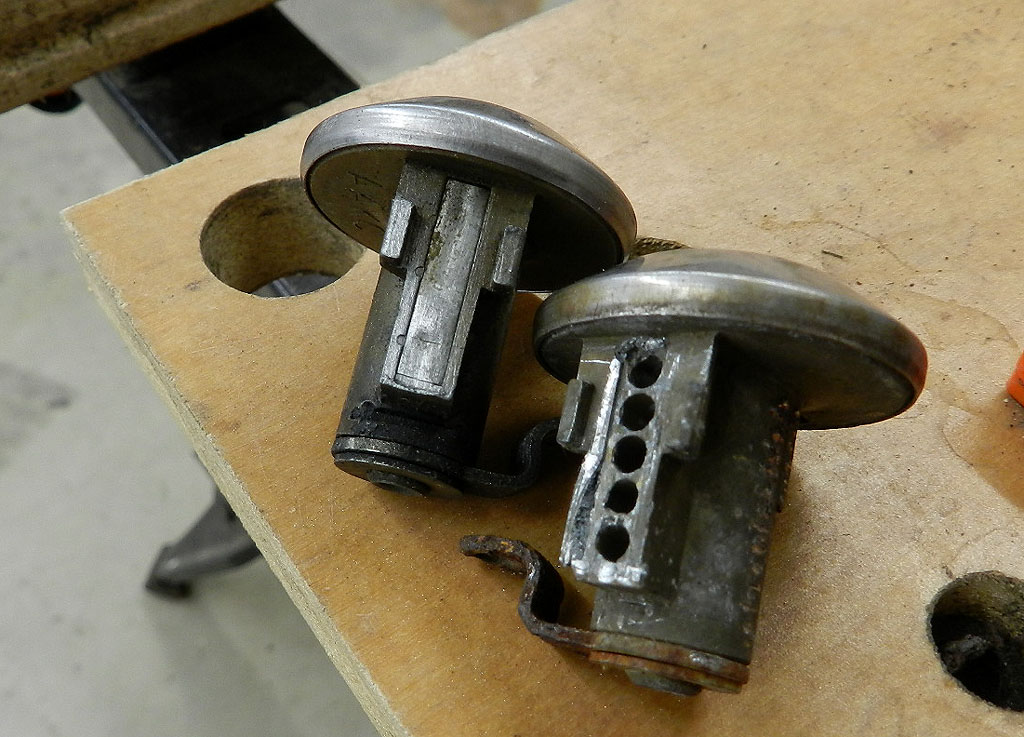
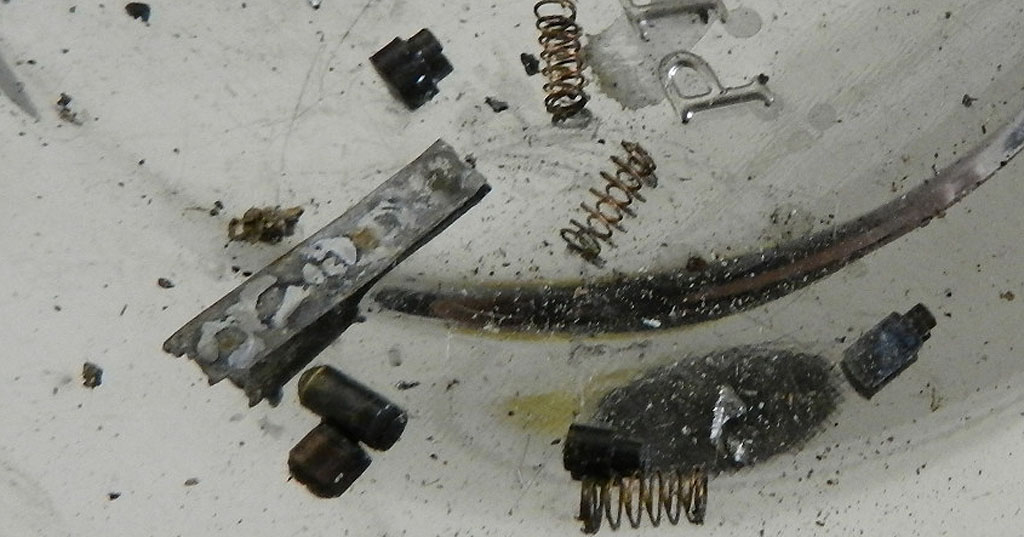
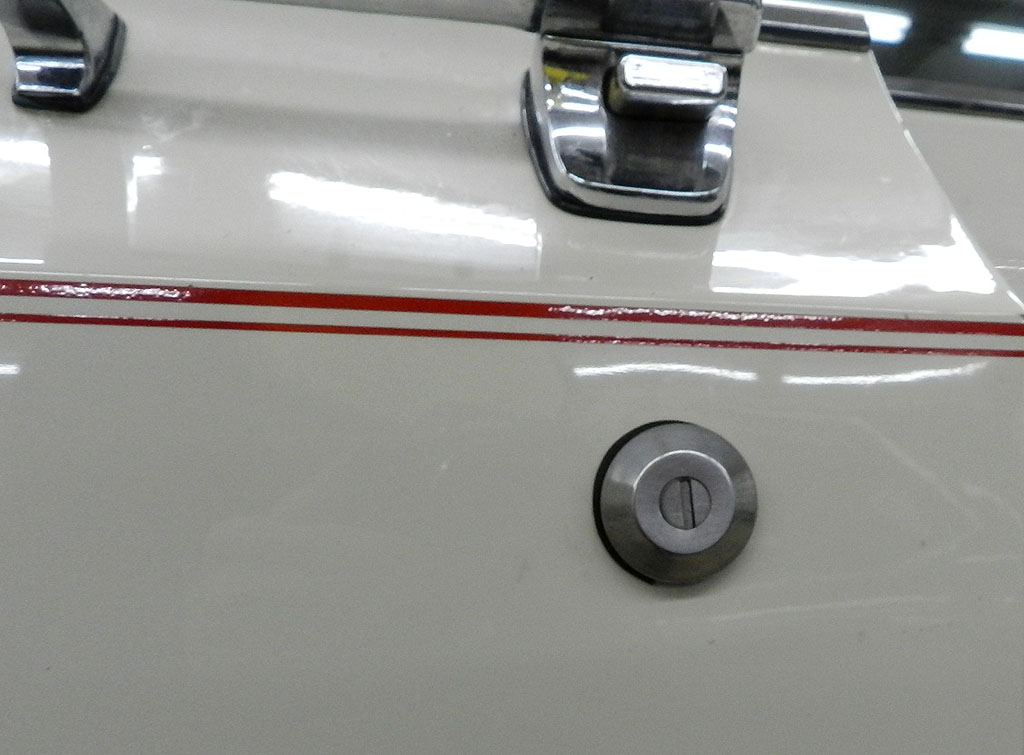
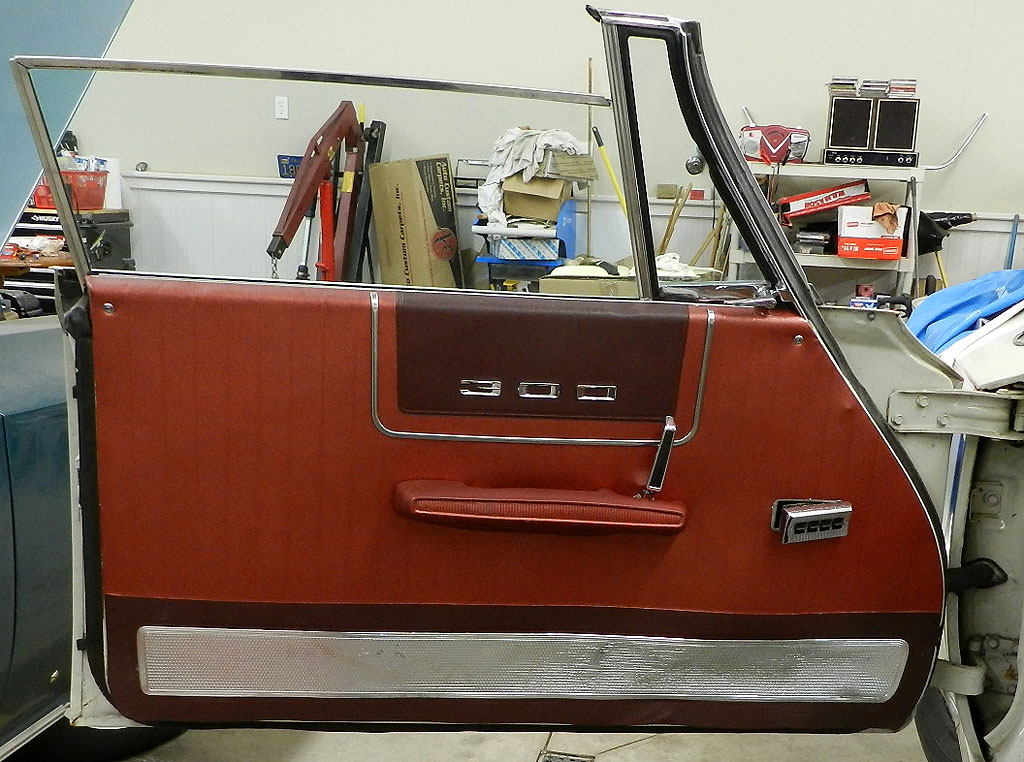
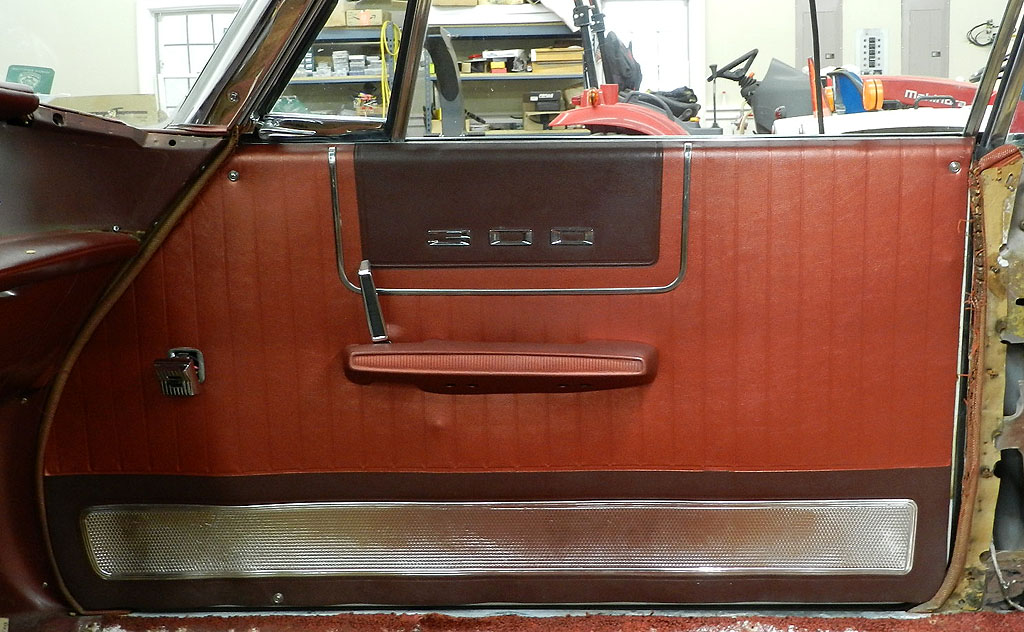
The door locks were not working. I've never had locks apart so I disassembled some junk pieces to learn the operation. Boy, those pieces are small! It didn't take too long to get the locks working and installed with new gaskets. Now I could button up the front doors; new vapor barriers were cut and the panels reinstalled.
|
|
|
|
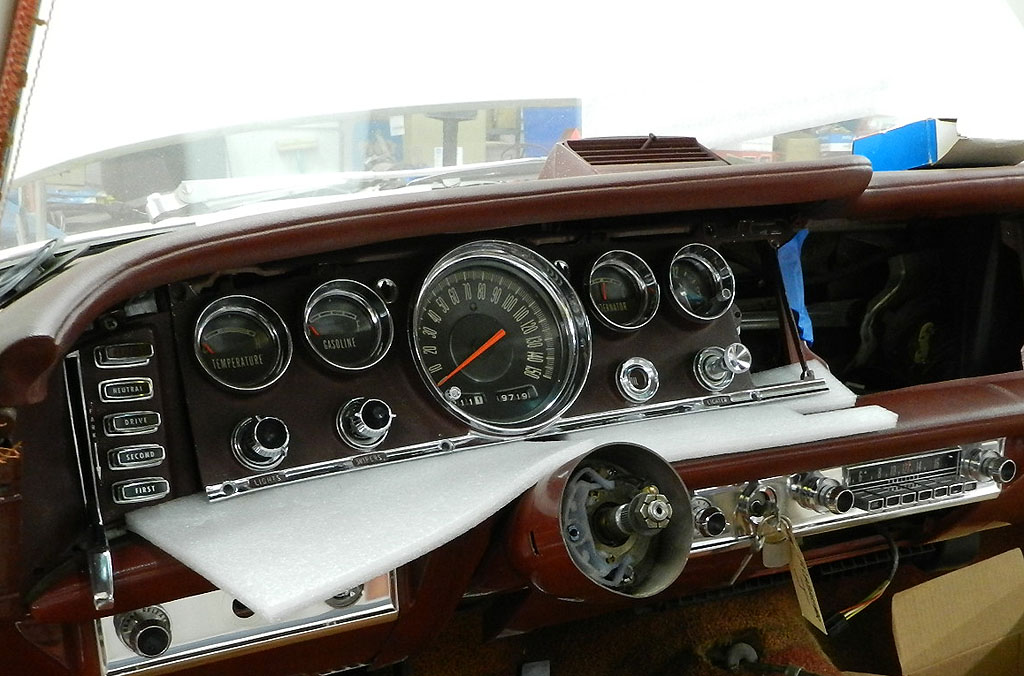
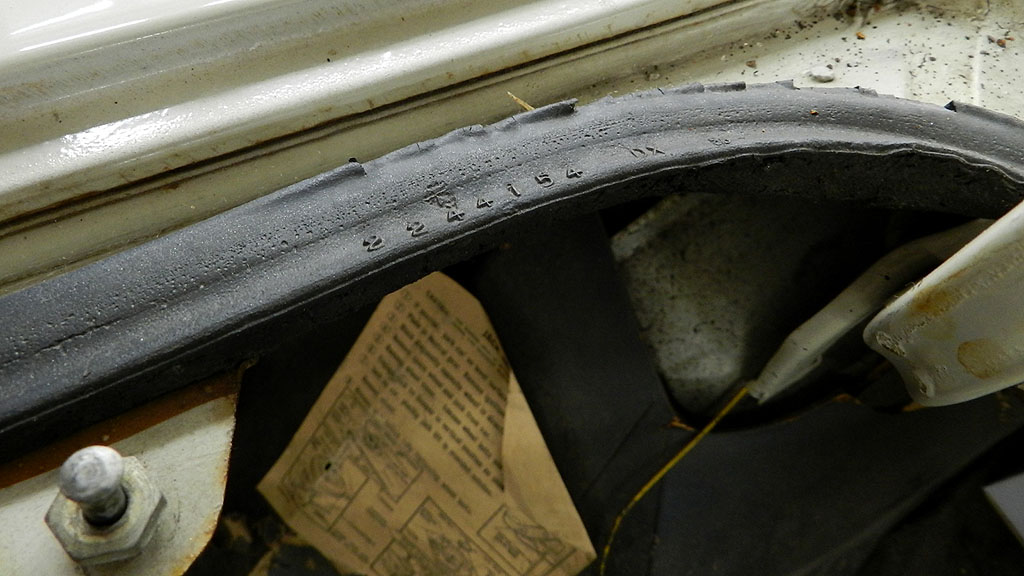
The instrument panel installation is started. It was fairly easy to reconnect the wiring, especially since the wiper switch had not been disconnected. That switch has a lot of wires, some of which I think can be connected improperly; if you leave it alone, you minimize the chance for problems. The wiper switch mounting shaft has two flats so it can be installed on the dash panel "up" or "down". Looking at the way the wires have taken a set after all these years, this switch had been "up". "Up" meaning that the Allen screw head on the wiper knob is on top. Looking at other cars, most but not all have this switch "up". Also included here is a picture of the part number on the trunk lid gasket -- first time I have ever seen that.
With the instrument panel temporarily positioned and the wires connected, we can once again power things such as lights, power window motors, etc. It was good to see these things working once again. The heater button remains to be installed, then the dash can go together.
|
|
|
|