Page 6
|
|
|
|
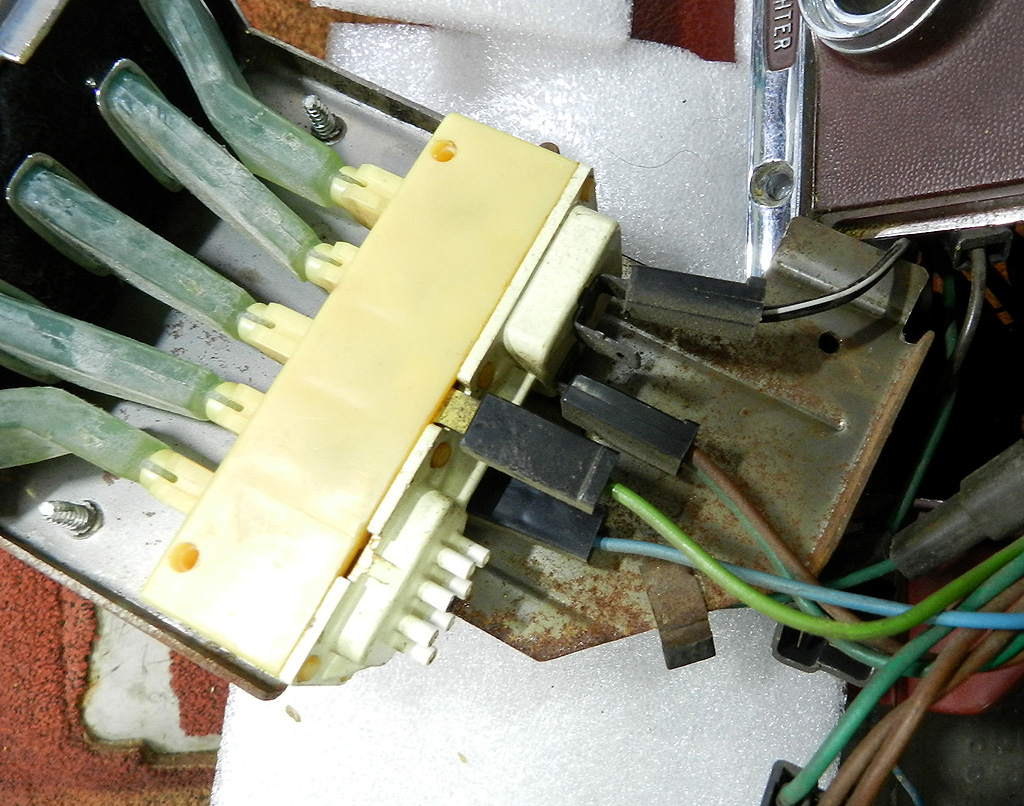
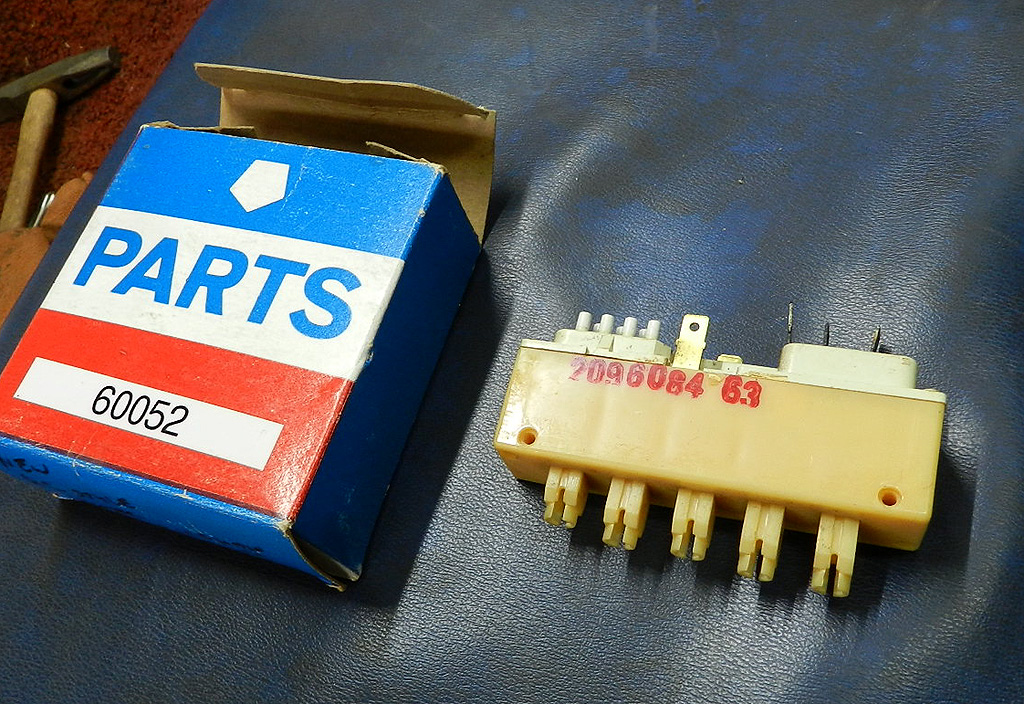
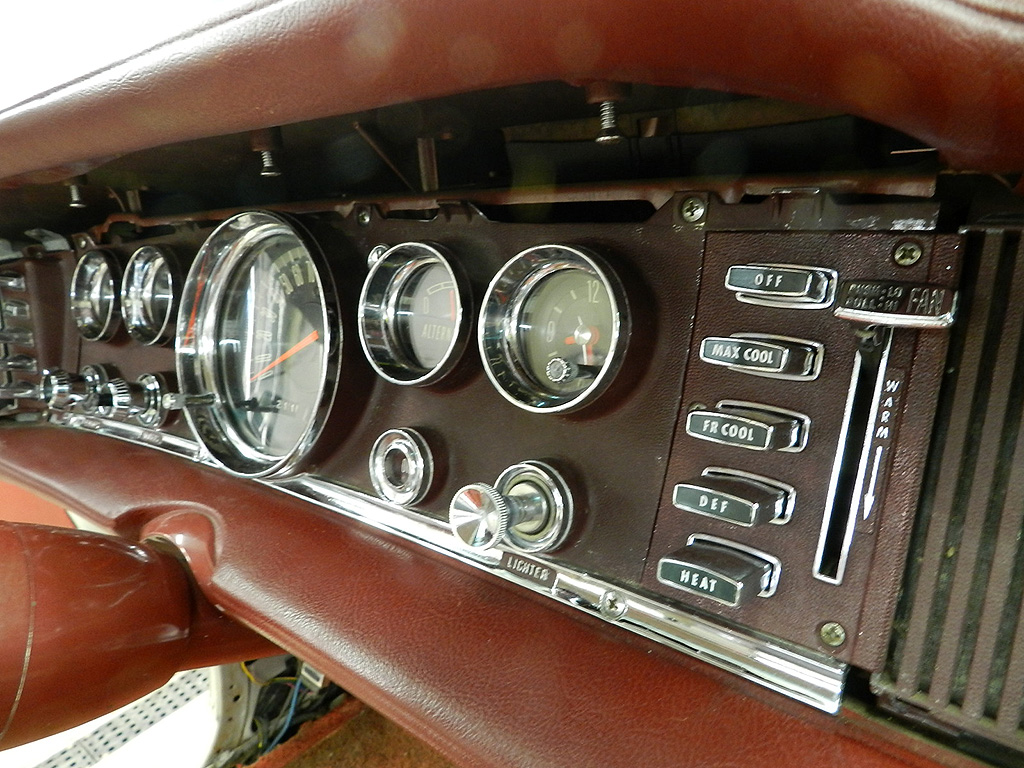
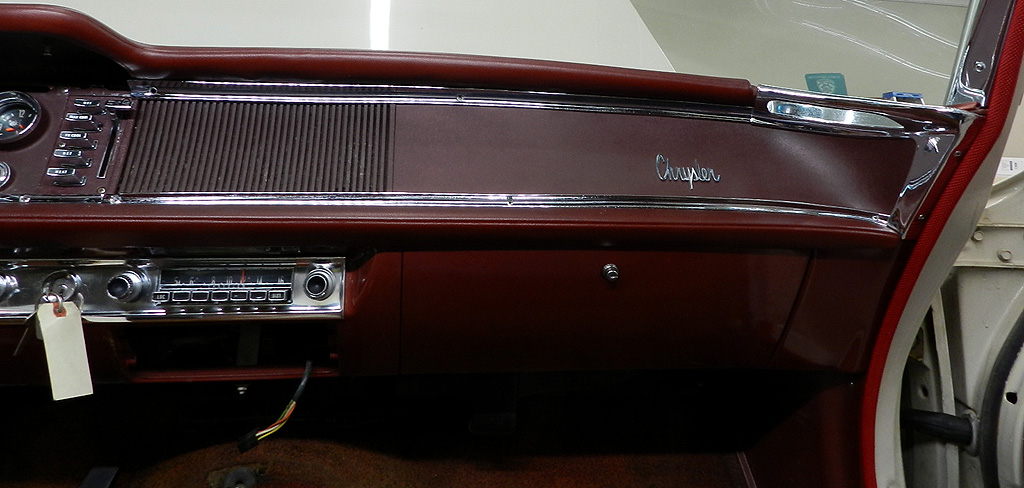
Time to install the new heater switch. The old one still worked but the buttons were stiff and hard to move. New switches are available or you can have your old switch rebuilt by John Grady. You can wire these switches incorrectly, so we took this photo of the correct connections. A new light barrier was installed (available from Quirey) and the switch assembly back into the instrument panel. With the radio speaker out, access is so much better. Even then, the clip for the Bowden cable can be a wrestle, and it was this time. The radio speaker and grille were installed (don't drop those screws!) and the rest of the dashboard trim was reassembled. Talking about heater buttons, click here for a factory service bulletin on what to do about "Light leakage" from push buttons.
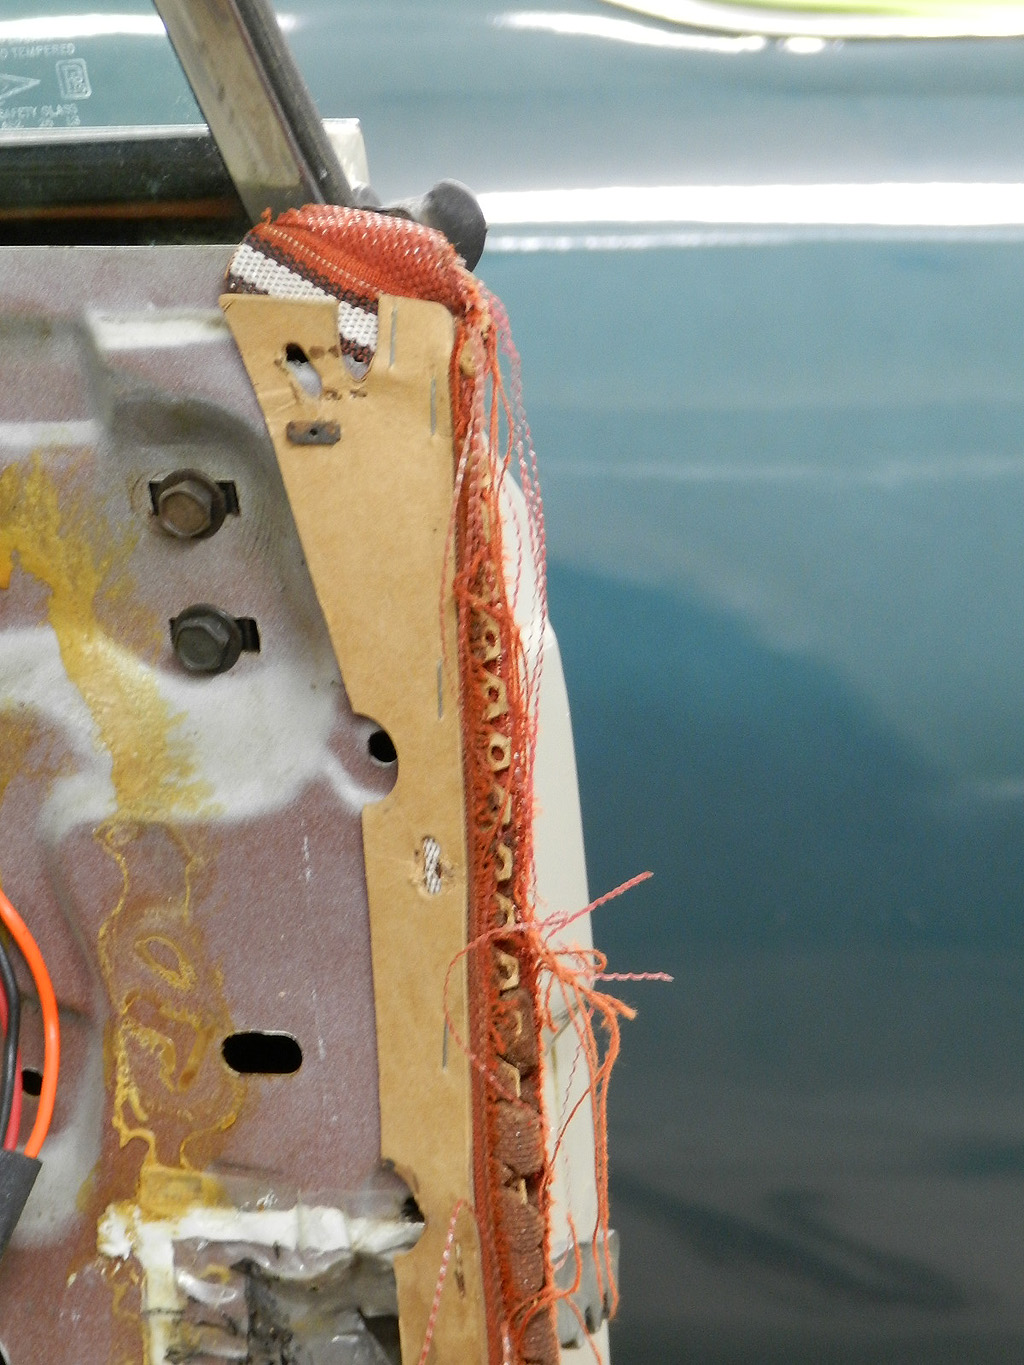
This is a good time to install new windlace on the front pillars. The original windlace was so brittle, large portions of it were gone.
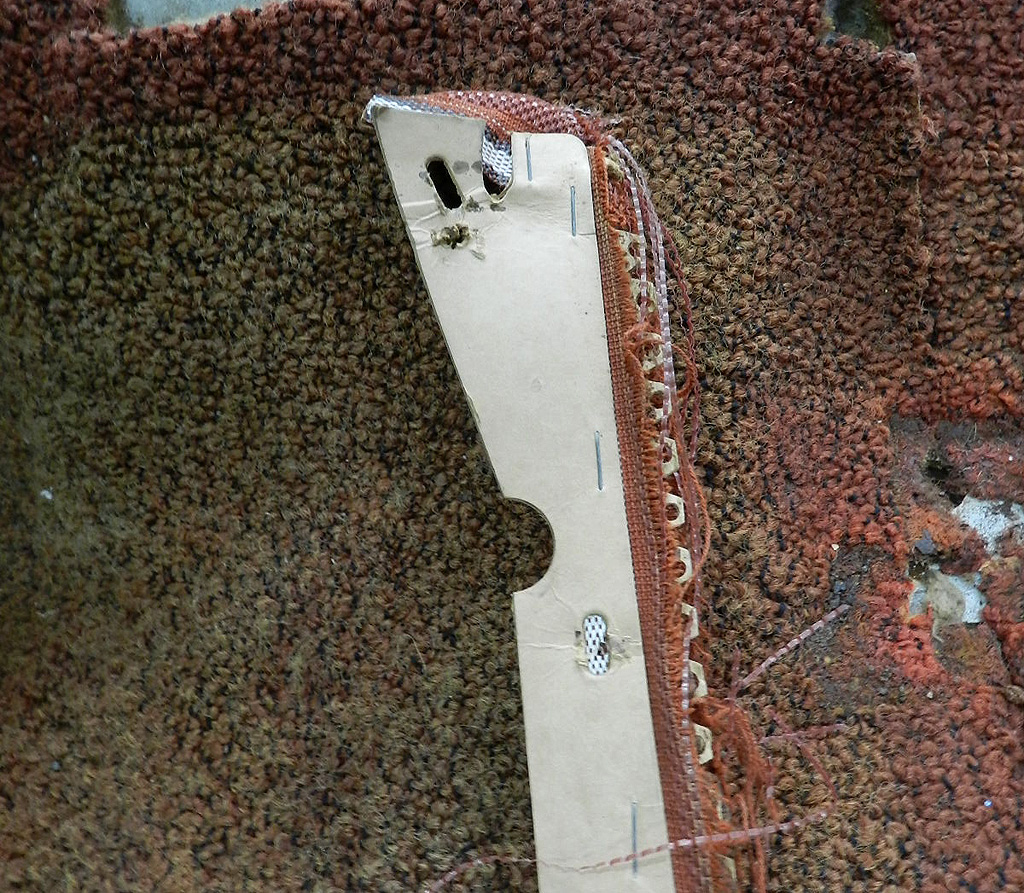
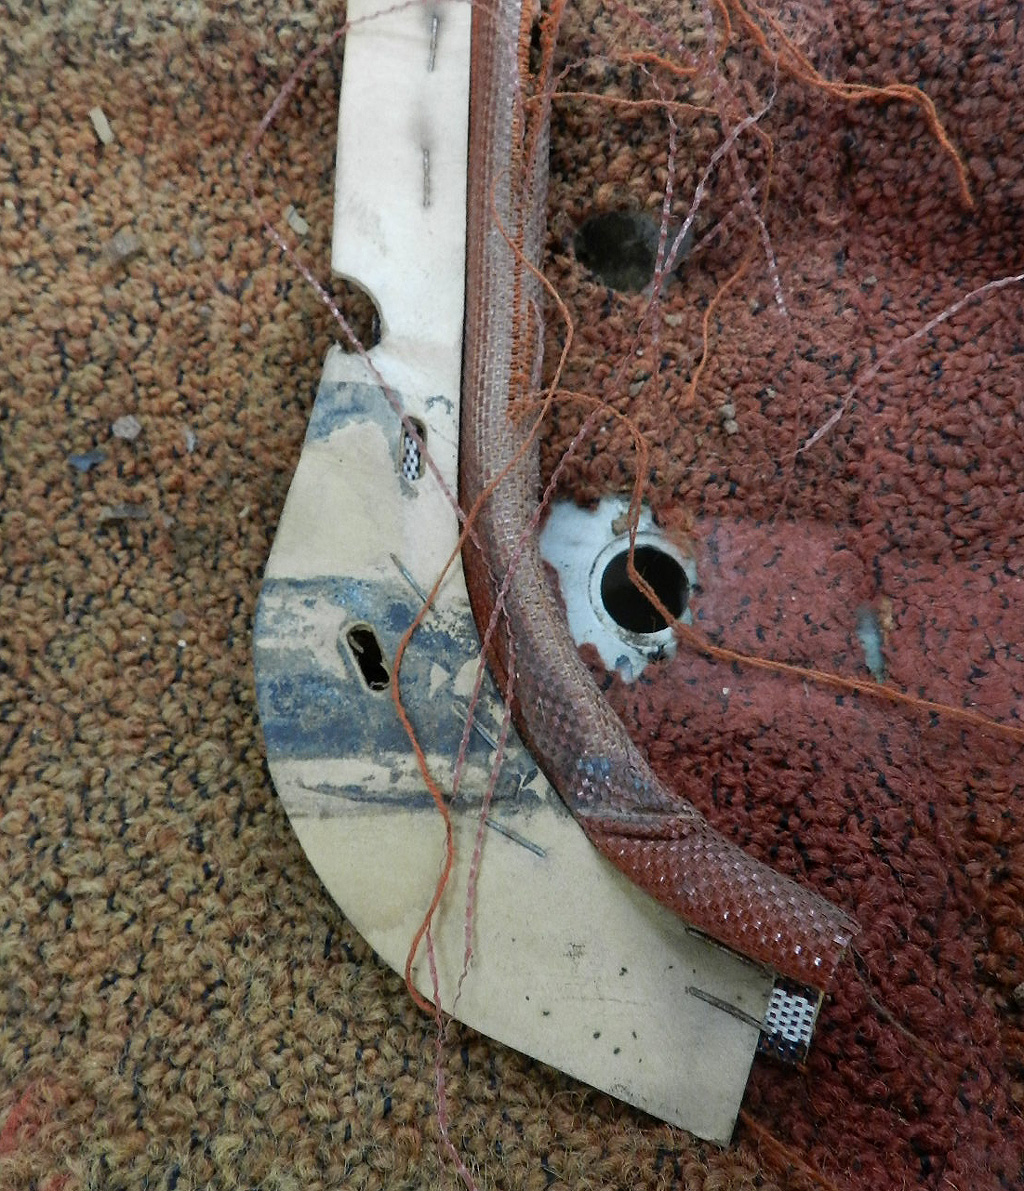
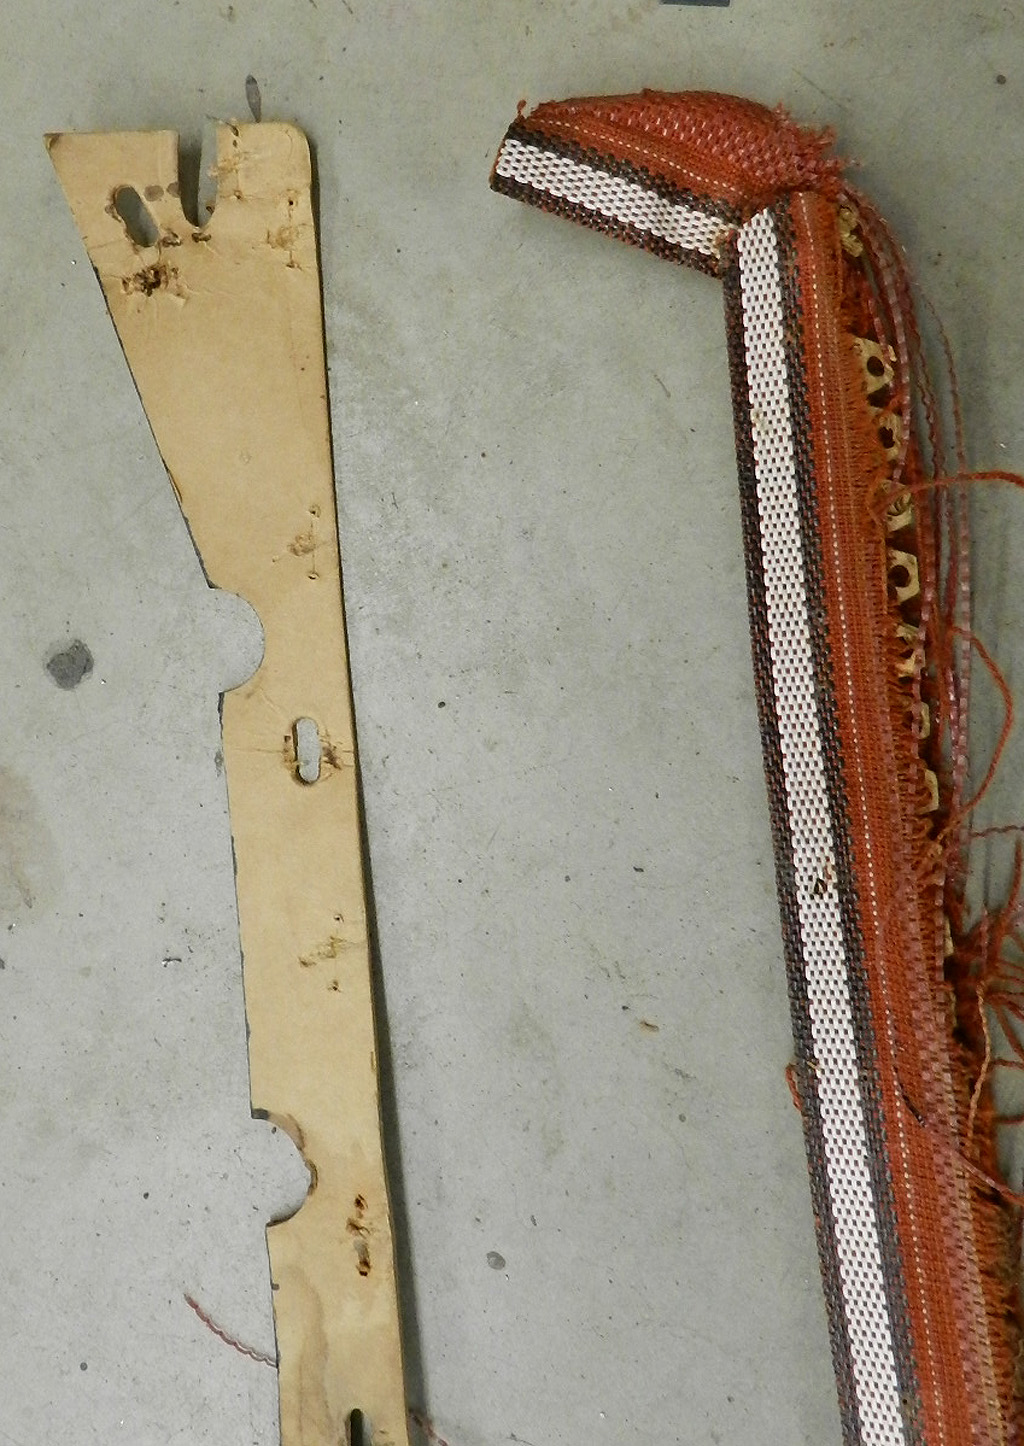
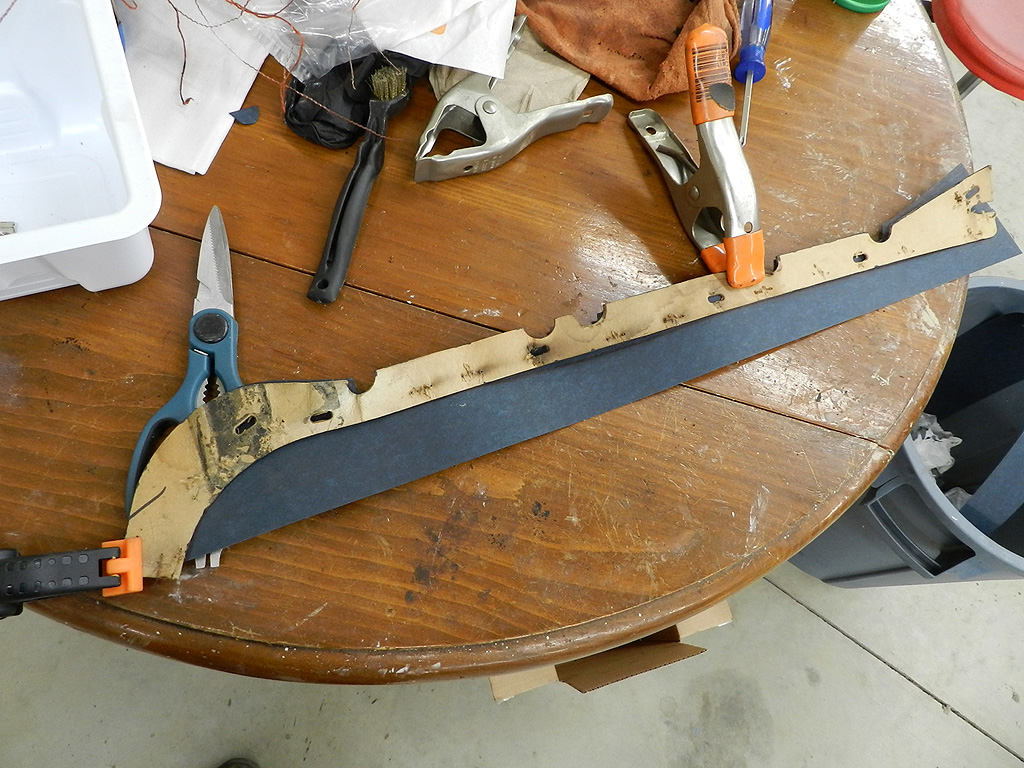
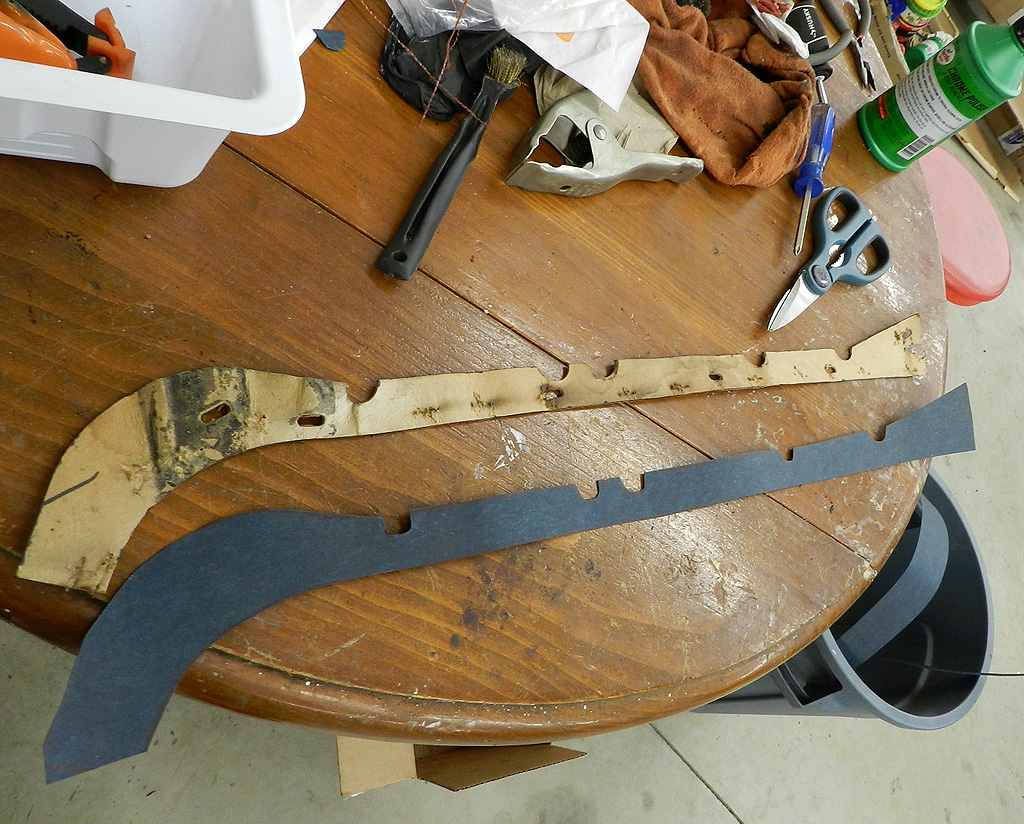
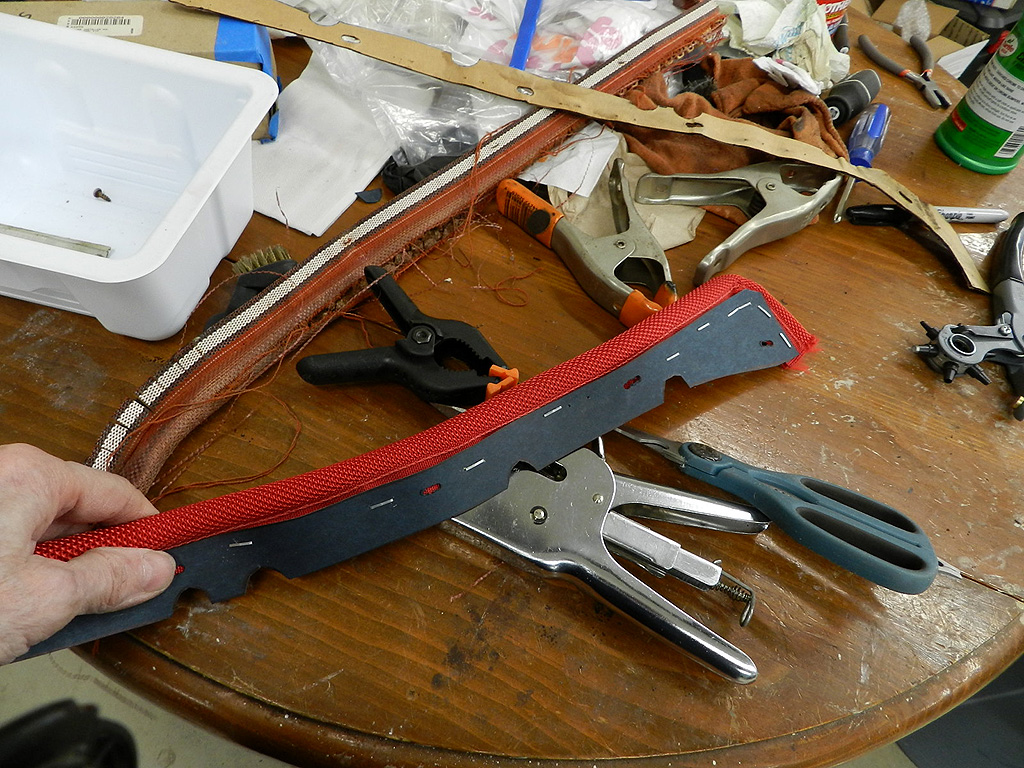
I decided to install rear windlace. These pieces were made with a .060" thick cardboard backer. You might be able to re-use the original but I cut new backers from .020" thick fishpaper. That is pretty good stuff, easy to cut with scissors and stiff enough to provide support.
I ran out of tacks for the windlace but found plastic push pins that would work. Windlace complete, the
original vapor barriers were installed and the rear interior panels.
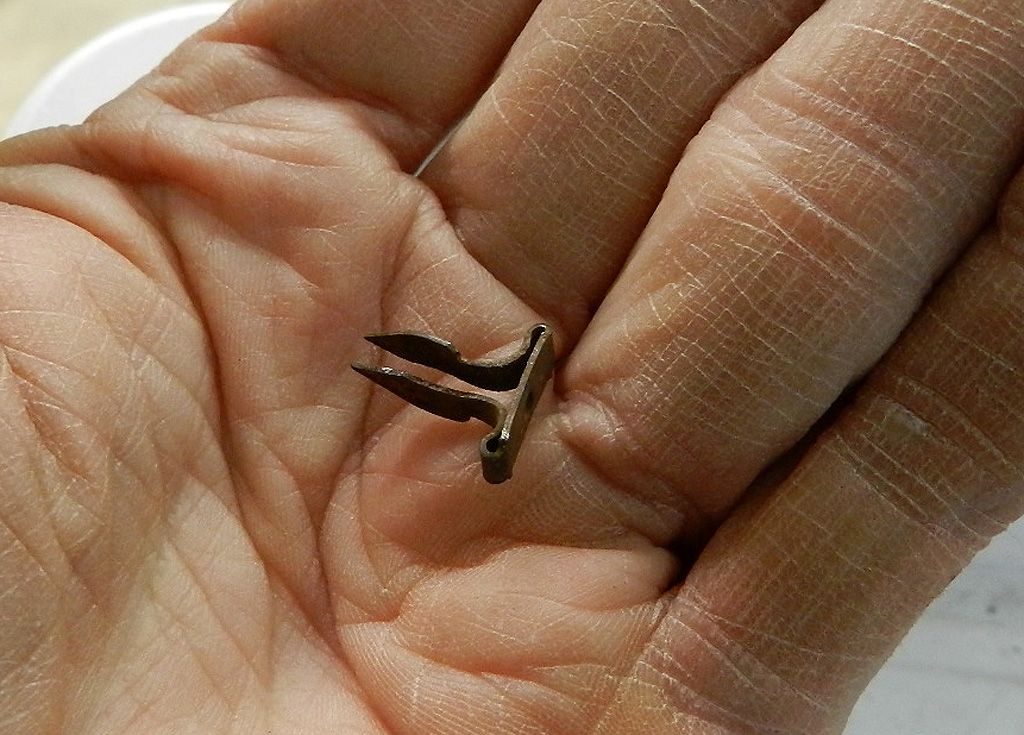 Windlace is held on by these push-in type tacks. Try to be gentle when removing these tacks; they are brittle after all these
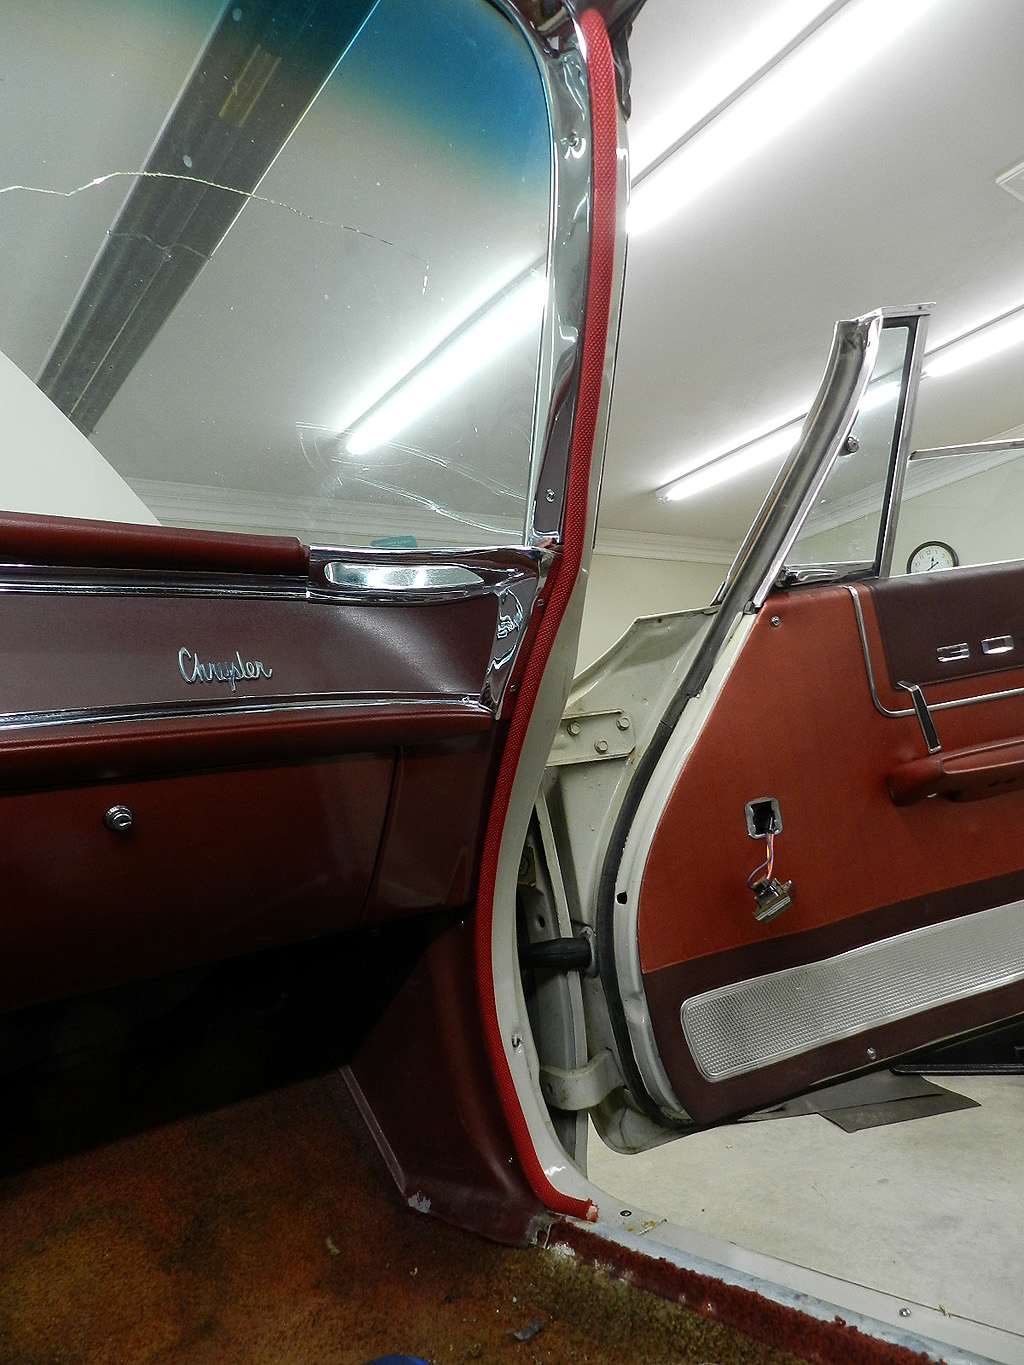
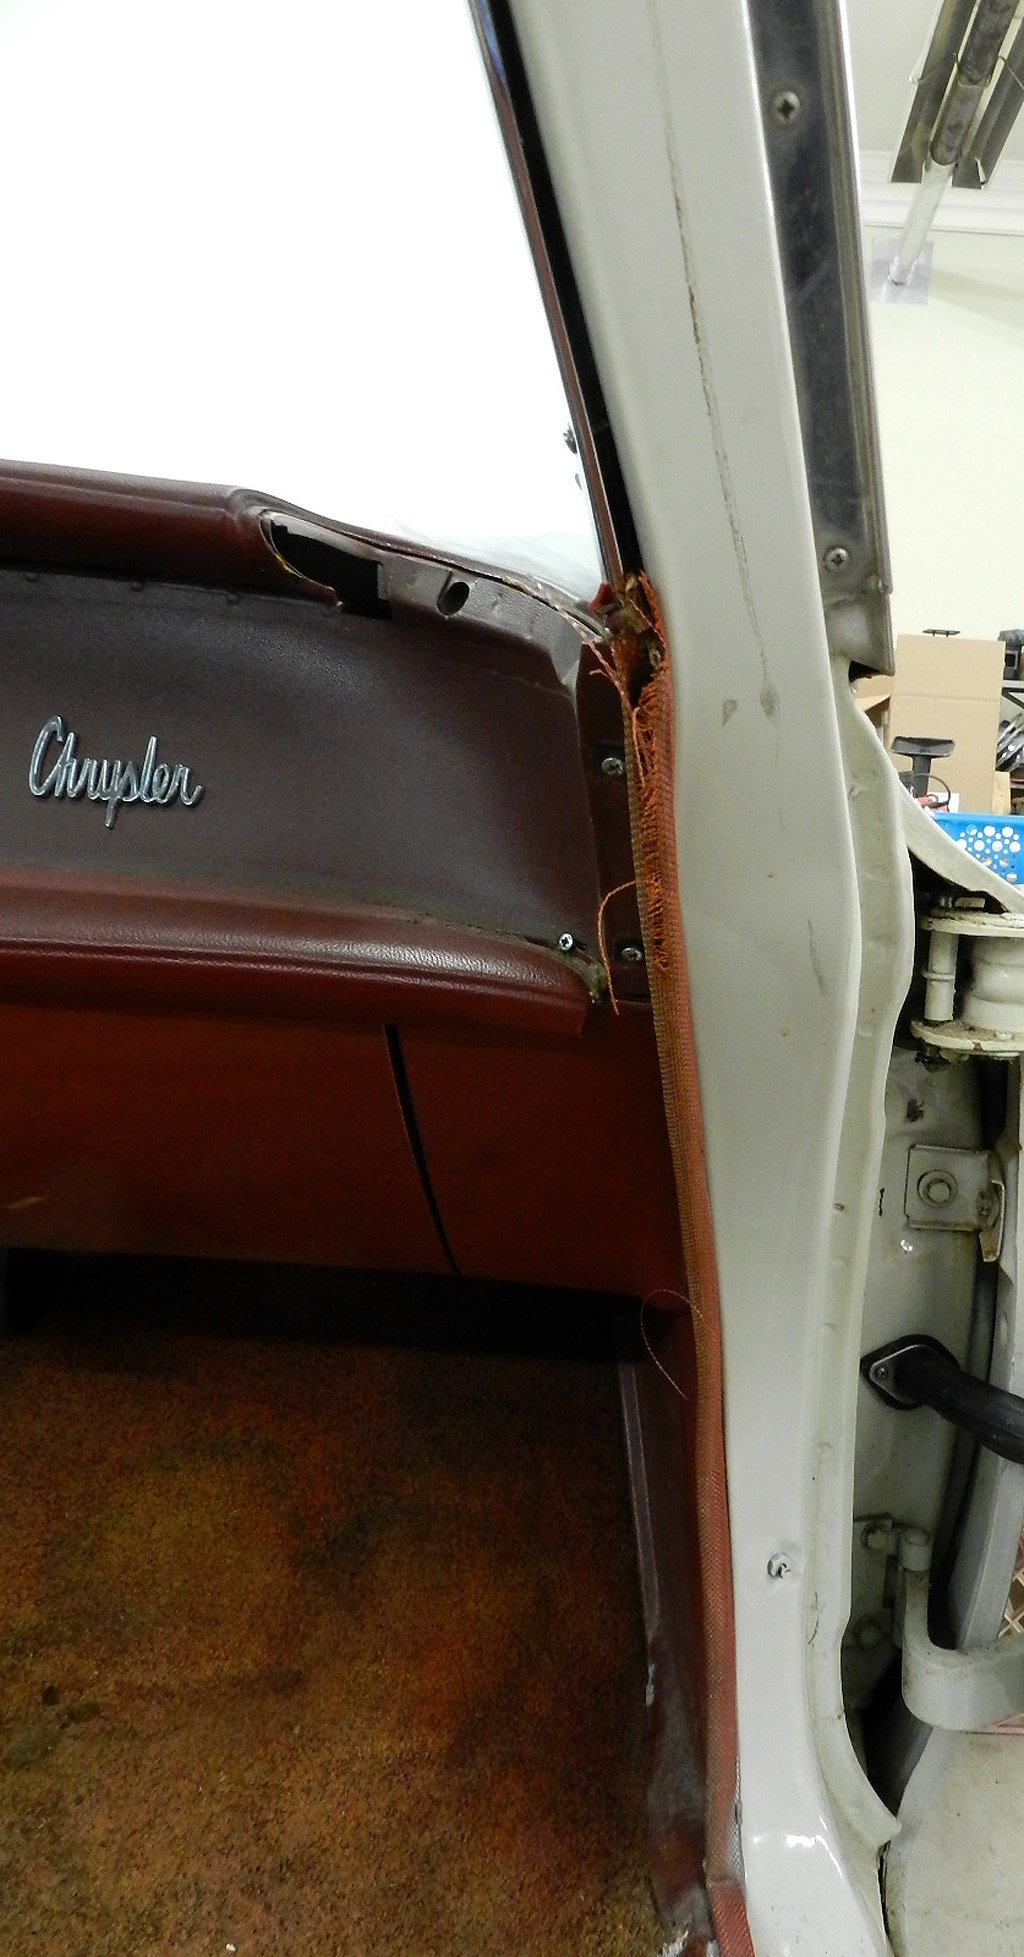
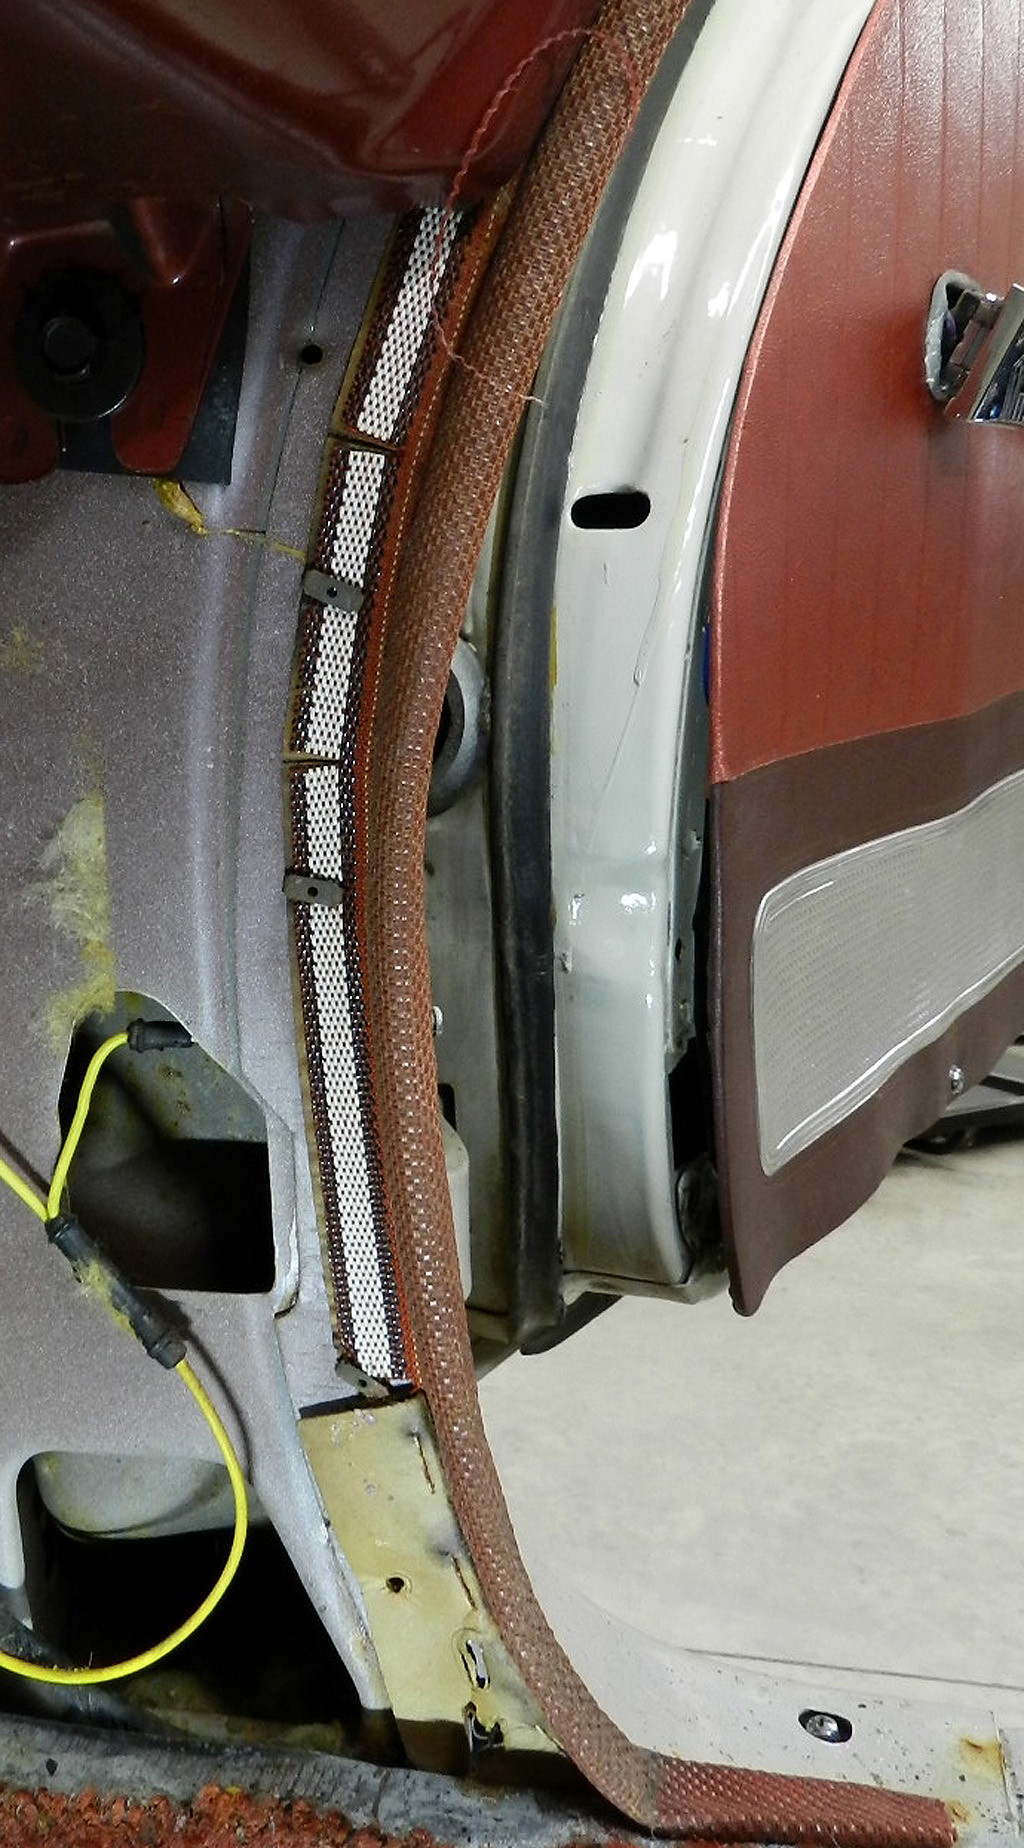 years and you will need to reuse them on the new windlace. At the factory, the windlace was tacked to the body at regular intervals all the way from the floor to the ceiling and the dash was not present. In place, access to the tacks in the dashboard area is limited. You can loosen the whole dash so it can tilt forward for more room to work.
This is not that involved; loosen the two pivot bolts below, remove the filler trim at the windshield, and remove the screws. The dash will now move a little but short of removing the dash entirely, I have not been able to tack the windlace in these areas. I had enough pinch from the dash to provide a secure mount for the windlace on the passenger side. On the driver side, I used RTV adhesive to make the fit.
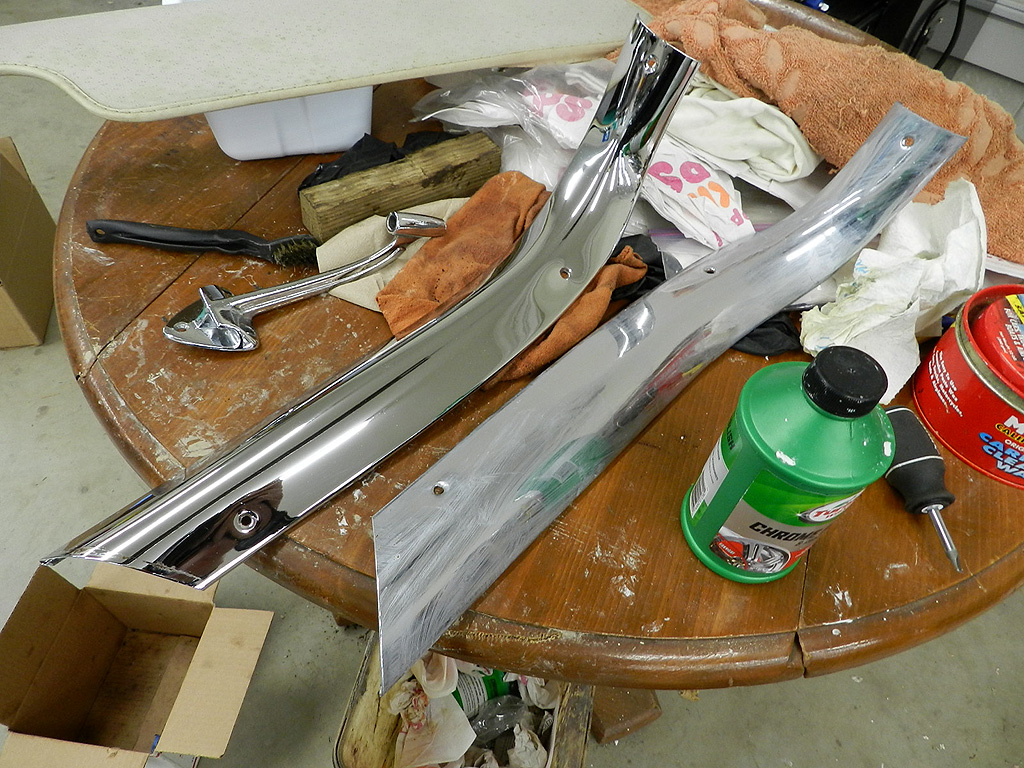
Since the A pillar chrome has to come off for the windlace, this is the time to clean it. Most cars will have some pitting and rust. I was pleased with how well these pieces polished up. I also got a good look at the visors, and their stitching was giving up the ghost. New visors are available from Legendary Interiors. I have a set on order with estimated delivery of March 1.
|
|
|
|
|
|
|
|
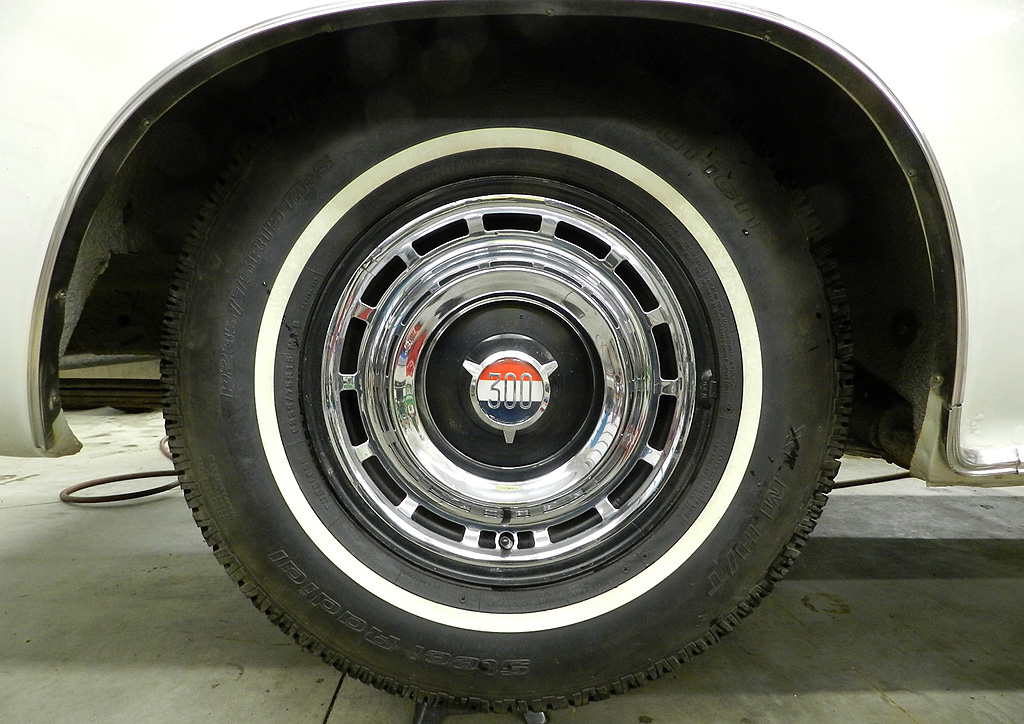
In storage I had 5 15" wheels with good radials and we decided to swap these in. This car did not come with J wheel covers but I had a set with nice new center medals. I have had trouble in the past installing these ventilated covers and these were no exception. Finally I saw that the catch ears had spread out too far. With just a slight bend back on a few ears, the covers went on easy with lotsa good bite.
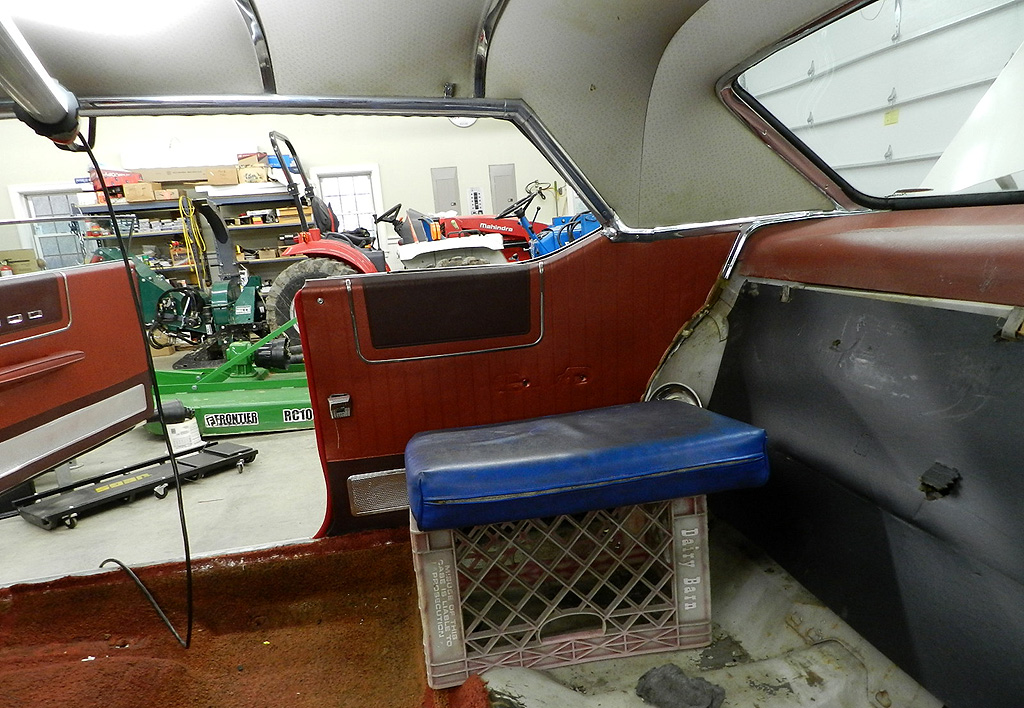 The interior chrome was on the to-do list. Turtle Wax bumper polish was used followed by wax. The rear window chrome was the toughest but came up nice. Sitting on orange crate positioned me up high and minimized tired arms.
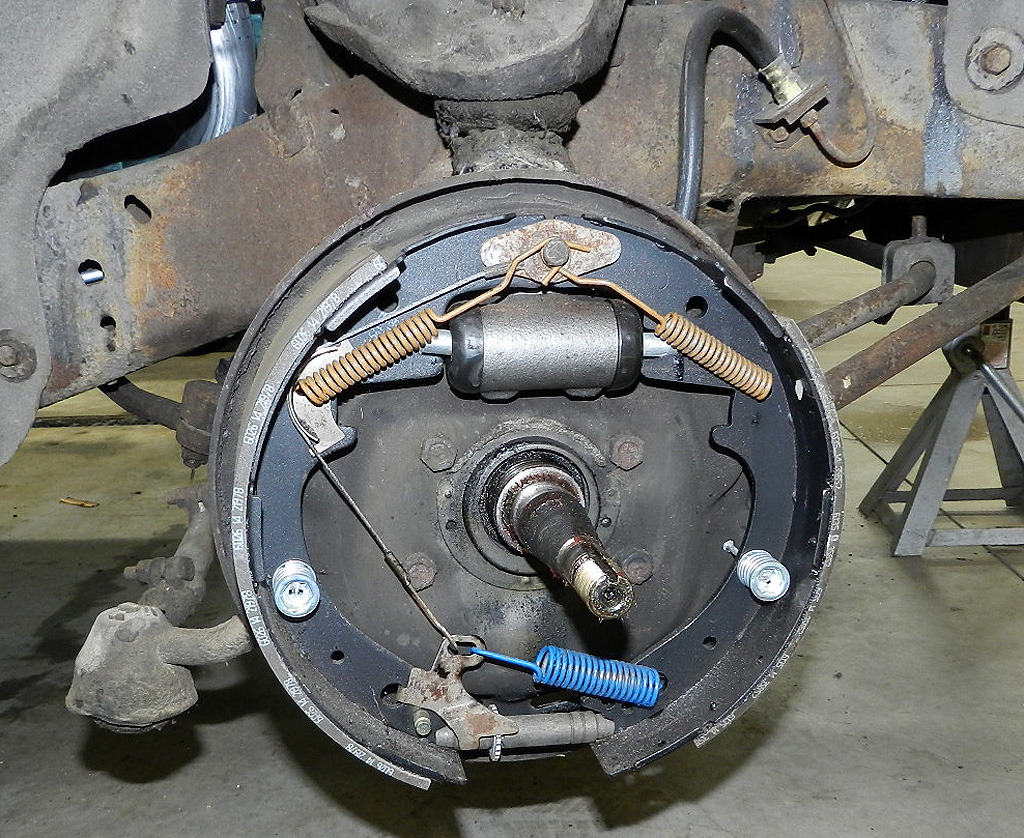 The passenger front brake hub was removed for the first time to show new grease and seals. The brake drum has anti-howl spring and drum looks very good. Brakes, hose, springs, shoes, wheel cylinder; all new. Added missing brake plate rubber plugs to both front wheels.