Page 7
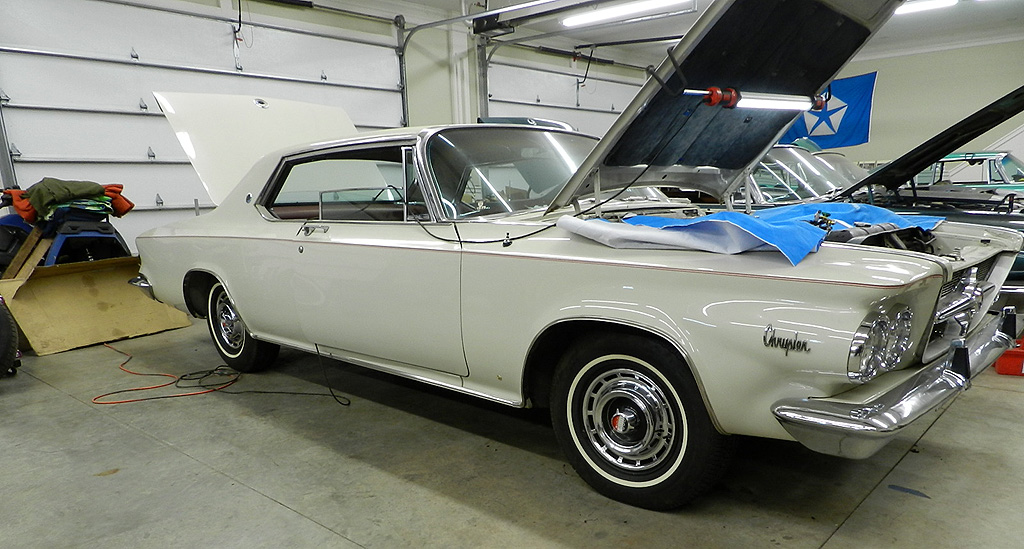
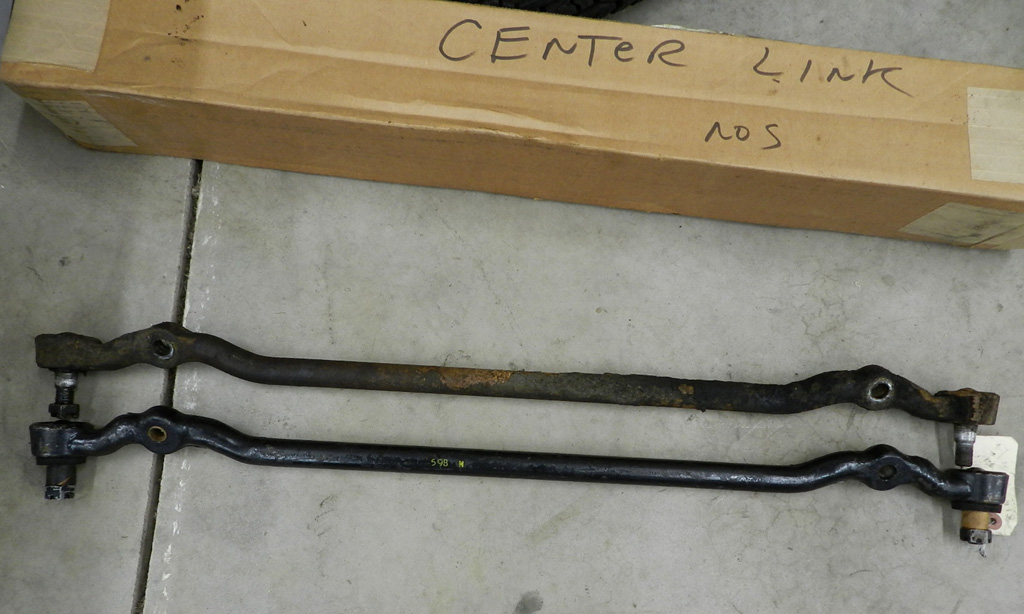 The center link was on the list to replace. We took a new center link out of stores and installed without trauma. Greased front end including ball joints, added 4 qts of type F trans fluid and then did a compression test; 1-3-5-7 are 160 165 155 175. 2-4-6-8 are 150 150 145 160. Dry cylinders, throttles wide open, cold engine. From these numbers we have a healthy engine.
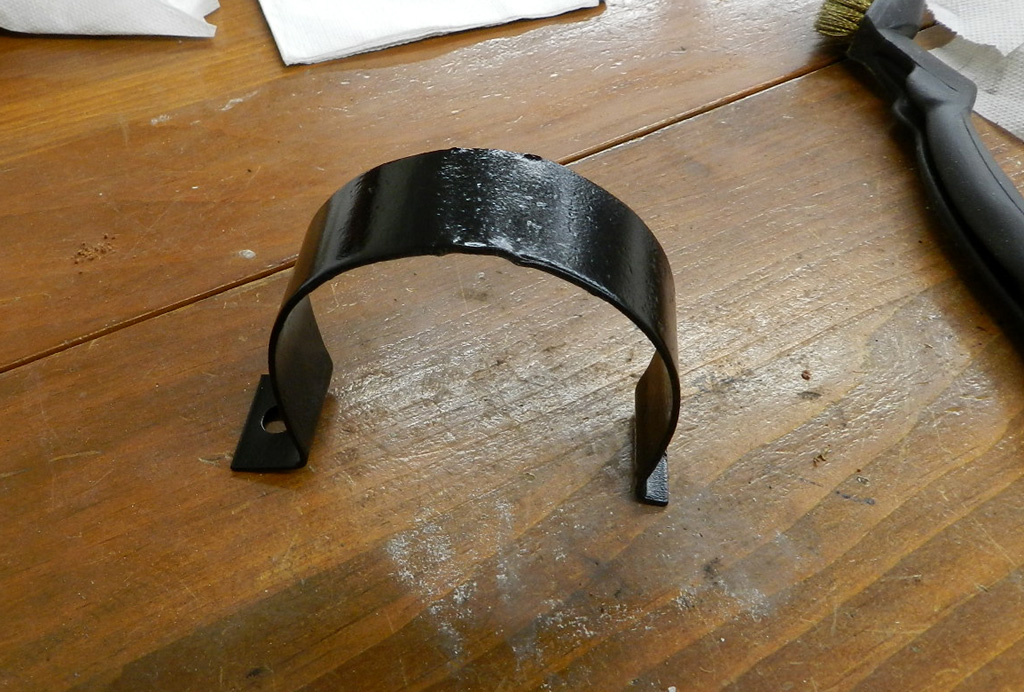 Noted the driver side front inner fender bolts are loose (both inner fenders are replacements). Aligned inner fender and tightened bolts. Noted AC drier is missing keeper bracket and surprise, found one in spare parts. Painted and installed. Battery tray missing drain tube, had one, installed.
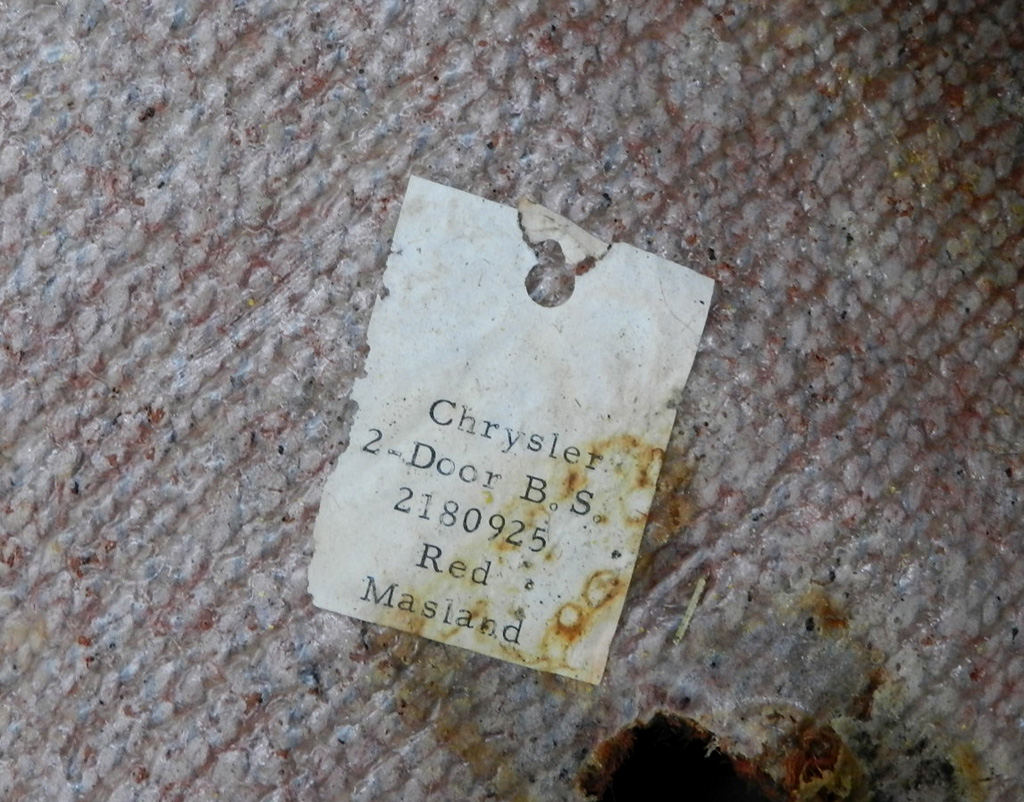
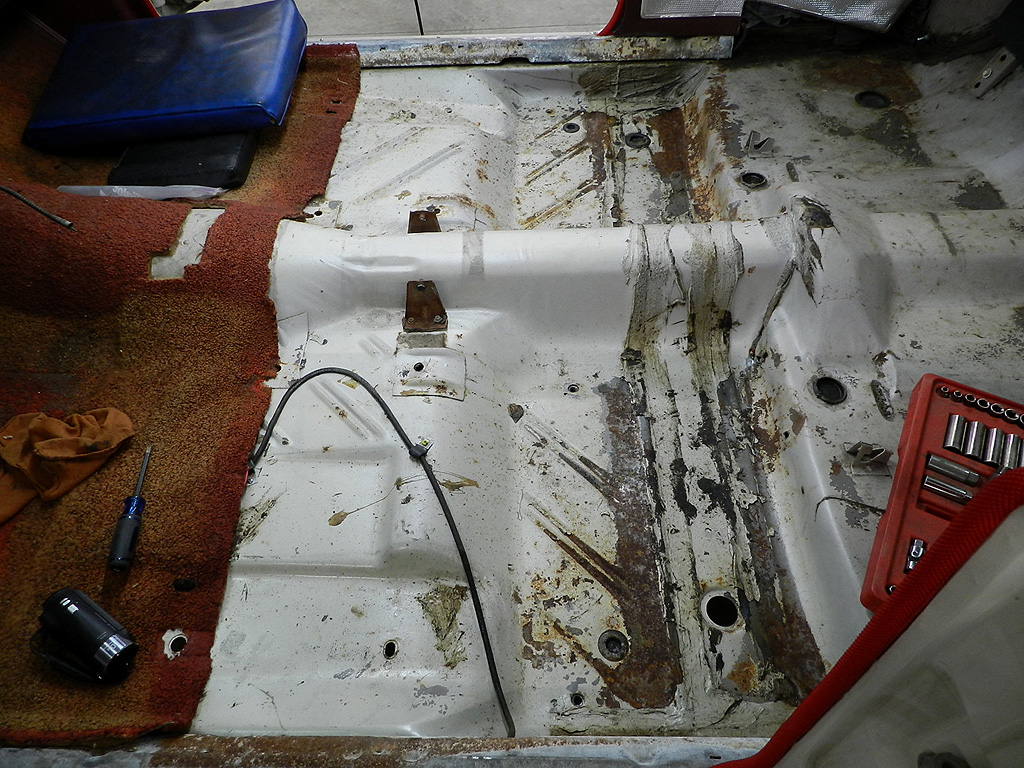 Just for kicks, we removed the original rear carpet. It is in good shape for 61 years old and has the tag on
the under side; Chrysler 2 door B.S. 2180925 Red Masland. One of the rear console brackets is on top of the carpet, the other is not. There are cutouts in the carpet for the brackets but don't line up (no matter). Vacuumed the super solid floors.
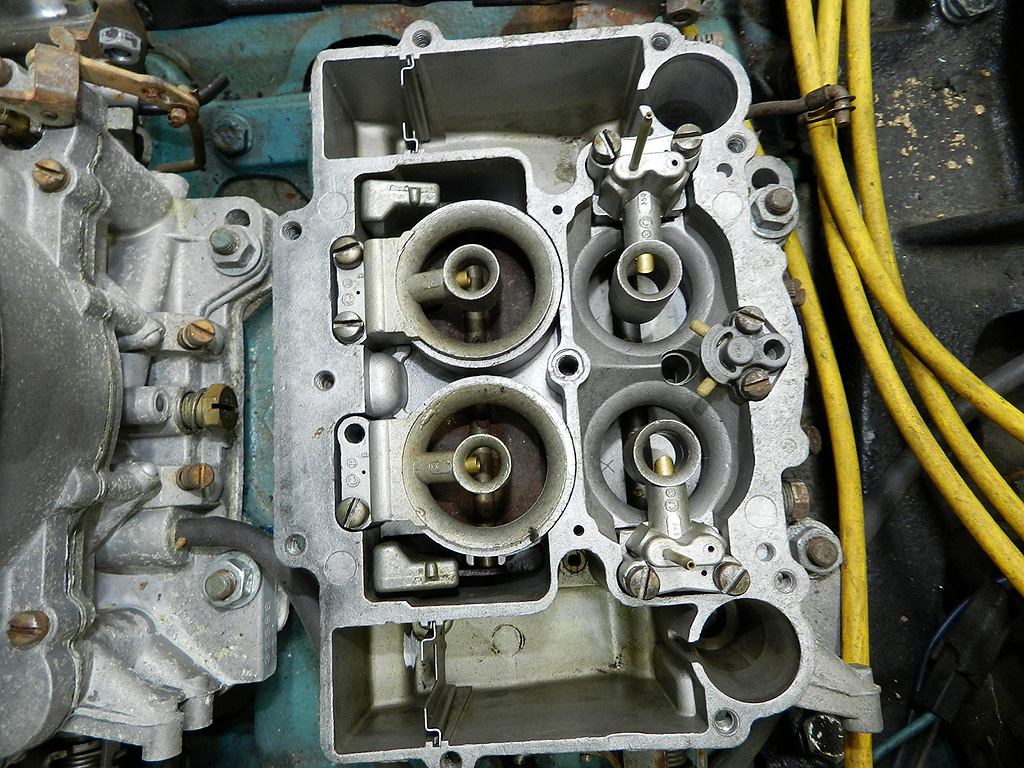 Took the tops off of both carbs looking for dirt. Both very clean, both have recent kits. Front float is set at .300 and rears .250 which I will live with. I need to figure out a temporary fuel line to feed the carbs and then we won't be too far away from the first test of the engine.
Installed spare tire in trunk with jack and brackets. Hold down screw wing nut does not bite tight on screw but I can live with it.
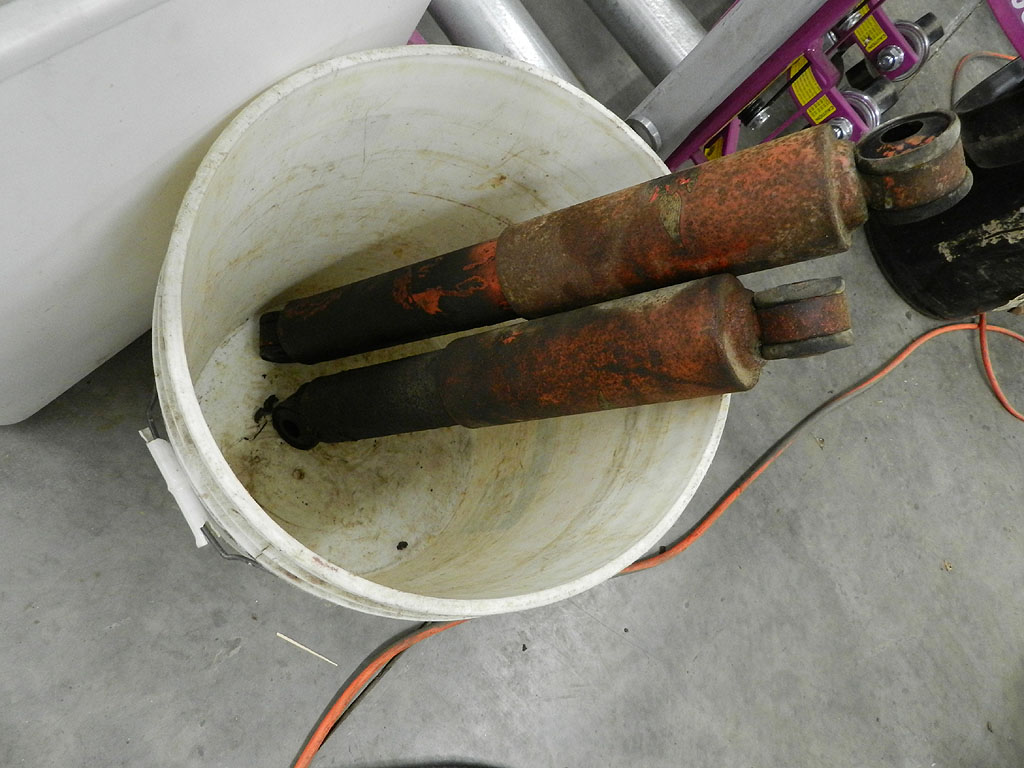
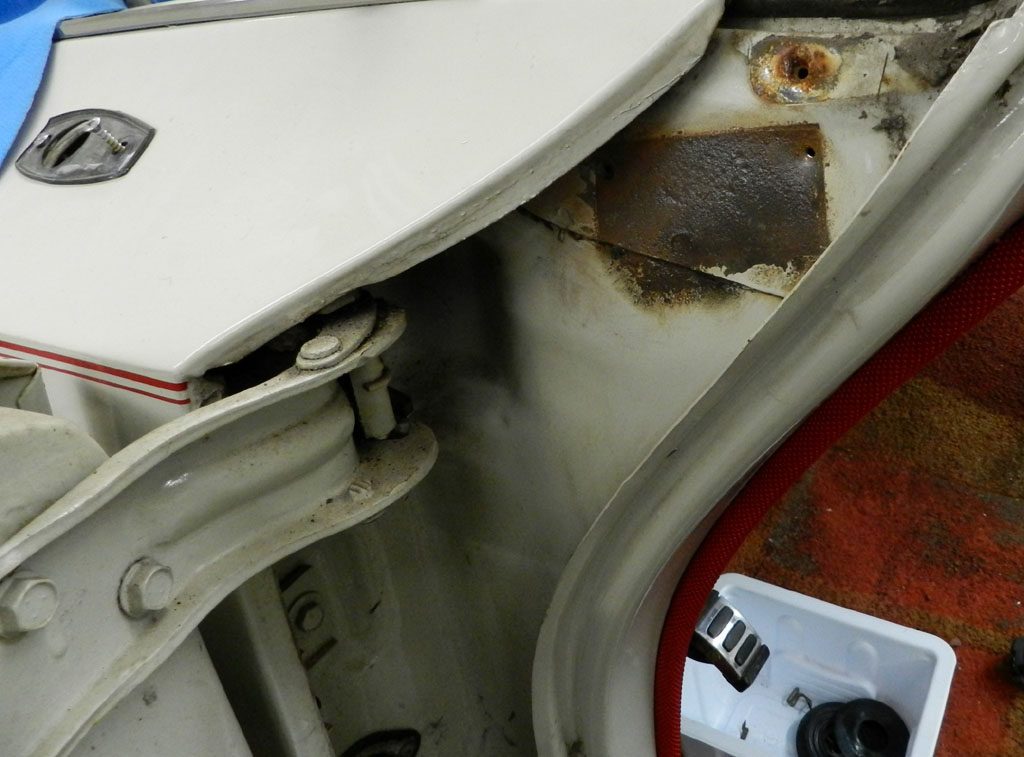
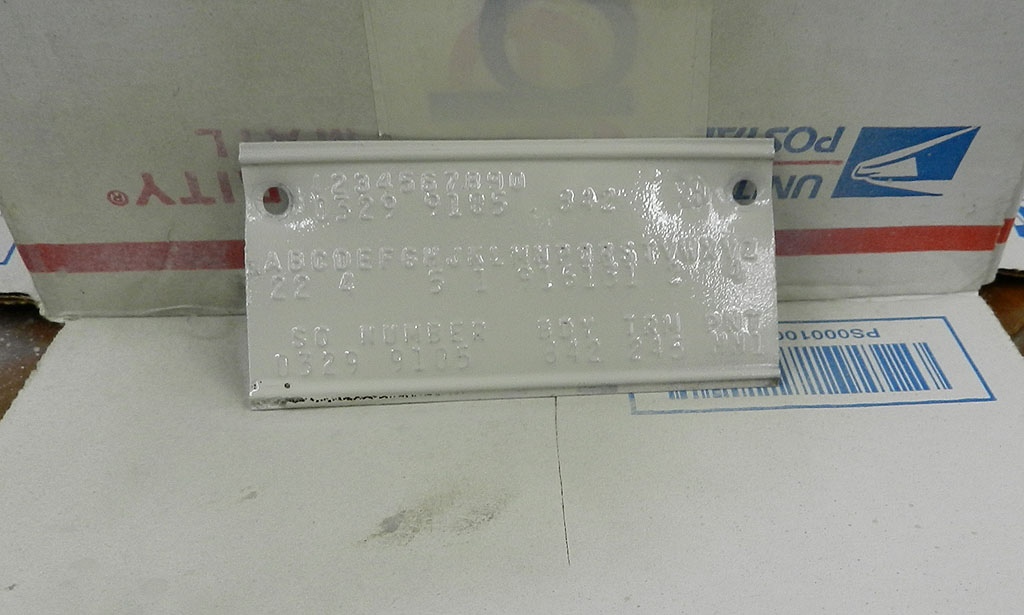
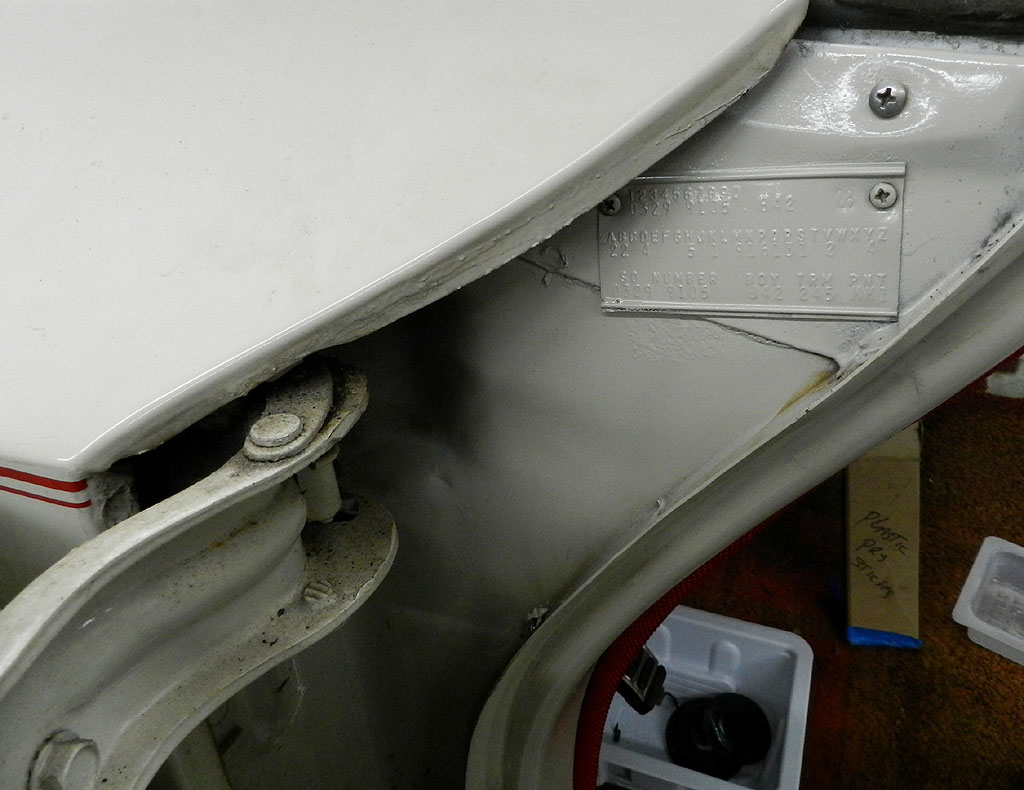
The rear shocks were replaced with a set of KYB gas shocks. The area by the data tag was showing some rust. We removed the tag, sanded and primed the area, and applied new alabaster. The paint is a great match.
|
|
|
|
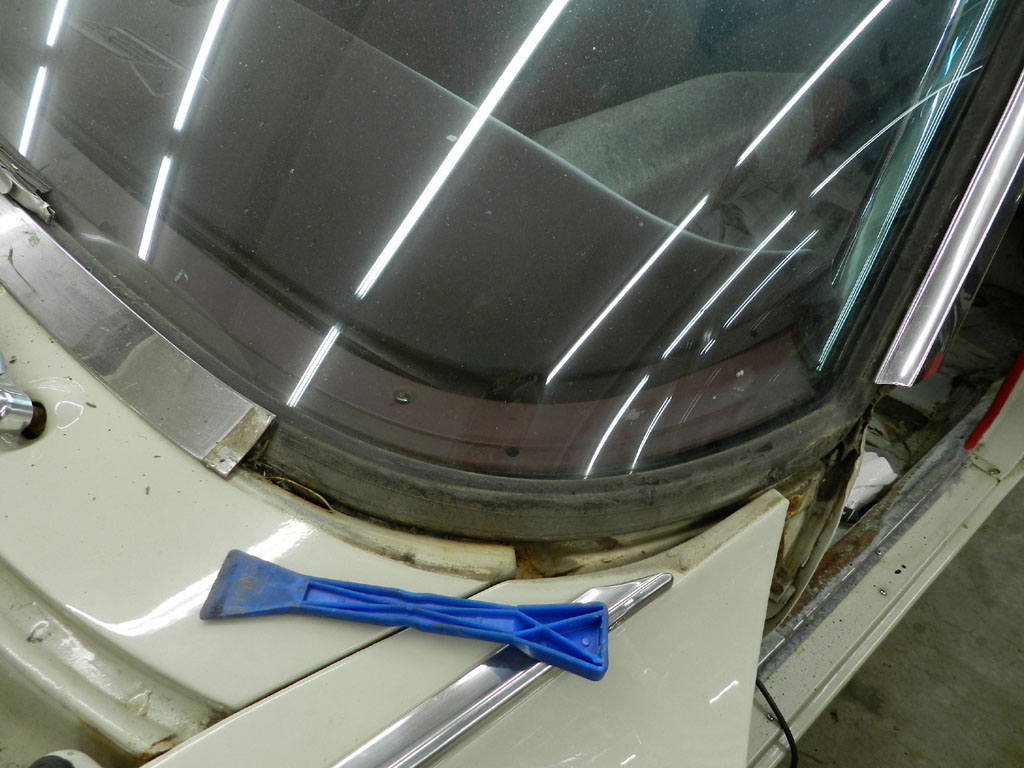
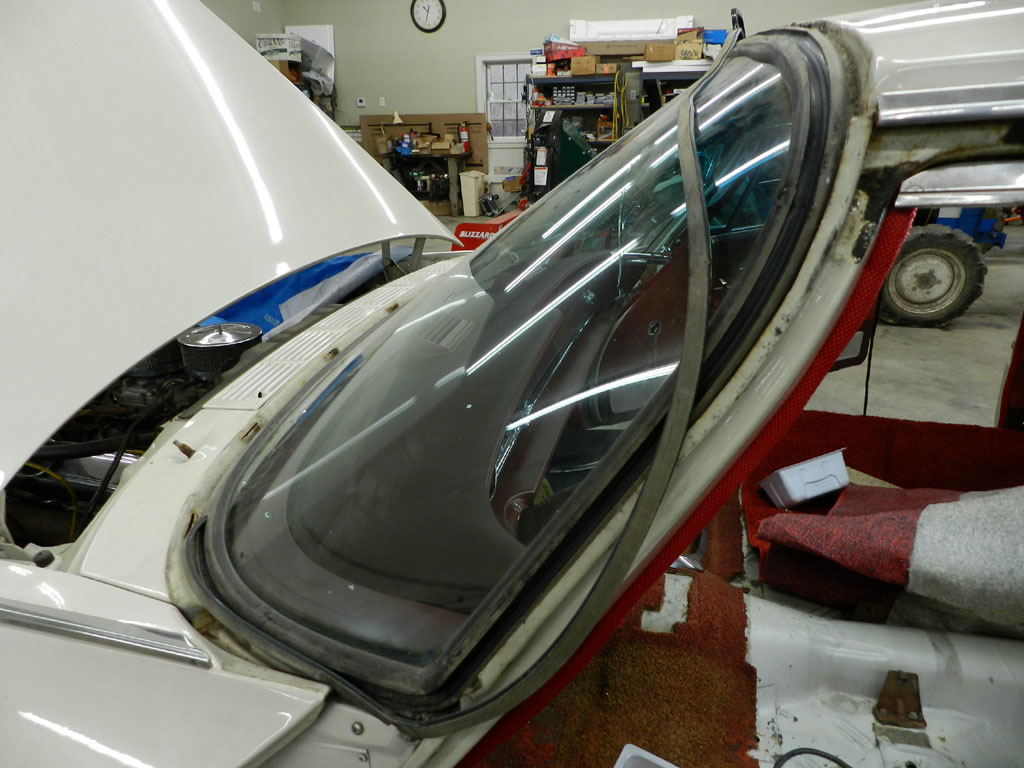
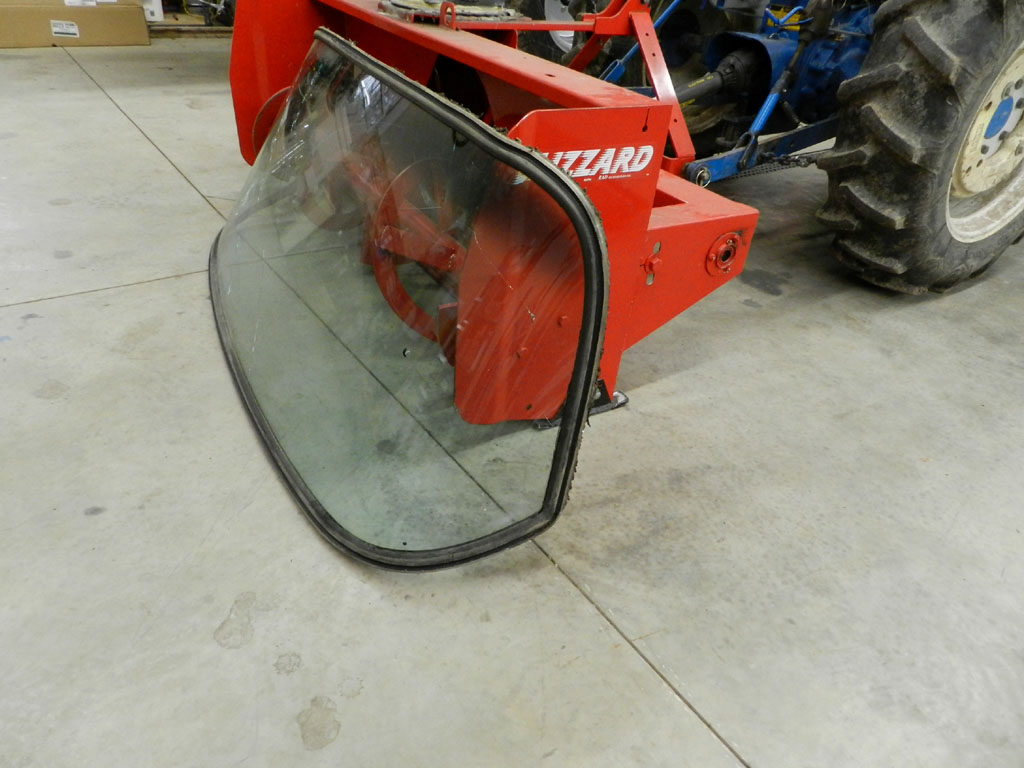
Let's get the windshield removed. The wiper arms came off quick and easy. The lower trim (cowl) came off with plastic pry sticks to show a nice rust free area. The A pillar trim takes some twisting to release. The upper windshield trim was a fight as it was glued with weatherstrip adhesive. Gentle continual prying and cutting of the adhesive had the trim released without damage. The gasket lock strip was still flexible and quickly removed with the windshield itself had also been glued with weatherstrip. It did not want to move. After continued pressure from the interior, the top section moved. Getting the old adhesive off of the gasket is proving to be tedious. The old adhesive doesn't want to scrape off. It wants to turn into clumps that cause a mess everywhere. Soon there is old gasket glue on the gloves, on the tools, on the floor and every glue mess wants to make more glue messes.
|
|
|
|
I ended up with gasoline on a rag to attack the glue. You have to change rags often; once you get glue off the gasket and on the rag, change out the rag. Otherwise the glue will smear back onto the gasket. Then there is the matter of the old sealer that has become solid. It needs to be removed or the gasket won't sit on the new windshield. I found the right size screw driver and chipped away. 90 minutes later the job was done. Now we move on to other things to do while we wait for the windshield guy to arrive.
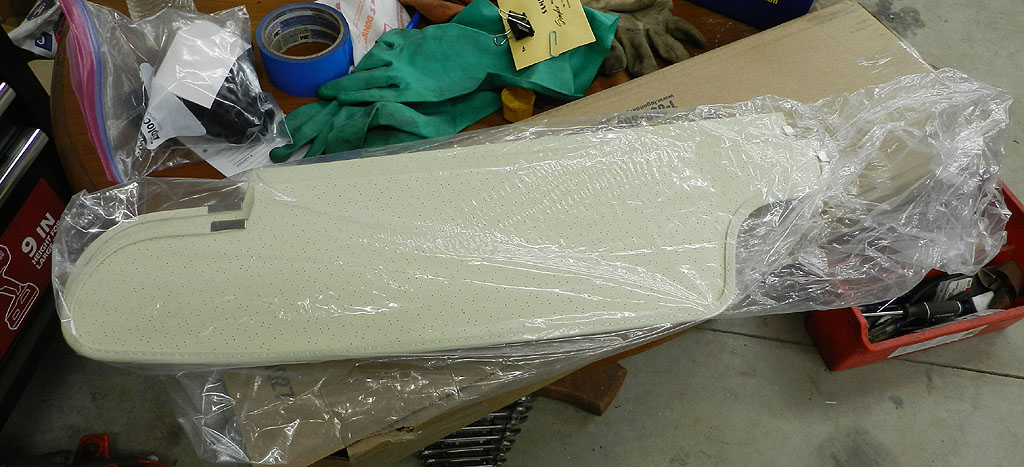
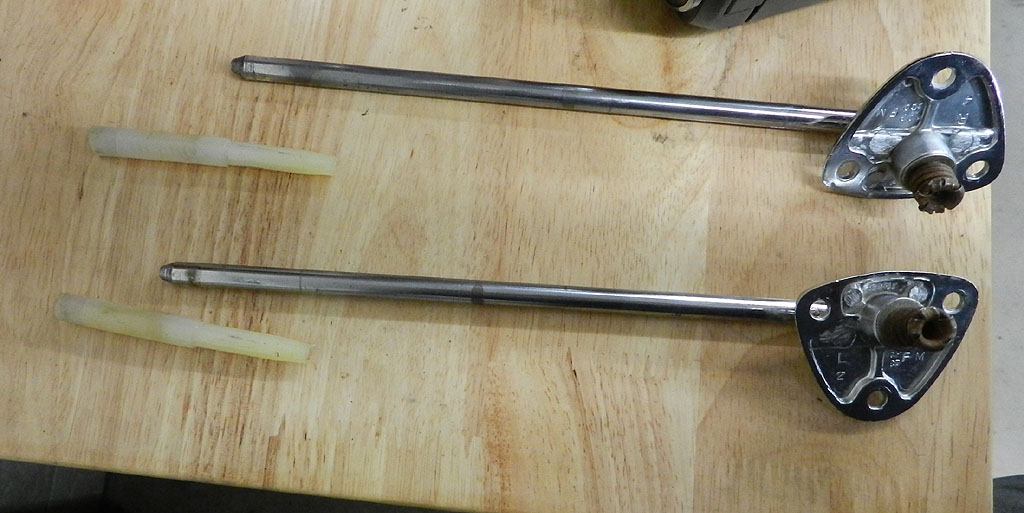
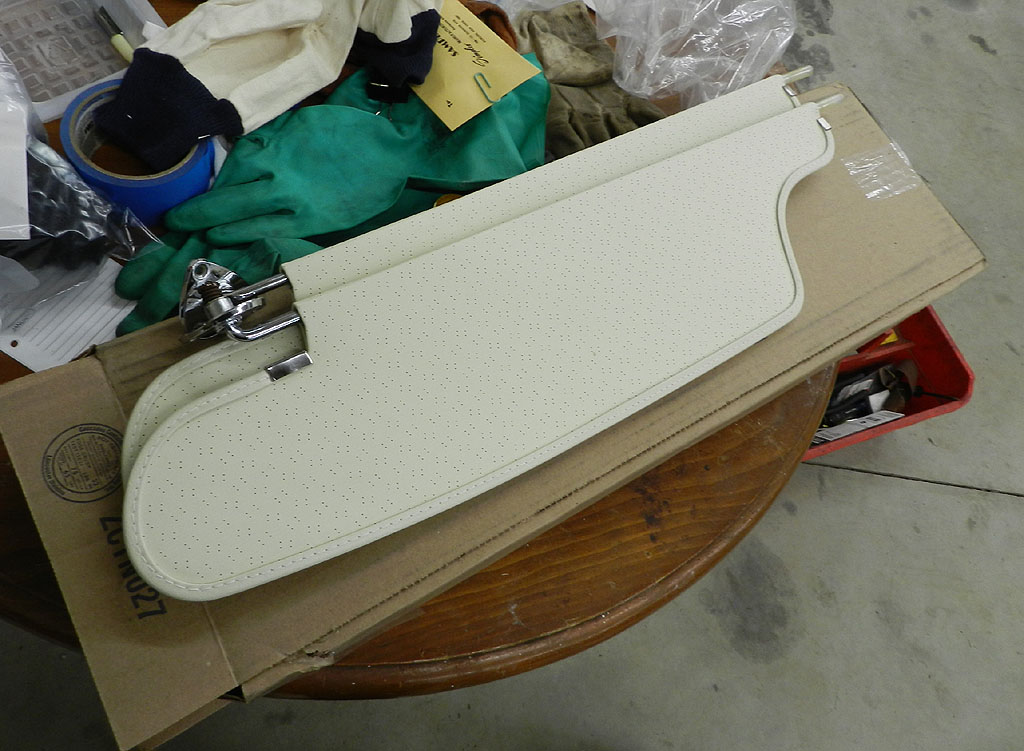
The new visors arrived from Legendary Interiors. You reuse the original visor rods and tips. If new tips are needed, you can find them on Ebay or at Classic Industries. The visor rods are not going to easily pull out from the old visors. The easy way is to remove the stitching on the old visor at the seam, then it will open and you get to the inner backer and clamp. Screwdriver to the old clamp and the rod pulls out. Same for the visor tip. You should disassemble only one visor at a time because you need a reference how far to insert the rod in the new visor.
|
|
|
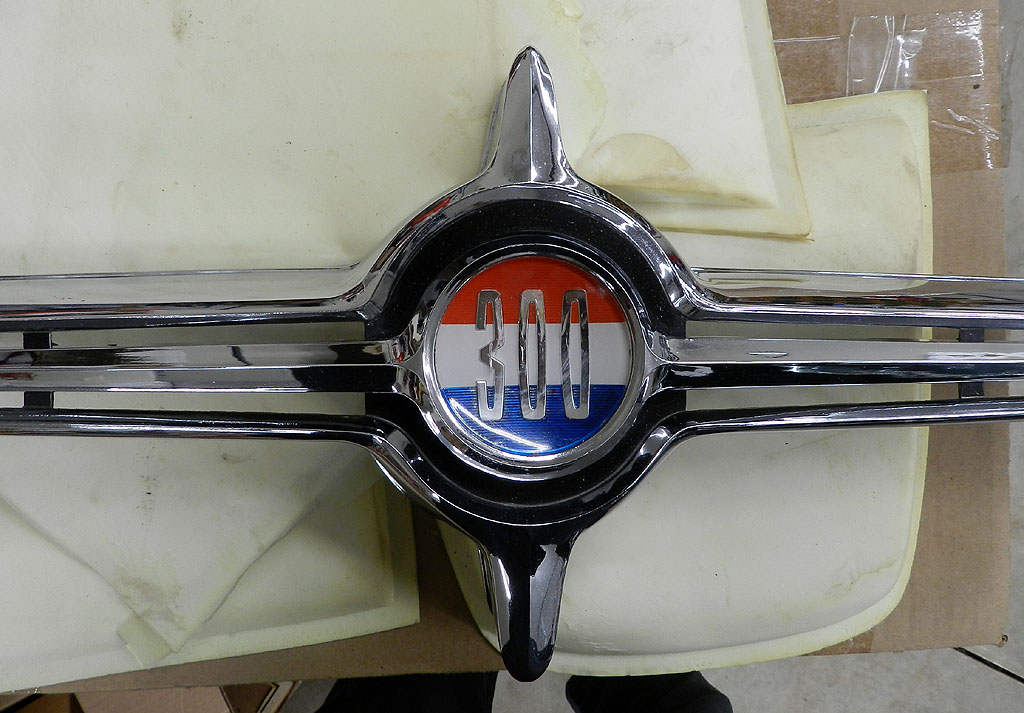
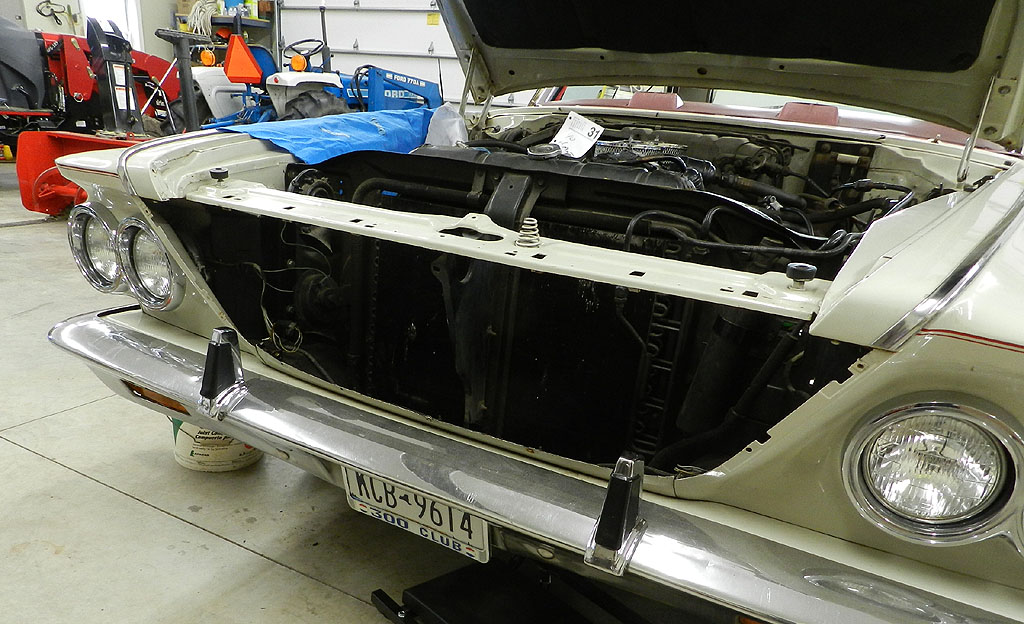
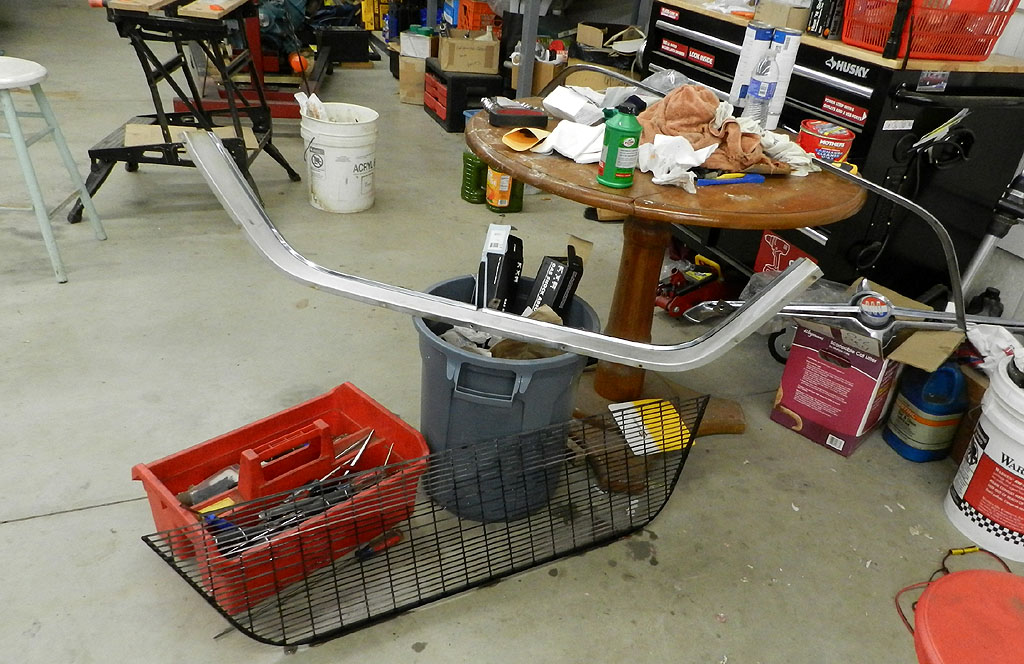
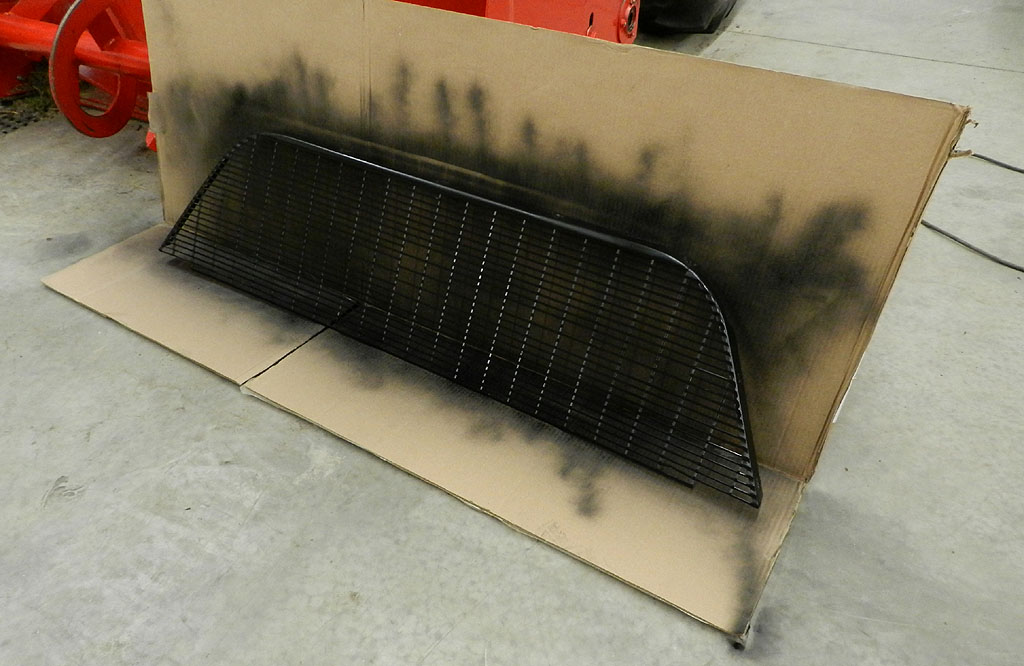
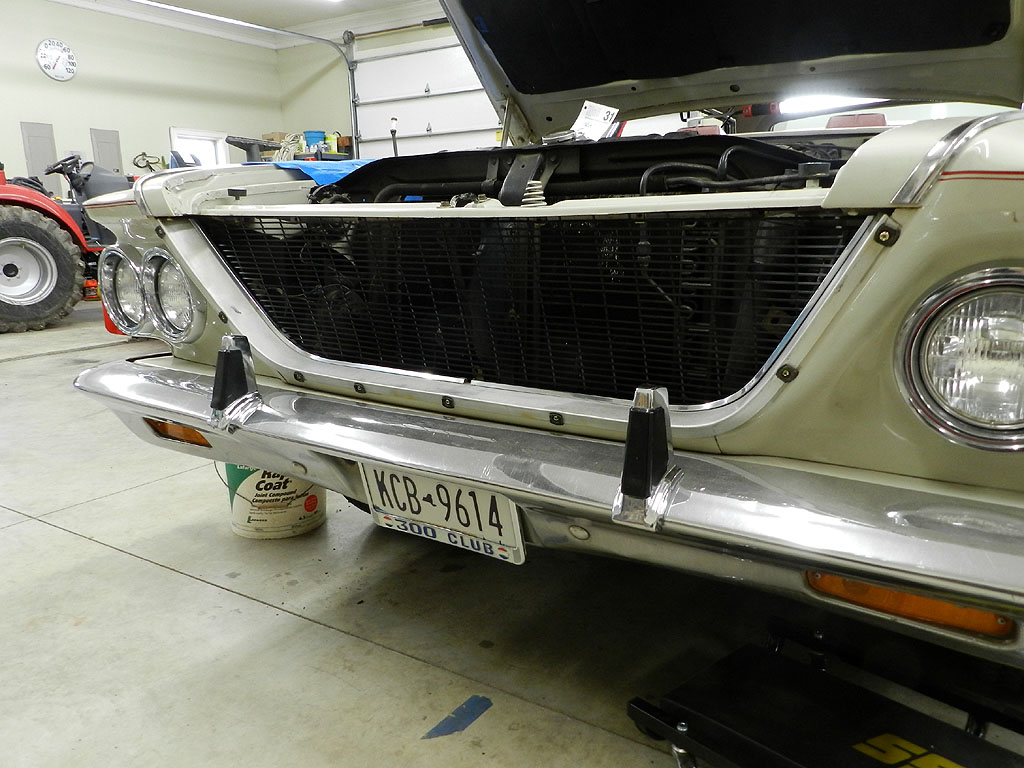
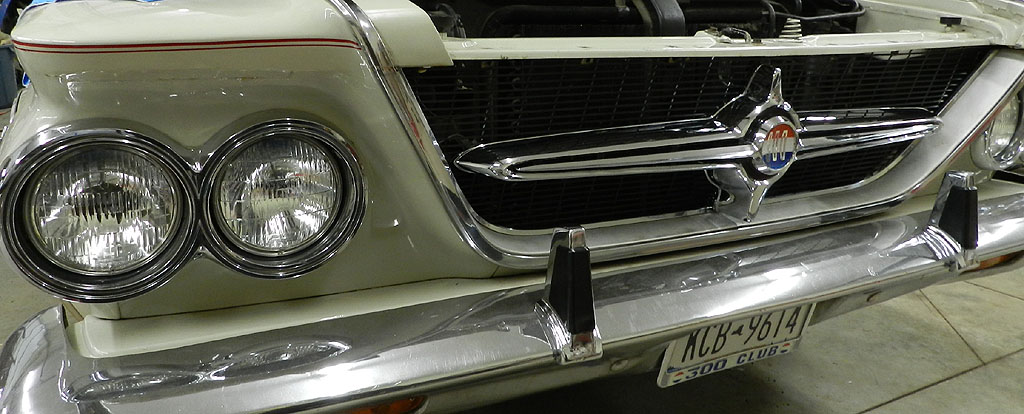
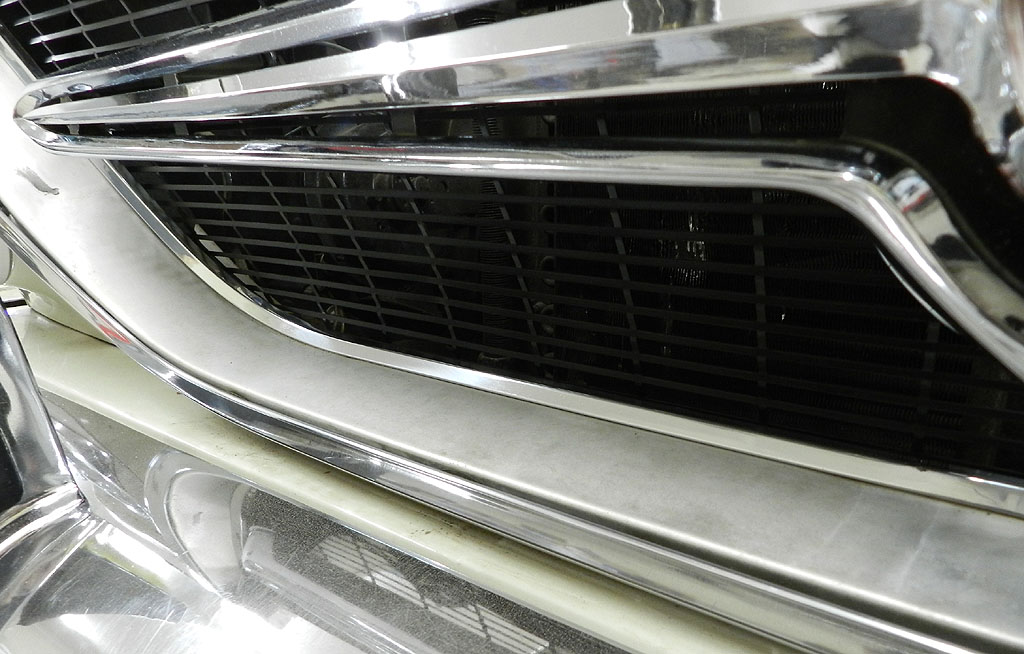
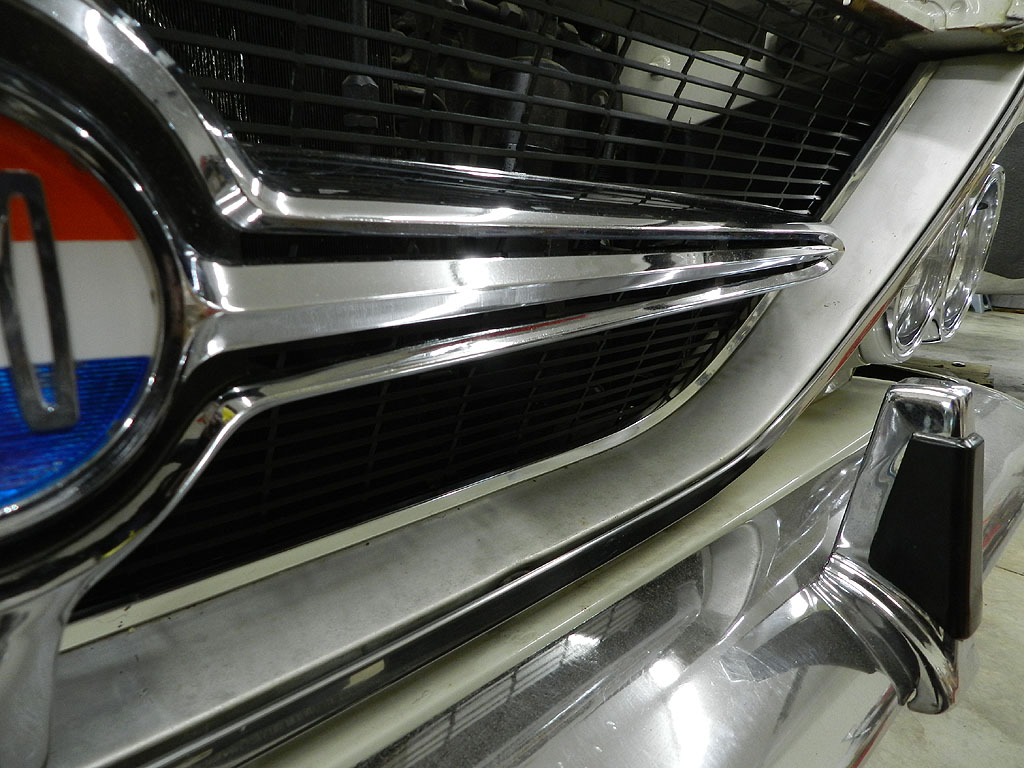
The grille is being held in place with 2 screws from the previous owner, so we turn our attention to the front end. I removed the grille and found loose and missing bolts on the sheet metal, easily corrected from parts on hand. The center cross bar was missing fasteners and the mesh needed a new coat of paint. Eastwood satin black chassis paint did a nice job. The cross bar cleaned up very well. The 9 special clips that hold on the outer trim were missing. I had a few and a friend sent me some to make a full set.
|
|
|
|
|
|
|
If you look at the two pictures above on the right, there is a trim piece between the surround and the mesh. I did not find this piece on the other 2 Js. It looks to be factory. Aha, this grille is from a K.
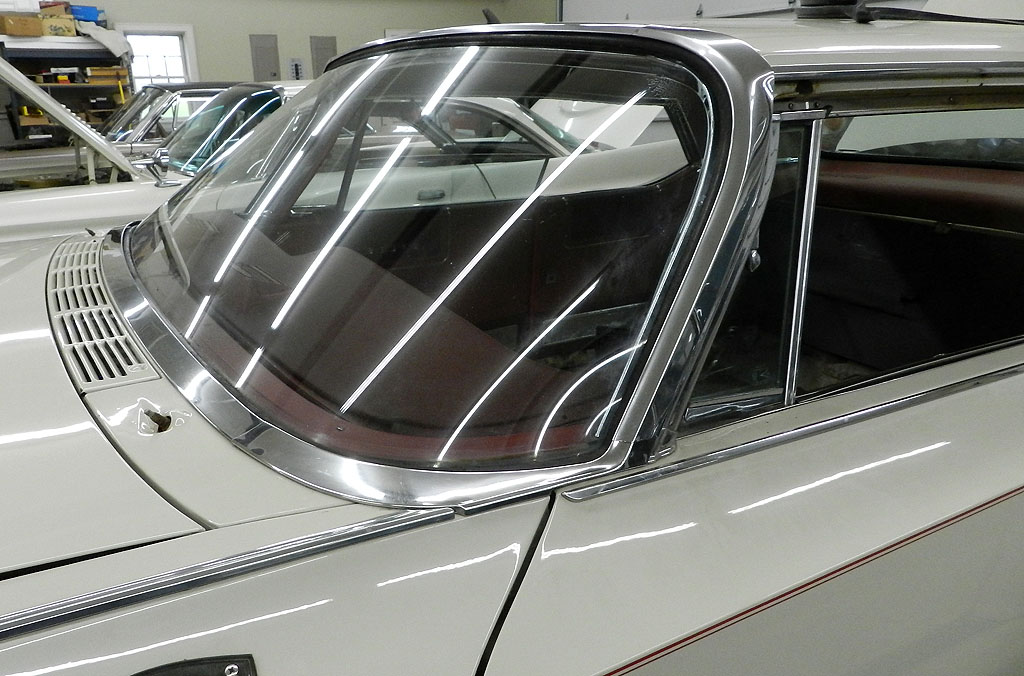 I had a friend assist with the windshield installation. It went reasonably well but I think I stretched the lock strip when I removed it because it is now too long. I ended up cutting the excess and reinstalling the trim pieces. Install loosely the center top piece first, then right and left A pillar pieces (loose) then lower A pillar (loose) and bottom center last, all connected as a loose assembly. Align pieces at their joints top to bottom and seat the center lower piece last.