Page 8
When I installed the new visors, I should have ordered new tips. The old ones were brittle, new ones from Van's are $14. The visors now have new tips and several sets are in inventory. Installed windshield wipers after testing to see that wiper motor works and parks (it does).
We have finally reached the point where we get to test the engine. After a prime to the rear carb, she fired right up. Oil pressure came up quickly, the alternator was charging, the temperature gauge works although reads a little high. Doggone thing ran well although there was blue smoke out of exhaust that may or may not clear with use. Pushed AC heater button and compressor clutch engaged. With the rear axle in the air, trans did drive neutral and reverse. Seems to have brakes. New exhaust is quiet with no leaks. Heater water valve does not seem to be leaking but there is a squeak from something up front. Decided to remove alternator and get it rebuilt and probably solve the squeak in the process
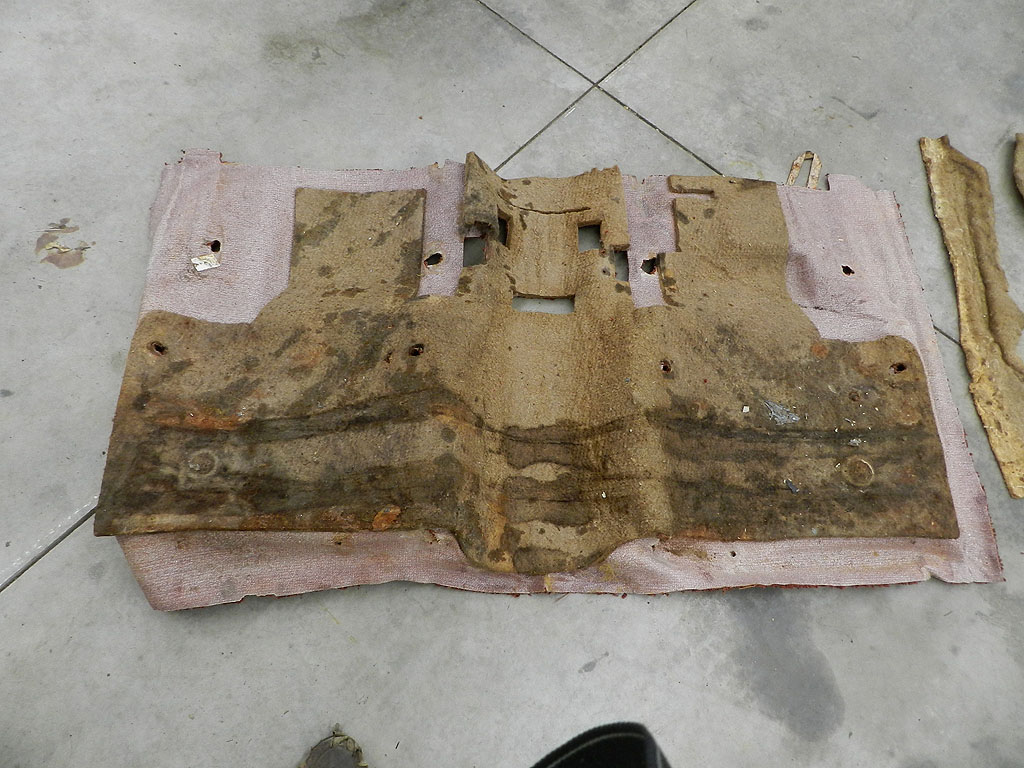
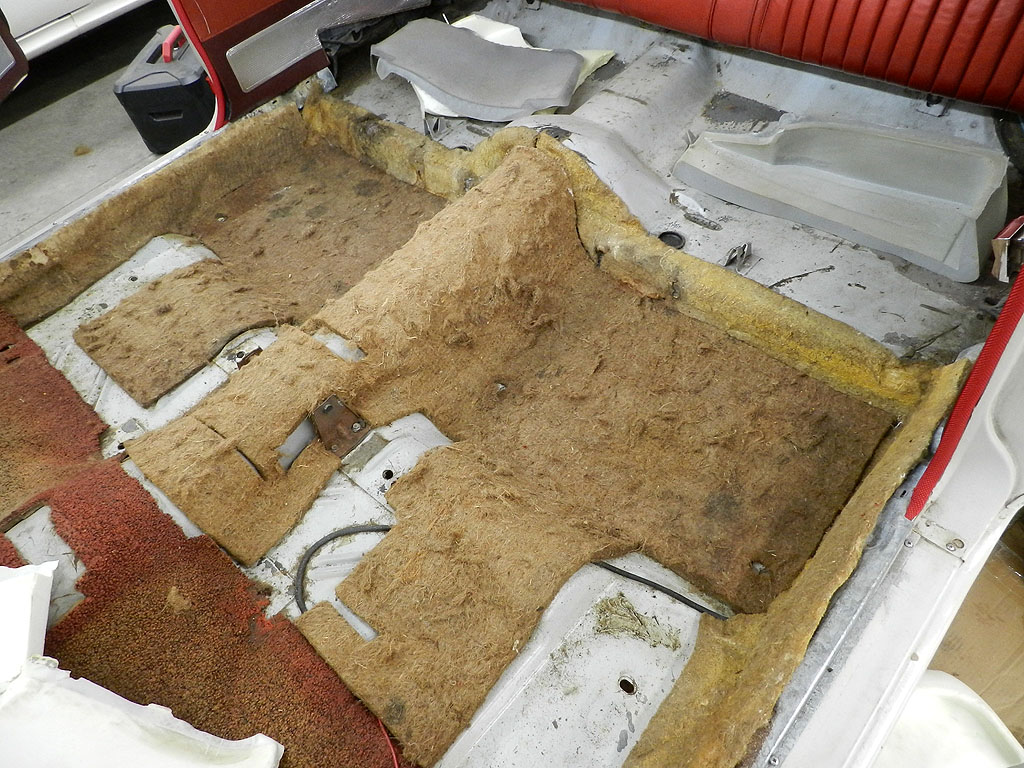 While we wait for the alternator, we started to install the interior and carpet. Although the new carpet has jute, I peeled the old padding off the original carpet and set in to figure how it fits.
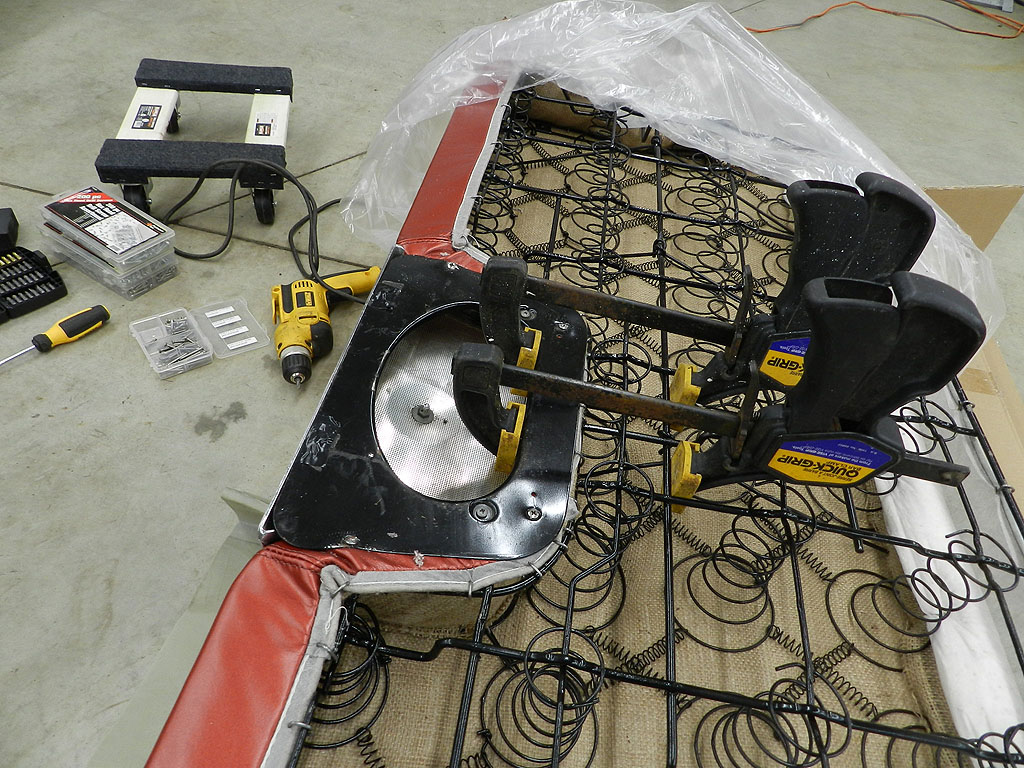
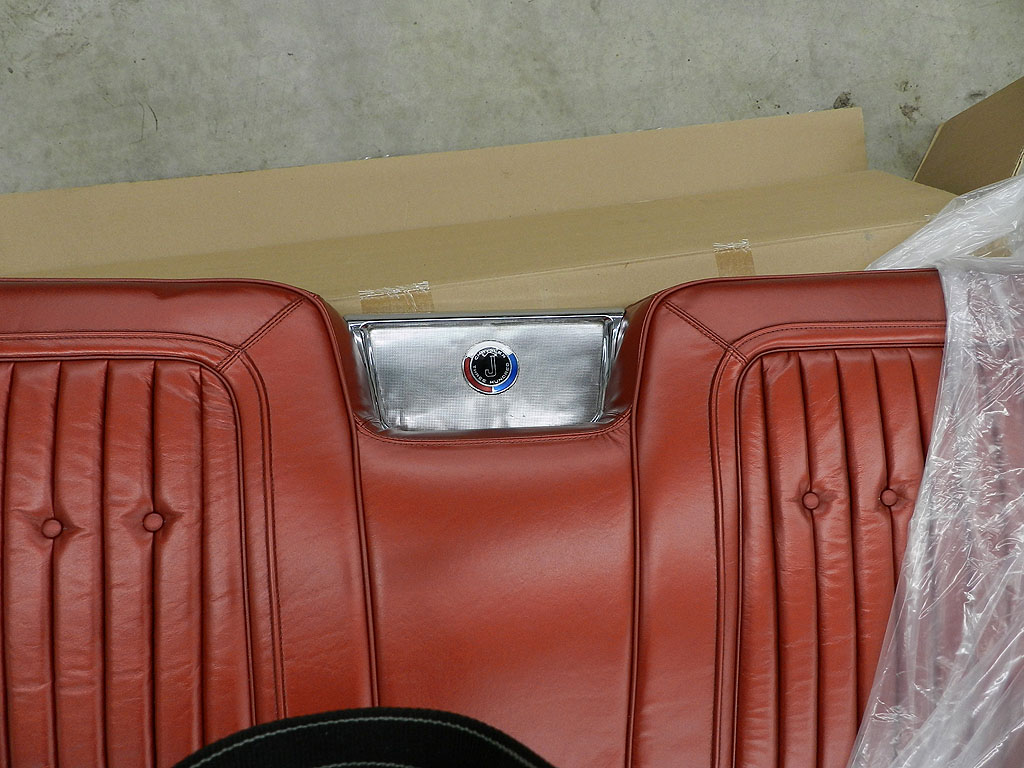
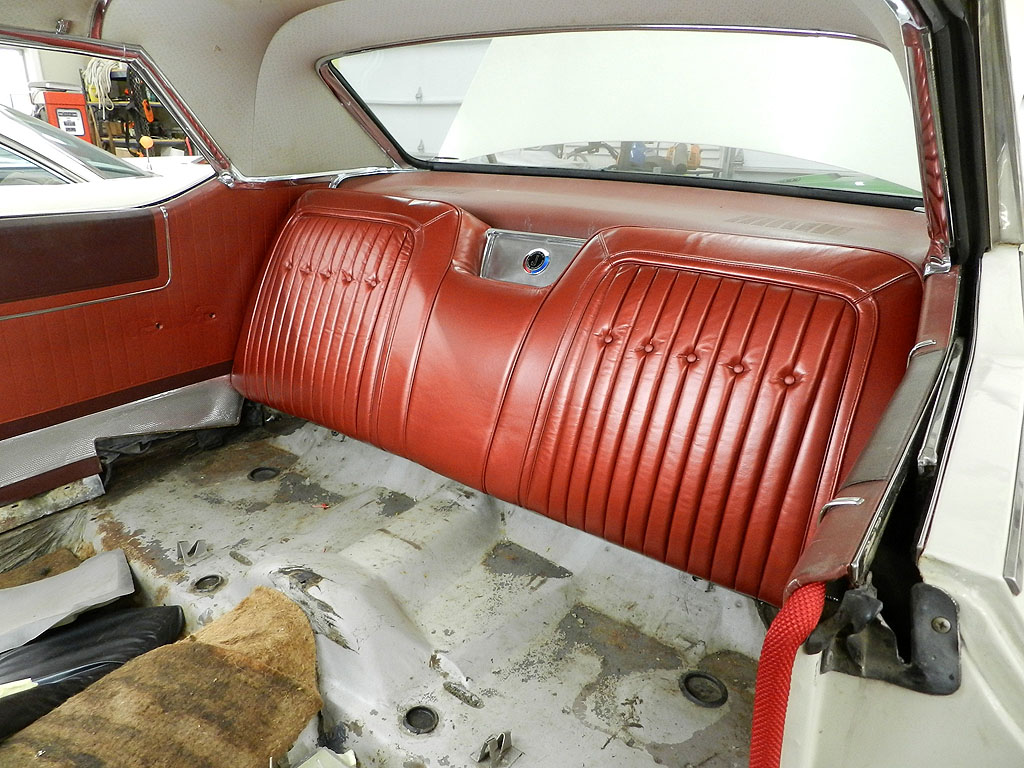
Applied glue to attach the original jute to the floor. Found the new upper rear seat section and installed the center chrome piece. Used clamps to hold it full down and installed with new Philips screws. There was a new backer board in the Legendary kit so installed that. Placed electrical tape over screws on center chrome piece because they protrude and scratch the package shelf as you install the upper seat back.
|
|
|
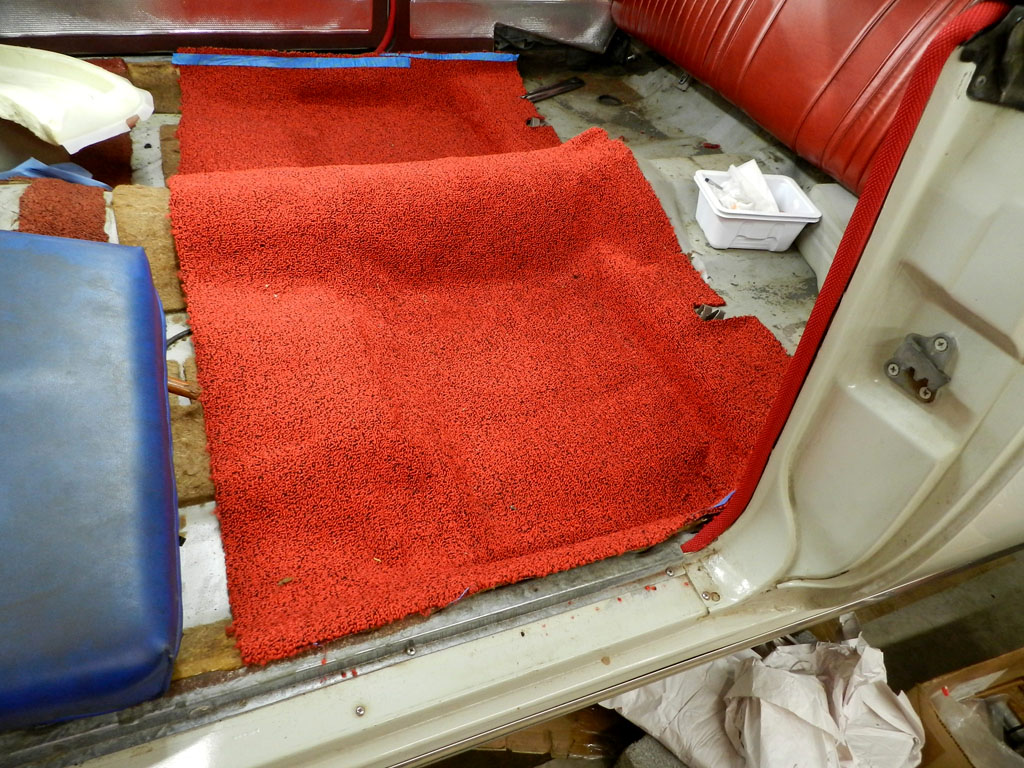 Started installation of the new rear carpet. Began with the rear carpet transmission tunnel, worked to get it tight, applied glue and weights and let it sit.
While we wait on that, we installed heater without gasket (on order since October and I am done waiting), routed heater hoses and filled with antifreeze.
We had the engine running again off of an aux tank to get heat in it and fill heater system. Surprise, the engine is not smoking now but there a squeak and I think it is the water pump. Noticed the AC clutch engages with button on heat but not on defrost and there is no heater fan. Checked all fuses, all OK so I need to get into heater fan problem.
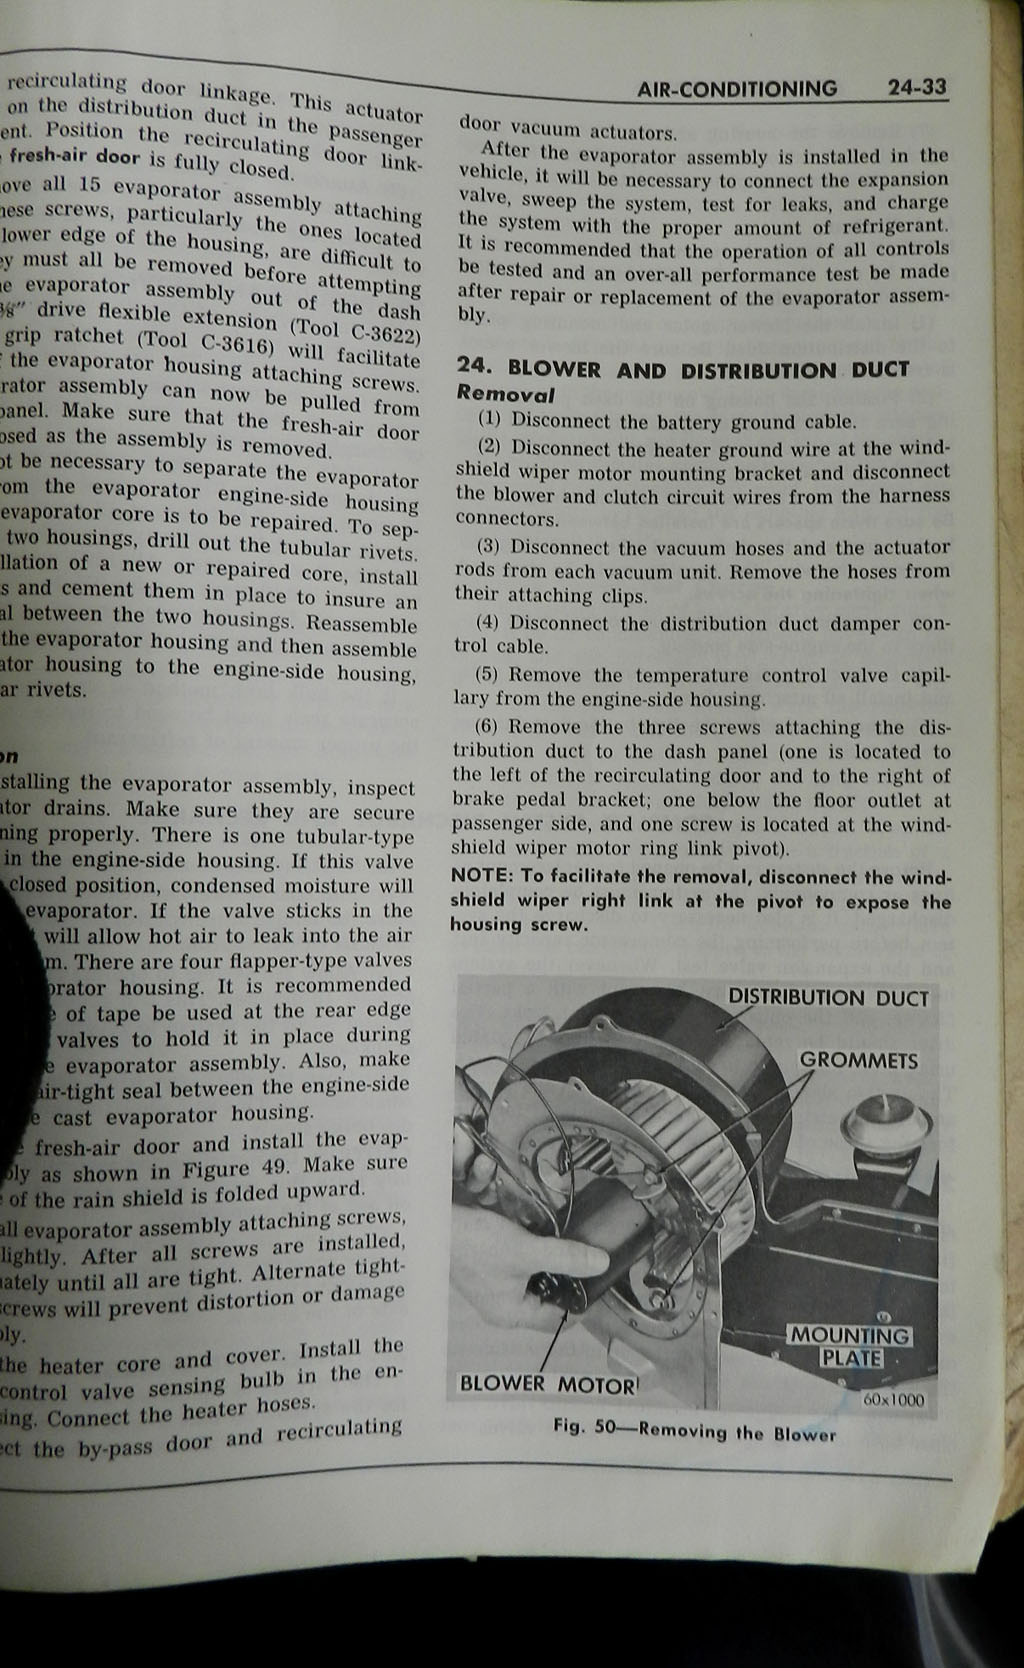 After more testing I am thinking the fan motor is not good. It is not simple to replace a fan motor: the blower housing has to come out. I brought over a spare blower box and tested the fan (it is good). I hooked the fan in the spare housing to car wiring. The fan runs on low and on medium but does nothing on high. We know two things; the fan in the car is bad and there is something wrong with the heater system wiring. Started to read up on how to replace the blower box.
I brought over spare new water pump, drained coolant, removed old pump. They glued the gasket to the block and it took 30 minutes of scraping and wire brush to get it off. C'mon guys, glue the gasket to the pump if you have to! Installed new water pump and I need to get the correct belts and pulleys for this car so began that process. I noticed they have the power steering bracket adjusted wrong and fixed. Found a AC water pump pulley and two correct 5" long 9/16" bolts for water pump idler. Noted water pump pulley does not align with crank pulley. Put on a spare water pump pulley (AC) and it aligns with the idler and not with the crank so I will need crank pulley.
Decided to jump into the heater blower motor replacement. Removed glove box but it came apart in pieces and will need new. Removed glove box door. Followed manual and was able to get the blower housing out far enough to remove and replace the heater motor. I checked again that old motor did not work and that new motor would work with the existing wires, it did. Reinstalled housing and tested. I have low and medium speed fan as expected, no high speed and I get fan on everything but heat! Looks like I will have to re-disassemble the dash and get to the heater controls. You can follow the fun in this video.
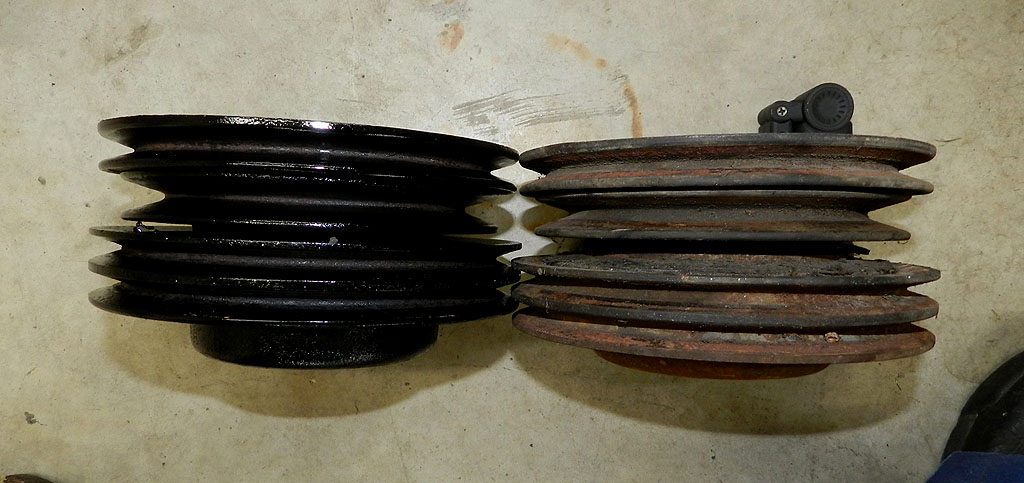 Removed the crank pulley. It was stuck and didn't want to come off. Marked position before removal so install of replacement will be lined up. Went to shop and found two that look like they are deep enough, one on the 65 Imperial engine and one on the 65 Nyr engine. Compared crank pulleys and the 65 Nyr is a better choice. Made template of crank holes from old pulley since they only go on one way, installed the replacement. Belts line up fine. Noted new water pump idler pulley from Classic pivots from bottom bolt hole whereas others pivot from the top hole.
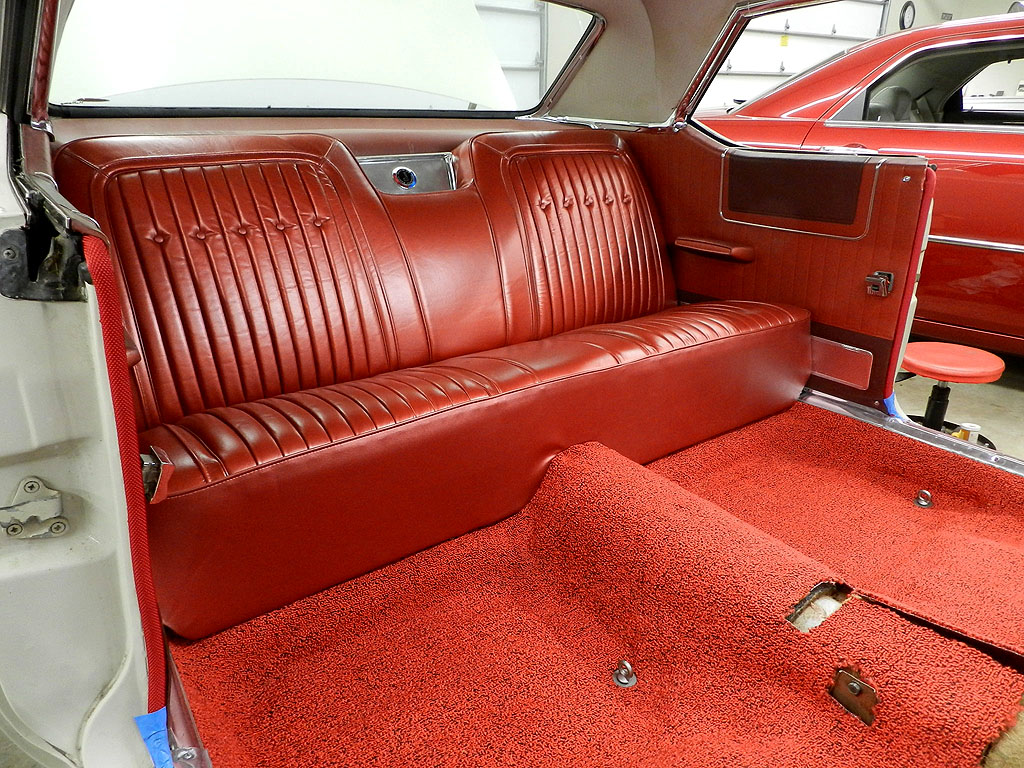
Moved on to carpet work, more on the rear foot well area. Worked on pass side, coming along. More work trimming and installing rear carpet. It is pretty well done needing holes for seat belt anchors and maybe slight trim at door sills.
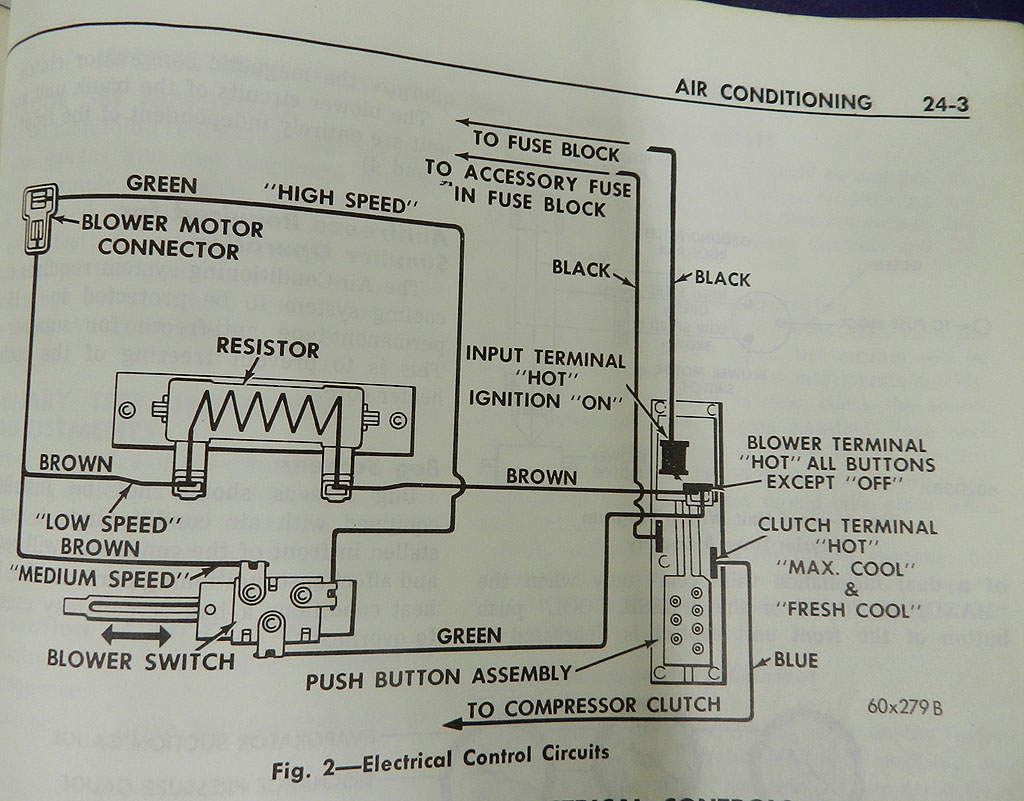 Got out all of my stock AC heater switches, wire diagrams, ohmeter and tested. See the results here. Decided to get back into the heater switch which means take apart the dash. Yes, you need to remove the radio grille and speaker for access.
Found I had the fan feed wire on the wrong terminal. Swapped, now have fan on all buttons but no high speed. High speed runs as low speed. Medium is fine. Took some time before noticing the high speed wire was disconnected at the junction. Connected, tested, all OK, buttoned up. The switch I have in here is a 3895790. Here is the video.
Finishing up the rear carpet; installed the seat belt anchors without trouble. Installed the sill plates temporarily so I could install the extensions then could install the rear seat lower cushion. It went in quick and easy, fit fine. Installed arm rests.
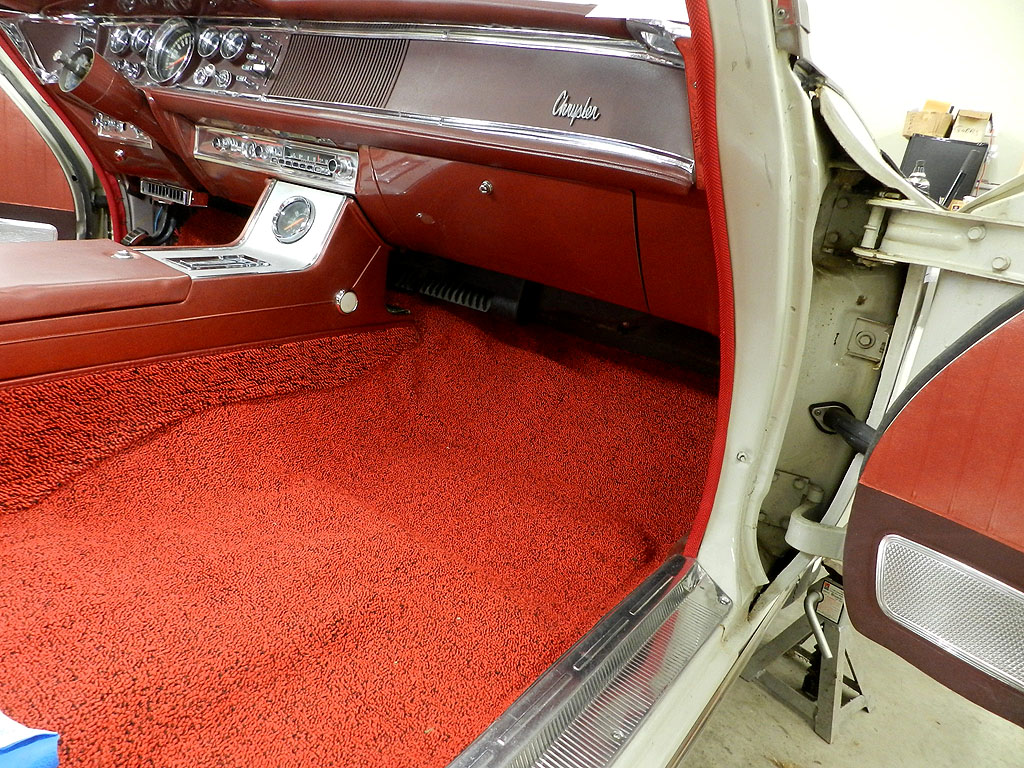
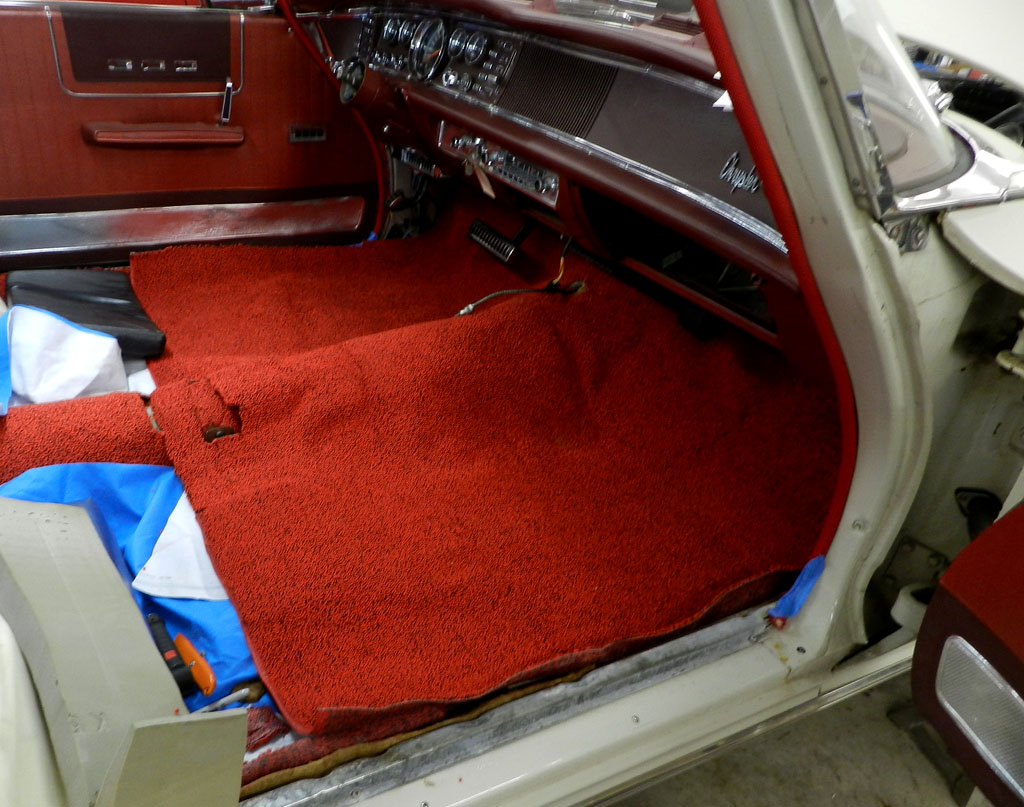 Decided to work on the front carpet. Removed original after lots of photos for reference. Since we have a center console between the front seats, no need to be fussy with the fit over the transmission hump. Trimmed both sides for a first try and let it sit.
Removed the original carpet and reused just the jute section over the transmission hump. New carpet has its own jute. Since these cars have the center console, the transmission hump, one of the tough areas to fit, is hidden. The center console also provides a solid anchor for carpet.
After a little trimming and fitting, the console and passenger front section could be installed. There are tricks to remember on the console: install the ash tray before placing console on carpet -- it is much easier to get access to the mounting tangs although you can reach through the driver side access and do it later. Need to tip the console nose down to receive front stud. Need to connect wires before snugging to dash because you can't get to them otherwise. Need to install the black gap filler piece while there still is clearance.
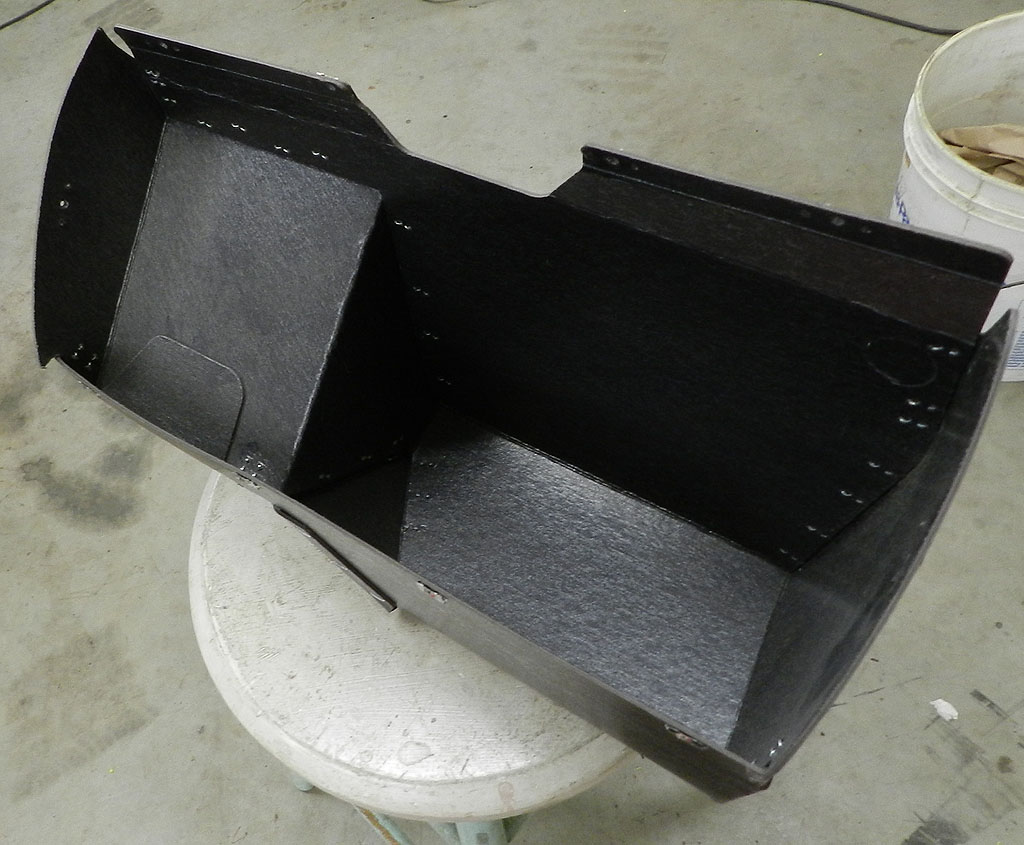
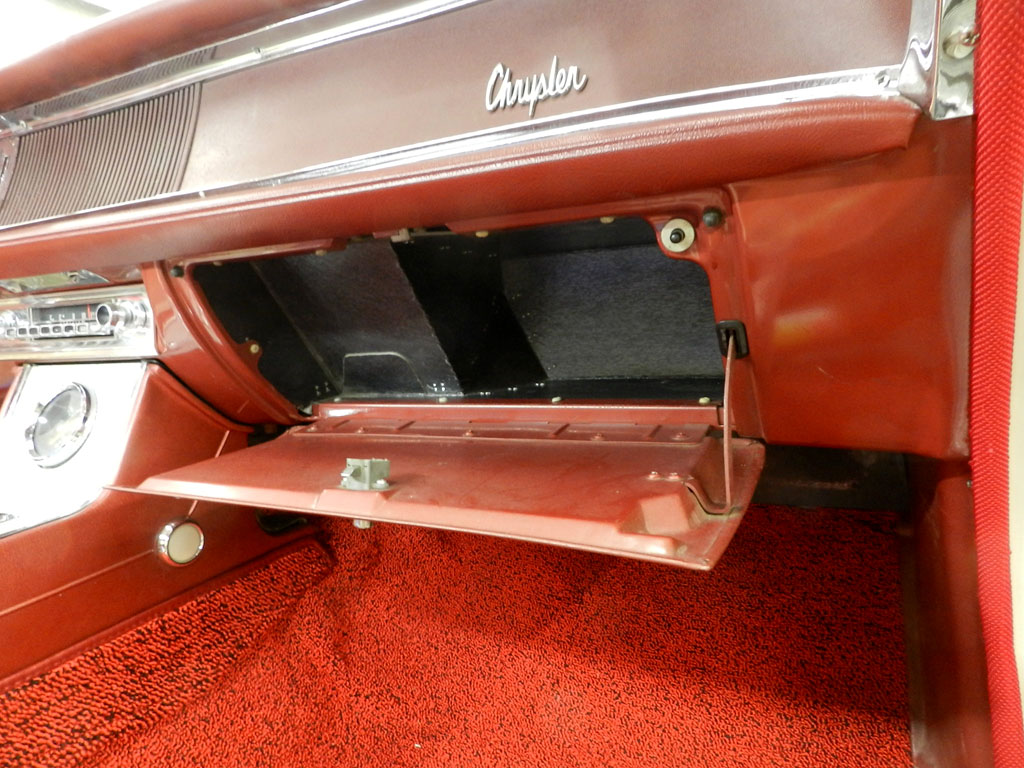
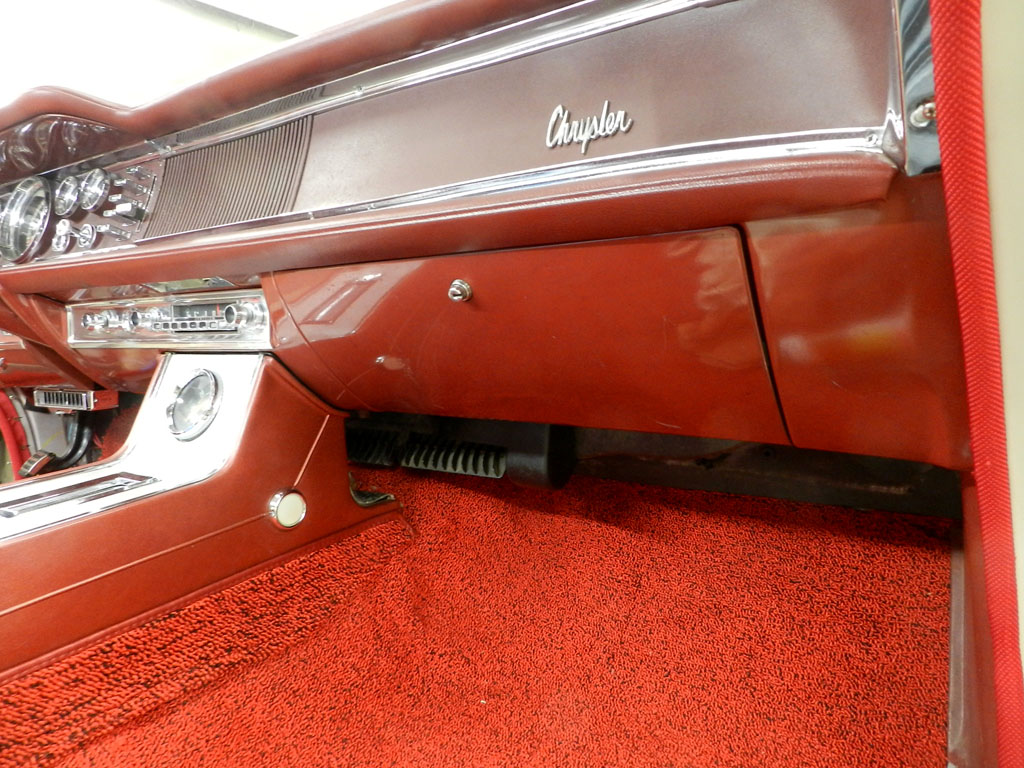
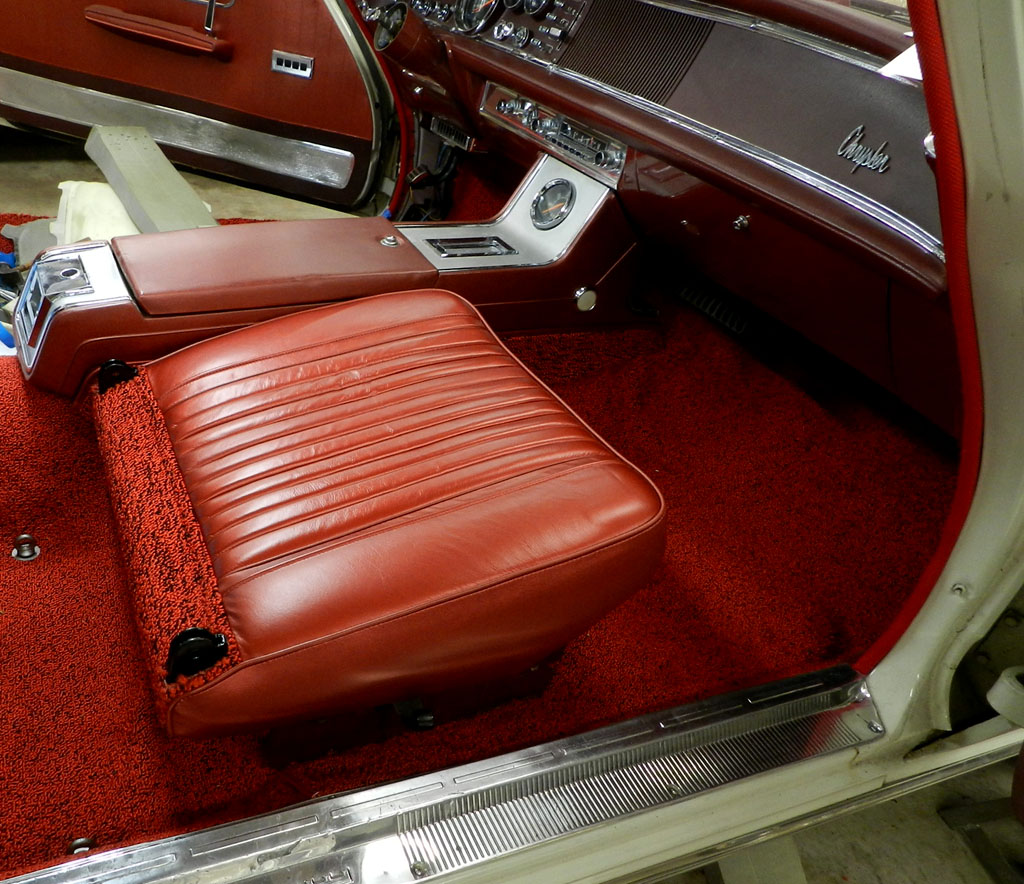
Console skirts can go on now. Before the seat goes in, I installed the new glove box from Van's. It was probably the easiest install on a glove box I have ever done. Installed and adjusted glove box lid. Now we are ready to install a new seat bottoms for the passenger. There is no difference driver to passenger on the seat bottoms or the seat backs. It is easier to install the seat tracks to the seat bottom and installed that assembly in the car. Installed the new front seat upper after remembering how the seat back spring goes in.
|
|
|
|
|
|
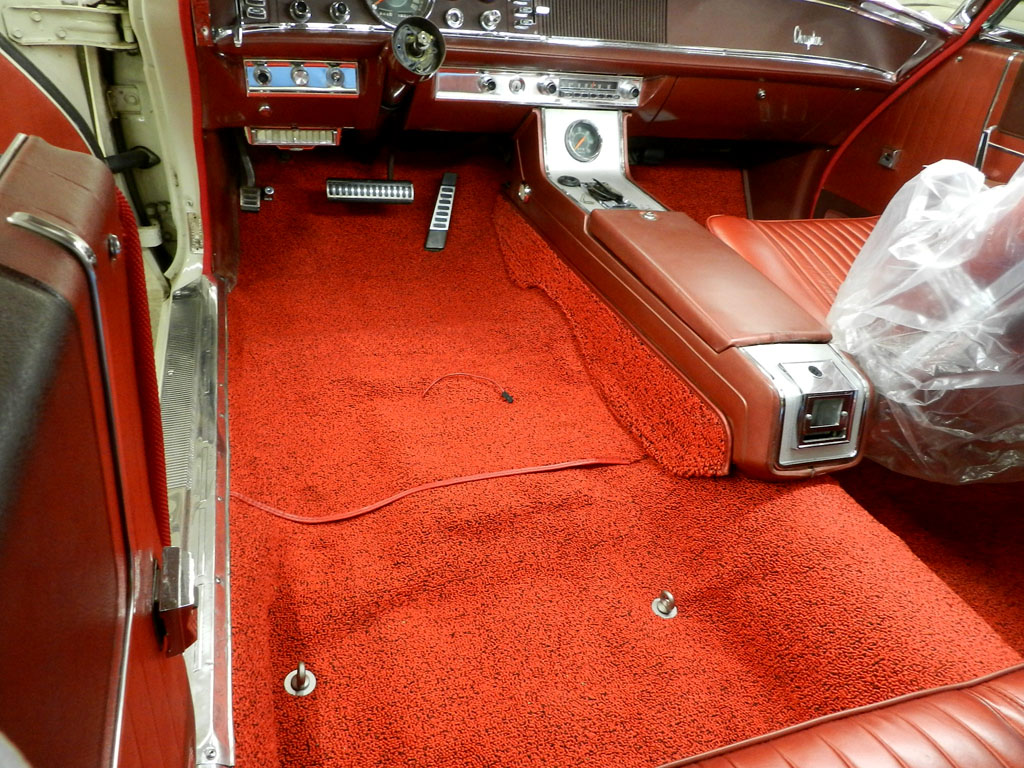
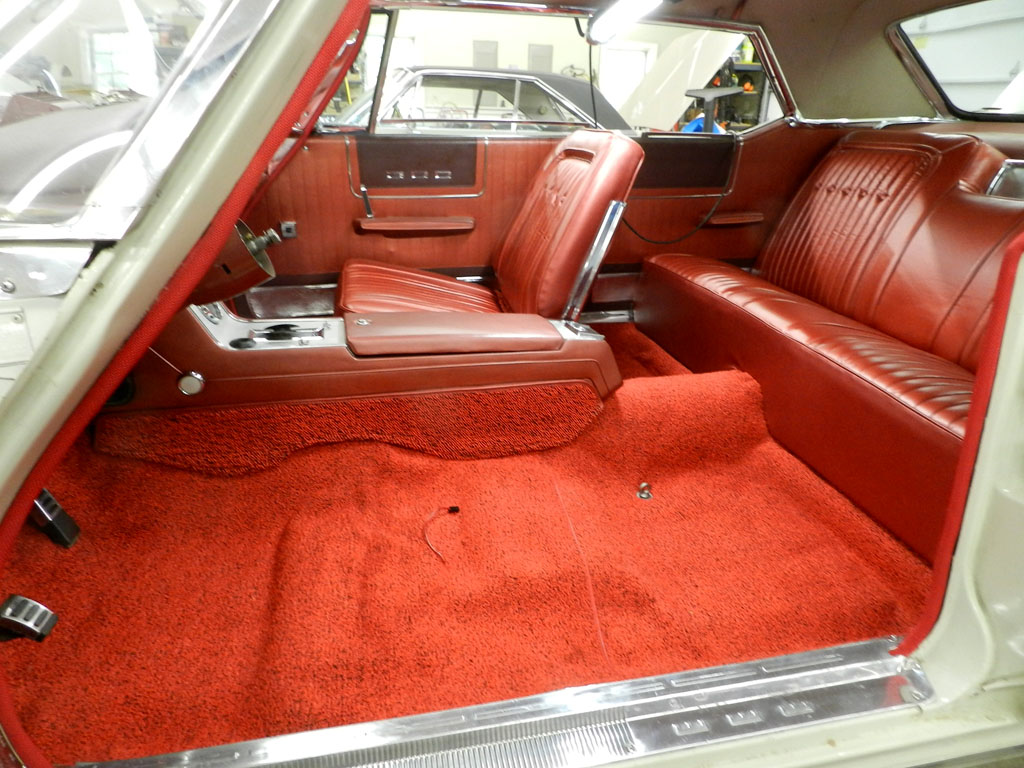
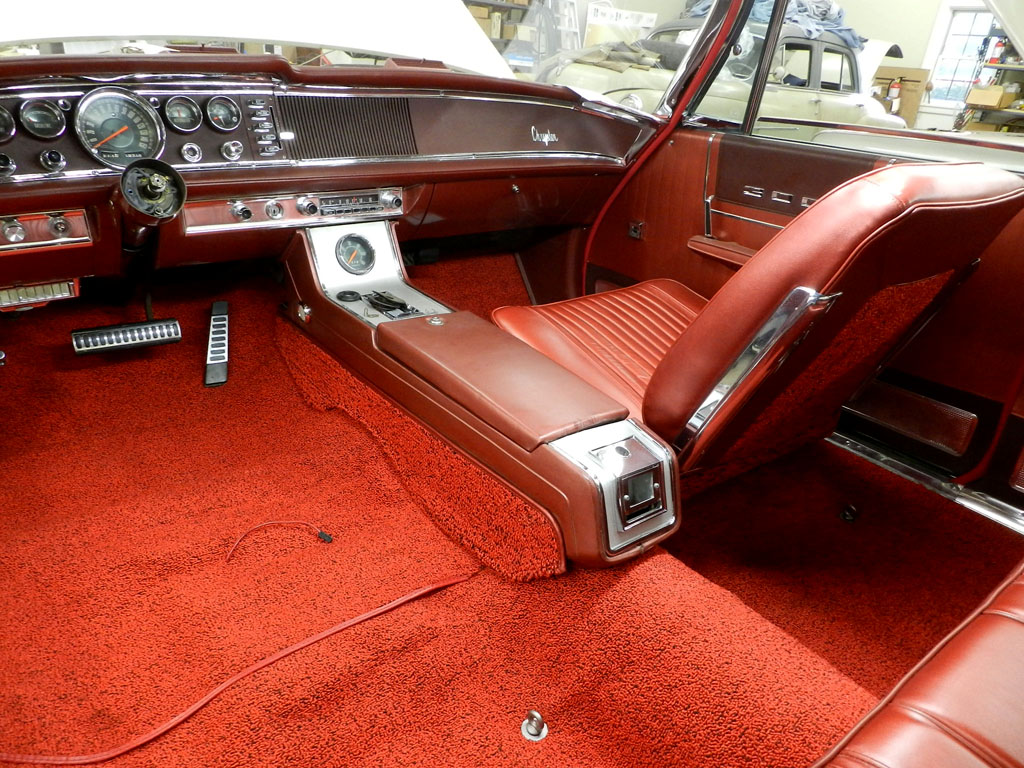
On to driver side carpet. The primary problem area is around the gas pedal. The new jute was an obstacle and had to come off, then things fit. On the upper left of the front carpet, there should be a slit-slot for the parking brake cable. Once you have that, the carpet lays much better. I was unable to use grommets for radio or dimmer so I cut the carpet to fit around those pieces. Both sill plates fit well with all screws catching, even the inboard ones. I will need to install driver side heel plate once I find one.
|
|
|
I decided to install the new driver remote mirror I bought from Murray. The toughest part is getting that
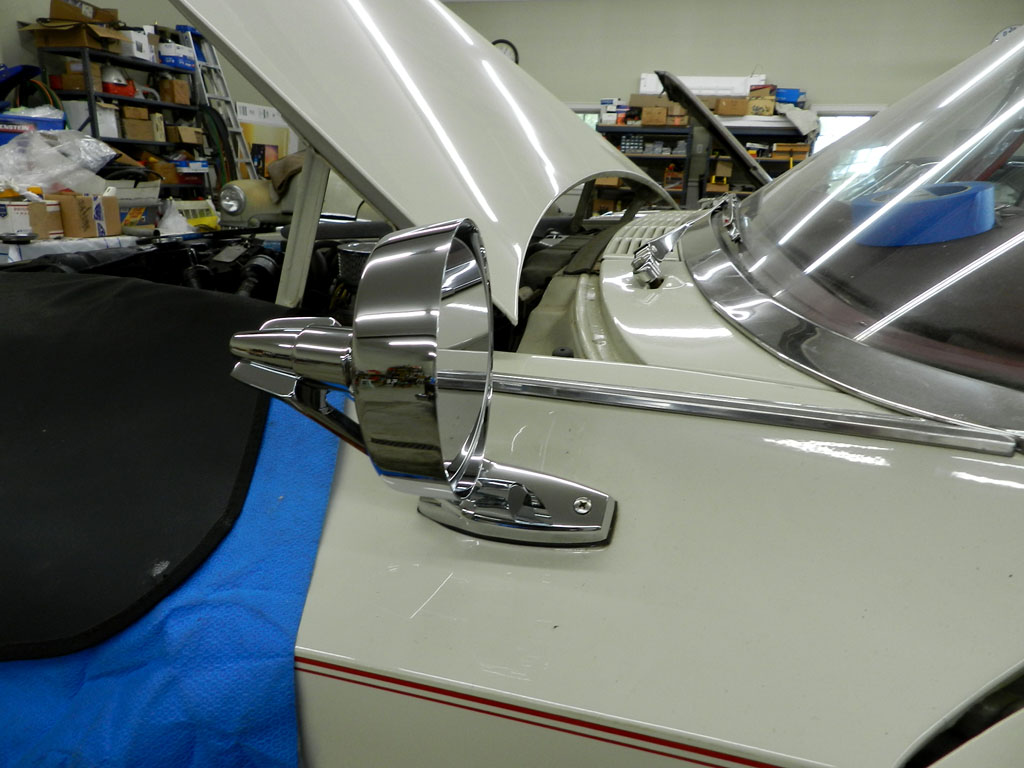 triangle round rubber grommet firewall seal through the fender hole. If you get part of it through, you can roll the rest through. A trick on the mirror fender screws: install the front angle screw first otherwise that front screw won't line up with the hole in the fender. The rear screw is a normal 90 degrees but with the front screw at an angle, it ac as a wedge, moving the mirror backwards as it goes in. You need to have the front as your primary, get it 80% in before doing a little on the rear. Then the mirror will sit.
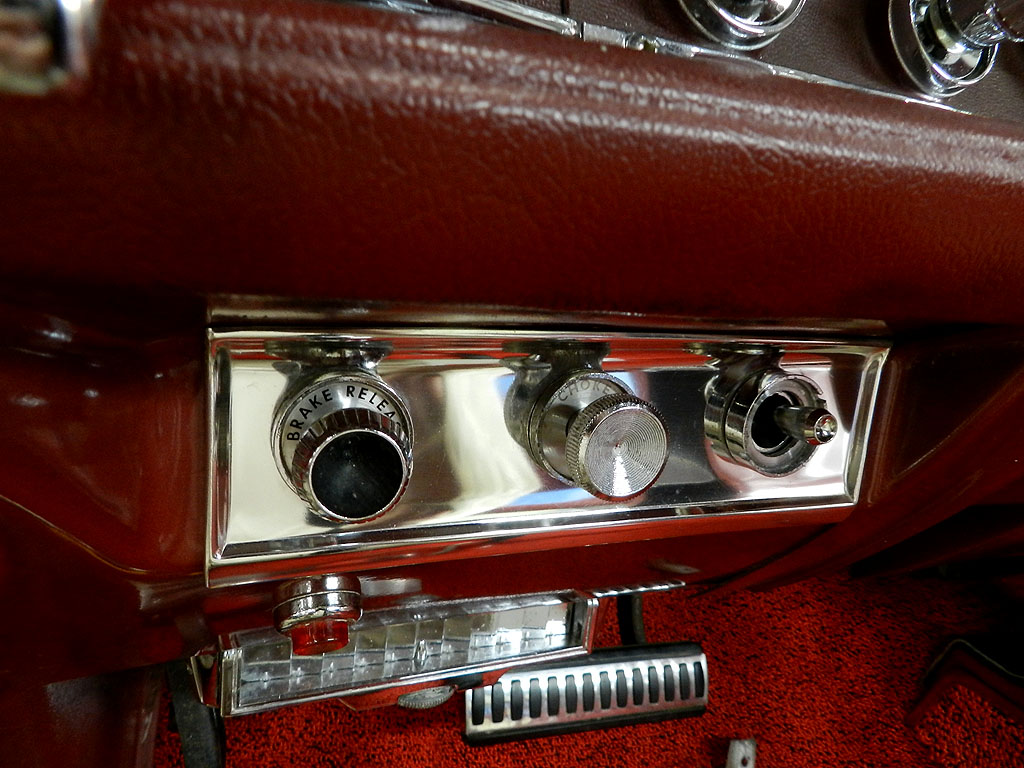
I found the mirror remote control at the dash is off 180. There is a slot and it fits the dash only 1 way. As it is, right is left, up is down. I have had this problem before but not with all of these new mirrors, just some. The easiest fix is to file another slot in the dash at the top, rotate adjuster and install. Now all is correct. On to the choke pull. All Js and ram Ks have this choke pull. On this car, with no rams, this will be a fake choke pull (it will have no cable). Should this car ever go to rams, a new choke pull can be installed.