|
|
|
|
|
|
|
|
|
|
|

1965 Chrysler 300L
Page 3
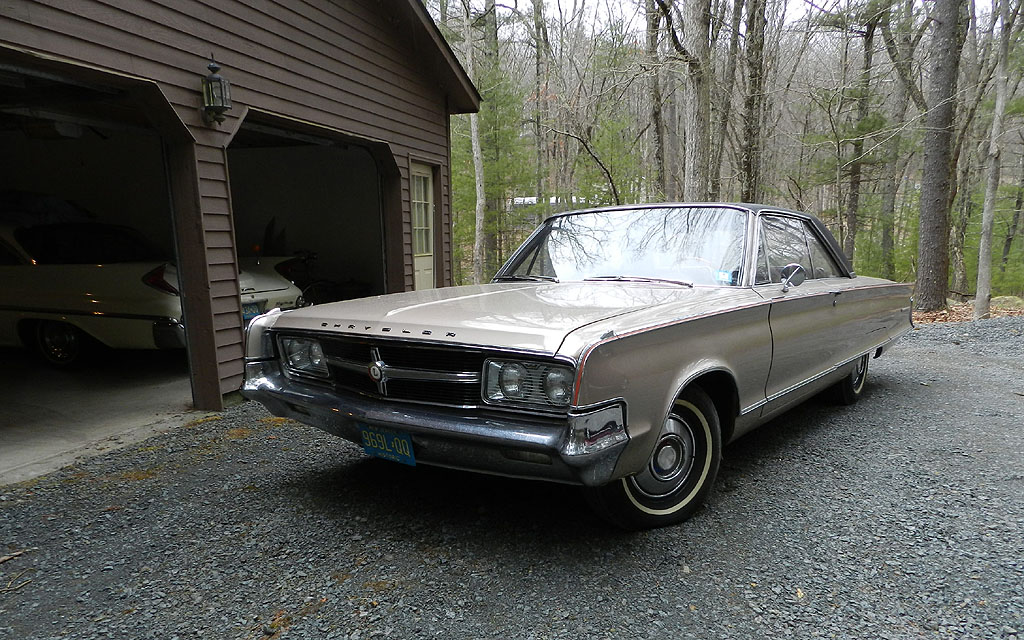
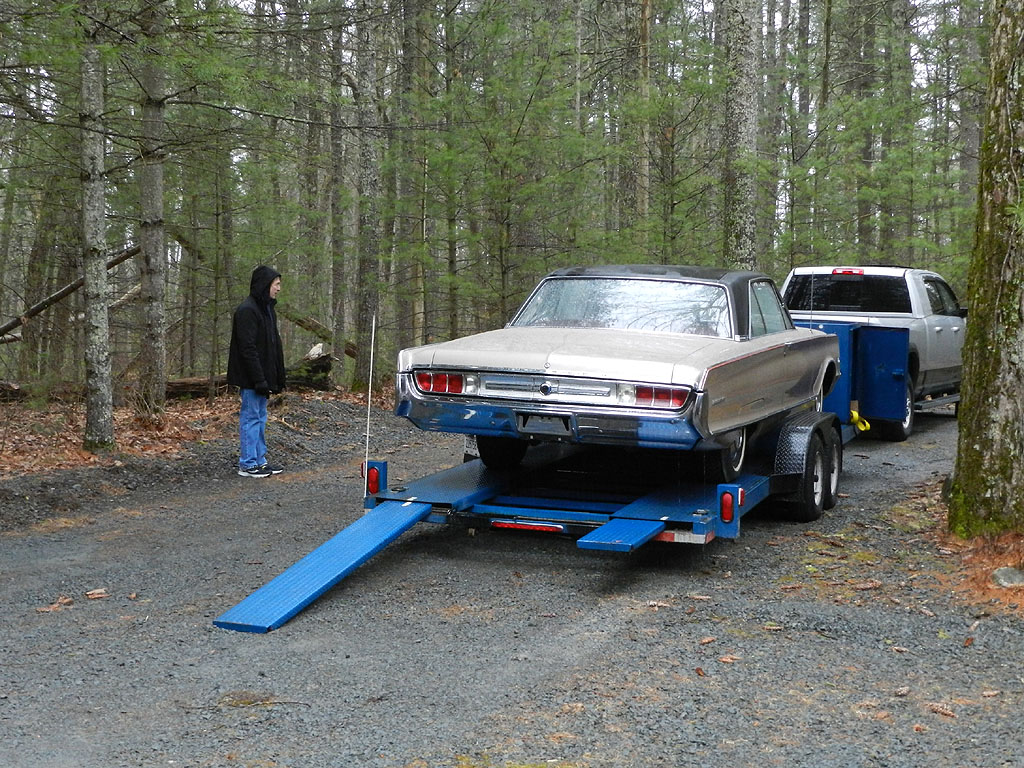
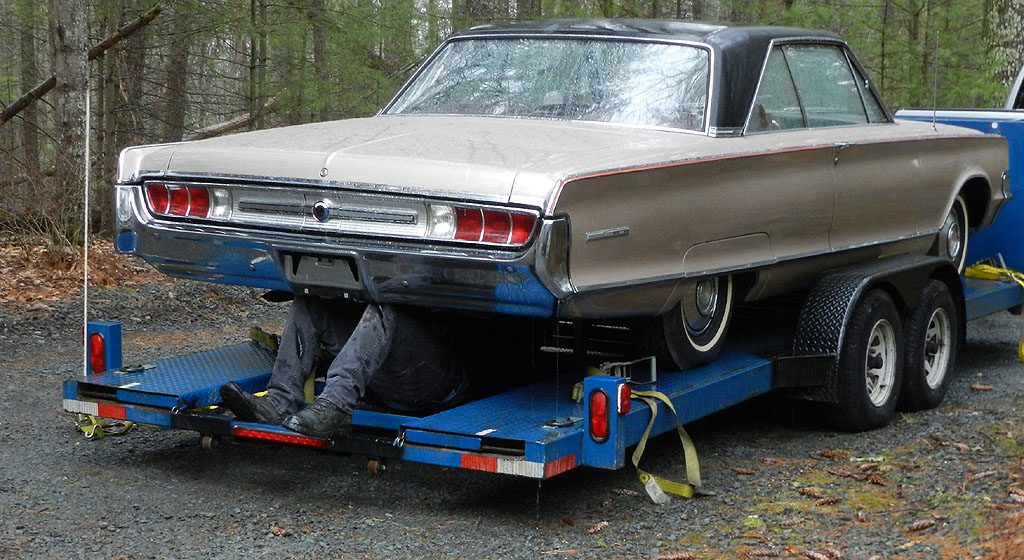
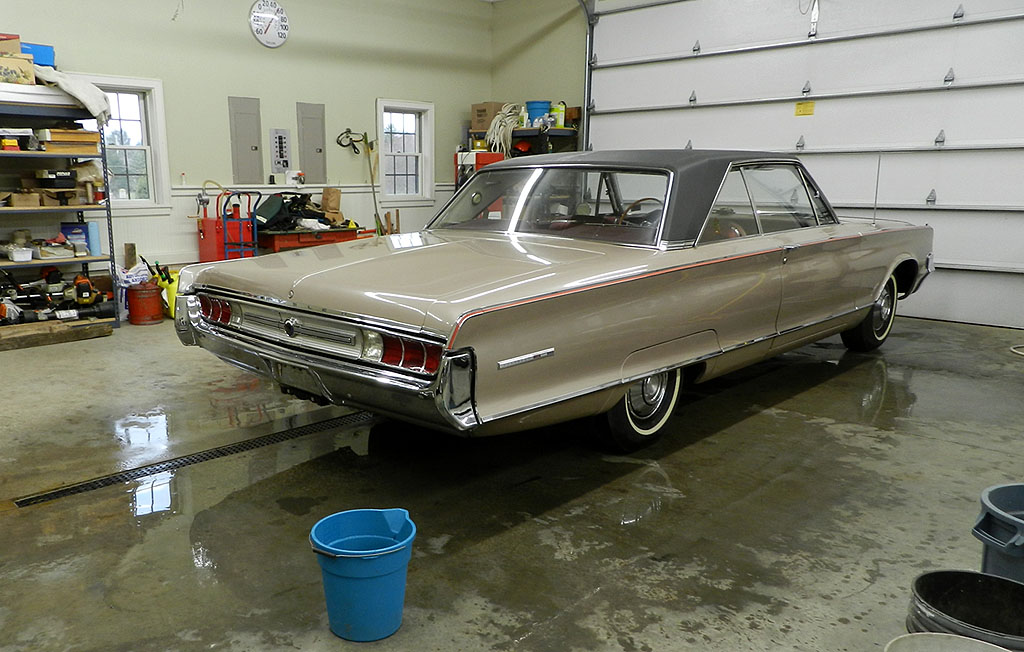
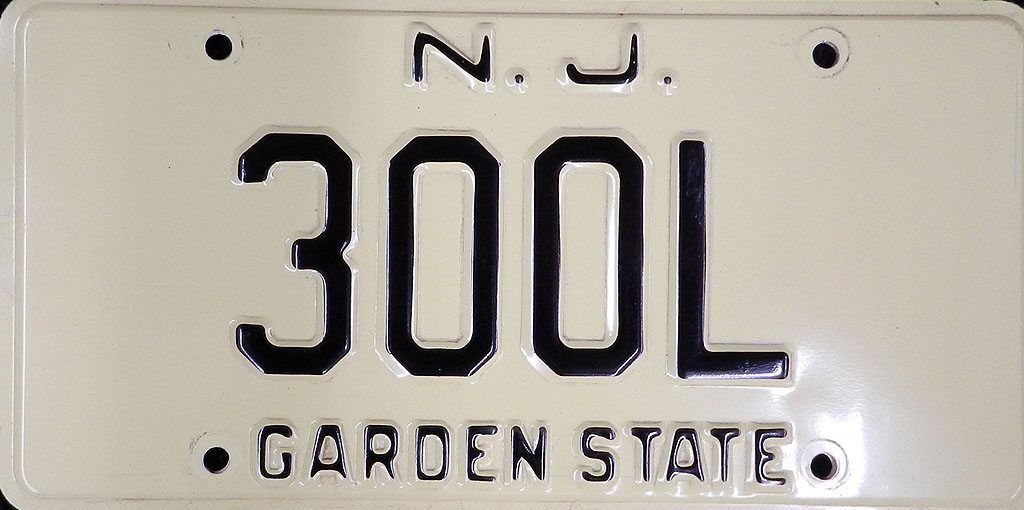
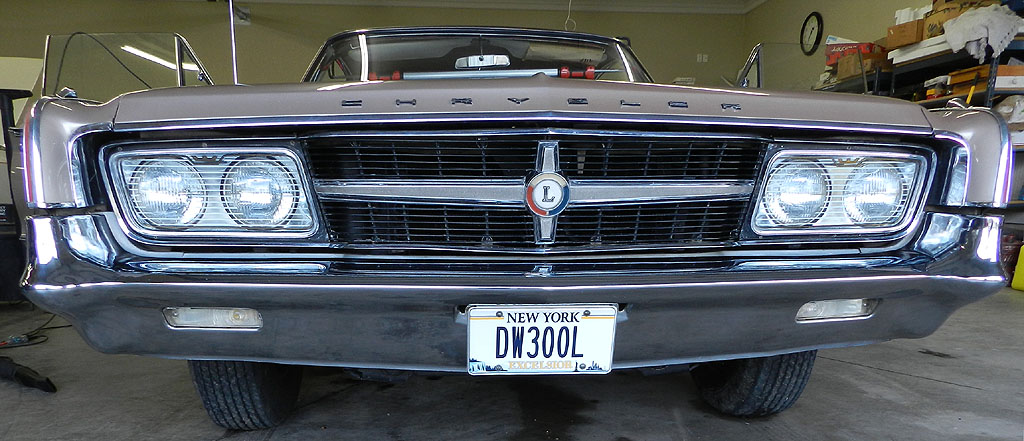
The 300L comes to New York
|
|
|
|
|
|
It is late August in 2024 as we begin work on Don's car. The power windows need to be fixed, there are no brakes, and the car has not been running in many years.
Power window motors: The driver front, passenger front and passenger quarter windows click but do not move. The driver quarter works. We will lubricate that one and leave the motor alone.
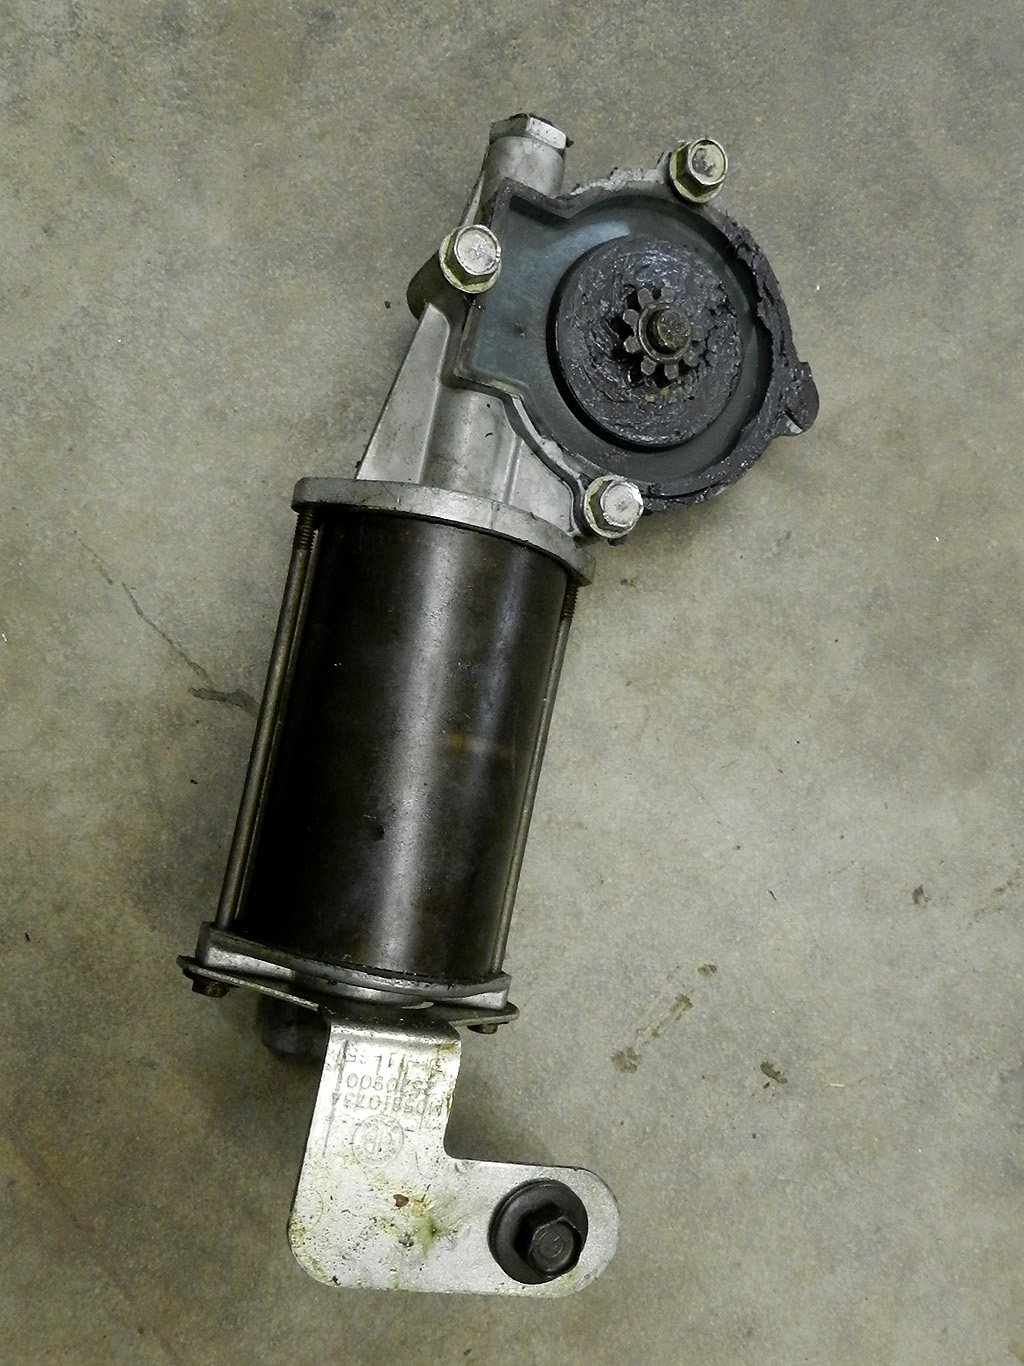 The 65 windows are different from previous years in many ways. They are wired differently; these motors use all of the windings to go in either direction. The motors are not grounded to the body. The motors and transmissions are pretty much all one unit; in previous years you could unbolt the motor and leave the drive collar and transmission on the regulator. On these, separation of the motor from the transmission requires the assembly to be out of the car. When testing with the door panel off, you must install a switch in the door wire harness or the circuit is not complete.
Removal of the window motors according to the service manual requires that you disconnect the regulator arms from the window and remove the regulator and motor as an assembly. Access to the rollers at the end of the regulator arms is difficult, especially for the rear windows. Of more trouble, you will lose the adjustments on the tracks and guides. Getting these settings back to factory can be a nightmare. It is not surprising that people don't follow the service manual on motor removal.
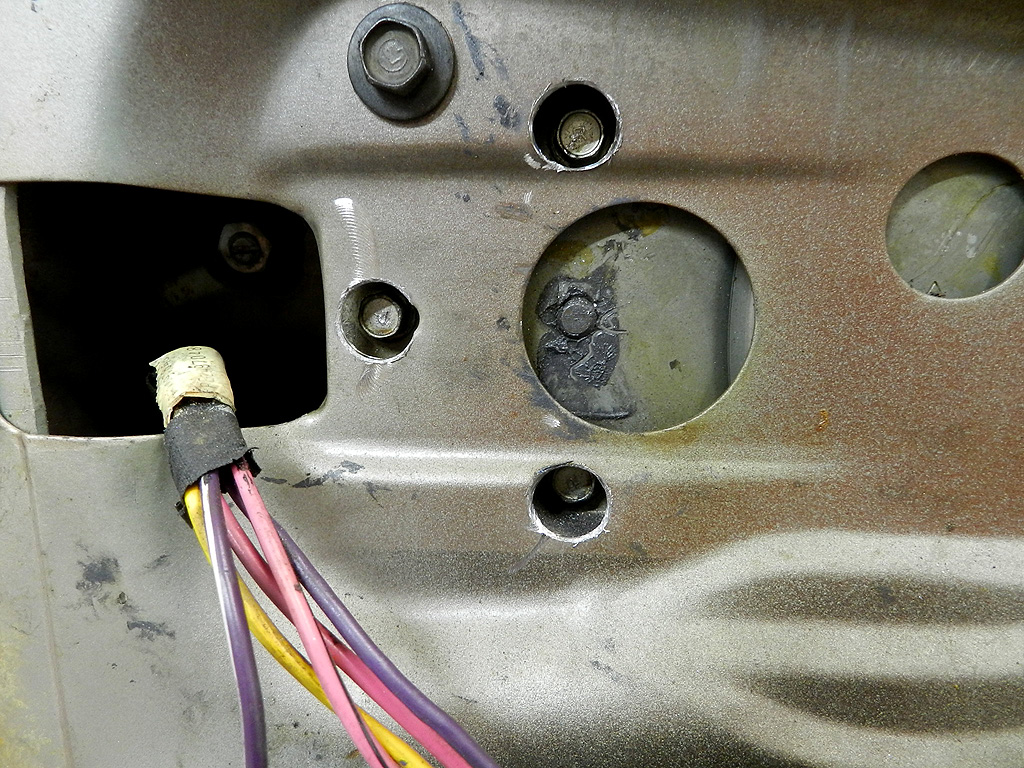
There are three 3/8" mounting bolts that secure the motor to the regulator. You can see part of one bolt but the other two are hidden by the body panel. If you could drill holes in the panel you could get to them, and then remove the motor with the regulator undisturbed. After a lot of thought, I decided this was the route to go. From the spare motors, I was able to make a template of the location of the hidden bolts. The hole size needs to be .625" diameter to pass a 1/4 drive 3/8 socket.
The first motors to tackle were the quarters. This requires removal of the rear seat lower cushion. Removal of that cushion pretty much requires the front seats come out. Since they are not power, the fronts are not heavy and came out easy with mounting nuts and bolts fine. We now have access to the rear interior panels (the rear seat upper cushion does not have to be removed). I found the date April 6, 1965 inked on the rear door panel. The passenger front door panel has the date March 29, 1965. The car build date was May 5, 1965.
The window motor is mounted very forward, unlike the 60-64. With the access holes, the motor is easily removed and disconnected from the wiring. With the motor removed, now is the time to exercise the windows and to work in new lubrication. This is especially true for the quarter windows given their tortuous travel path.
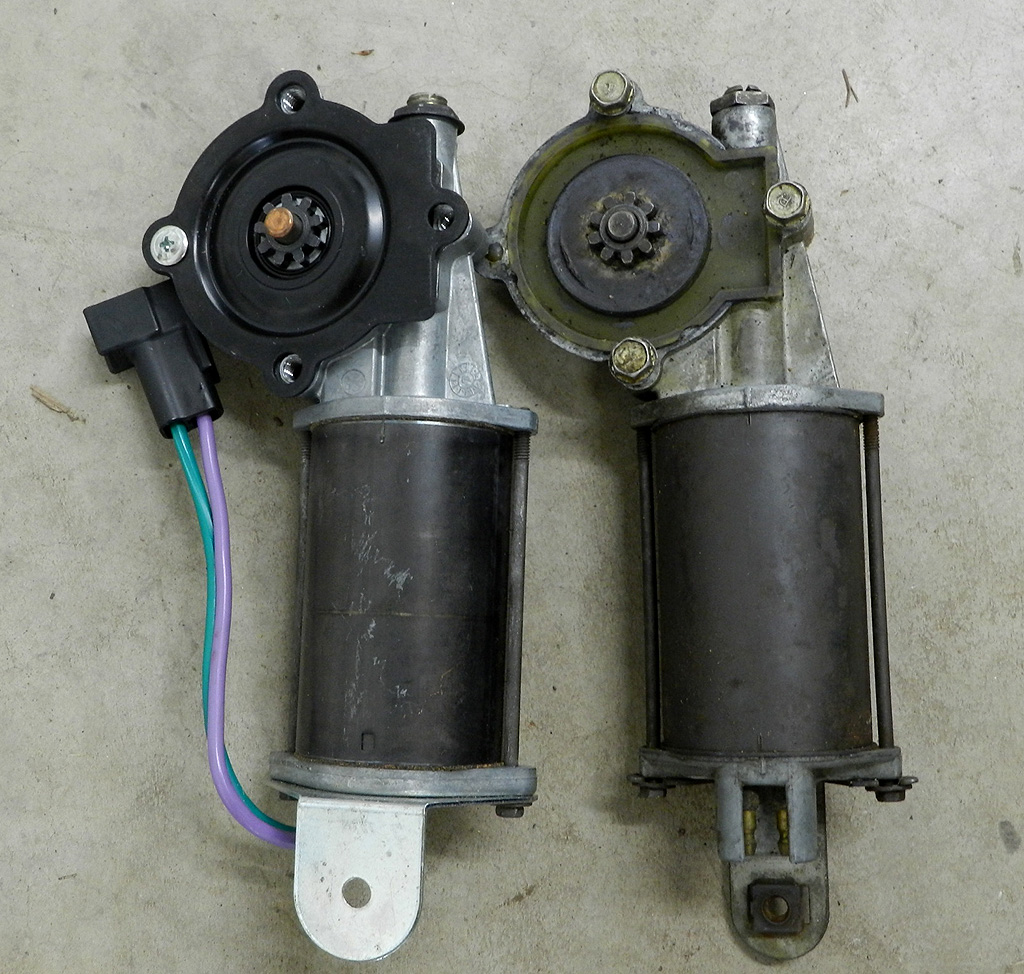
What to do for motors? You can send yours out for rebuilding or you can buy new ones for the 1985 New Yorker. If you compare the new and old window motor, the drive gear is the same OD, same teeth count, same pilot size. Even the upper casting has the same number 2520903. I went for the new 1985 motors although I will get the 1965 motors rebuilt. The 1985 motors have different wiring connections than the 1965. If you go with the 1985 style, which are still available new, you need to make a jumper set to go from the original barrel connection to the spade. You could cut and splice into existing wires but I made a jumper set. Should I ever want to swap 1965 motors back in, it won't be a big job now that the hard work is done.
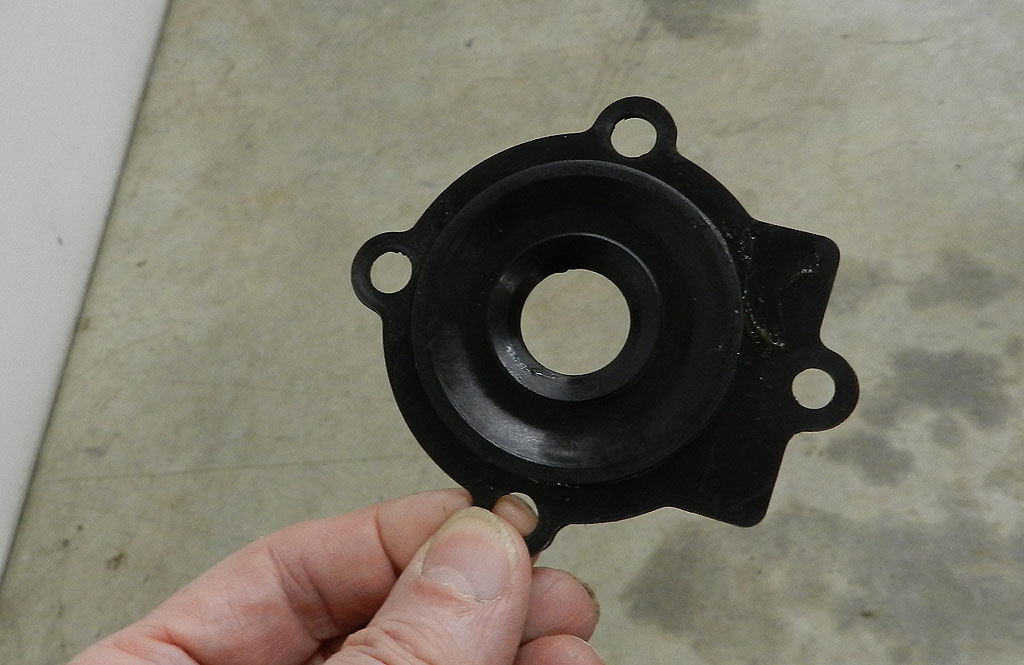
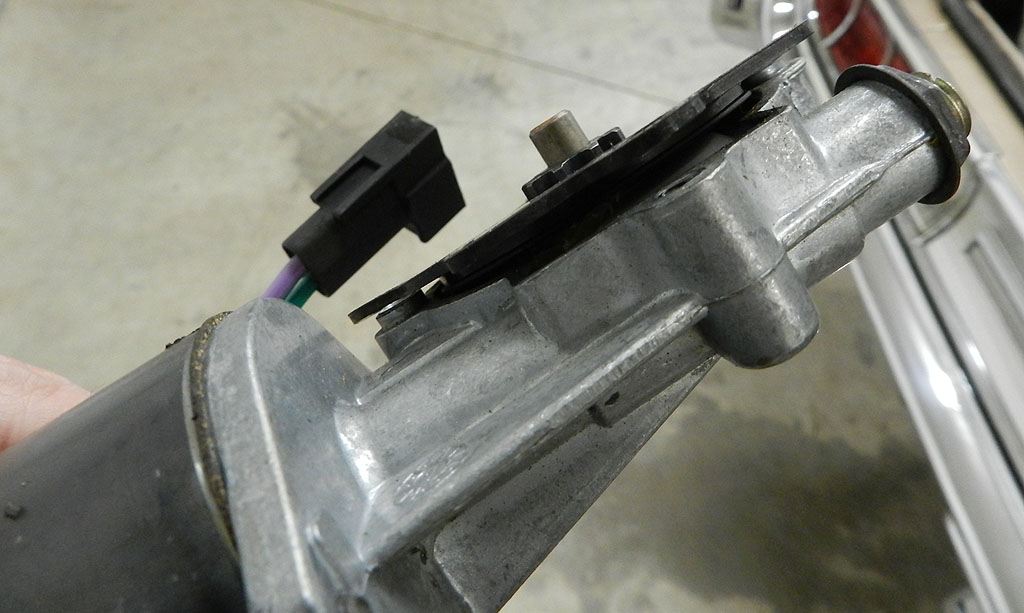
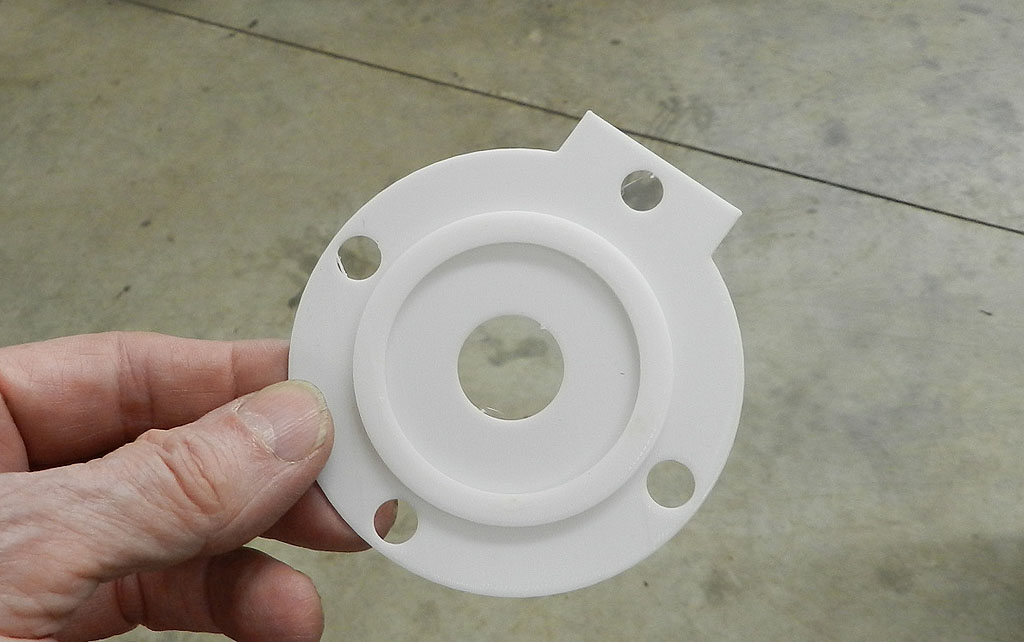
I had some trouble with the new motors. There is a gasket around the output gear. Mine were warped. Made of steel, there
was no bending into shape. If you install the motor with the gasket and tighten the mount screws fully, the gasket will press on the output gear. The motor binds and runs slower. The gasket from the old motor is entirely different; it won't swap. John Sager bought new motors. His had no gasket at all so he made his own on a 3D printer. His are flat, fit perfect, and when installed with the new motor, there is no bind. The motor spins fast and the window glass moves quickly.
|
|
|
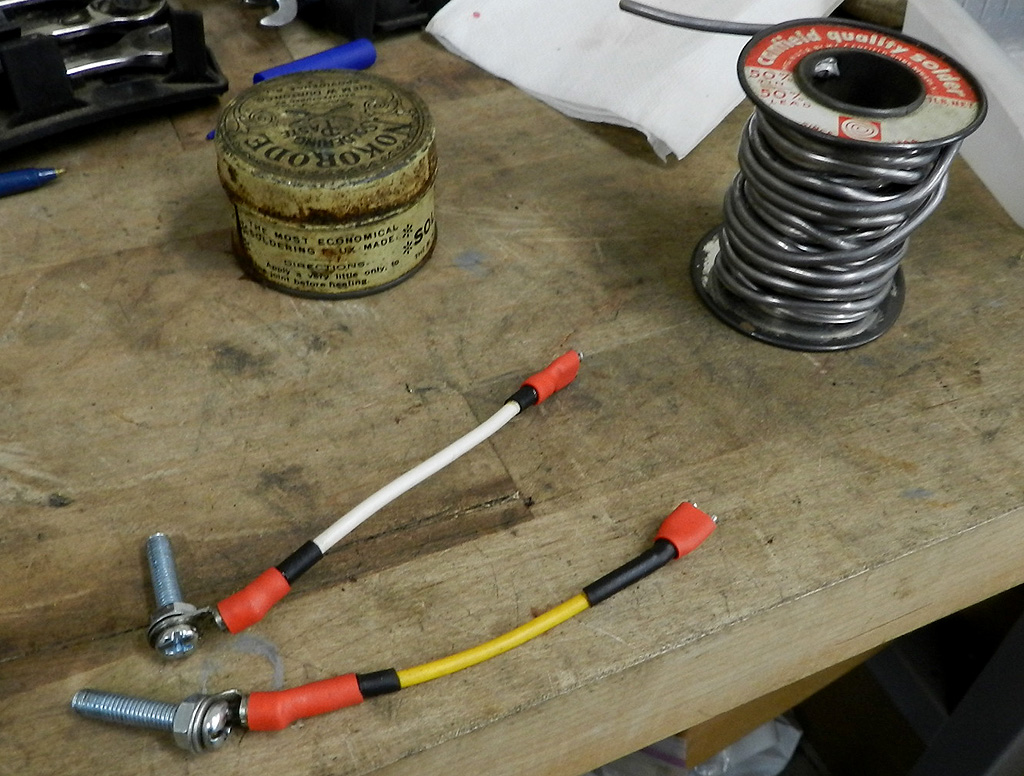
I made a set of jumper wires out of 14 gauge stranded wire. I used 5MM screws to fit the barrel connector and the spades were common side. You can test these motors without installing; they need no ground.
The front windows are easier. The door panels are easier to remove and you have better access. Use the same idea for the 3 drill holes and jumper wires. With the motor off of the regulator, the front windows are easy to exercise and both of these were silky smooth. There is only 1 roller on the front window while the rear has three.
With the new motors and the jumper wires, we now have all the power windows working.
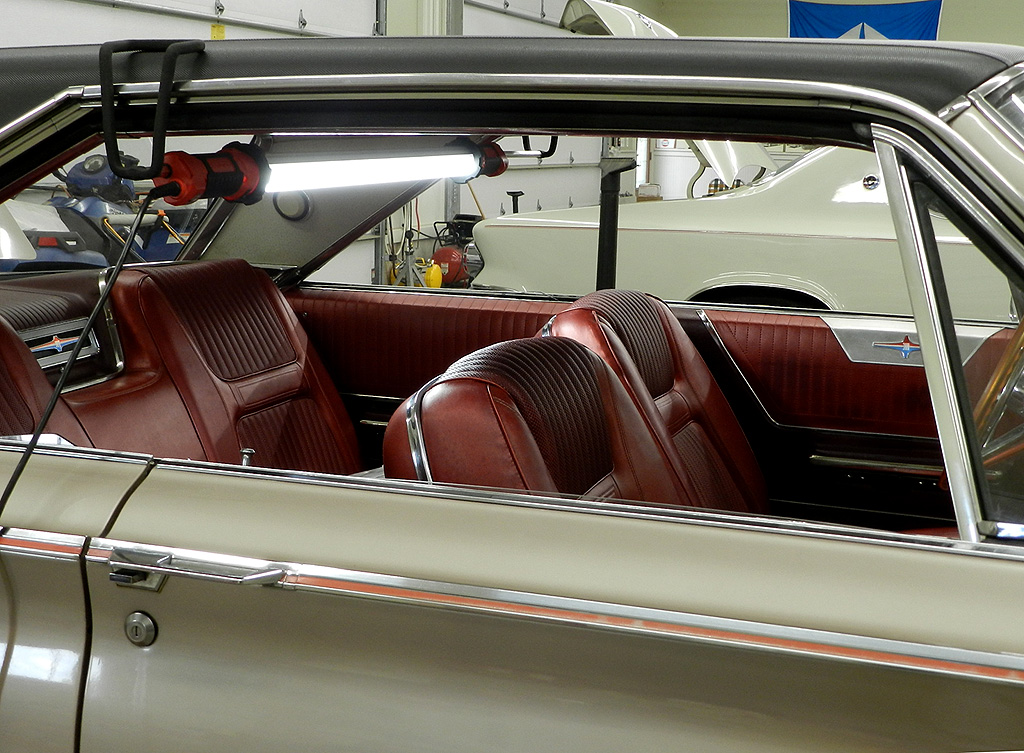
On to the L grille lens and medallion.
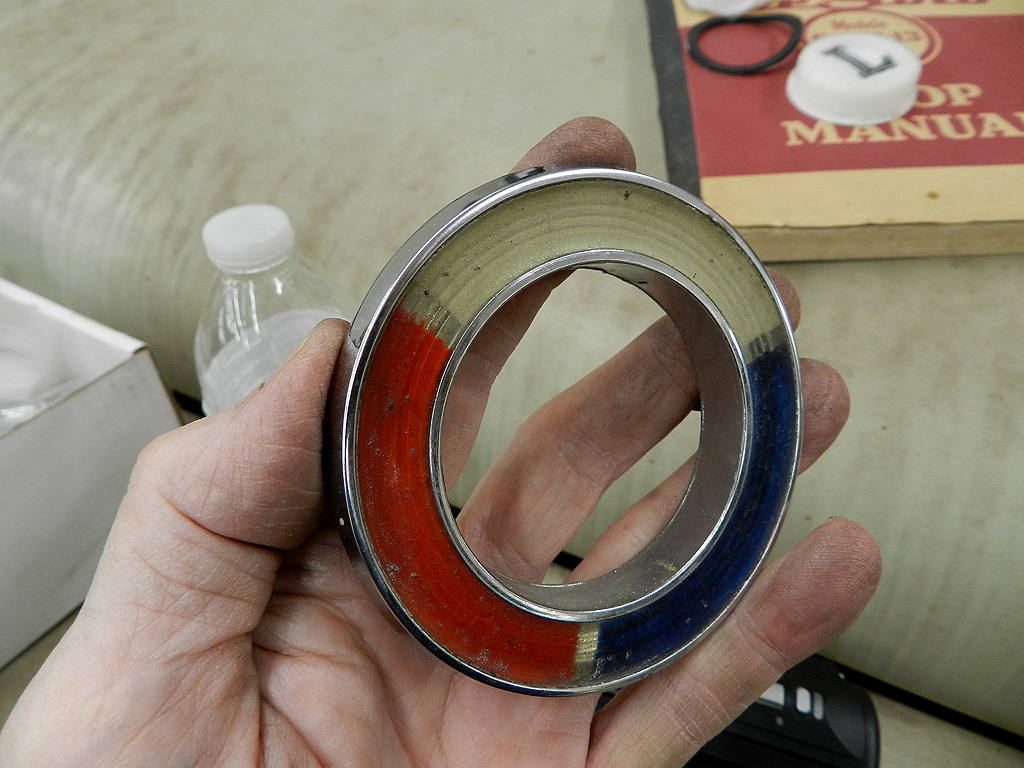
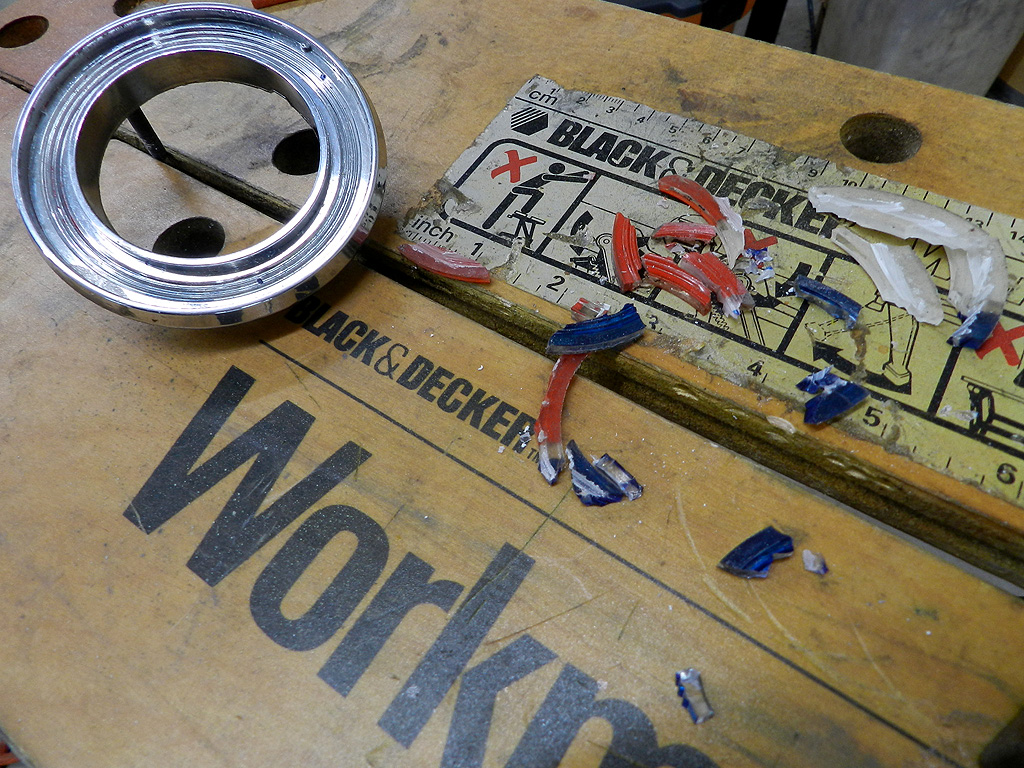
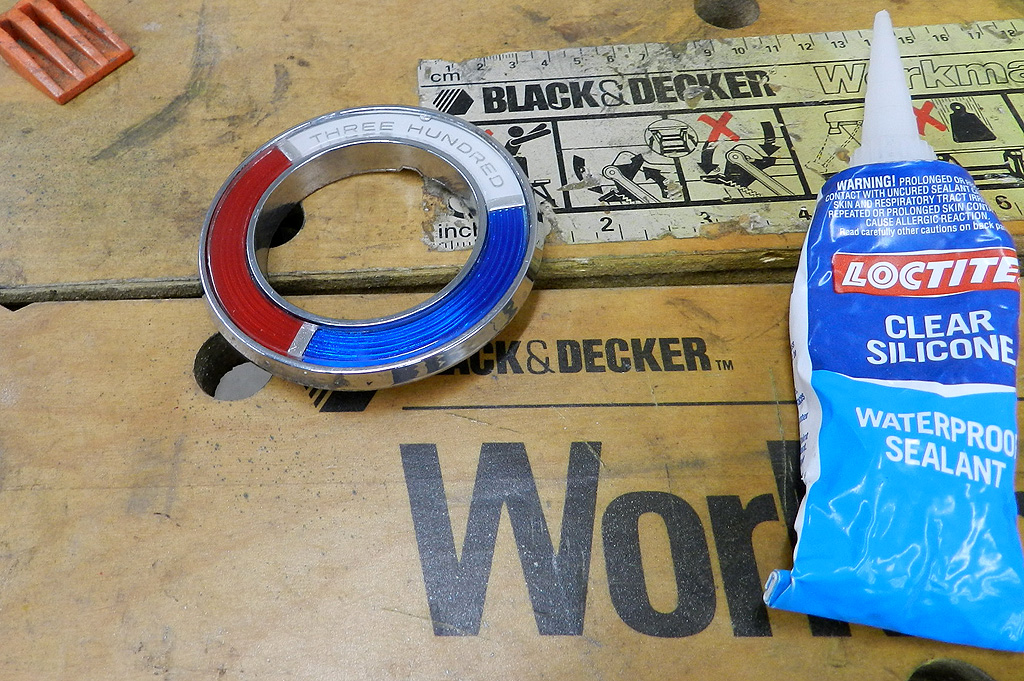
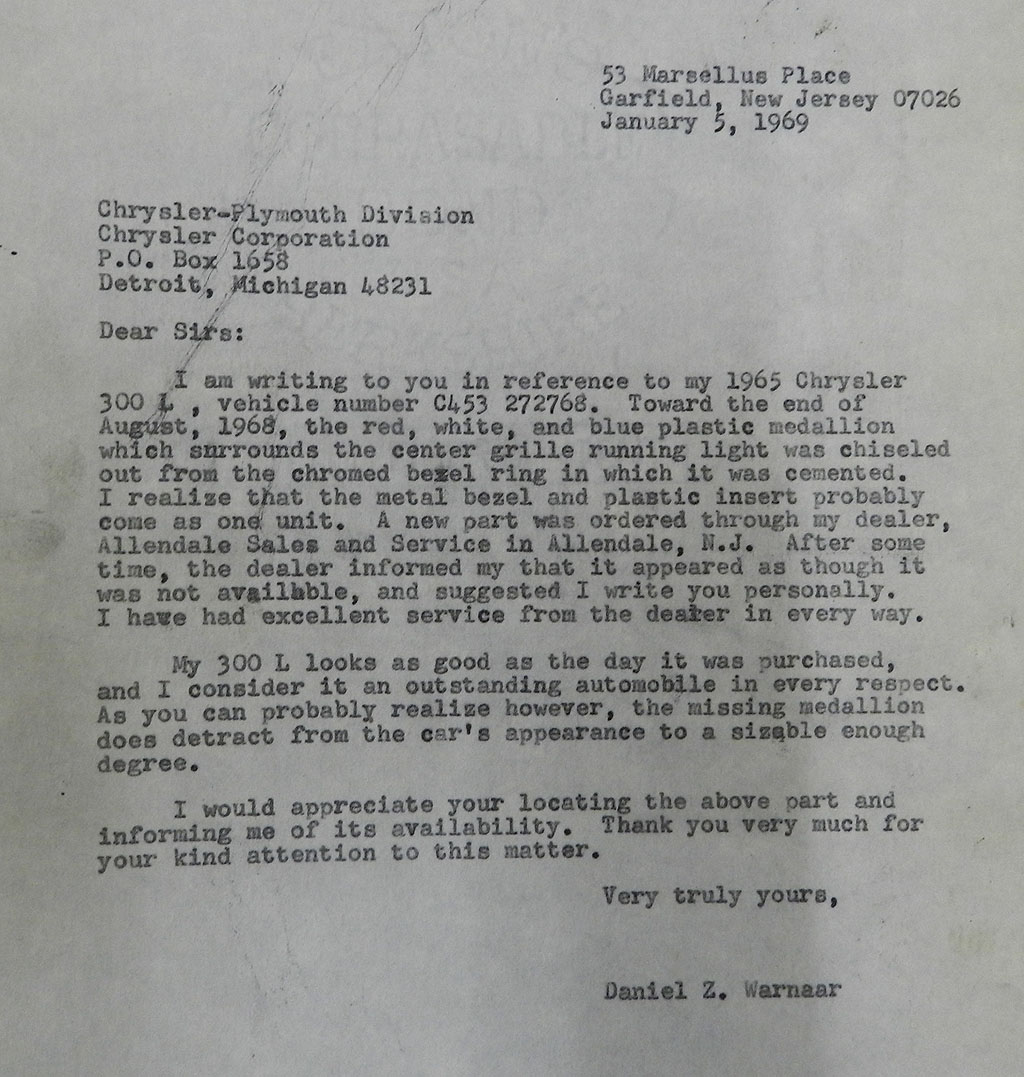
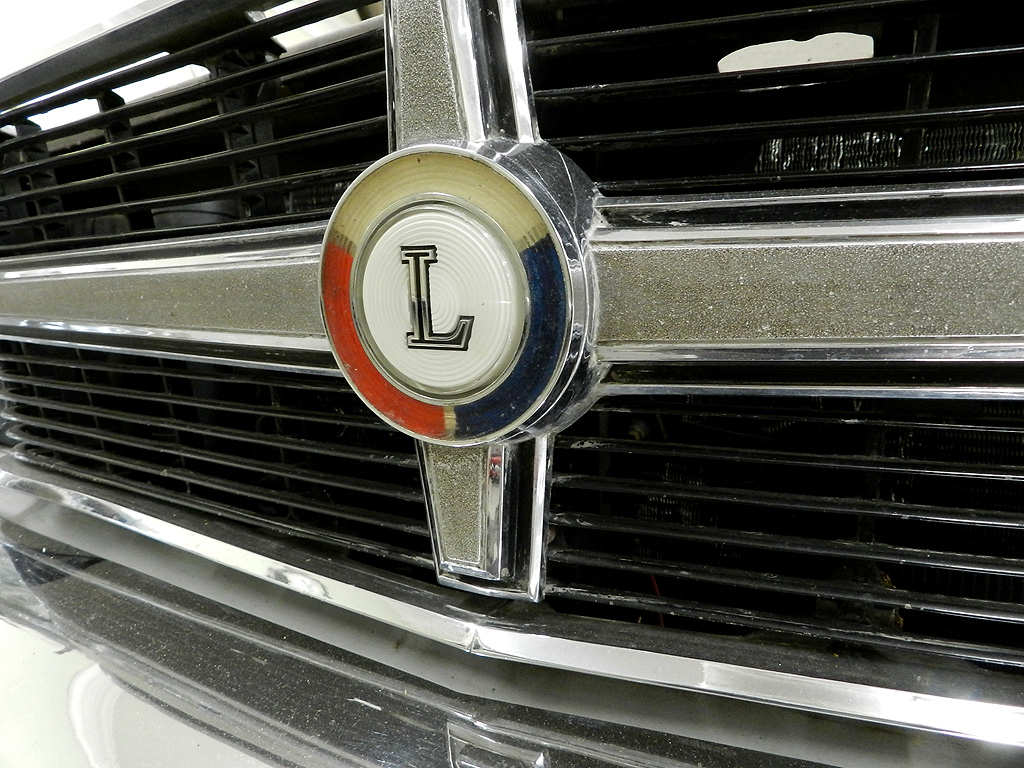 Don told the story that years ago, he parked the car after a drive and noticed the grille ring was gone. He went to the dealer to get a new one but it was unavailable. He even wrote Chrysler in January of 1969 looking for the ring, see the letter below (Yes, Don kept every correspondence). He could, however, get a new L lens so he did. The new lens is white while the original is clear. Perhaps all replacement lenses were white, I don't know.
Don installed the white lens and made a red-white-blue epoxy piece to replace the grille ring. Here is a picture of the white lens and Don's ring.
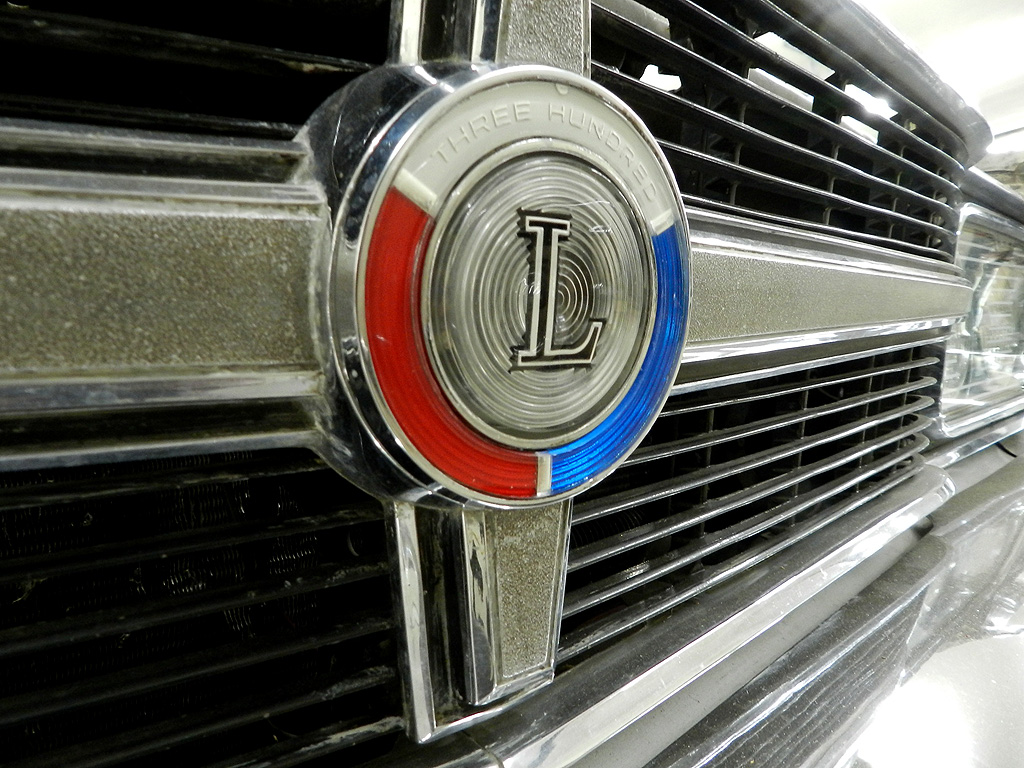
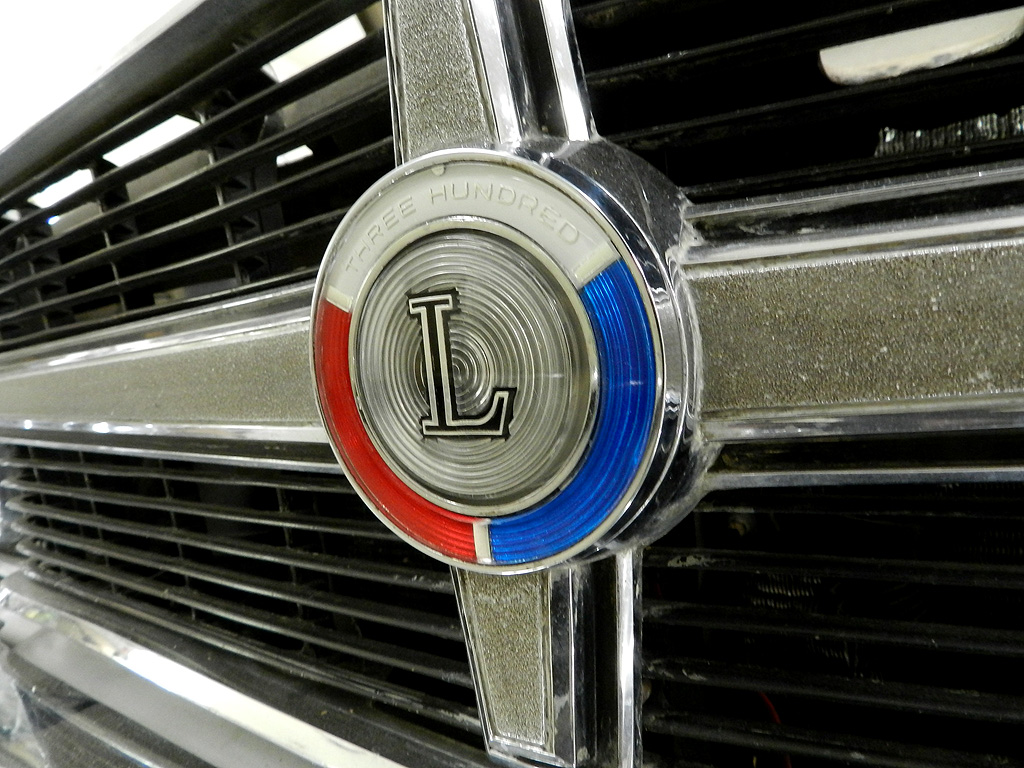
The Chrysler 300 Club International has L grille lens kits which comprise a lamp, lens, gasket, and ring. I bought one and installed; it is a thing of beauty. We have a video here. For the first time since 1969, the L has the proper grille ring once again.
|
|
|
|
|
|
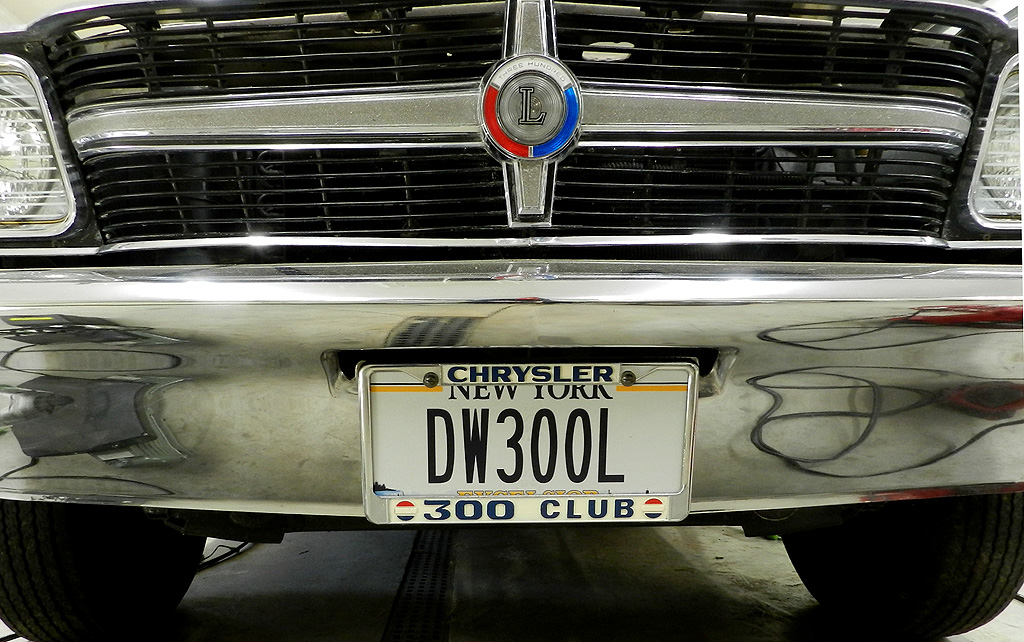
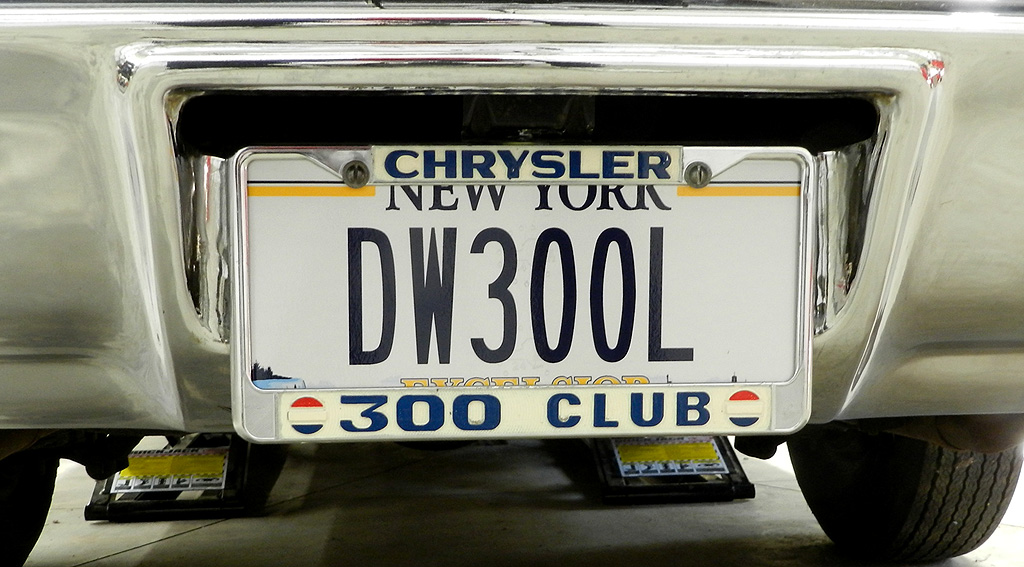
In Don's parts I found a very nice pair of never used license plate frames from the western club. I found pictures of the western club selling these back in 1977. They have been sold out for years and the western club does not plan to have more. The International club never had frames for sale. I think the time has come to do that.
|
|
To page 4